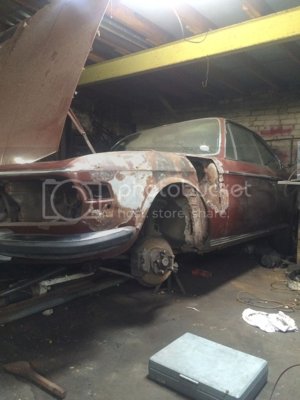
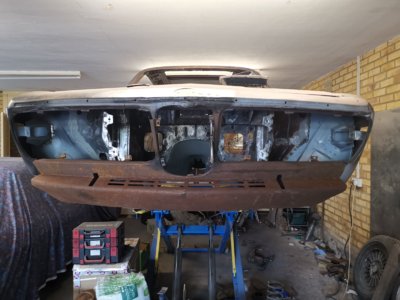
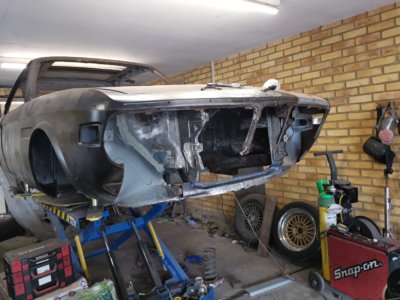
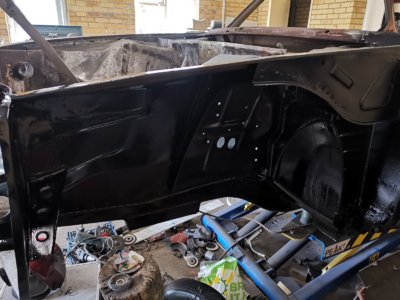
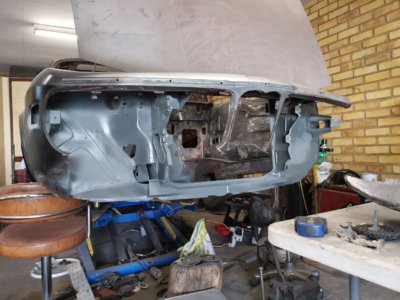
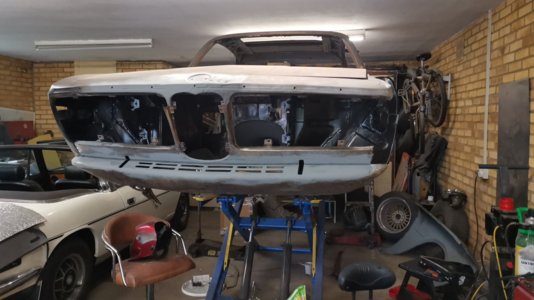
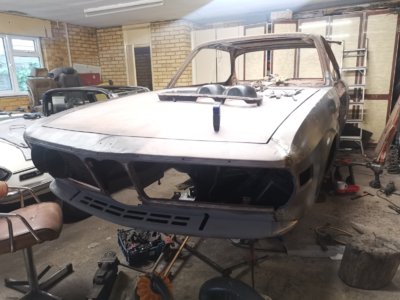
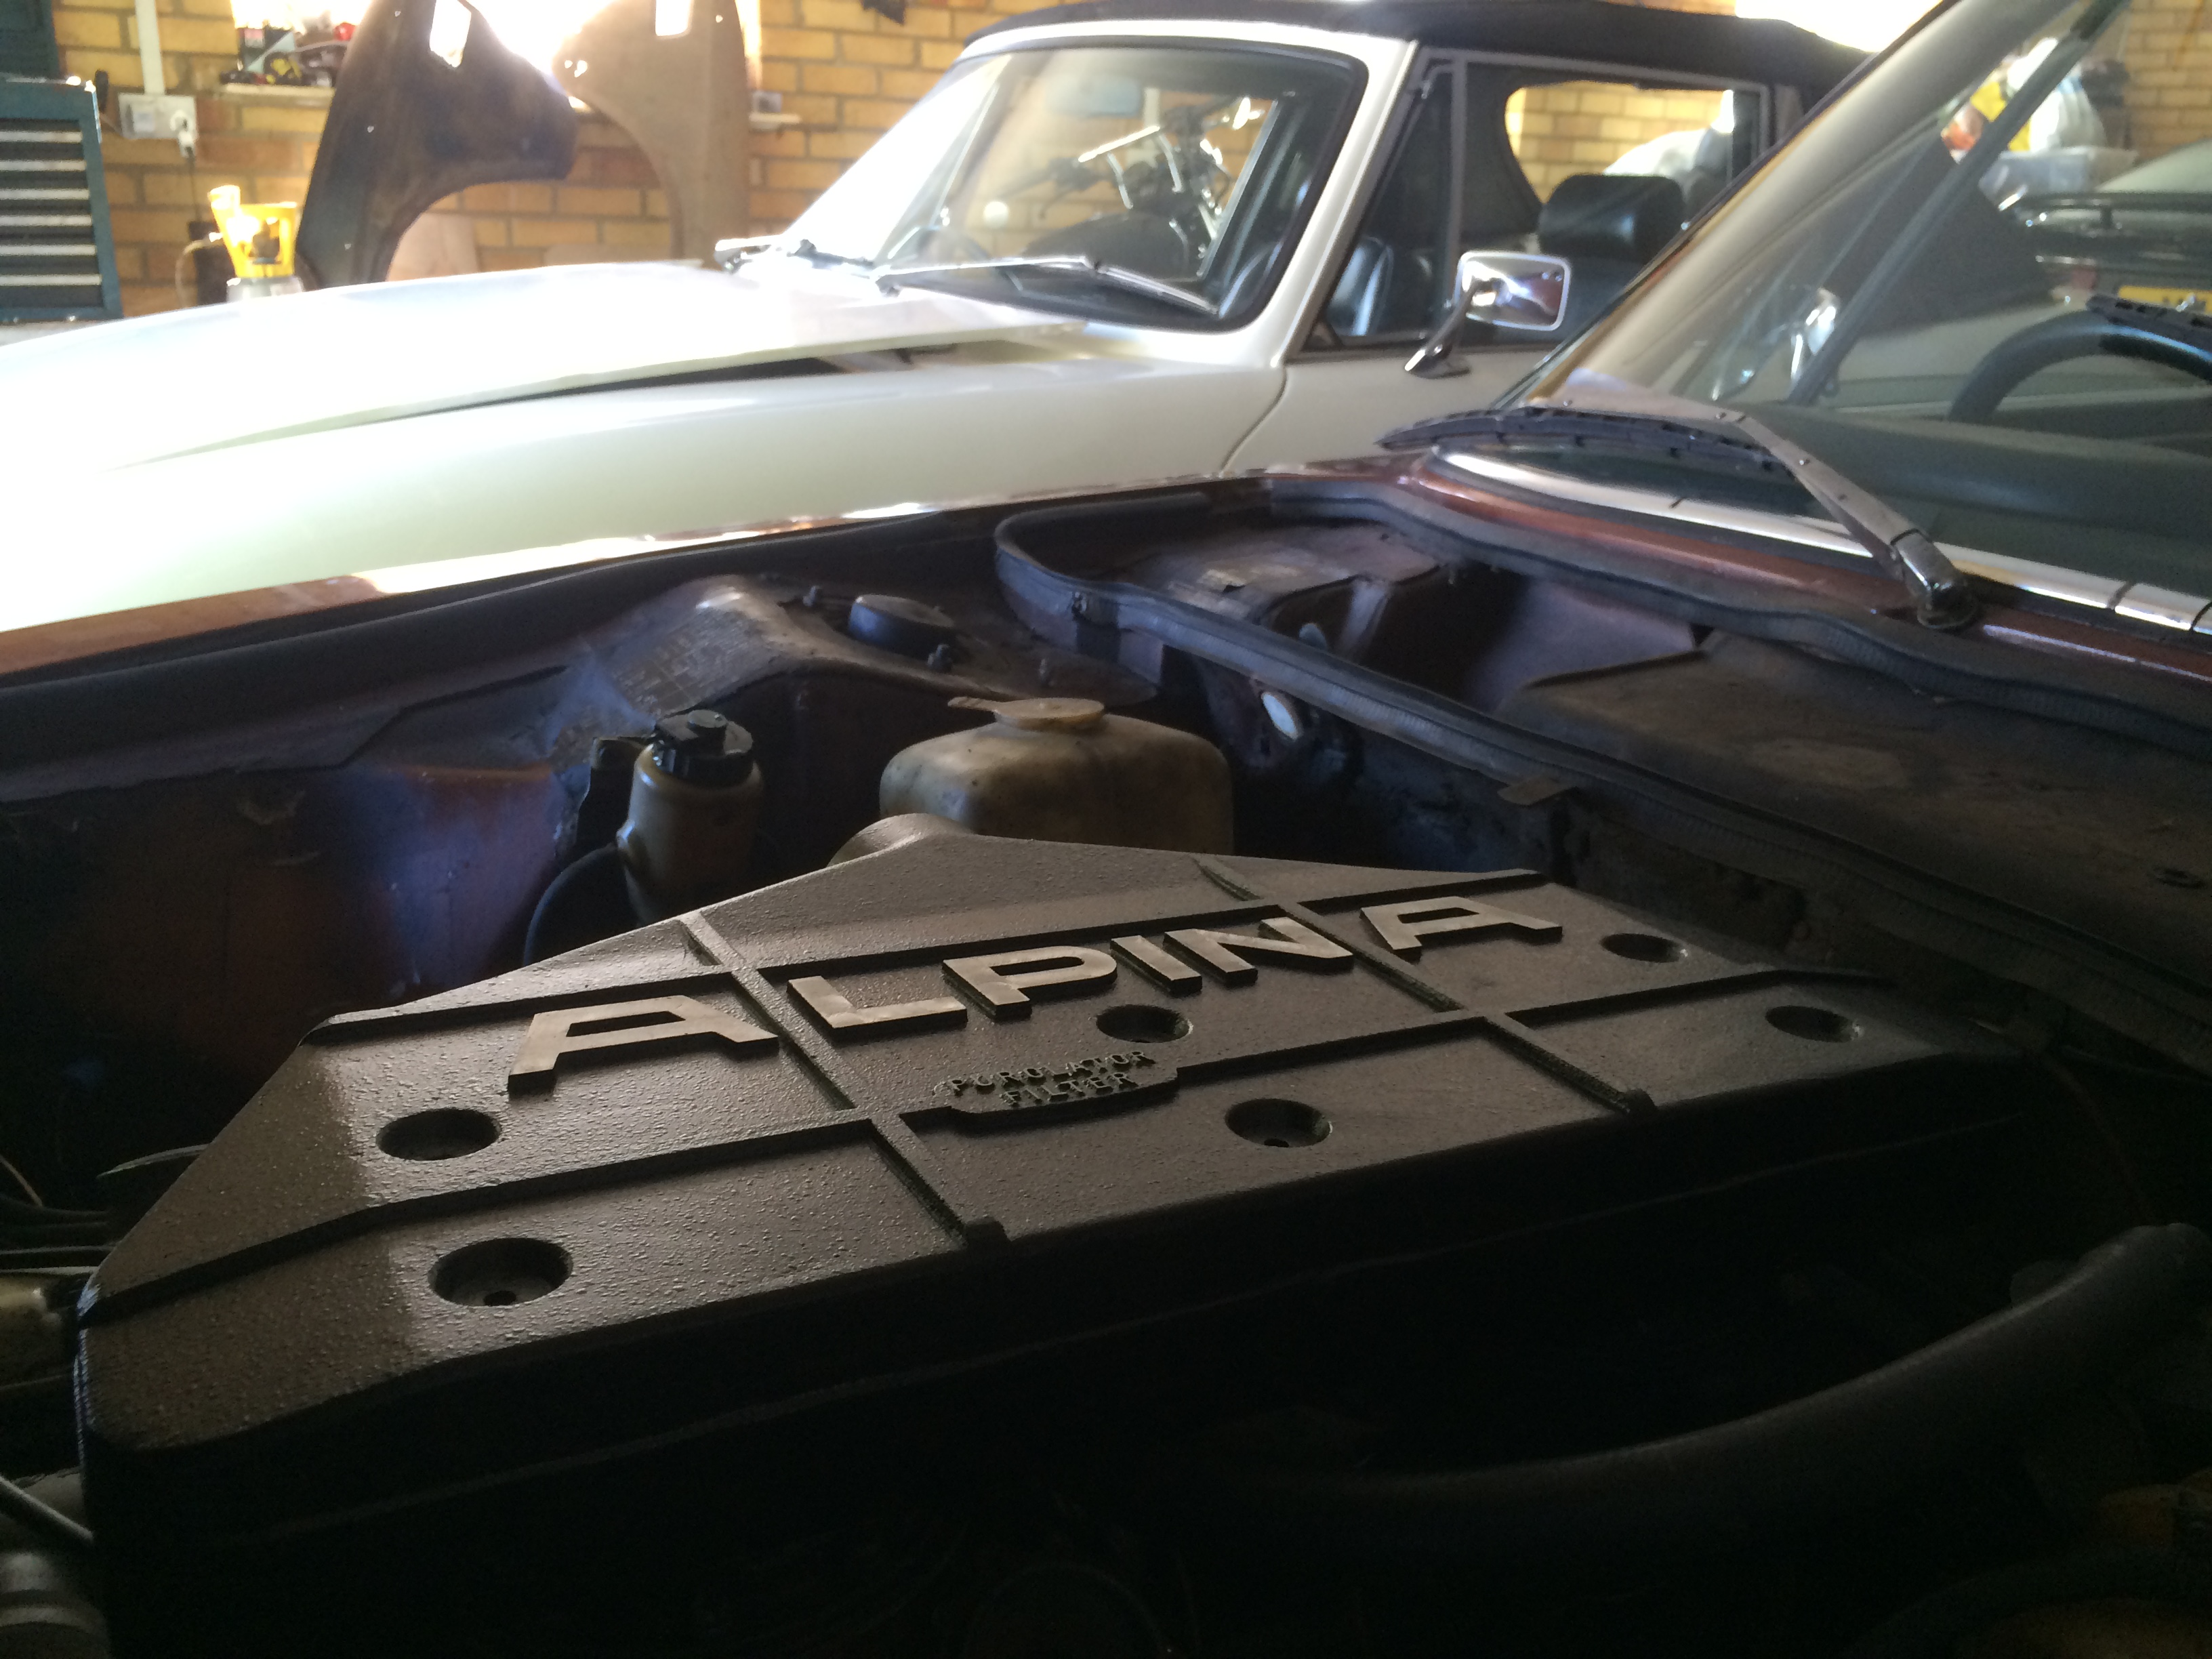
'73 3.0CS - M88 Jerez Schwarz build

As ever-looking good. Are you going for a cheeky Batmobile look?

Don't think a bat kit suits the colour. I've got a genuine CSL ducktail spoiler and a Zaprace alpina style front spoiler. Keeping it standard exterior wise other than that. Also have a CSL arch kit for it but in all honesty I prefer it without the arches as the wheels look a bit lost with the flares.

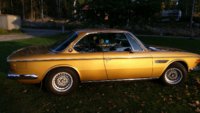
Still might keep it Sienna, might go for the bmw individual pyrite brown. A long way from making that decision still!
 
Hi Ahmet!
Nice projekt,funny i made this DE-driving light mod on my E9 i had 1991,bought lamps from a e30-88
I did not like Sienna or Ceylon earlier but now i think they fit this body shape perfect,became my favorite colors.
So i think you should keep orginal color.
This is my Ceylon 3,0CS-73
Leif
 

Attachments

  • 20200927_173402.jpg
    20200927_173402.jpg
    271.6 KB · Views: 455
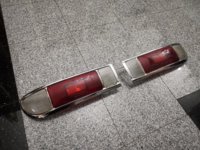
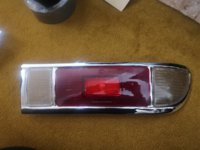
Lights back from the chrome shop. Going to polish up my smoked side indicators and see how they look.
 

Attachments

  • IMG_20210510_211035.jpg
    IMG_20210510_211035.jpg
    564.5 KB · Views: 357
  • IMG_20210510_212317.jpg
    IMG_20210510_212317.jpg
    260.2 KB · Views: 294
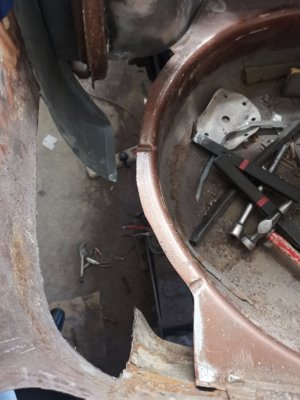
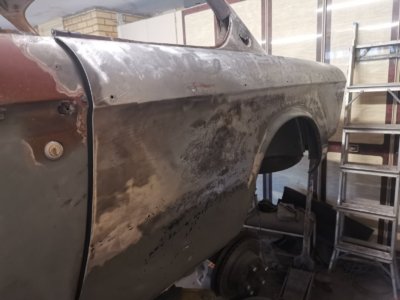
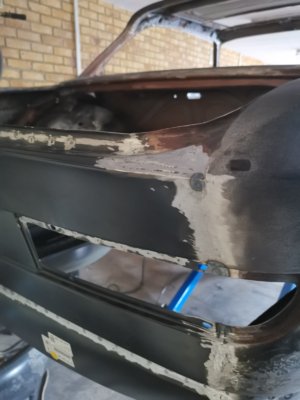
Rear quarter has now come together for the most part, considering my lack of attention span it's been a slog trying to get the rear left corner finished up. box section is now in, with spring mount and shock tower/tube thingy. inner arch all welded up as is the outer arch and the lower section of the quarter. There's a bit more to go but really needed a break from that section as it's been months with no real visible progress from the outside.

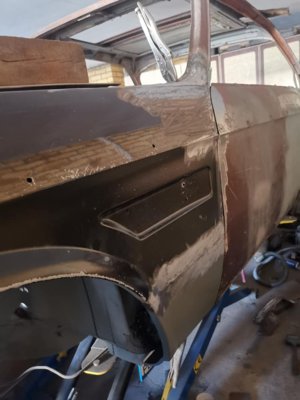
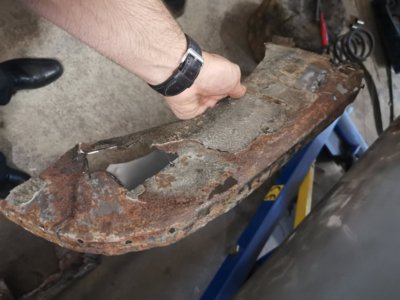
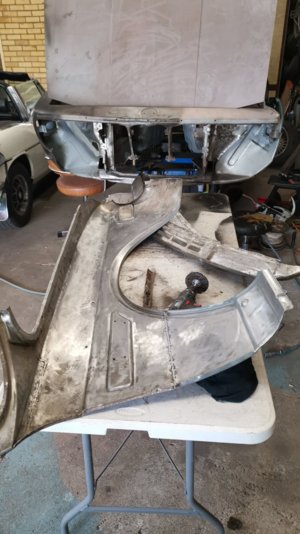
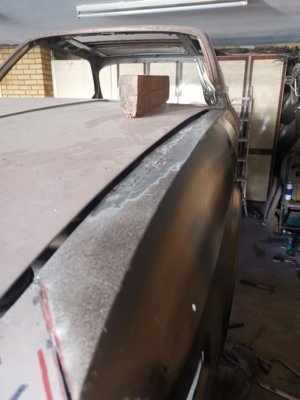
My LH front wing/fender was quite a state. Lots of patches welded in, fibreglass and filler under 2mm of paint with expanding foam and underseal on the back were pretty much the main structure of it (@Tony.T the surprises never stop!).
0D0513E3-1051-4D3C-8E57-D51784EC897C_zps7habyknx.jpg
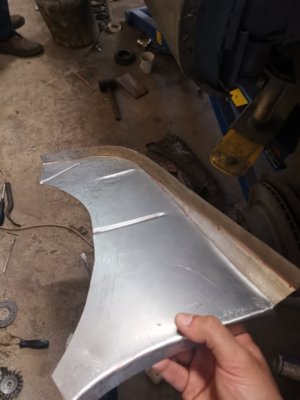
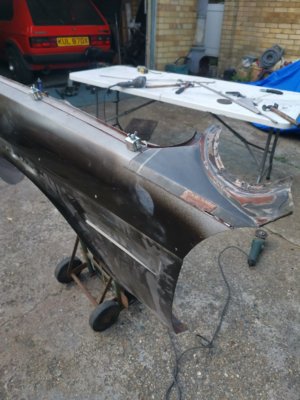
Nothing else really for it, needed a new wing. Unfortunately so does everyone else when restoring these but luckily snagged some wings from Cooks Ferry BMW a few years back. Acid dipped and in reasonable shape, they'd been cut off along the dimpled bend. Luckily the top rail of my old wings were the only section that hadn't rotten away.

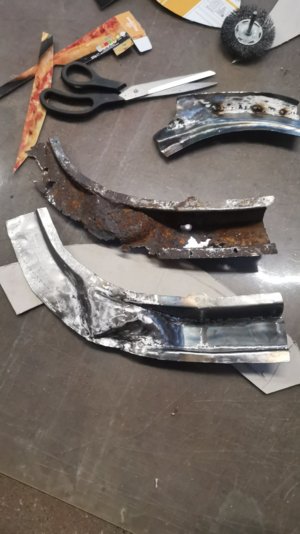
Only a 3 inch section was needed at the end of the top rail where it butts up against the front bulkhead Thus project frankenfender is in full swing. A W+N repair panel at the bottom was needed as again, it had been cut incorrectly and also the acid bath had made it a bit thin.
192656315_10225484176629706_1502418134157757169_n.jpg193694363_10225507179484763_4262393440902661989_n.jpg194635246_10225507179844772_1038369202304270199_n.jpg

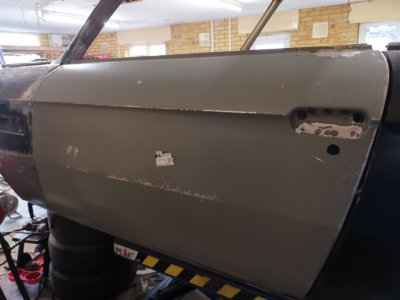
Shut lines are now starting to get there, LH door is also going to be reskinned although I want the gaps to be perfect before the new skin is put on. As rotten as the car was especially considering it was jacked up on one corner from 1987-2017, the shut lines and gaps throughout the car were remarkably good. A few more hours work and the wing should be ready for final cleaning, painting and welding, although the inner wing still needs to be seam sealed and painted prior to that.


Now to break up all the brown on this post....
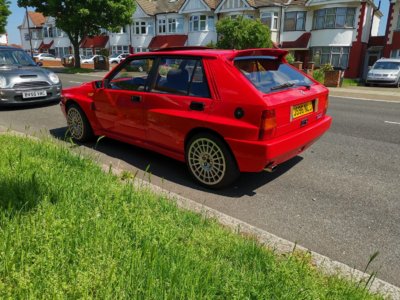
Neighbour also popped down in his fair weather toy yesterday
193024040_776099726603762_1671243918969516481_n.jpg

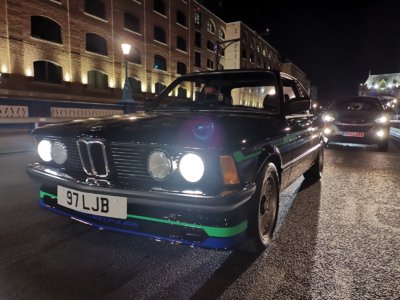
And after I did a fresh detail on my friend's E21 Baur, headed out for the London Cartel Retro Cruise
181213882_129768562508202_6111658930757700974_n.jpg
 
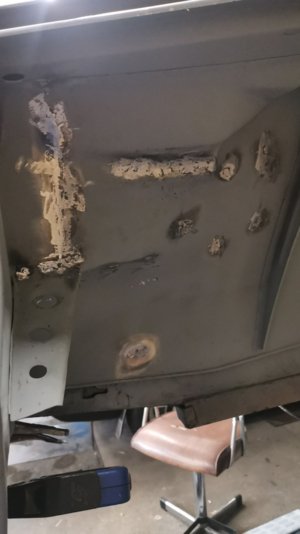
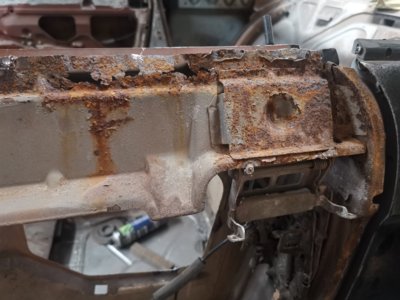
Another day, another big chunk of rust cut out!
 

Attachments

  • IMG_20210603_184930.jpg
    IMG_20210603_184930.jpg
    240.7 KB · Views: 239
  • IMG_20210603_185225.jpg
    IMG_20210603_185225.jpg
    208.8 KB · Views: 236
  • IMG_20210603_185058.jpg
    IMG_20210603_185058.jpg
    173.3 KB · Views: 229
  • IMG_20210603_184801.jpg
    IMG_20210603_184801.jpg
    201.4 KB · Views: 231
  • IMG_20210603_185235.jpg
    IMG_20210603_185235.jpg
    188.8 KB · Views: 225
IMG_20210605_134424.jpgIMG_20210605_141042.jpgIMG_20210605_185426.jpg

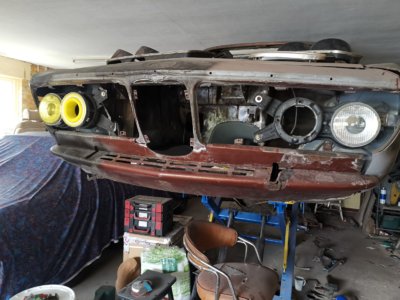
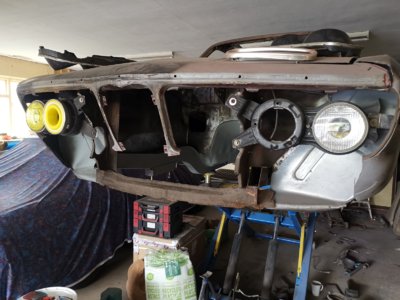
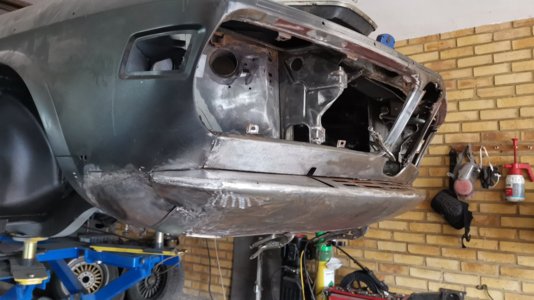
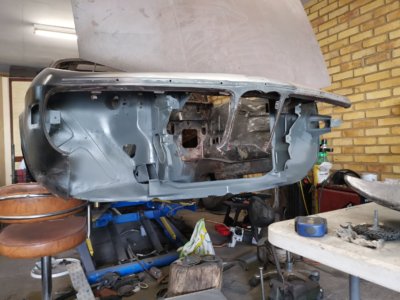
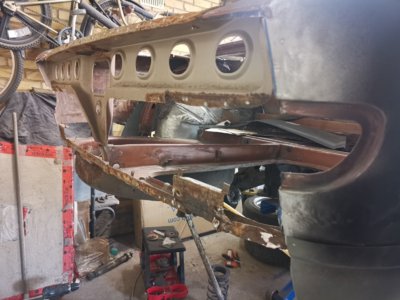
Got fed up of staring at the front end rot. After some verbal assault after my shirt got ripped on a wanton piece of rust sticking out, the angle grinder made an appearance. Still a load to do and obviously needs to come back off to clean up, paint and seam seal the front bulkhead, but all in all a productive afternoon
 
Another few hours cleaning up. Front bulkhead is now welded up at the bottom as I'd left them previously. Hoping to get this all painted up by the time the weekend is here.
 

Attachments

  • IMG_20210606_162400.jpg
    IMG_20210606_162400.jpg
    308.6 KB · Views: 259
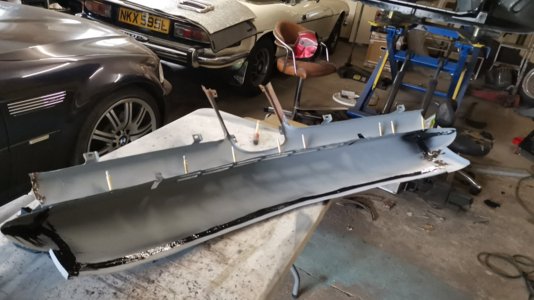
Had a few weeks off the car as wasn't feeling the love. Been itching to get back on it this week so had a productive Saturday. Dad fabbed the corner pieces for the front valance and a new lower piece for it where it welds to the front bulkhead as the cut didn't have that. A few repair patches in there too.
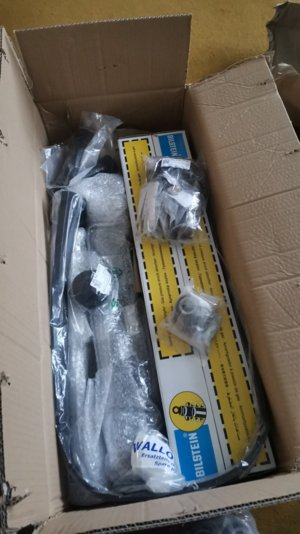
Had an order come through from Walloth.

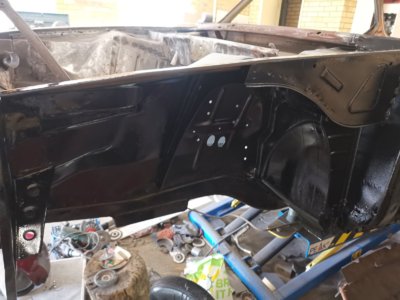
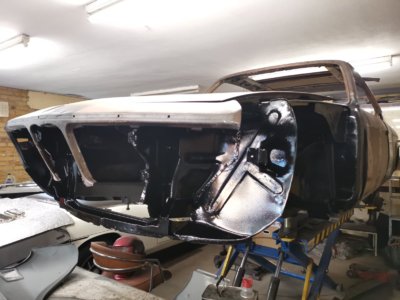
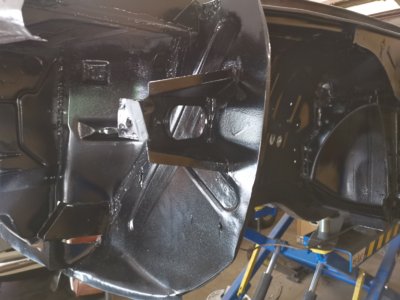
Finished dressing the welds on the inner wing where I've removed a few brackets from the engine bay and plugged some unrequited holes, cleaned up the passenger wing and inside the front valance aswell as the bulkhead area. Electrox and then epoxy primer as per usual.
 

Attachments

  • IMG_20210626_171205.jpg
    IMG_20210626_171205.jpg
    299.9 KB · Views: 250
  • IMG_20210626_183531.jpg
    IMG_20210626_183531.jpg
    290.1 KB · Views: 226
  • IMG-20210626-WA0015.jpeg
    IMG-20210626-WA0015.jpeg
    228.1 KB · Views: 242
  • IMG-20210626-WA0019.jpeg
    IMG-20210626-WA0019.jpeg
    123.6 KB · Views: 238
  • IMG-20210626-WA0023.jpeg
    IMG-20210626-WA0023.jpeg
    268.3 KB · Views: 228
  • IMG-20210621-WA0023.jpeg
    IMG-20210621-WA0023.jpeg
    194.4 KB · Views: 237
  • IMG_20210626_171209.jpg
    IMG_20210626_171209.jpg
    229.6 KB · Views: 229
  • IMG_20210626_183531.jpg
    IMG_20210626_183531.jpg
    290.1 KB · Views: 226
  • IMG_20210626_203815.jpg
    IMG_20210626_203815.jpg
    237.4 KB · Views: 234
Seam sealed the front and the inner wing. PU seam sealer is incredible stuff. Also spot welded the 2 halves of the front panel together and offered it up back to the car. It's all weld through primed at the welding points so that's ready to go. Will get it done during the week and then get the wing hopefully mounted up on Saturday.

Really looking forward to getting this front end back together!!
 

Attachments

  • IMG-20210627-WA0012.jpeg
    IMG-20210627-WA0012.jpeg
    204 KB · Views: 227
  • IMG_20210627_163144.jpg
    IMG_20210627_163144.jpg
    253.6 KB · Views: 219
  • IMG-20210627-WA0018.jpeg
    IMG-20210627-WA0018.jpeg
    197.3 KB · Views: 235
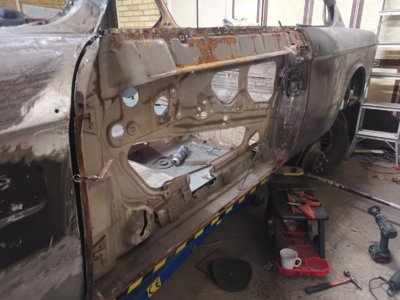
After a 14 hour day on Saturday its looking so much better than last month! Started to weld the wing into place. Gaps are far better than they were previously and are even on both sides and corners. Leading edge of the bonnet is still tight where its had a knock but that'll be next probably. Also pulled the door skin off to reveal yet another world of fun.
 

Attachments

  • IMG_20210711_200704.jpg
    IMG_20210711_200704.jpg
    270 KB · Views: 236
  • IMG_20210711_200713.jpg
    IMG_20210711_200713.jpg
    259.7 KB · Views: 252
  • IMG_20210711_201059.jpg
    IMG_20210711_201059.jpg
    289.5 KB · Views: 274
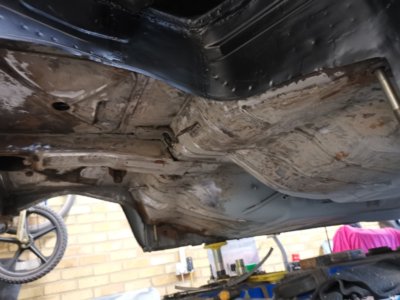
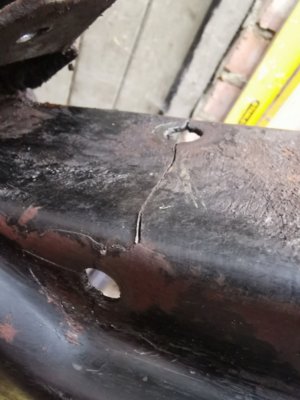
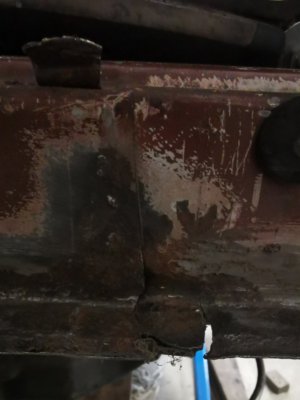
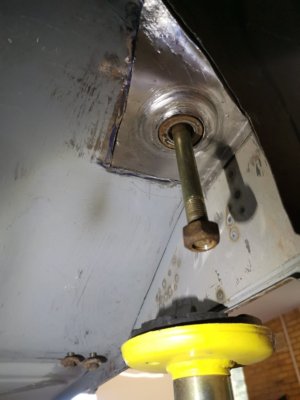
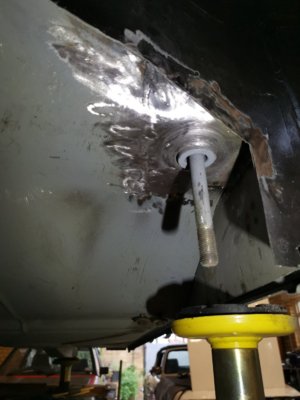
Some cracks found in the subframe mount and near the rear diff mount. Rear subframe also removed now and in the process of pulling the final bits of underseal off!
 

Attachments

  • IMG_20210809_180551.jpg
    IMG_20210809_180551.jpg
    215.2 KB · Views: 209
  • IMG_20210809_180817.jpg
    IMG_20210809_180817.jpg
    205.5 KB · Views: 196
  • IMG_20210809_130328.jpg
    IMG_20210809_130328.jpg
    163.4 KB · Views: 219
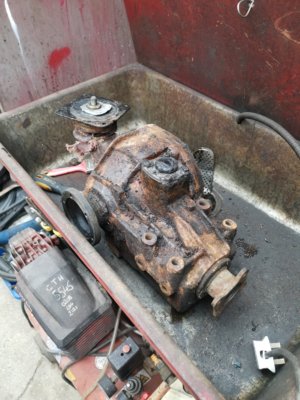
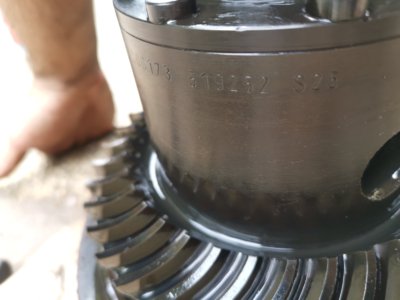
Picked up an e12 m535 rear sway bar and what I thought was a 3.07 sideloader. Mine had been swapped to a 4.10 rear end and was the reason the car was brought to my dad in 87 (after fitting the new rear end the PO did not realise it was still a 4 spd, max revs in 4th then stuck into 3rd thinking there was a 5th gear). After clearing half an inch of crap off it and checking the numbers it is actually a 3.25 LSD! Happy days as I've been after a locker for years and it's the final piece in the drive train puzzle. I'll be fitting it to my earlier case as it has the extra bearings on the output shafts.
 

Attachments

  • IMG_20210812_120937.jpg
    IMG_20210812_120937.jpg
    430.3 KB · Views: 203
  • IMG_20210812_133009.jpg
    IMG_20210812_133009.jpg
    159 KB · Views: 205
I've not got a huge amount of images, so I'll keep this post short.

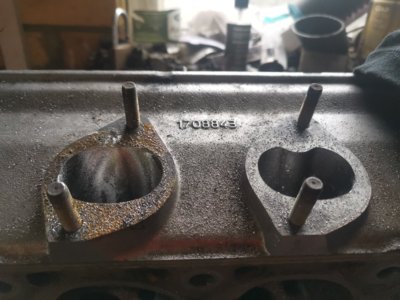
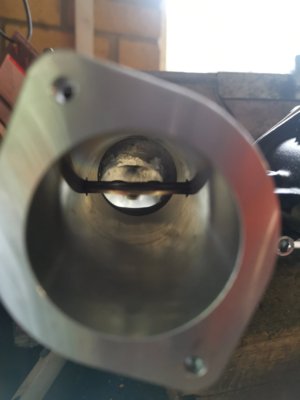
Picked up a B35 head, started on porting the intake side, still lots to do but with the throttle bodies you really do have a clear intake path!

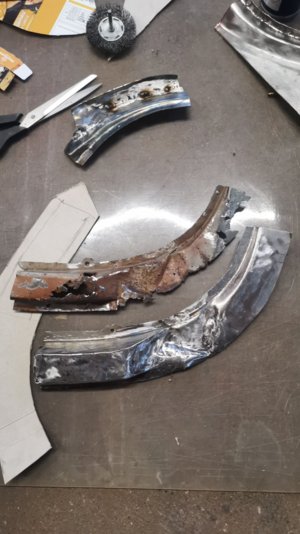
Both subframe mounts needed weldkng so got them done. Boot floor cut out and whilst in there fabricating some new panels for around the window frame.

Hopefully a nice big update soon!
 

Attachments

  • IMG_20210830_172346.jpg
    IMG_20210830_172346.jpg
    331.1 KB · Views: 210
  • IMG_20210830_133433.jpg
    IMG_20210830_133433.jpg
    110.2 KB · Views: 179
  • IMG_20210815_164643.jpg
    IMG_20210815_164643.jpg
    182.5 KB · Views: 188
  • IMG_20210815_190747.jpg
    IMG_20210815_190747.jpg
    191.4 KB · Views: 182
  • IMG-20210830-WA0013.jpeg
    IMG-20210830-WA0013.jpeg
    236.5 KB · Views: 191
  • IMG-20210830-WA0015.jpeg
    IMG-20210830-WA0015.jpeg
    196.8 KB · Views: 202
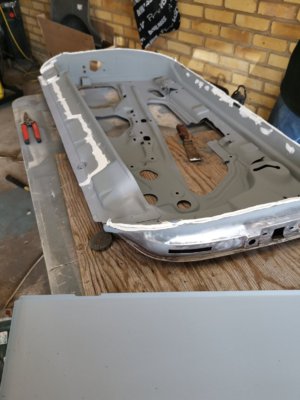
Door frame painted and seam sealed before the new skin was put on. Still some tweaks but needed to get it out of the way! Also starting to finish off the intake ports on the B35 head.
 

Attachments

  • IMG_20210912_123907.jpg
    IMG_20210912_123907.jpg
    217.8 KB · Views: 172
  • IMG_20210912_150734.jpg
    IMG_20210912_150734.jpg
    137.8 KB · Views: 178
  • IMG_20210905_194815.jpg
    IMG_20210905_194815.jpg
    67.4 KB · Views: 185
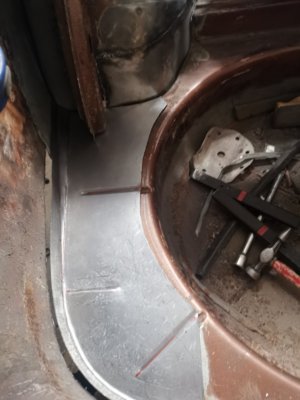
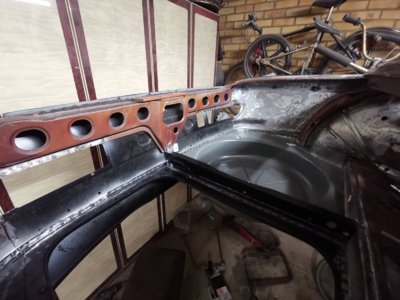
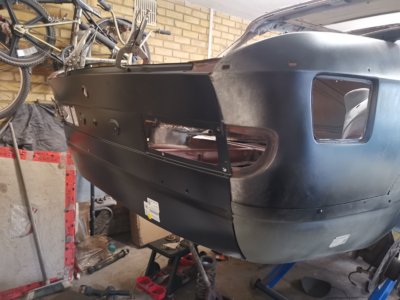
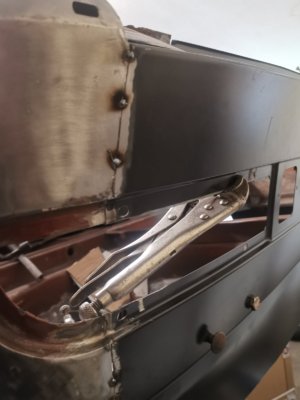
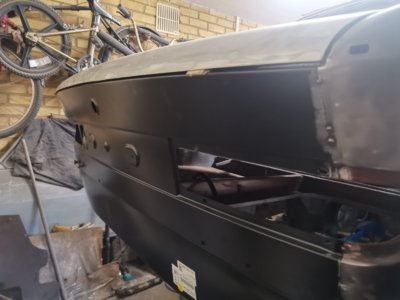
Rear end is pretty much done now, with the new floor pieces in and some reinforcements. Rear panel all welded in, some brackets left to weld, spare wheel holder, fuel tank bolt brackets and one of the boot floor brackets, but slowly slowly getting there!
 

Attachments

  • IMG_20211107_165622.jpg
    IMG_20211107_165622.jpg
    267 KB · Views: 172
  • IMG_20211122_142948.jpg
    IMG_20211122_142948.jpg
    174.5 KB · Views: 175
Back
Top