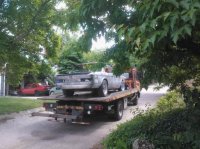
That is very impressive! I had such a hard time finding someone to prep and paint my car I considered doing it myself-but that would not have been a good idea! It would be great if you could let us know what equipment you used and how you manage to keep the dust away on your final coats etc. I have seen some posts from folks who have painted smaller parts of their cars but don't remember seeing a complete home-shop, start to finish and this will be a great piece of information for the really "brave"!
Thanks
Peter -
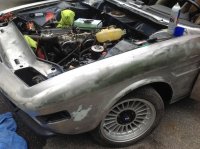
Will certainly document everything when i'm done and share with everyone. The system itself is very simple. Its a 4 stage turbine by Fuji - the minimite. Very compact but a bit on the loud side - like an old kirby vacuum from back in the day. not too bad but might piss your neighbors off if you decide to paint late into the evenings. the system came packaged with the gun (Fuji T75G) and all hoses, filters, etc. I ended up buying a second gun so that i could shoot primer separately.
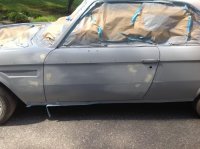
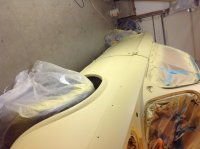
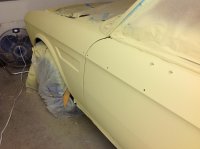
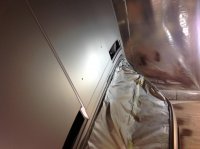
As far as painting in the garage goes. I just did everything i could - to the point of paranoia - to keep dirt levels down. i wrapped the bay in plastic, swept and mopped the floors, sprayed the lower 1/3 of the plastic wall covering in low tack spray adhesive so that dust would stick to it - did the same for floors and my sleeves just before i sprayed. All of this in an effort to keep dirt to a minimum.
I also covered the opening to the garage with a section of screen - picked it up in a roll from home depot - so that i could paint with max ventilation and still keep the bugs at bay. Also avoided painting too late in the evening to cut down on the bugs. this was probably the most important part as the bugs were drawn into the space as soon as dusk hit.
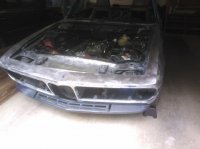
Was also sure to do all bodywork outside in the drive, well away from the garage. Another important part.
All of that and ever constant vacuuming, wiping, vacuuming, wiping between every step.
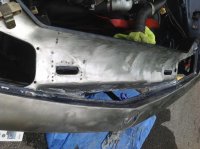
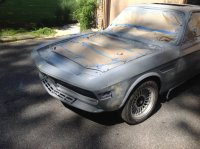
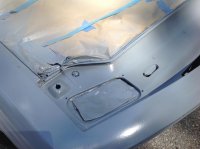
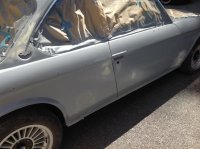
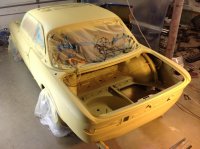
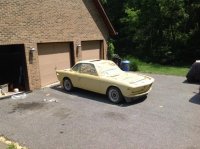
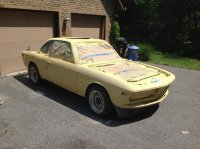
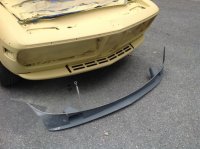
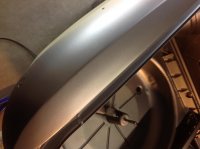
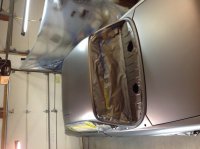
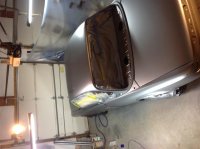
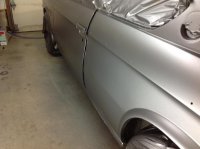
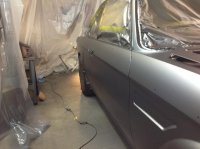
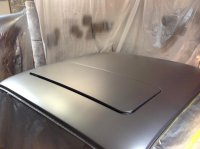
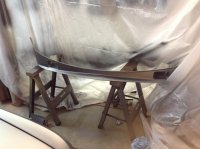
is it perfect? no. but i'm pretty sure its better than the $6000 - $7000 job that i would have gotten. if not in finish, then certainly in terms of completeness, from base work - stripped to bare metal, then epoxy (2 coats), filler, then epoxy sealer, primer, and 3 coats of base + 3 coats of clear, to all of the custom painted bits - spoiler, trim, bumper, etc. I'm sure it would have cost closer to $12000 for an A+ job from a good shop. And i'd say i have a solid A-, B+ job and piece of mind that the car is going to continue to be rust free for many years to come, for around $4000 and that includes respirator, paint, tack cloth, rags, towels, and paper, sanding blocks... everything. in terms of hours spent, i've lost count but would probably estimate a solid 8 weeks of time if only working in the evenings and 4-6 hours on average on saturdays and sundays.
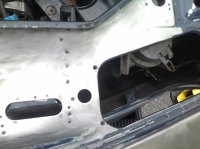
At the end of the day, for me its more about the prep work that went into the car. All the stripping and sealing.. the eradication of any sign of rust, shoring up the sunroof area... those things are what i'm most pleased with. if the clearcoat has blemishes, i can fix that. if there are a few inconsistencies here and there, i can live with it for now. if i want, i can sand it all back down to the base and just spray it again, and again, and again until i get it 100%. The important thing is that the car is now as protected as it can be - well it will be after i redo the undercarriage.
cant wait to get it back together again!
 20140720_140940090_iOS by J_Otte, on Flickr
 20140720_140947972_iOS by J_Otte, on Flickr
 20140720_140955648_iOS by J_Otte, on Flickr
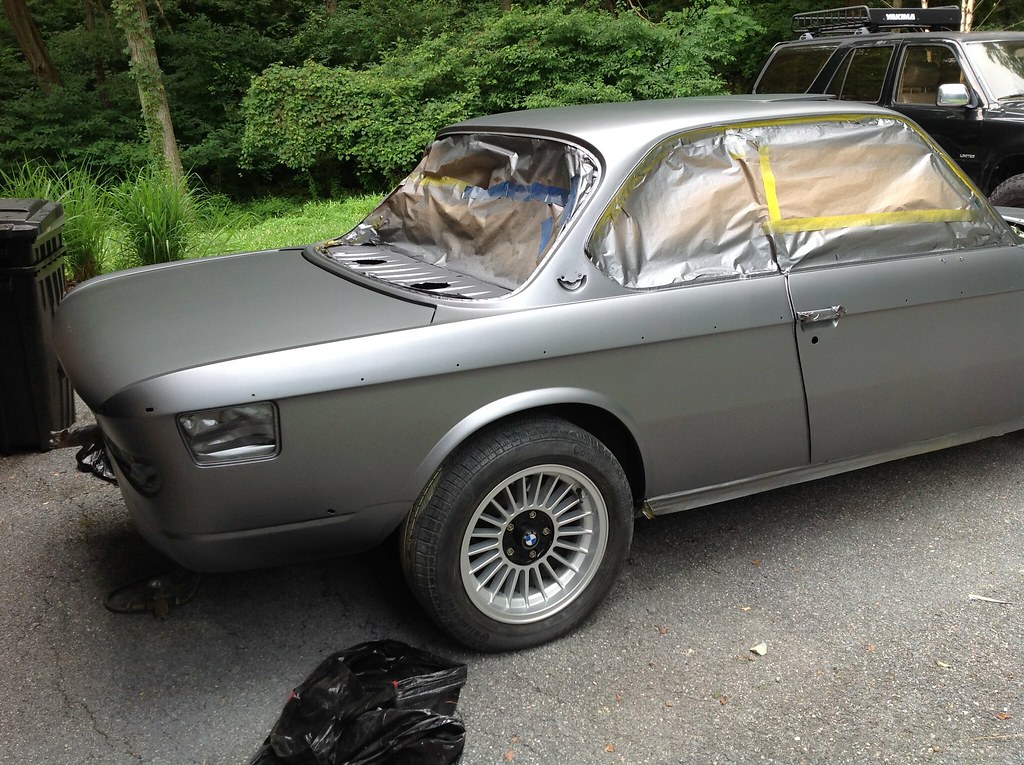 20140720_141004055_iOS by J_Otte, on Flickr
 20140720_141008070_iOS by J_Otte, on Flickr
 20140720_141019493_iOS by J_Otte, on Flickr
 20140720_141037821_iOS by J_Otte, on Flickr
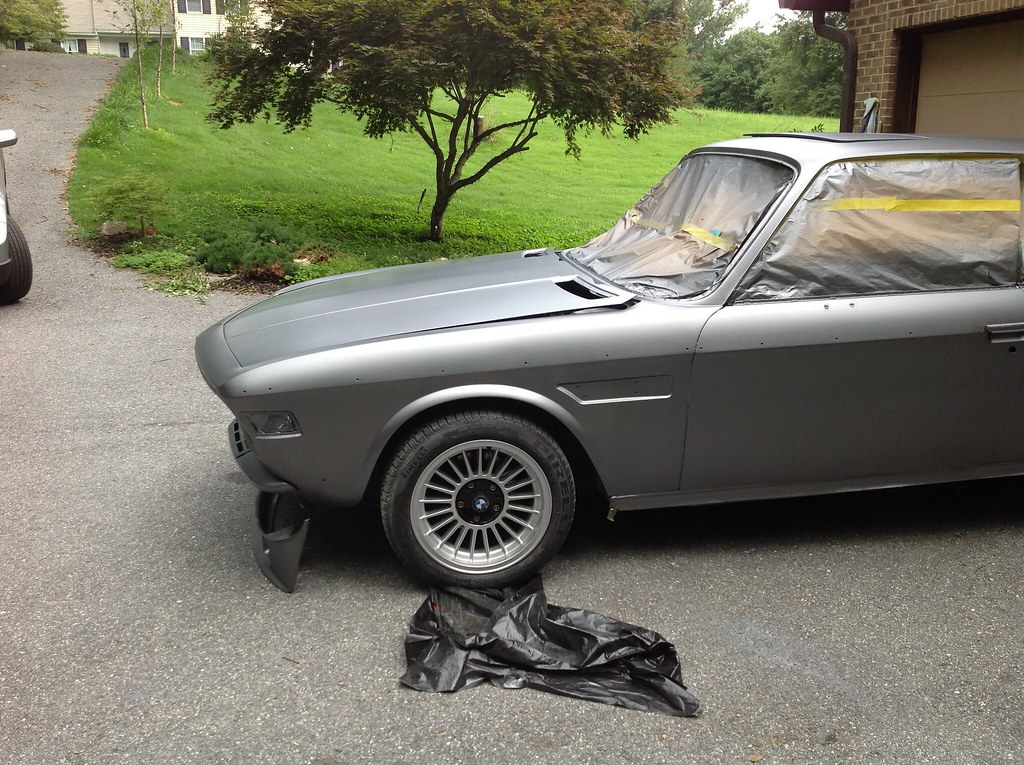 20140720_141047894_iOS by J_Otte, on Flickr
 20140720_141100849_iOS by J_Otte, on Flickr
 20140720_141111464_iOS by J_Otte, on Flickr
 20140720_141118100_iOS by J_Otte, on Flickr