CSL Restoration

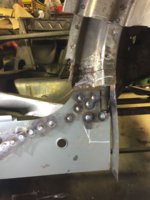
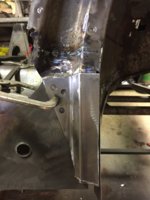
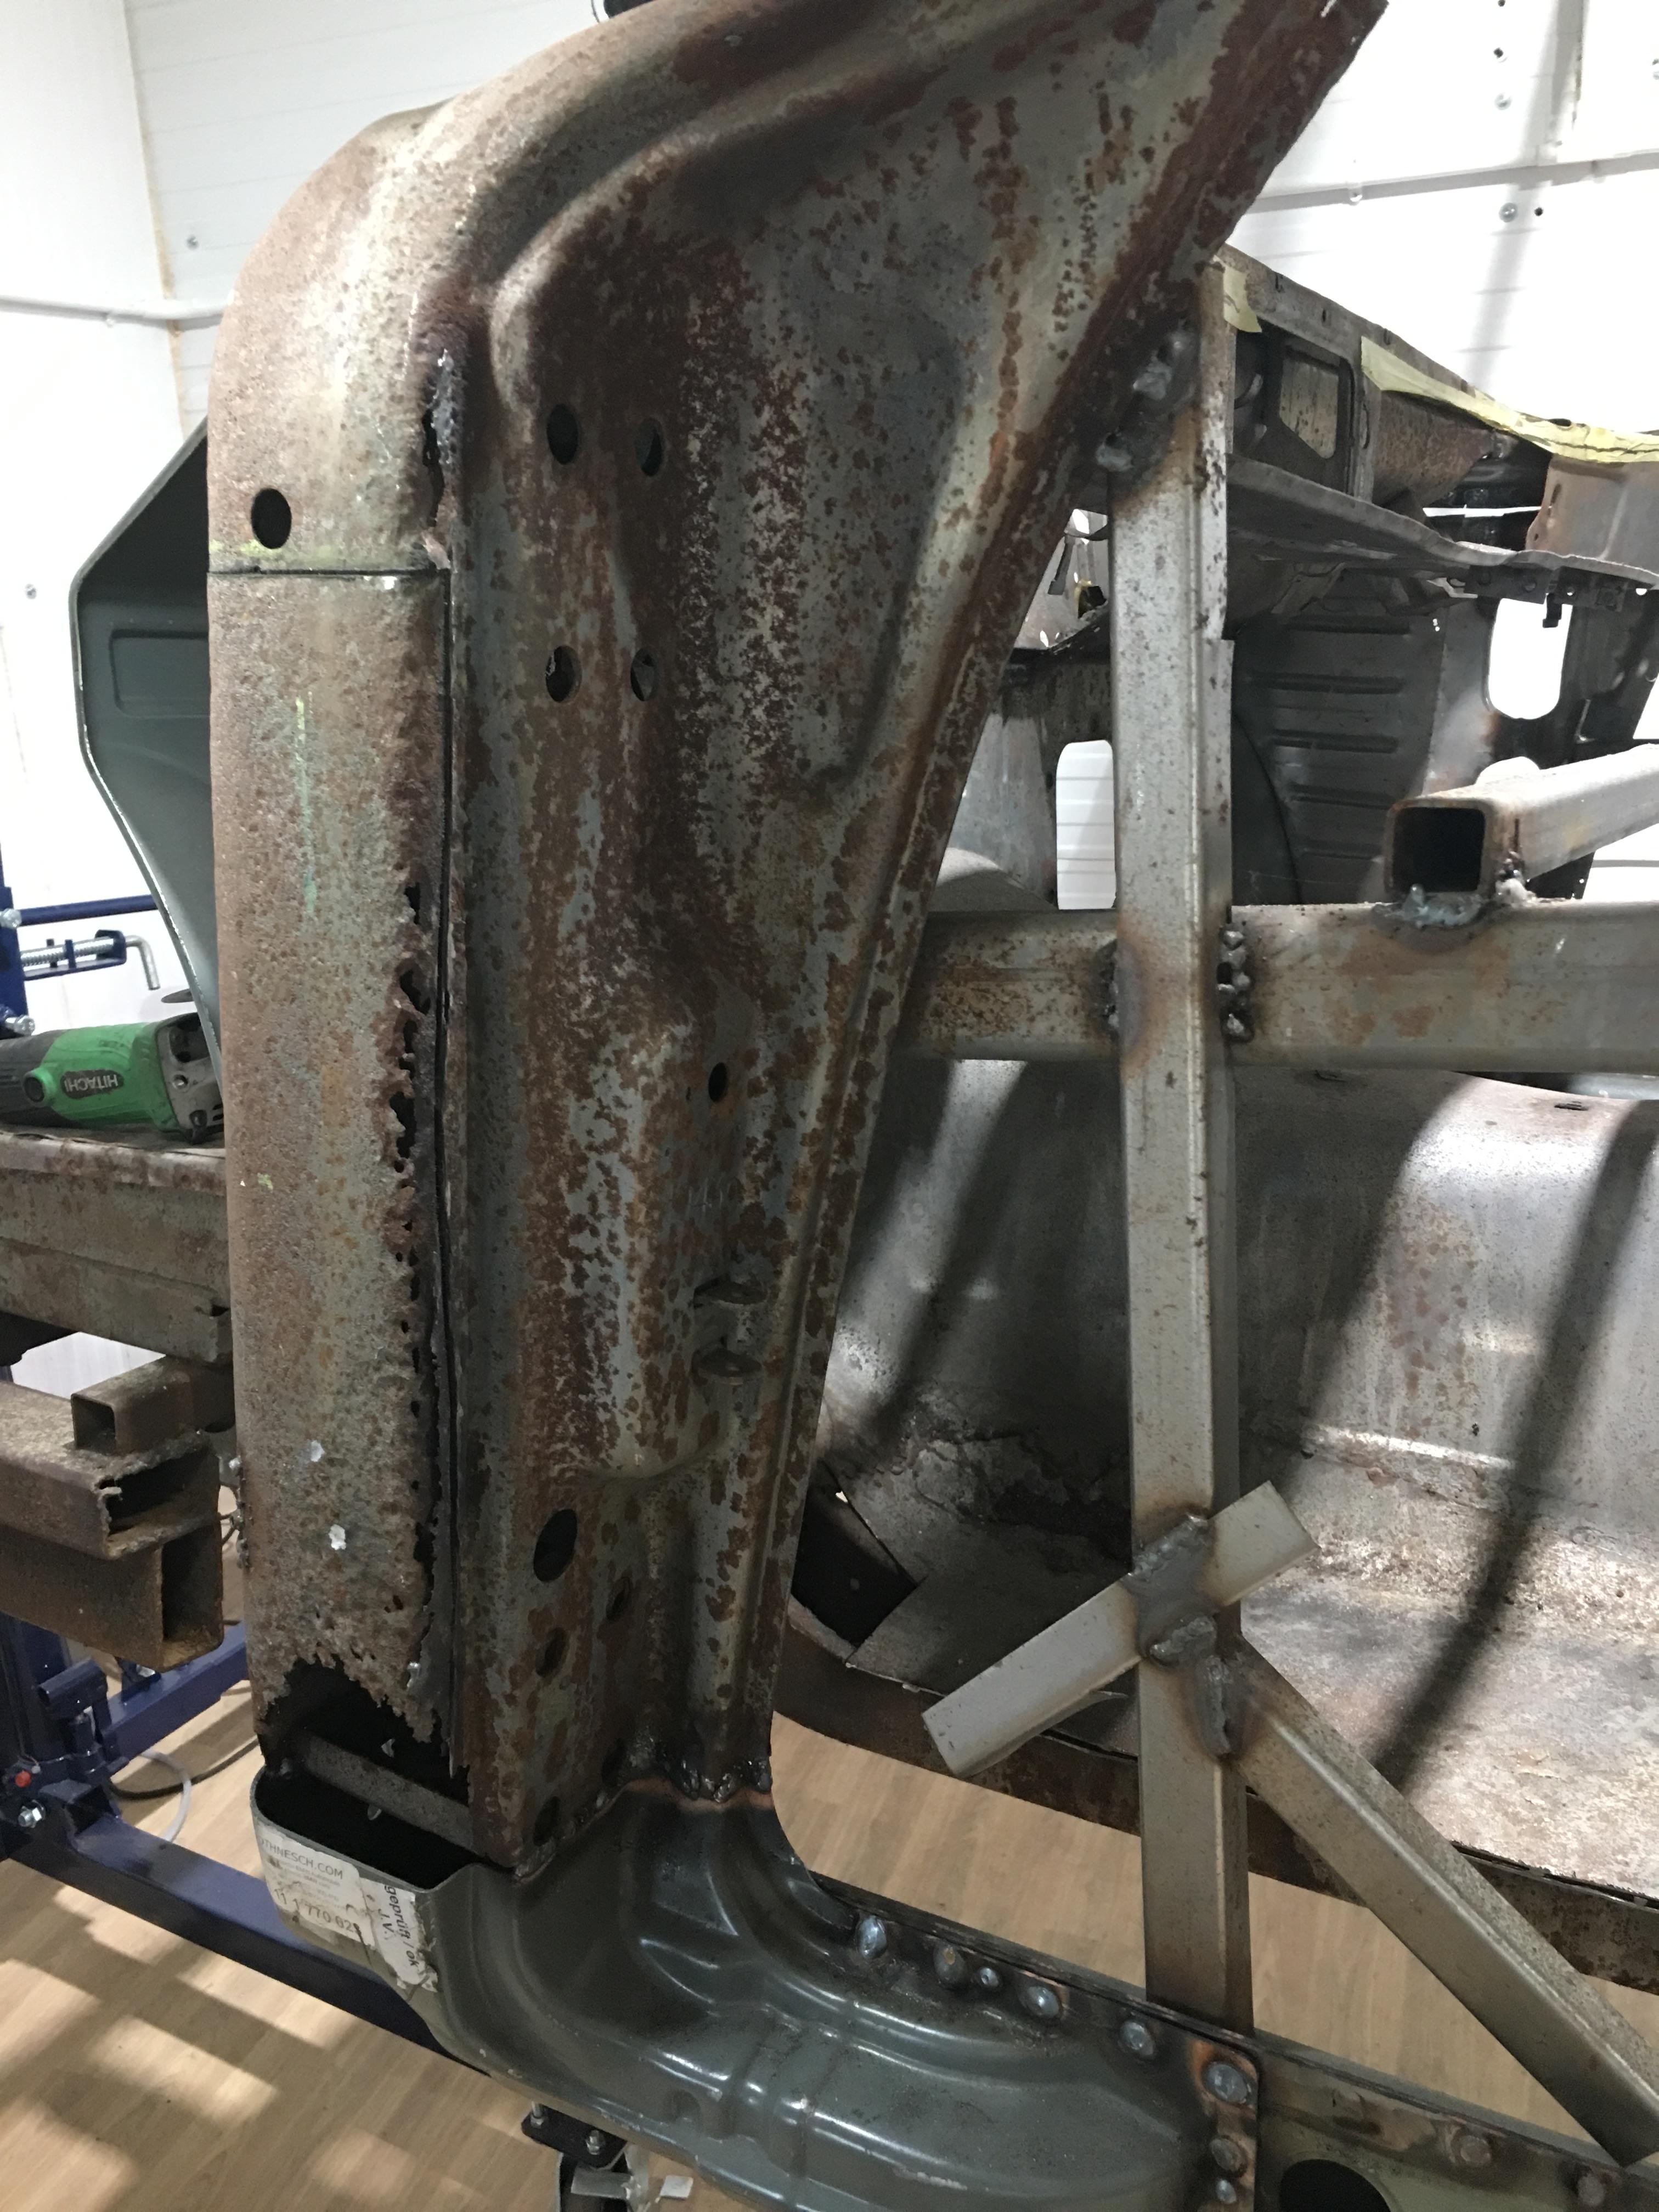
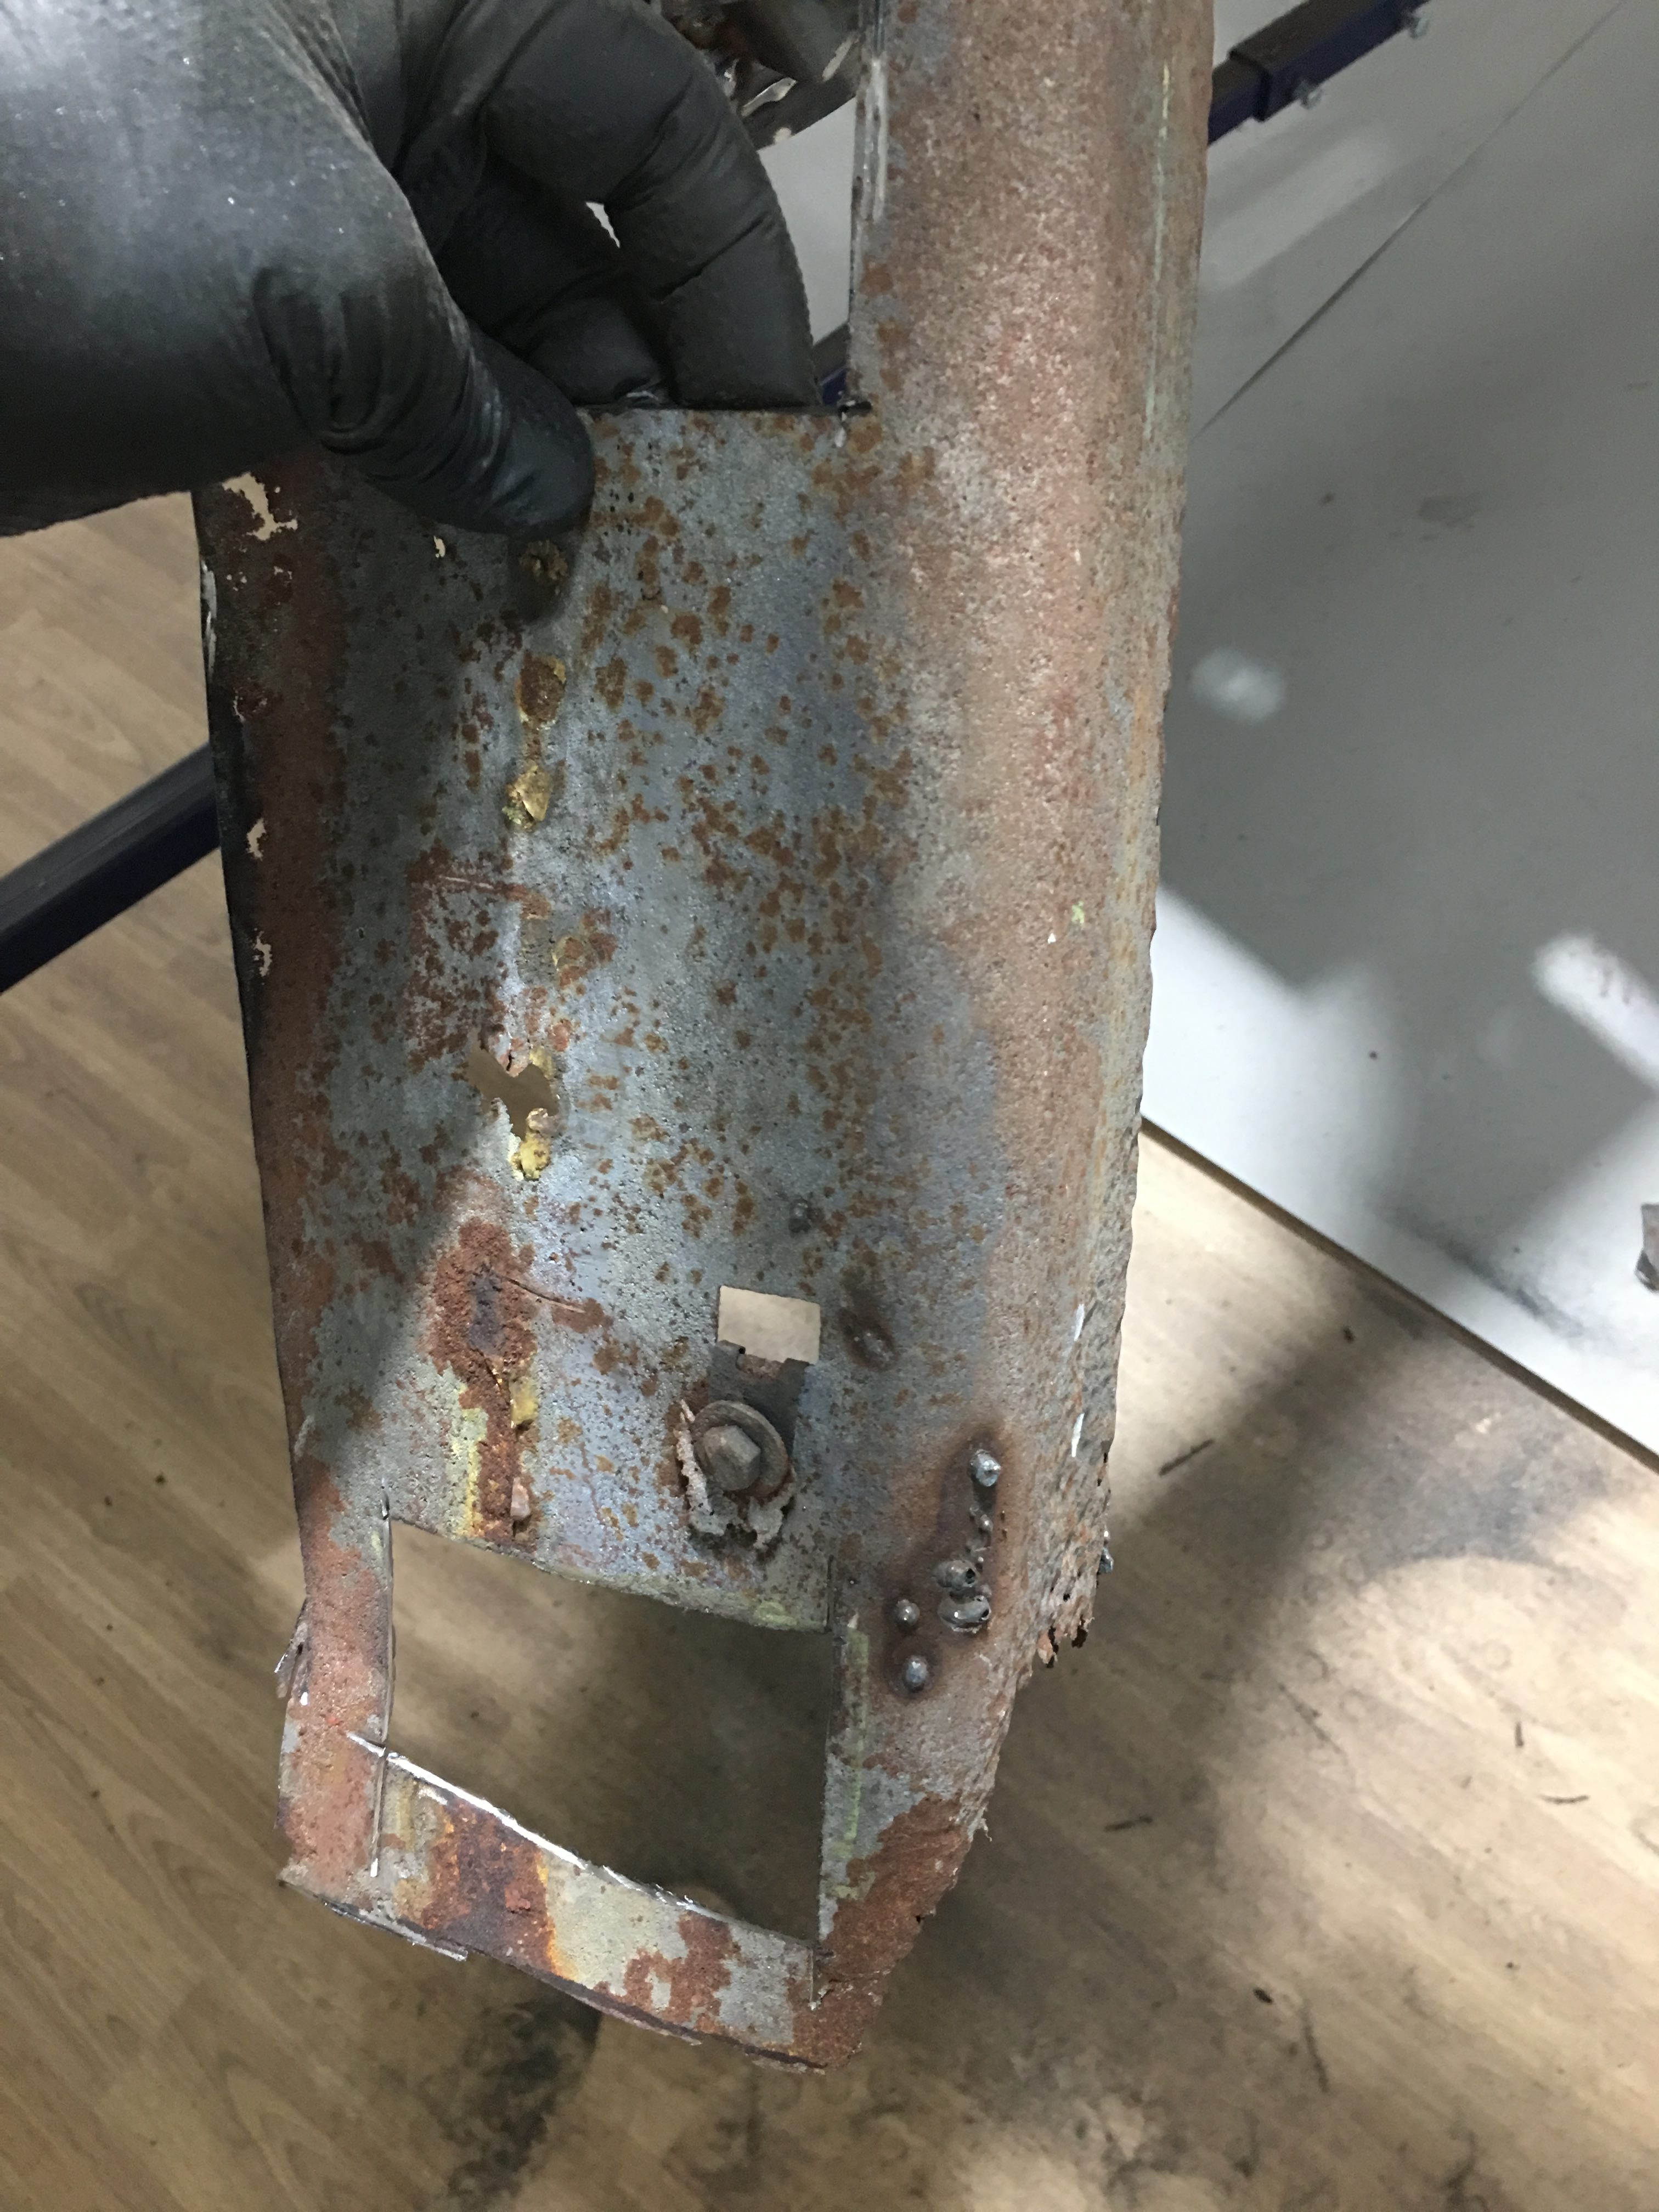
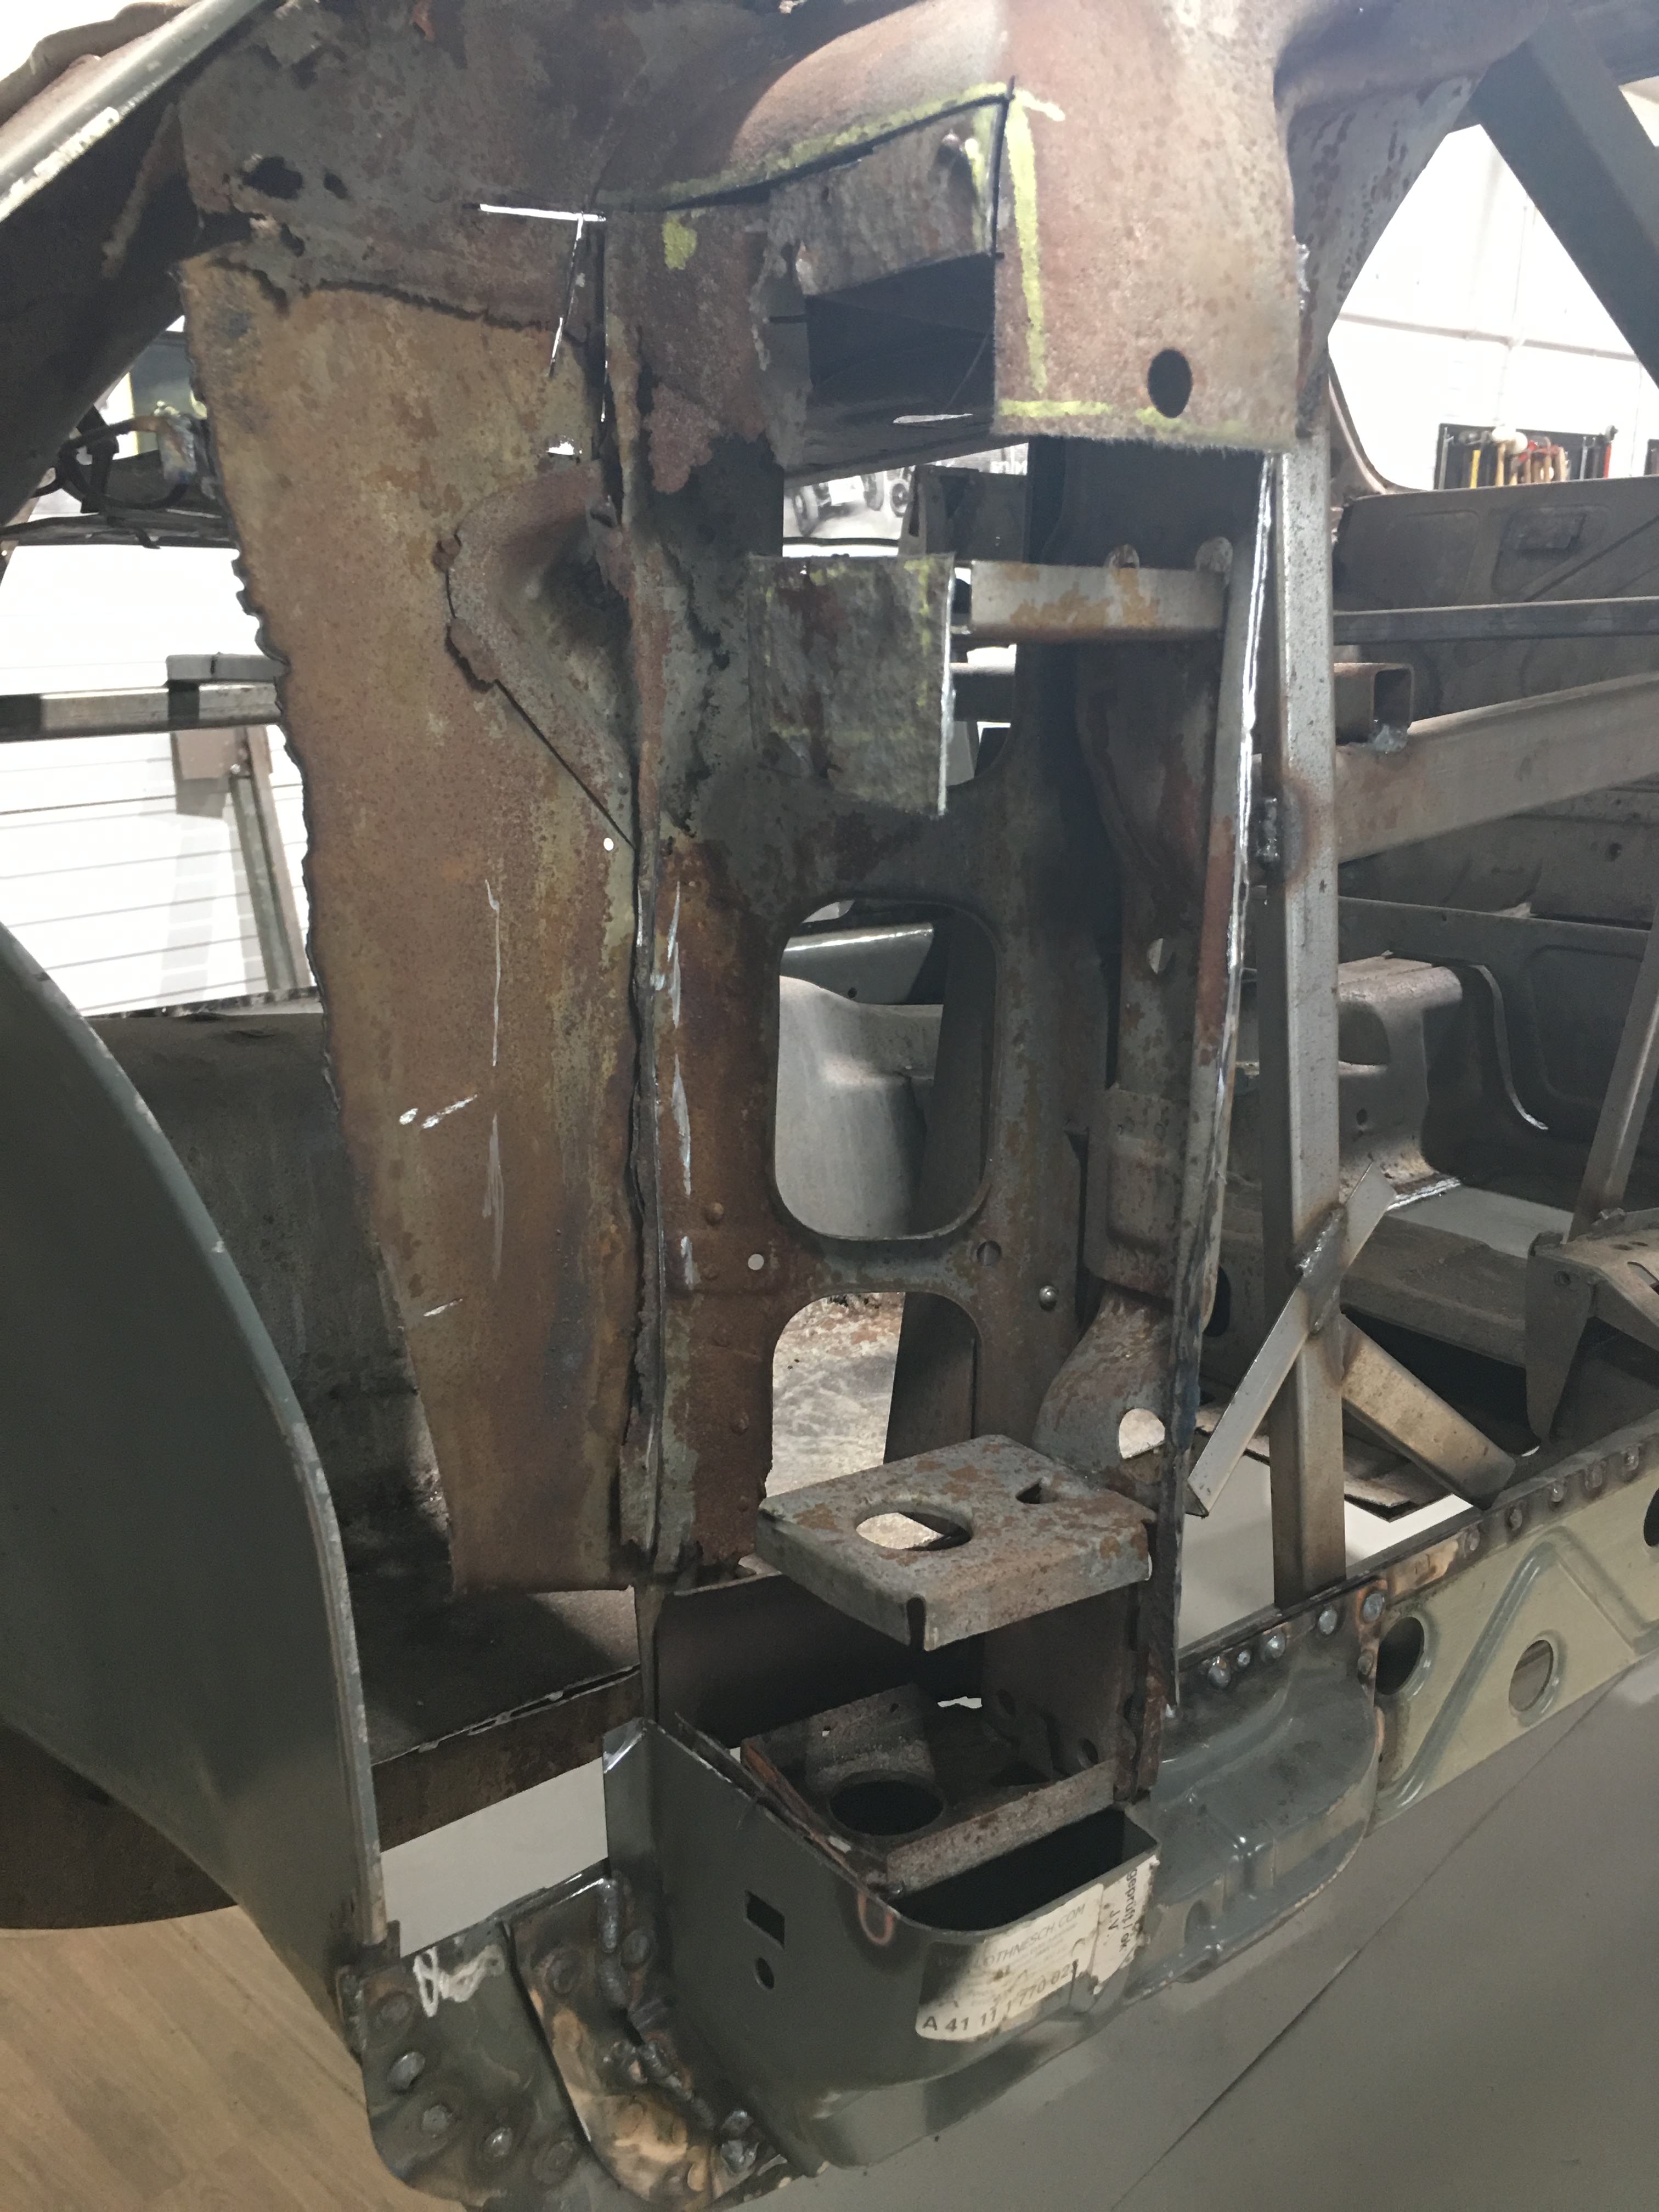
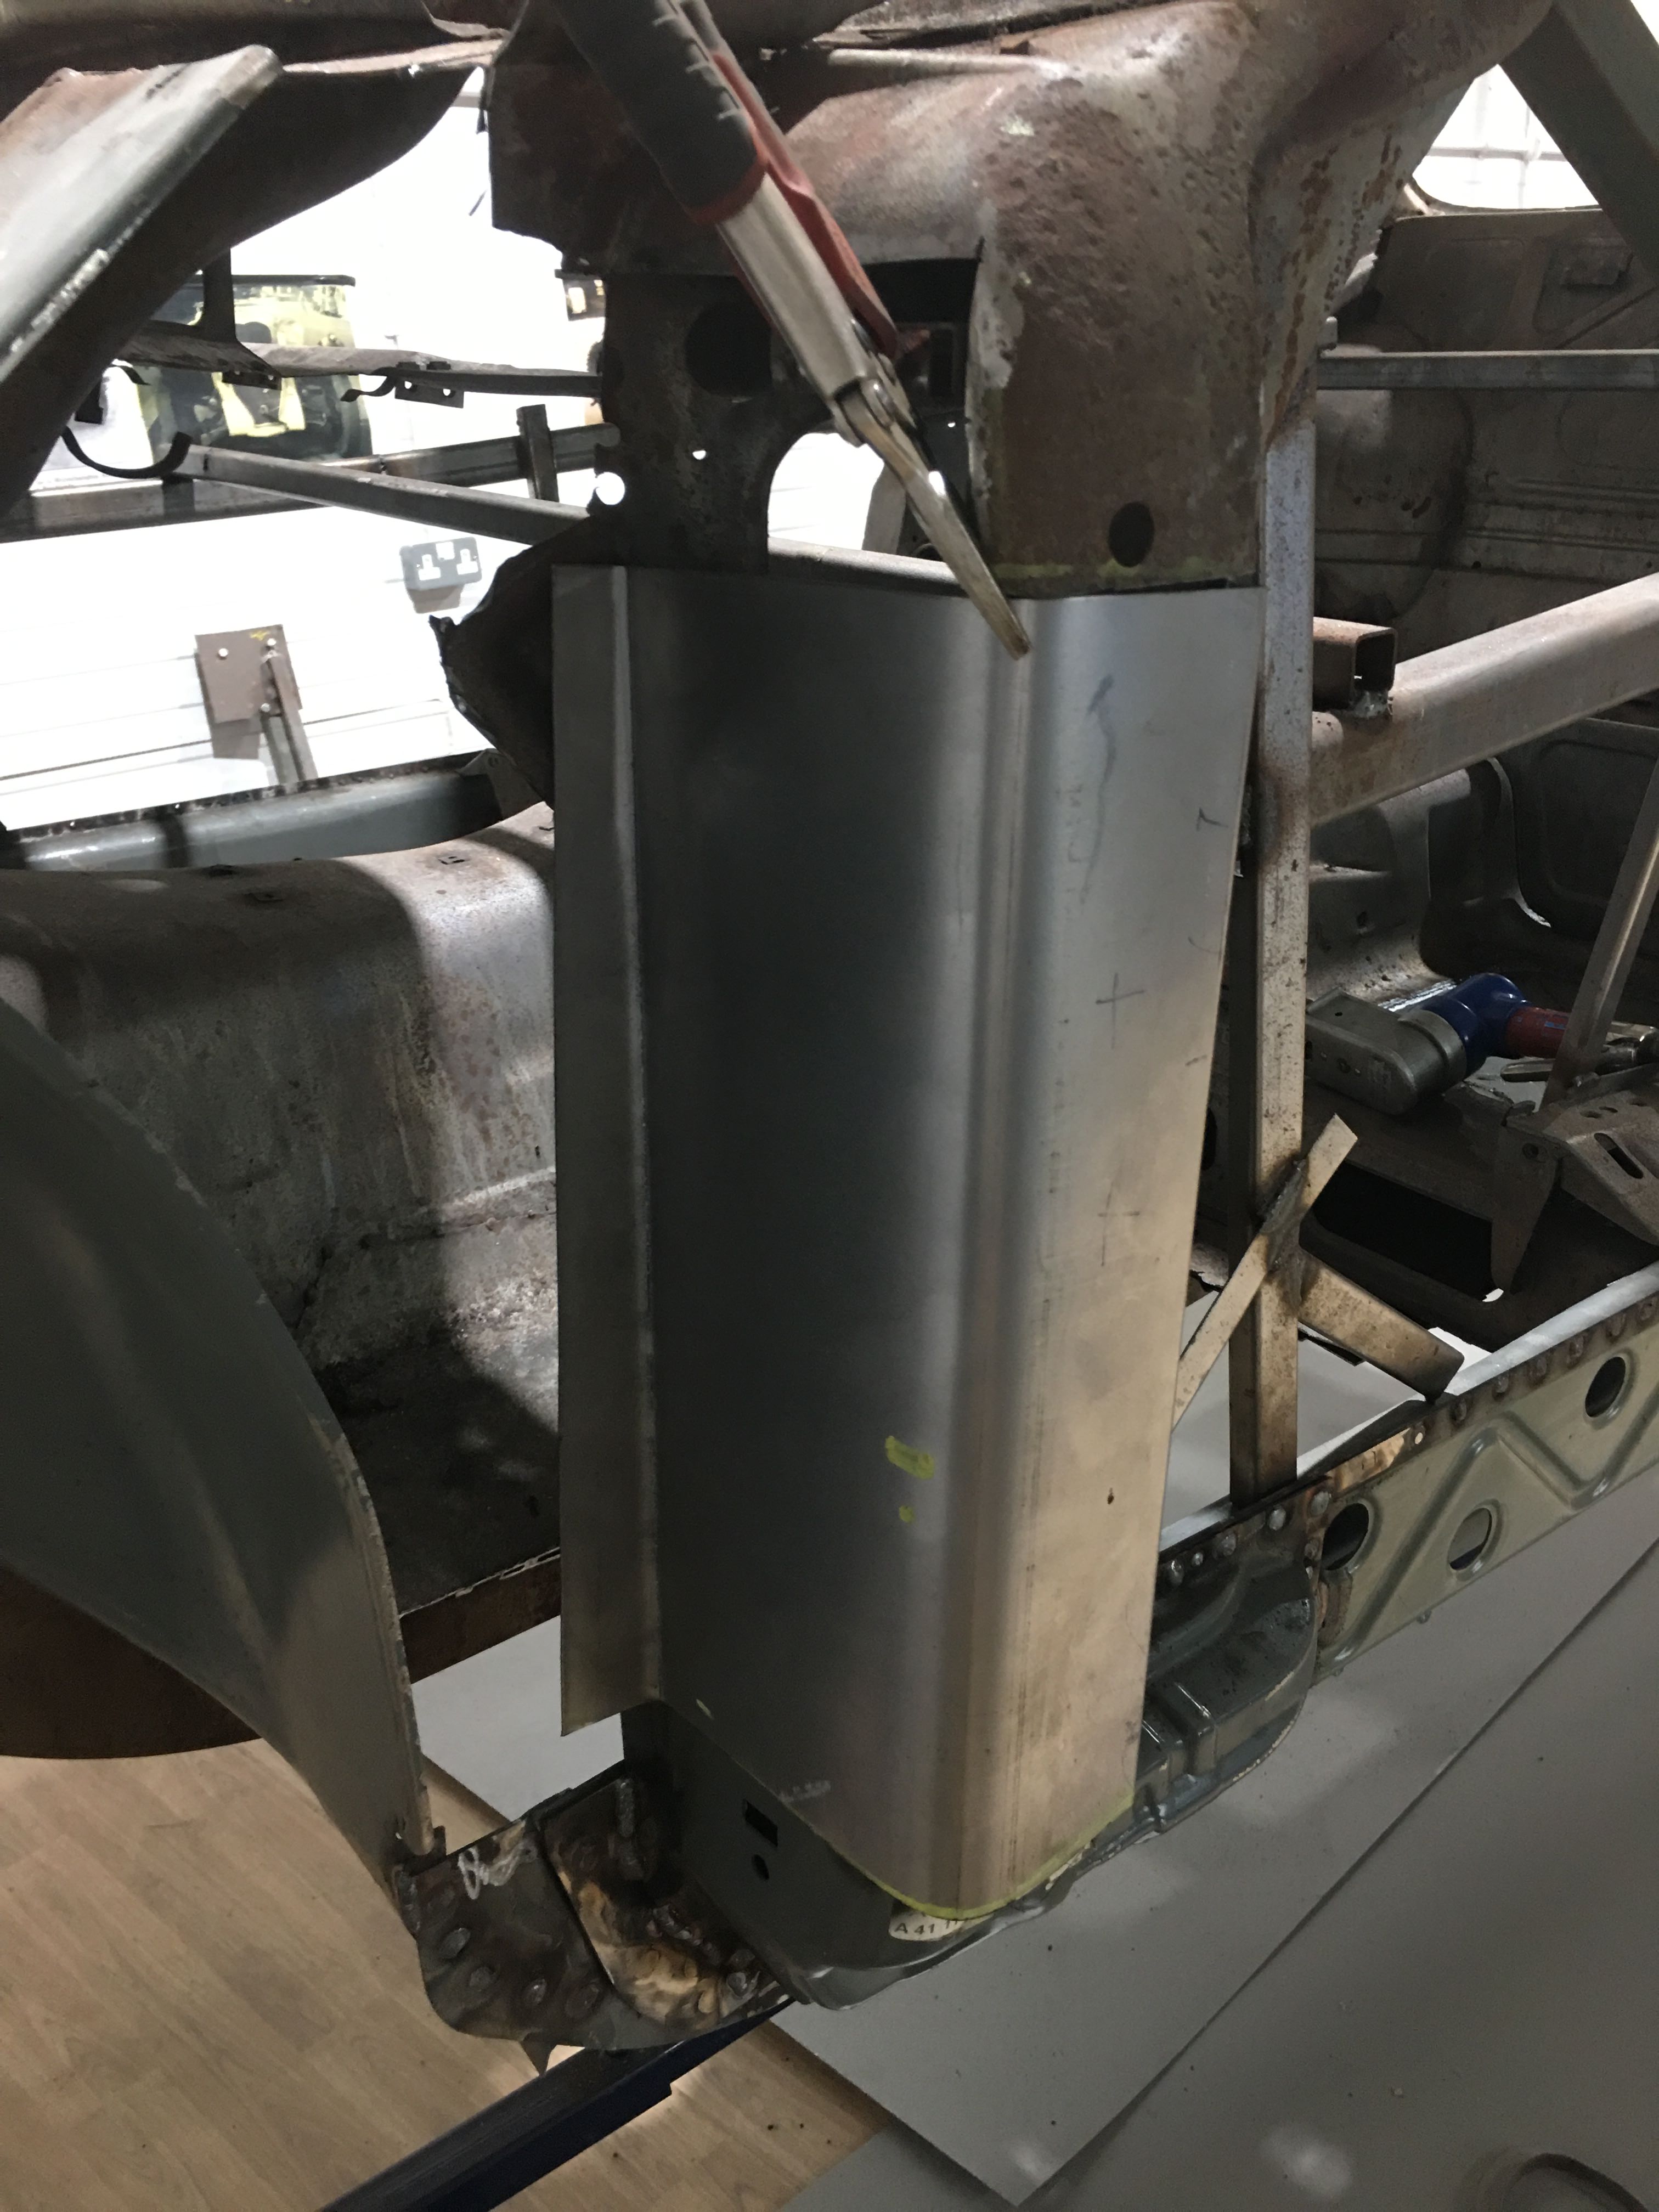
Thank you for sharing your notes and great pics. I completely agree with your method of test fitting entire assemblies before welding in place. It looks like the pillar bottom patches are designed to fit over the original post geometry - is that correct? Or will these get fit into the larger pillar after some cutting?

Sorry to read about your thumb - those grinders will get you every time.


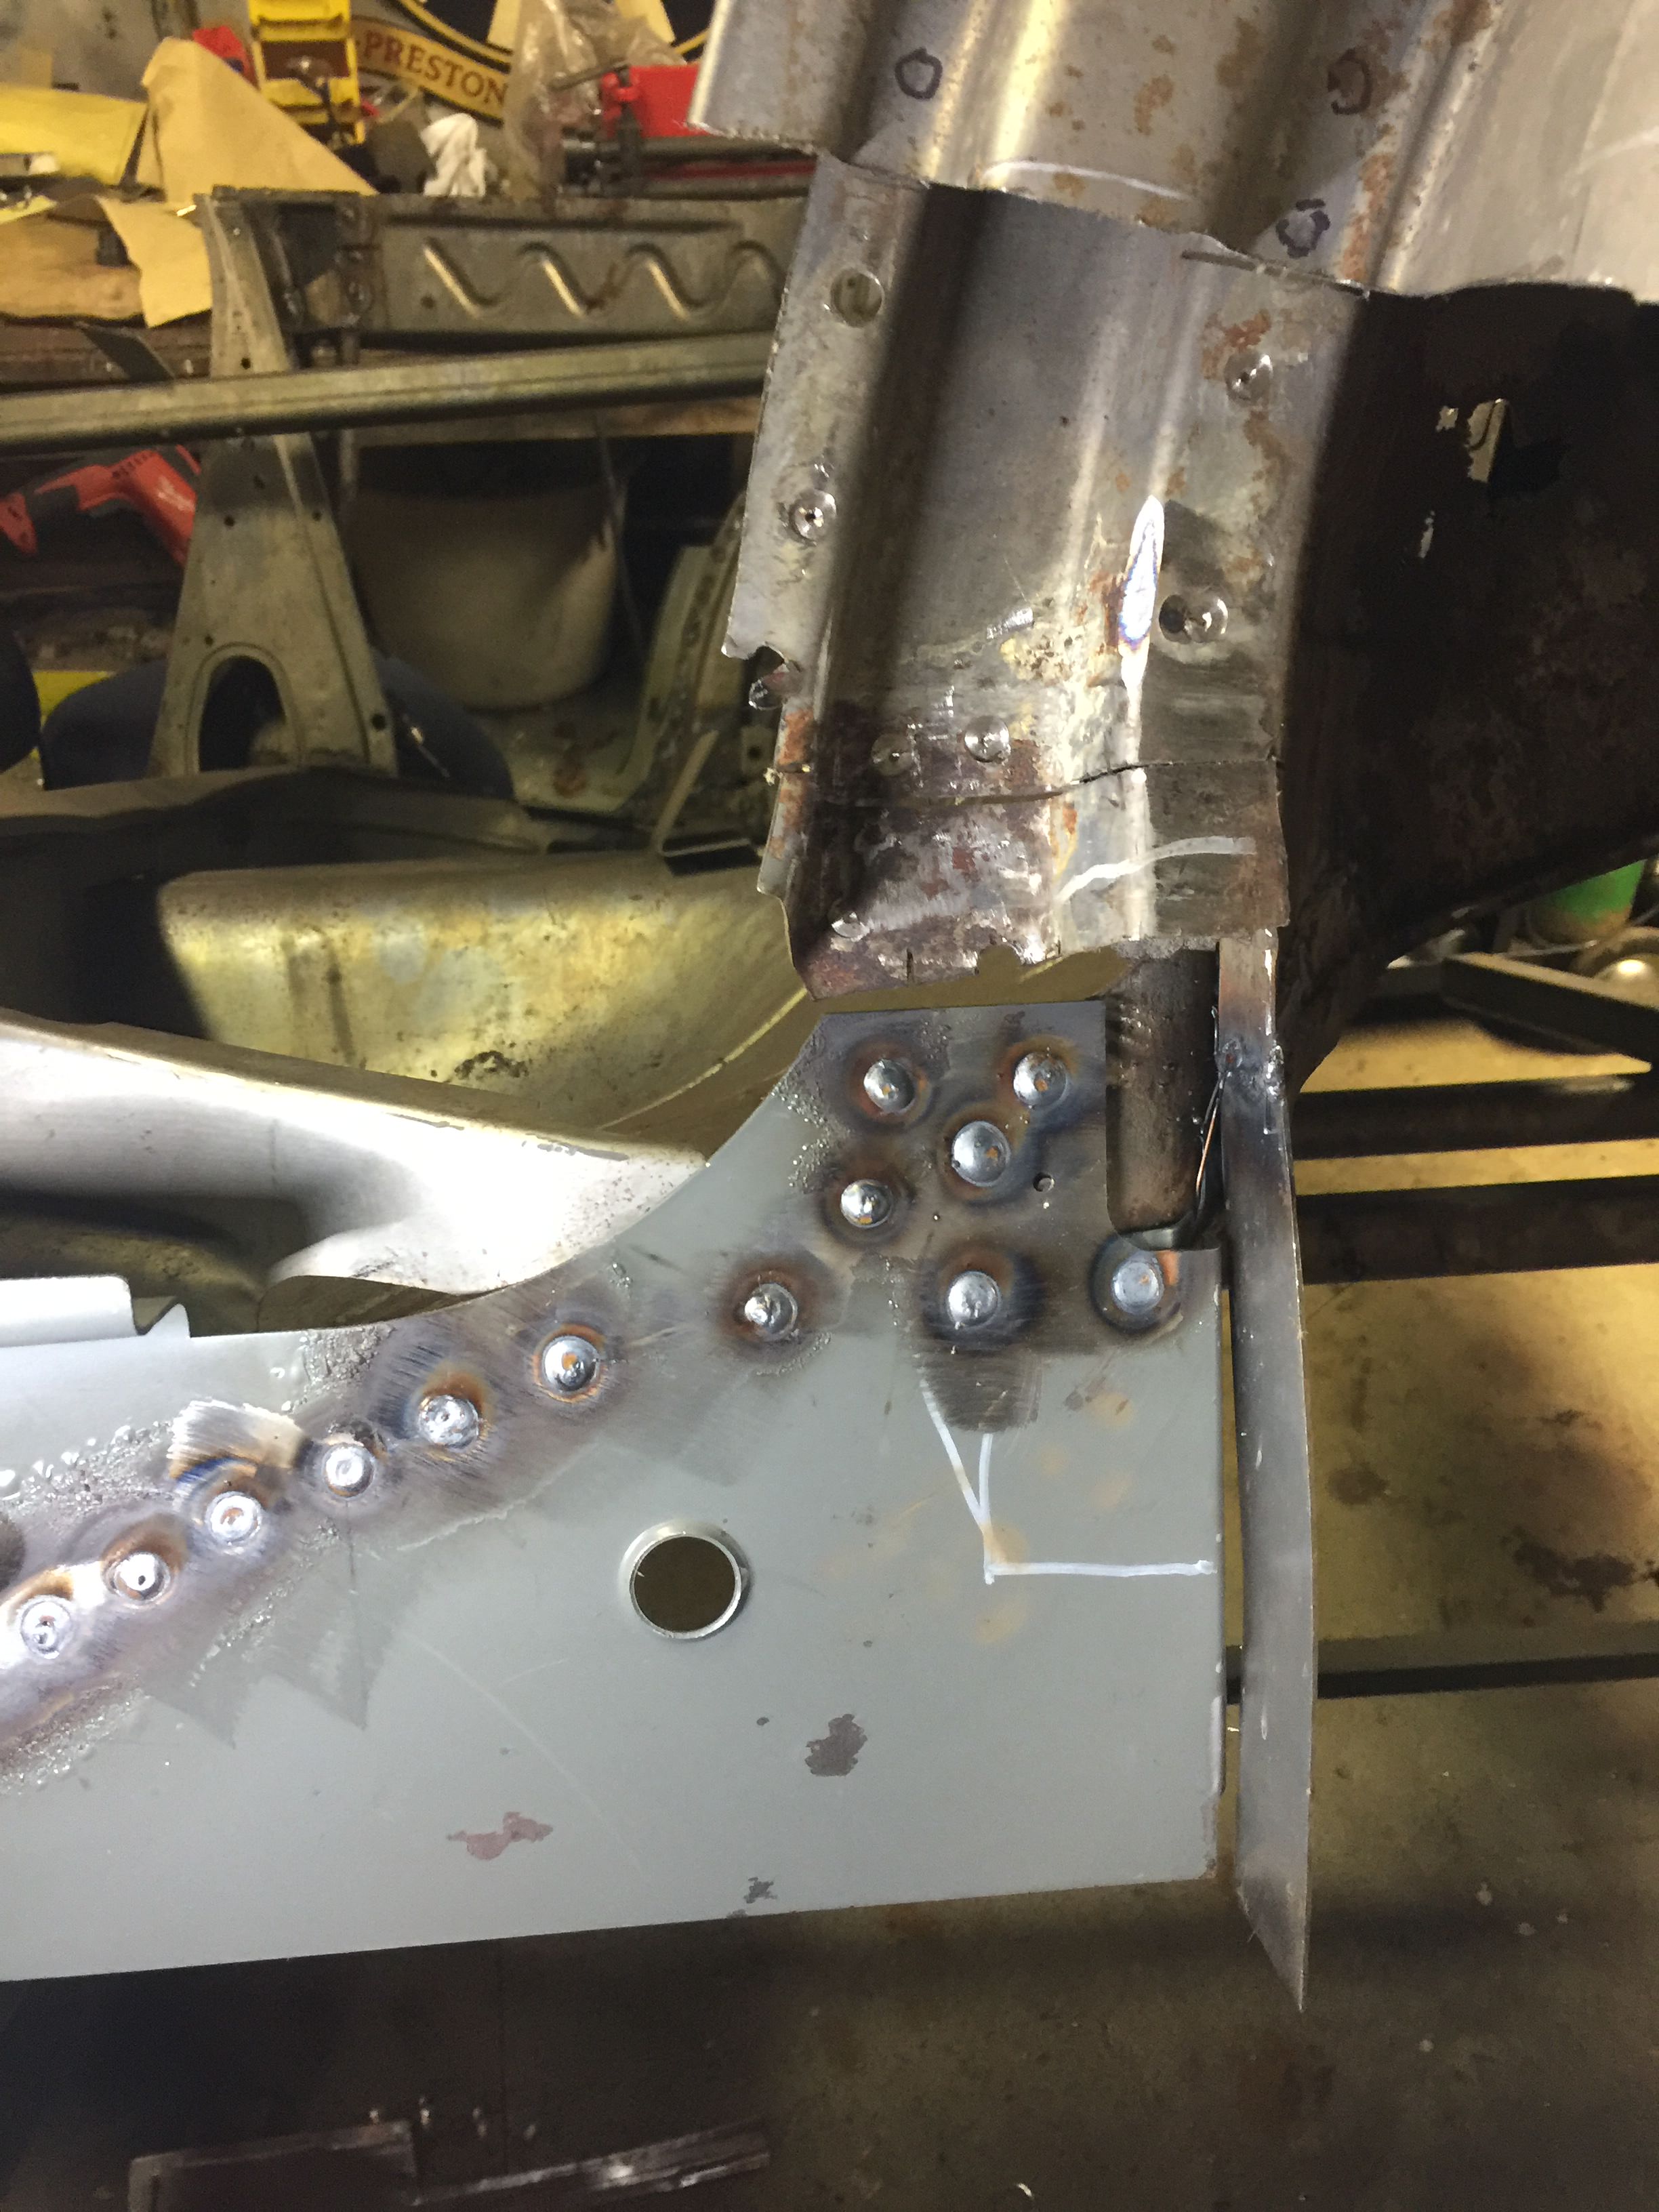
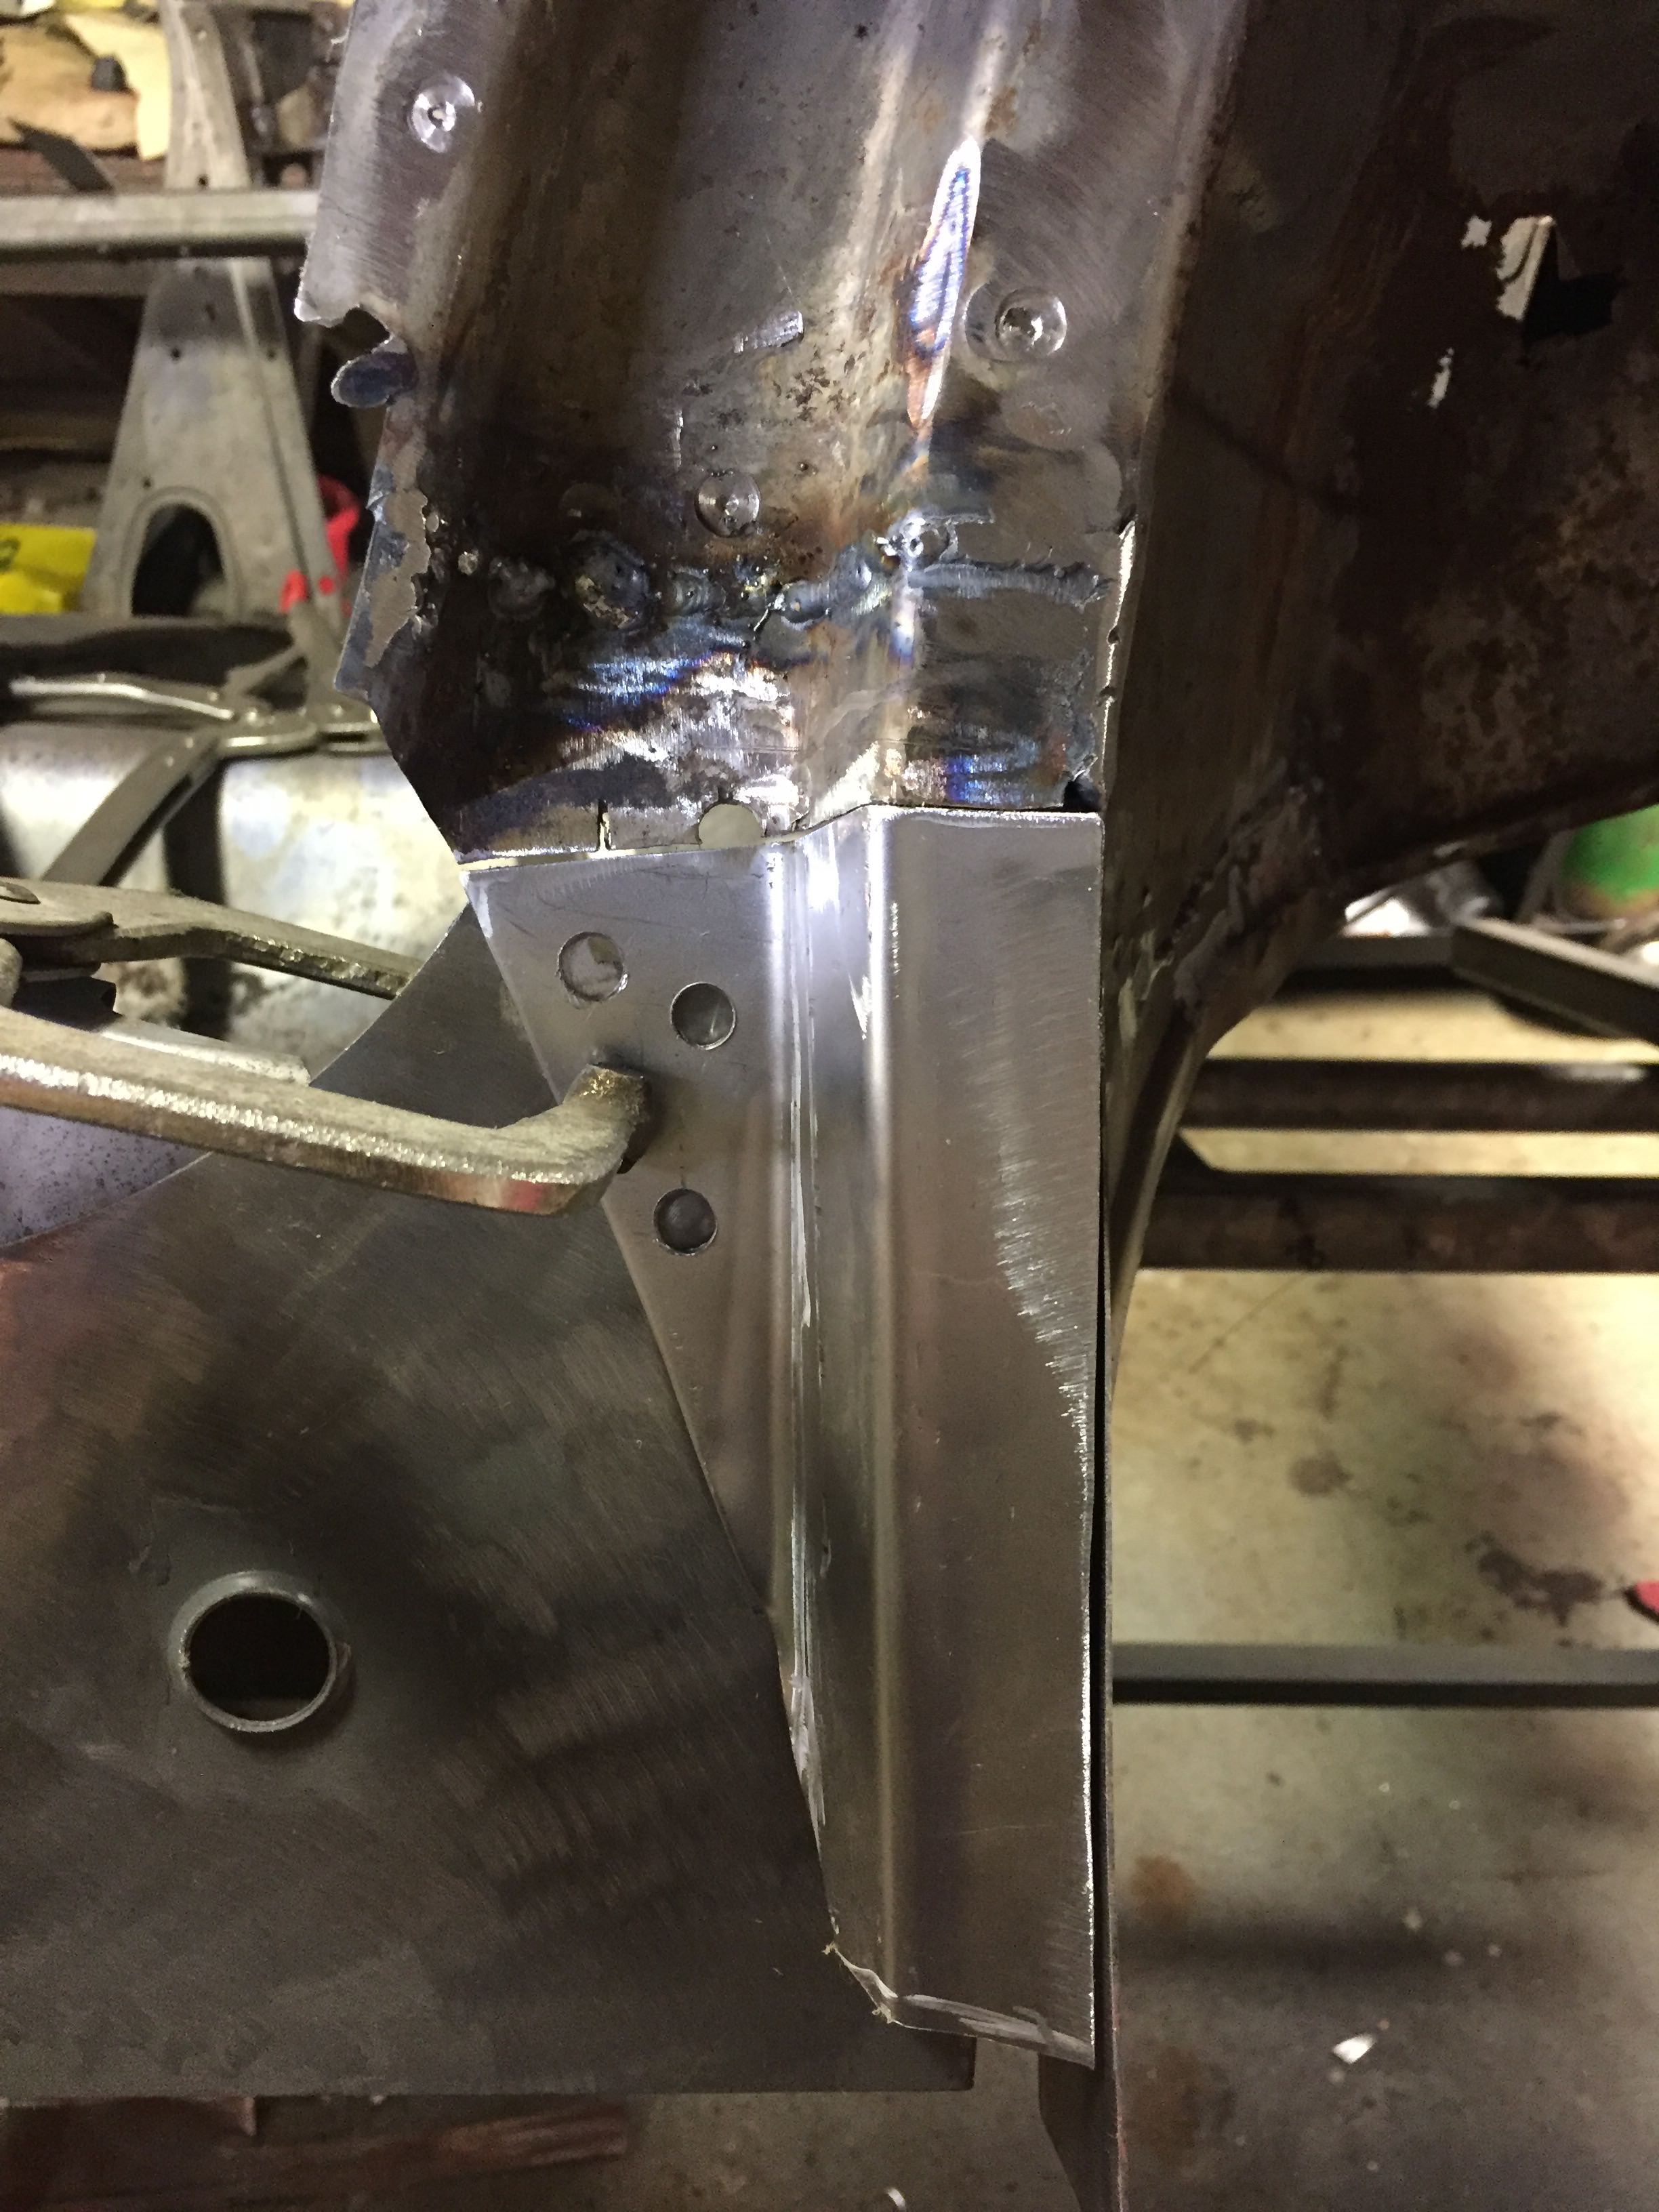
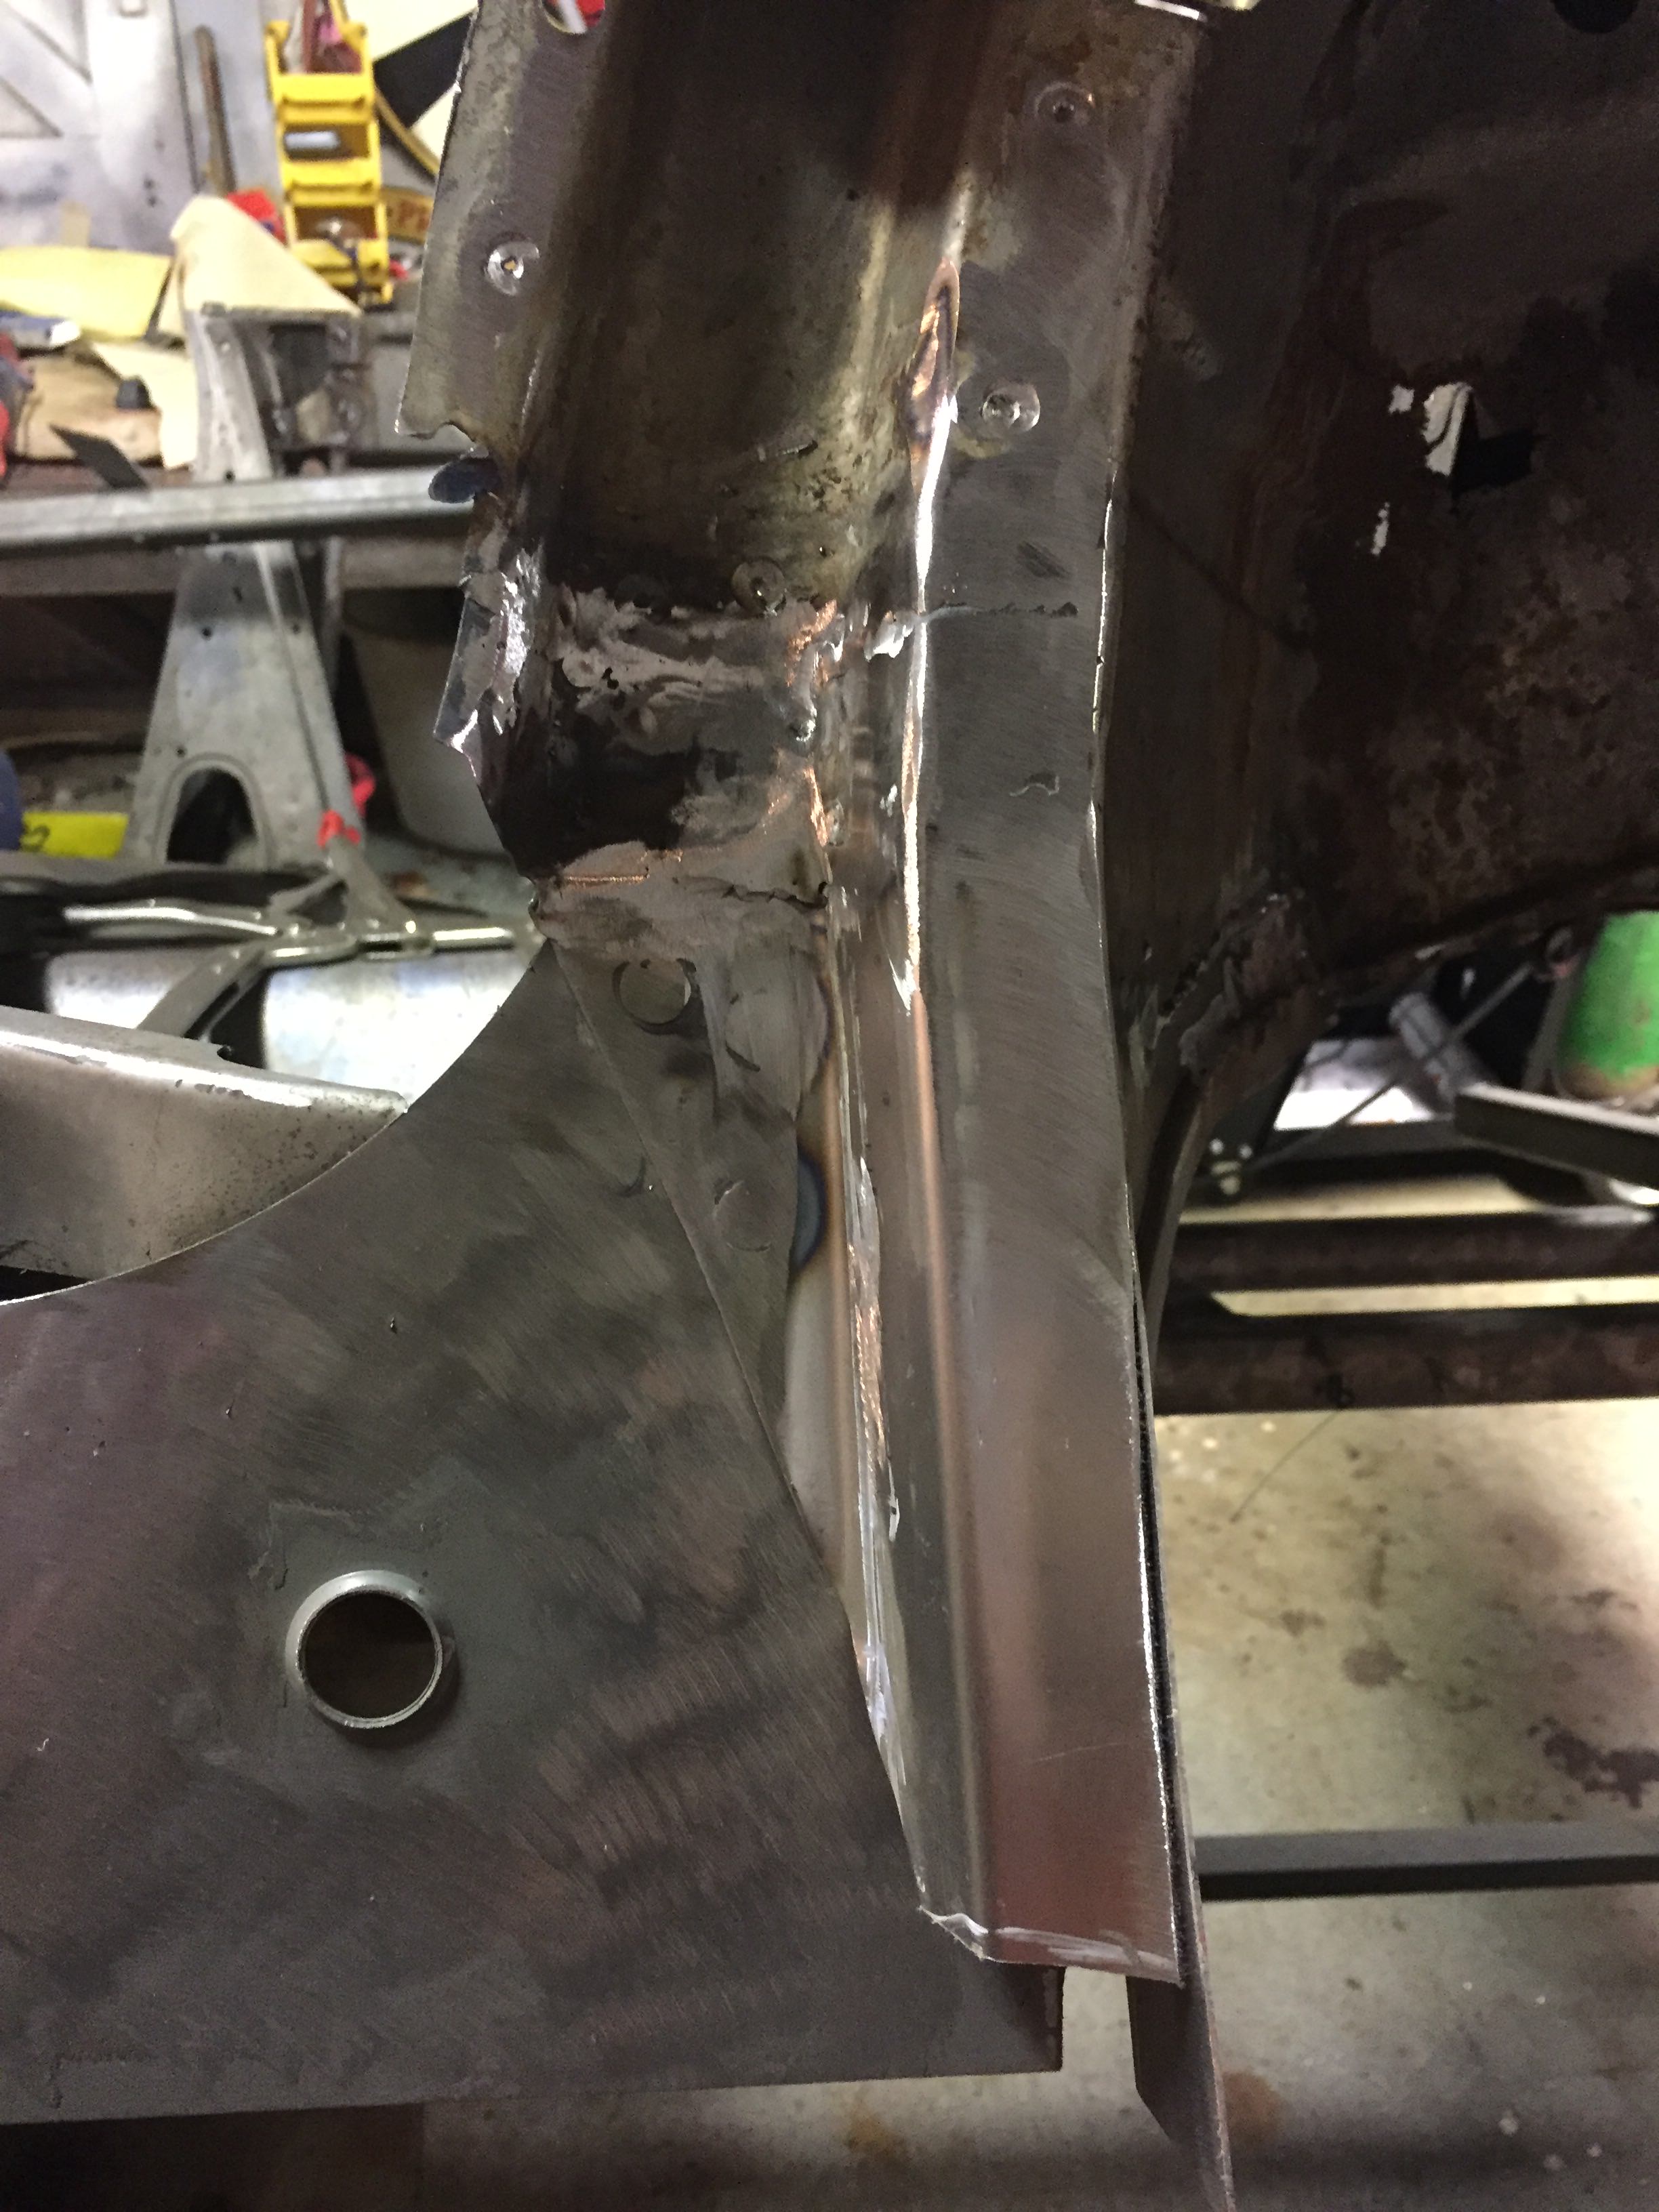
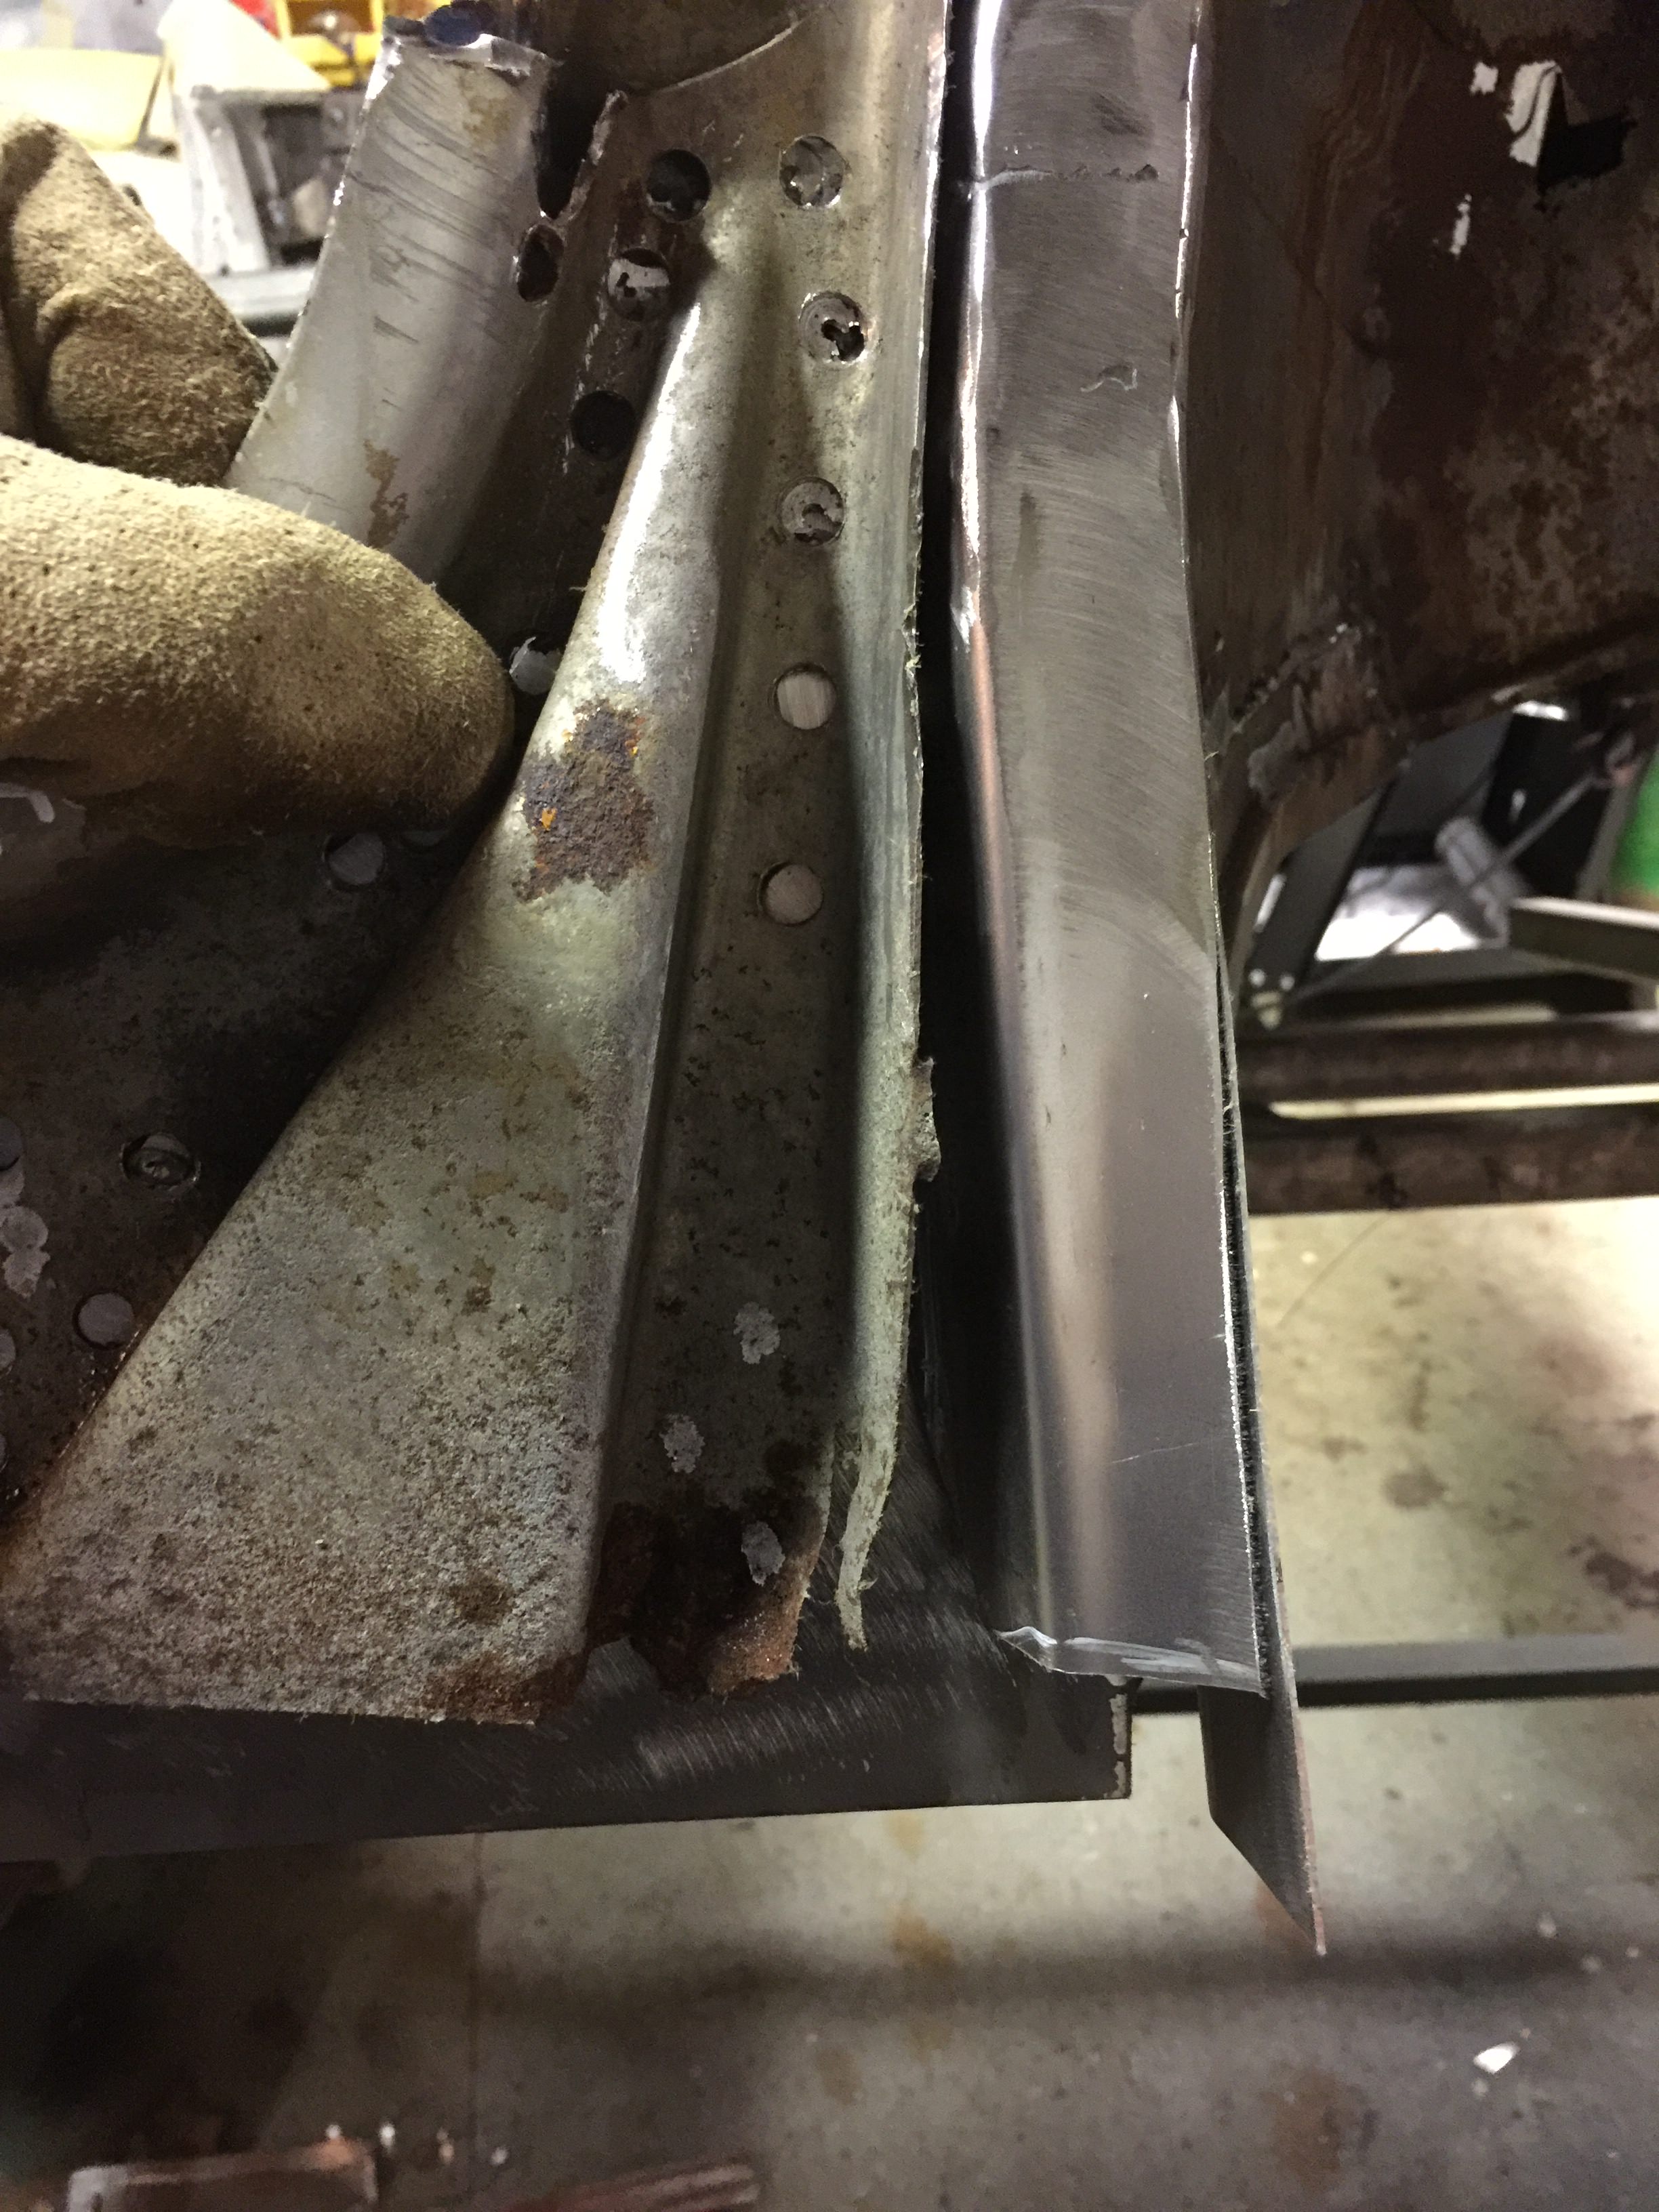
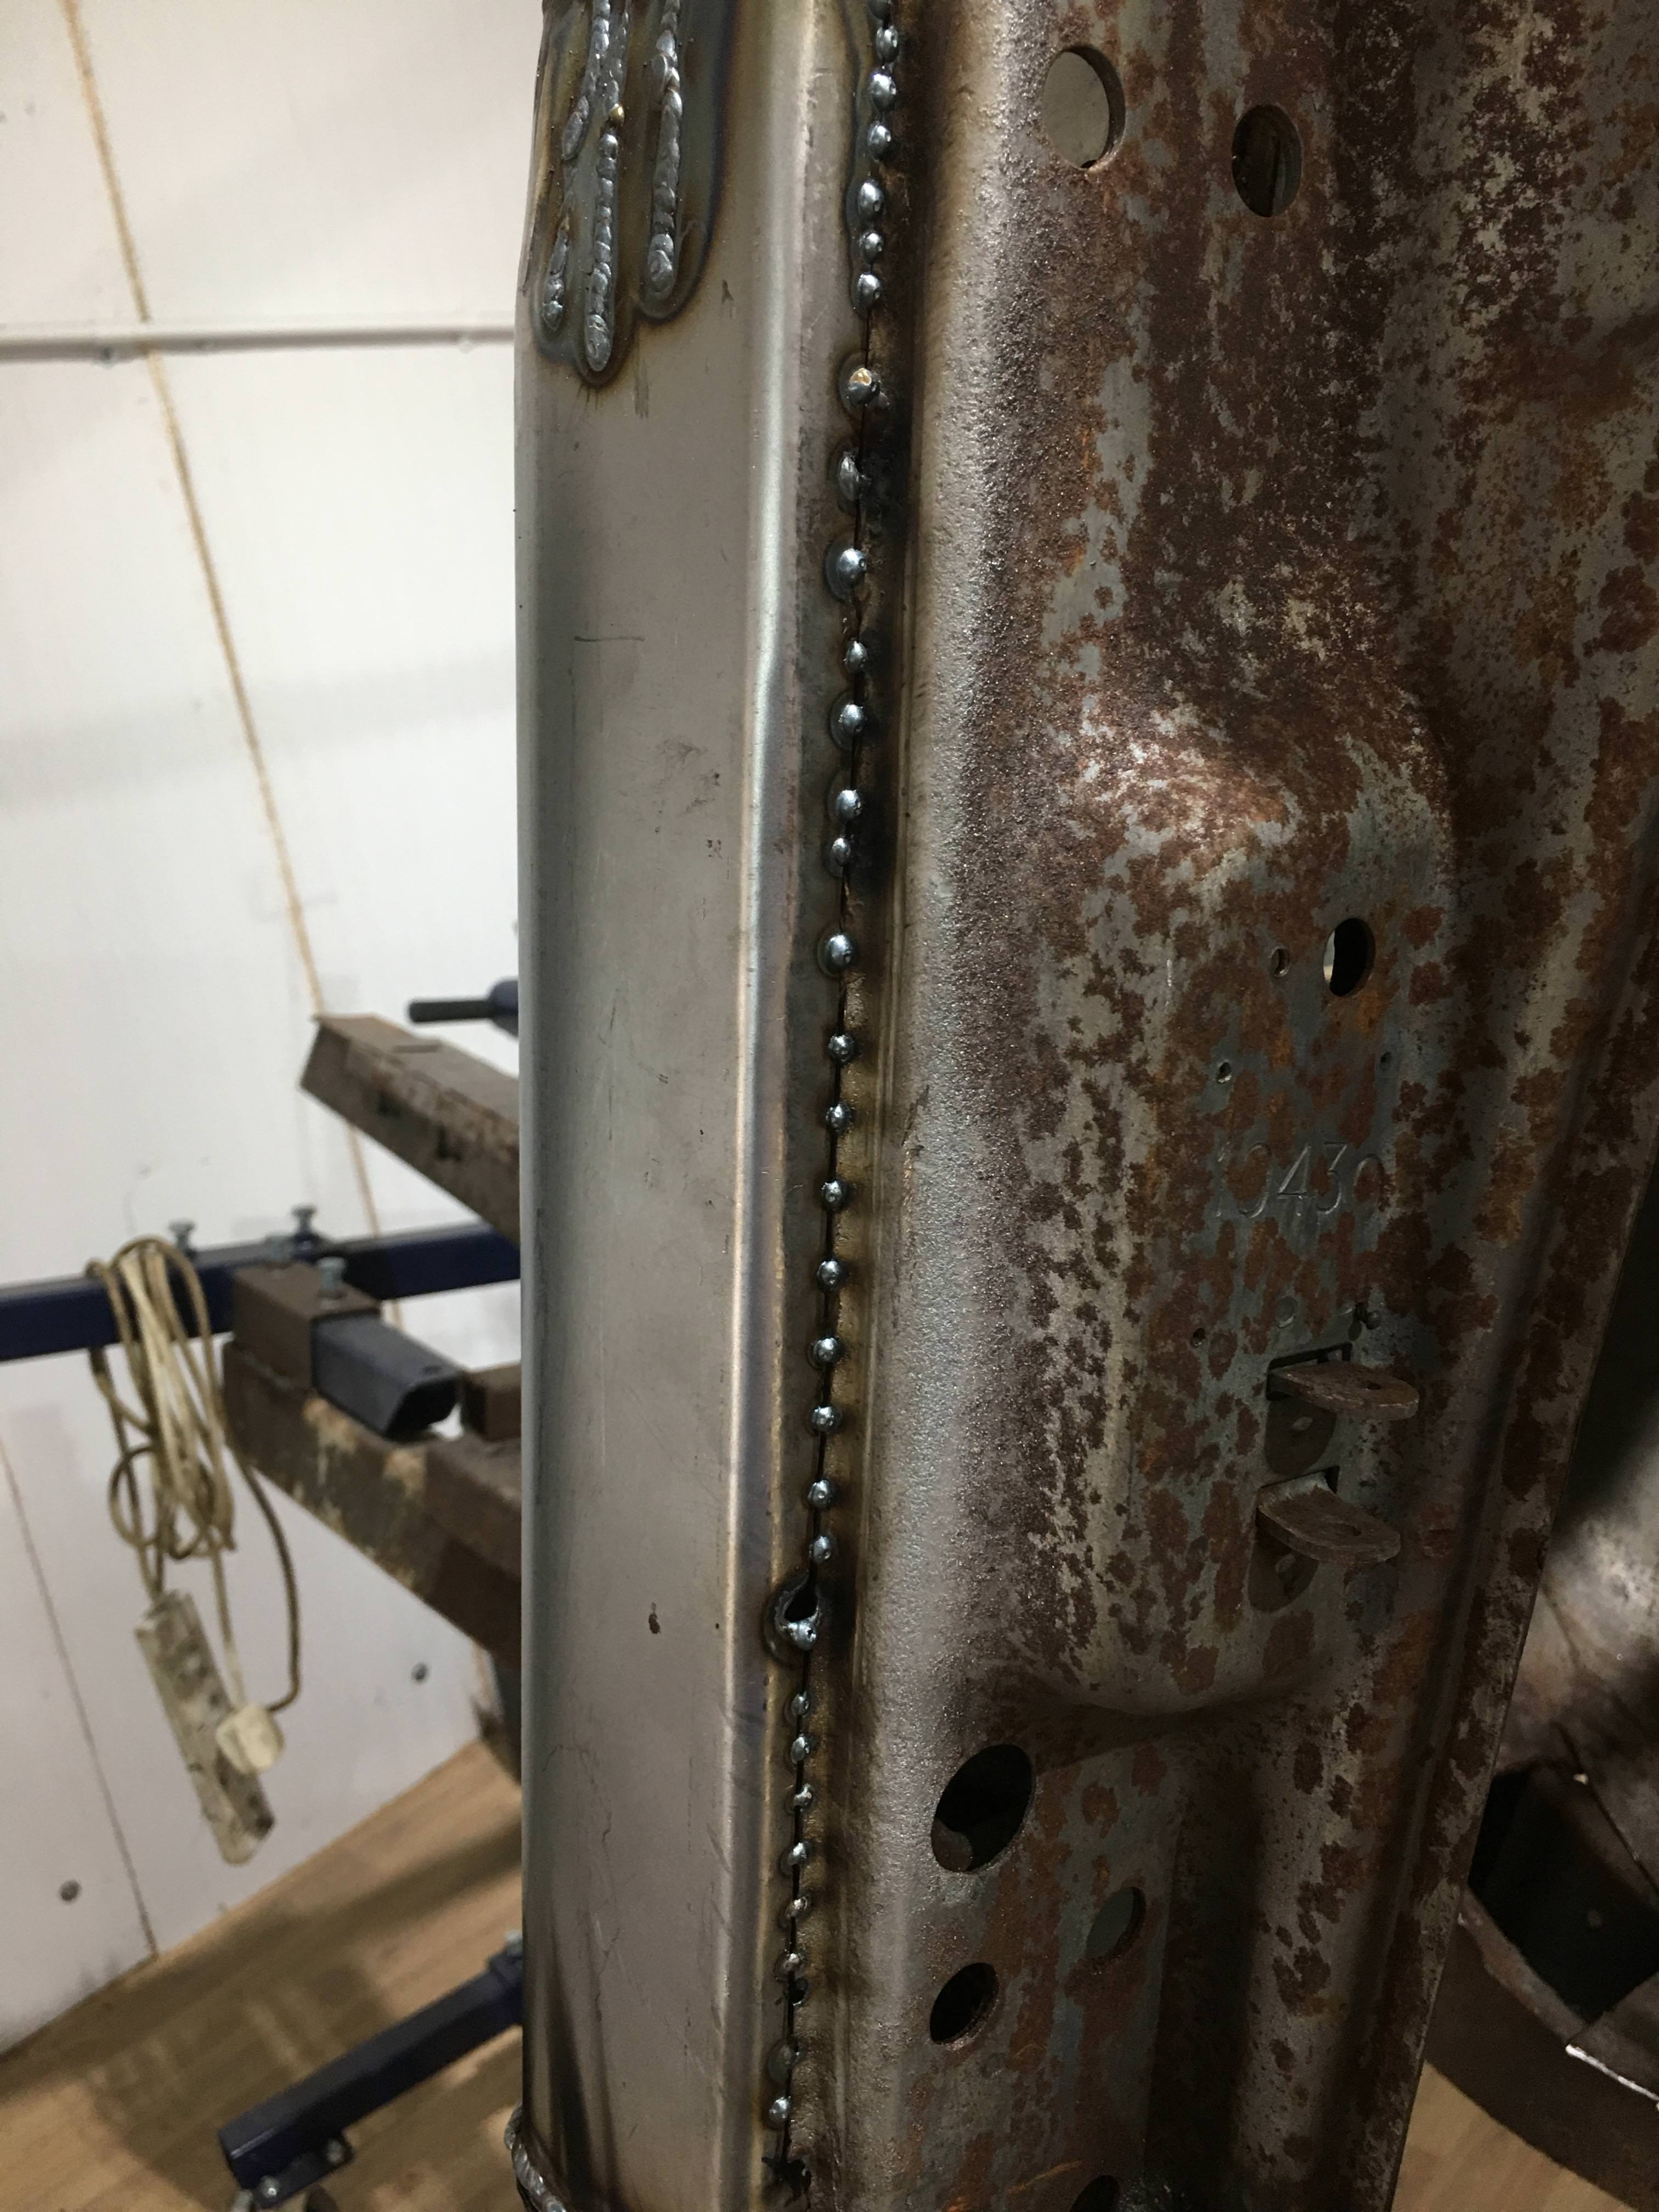
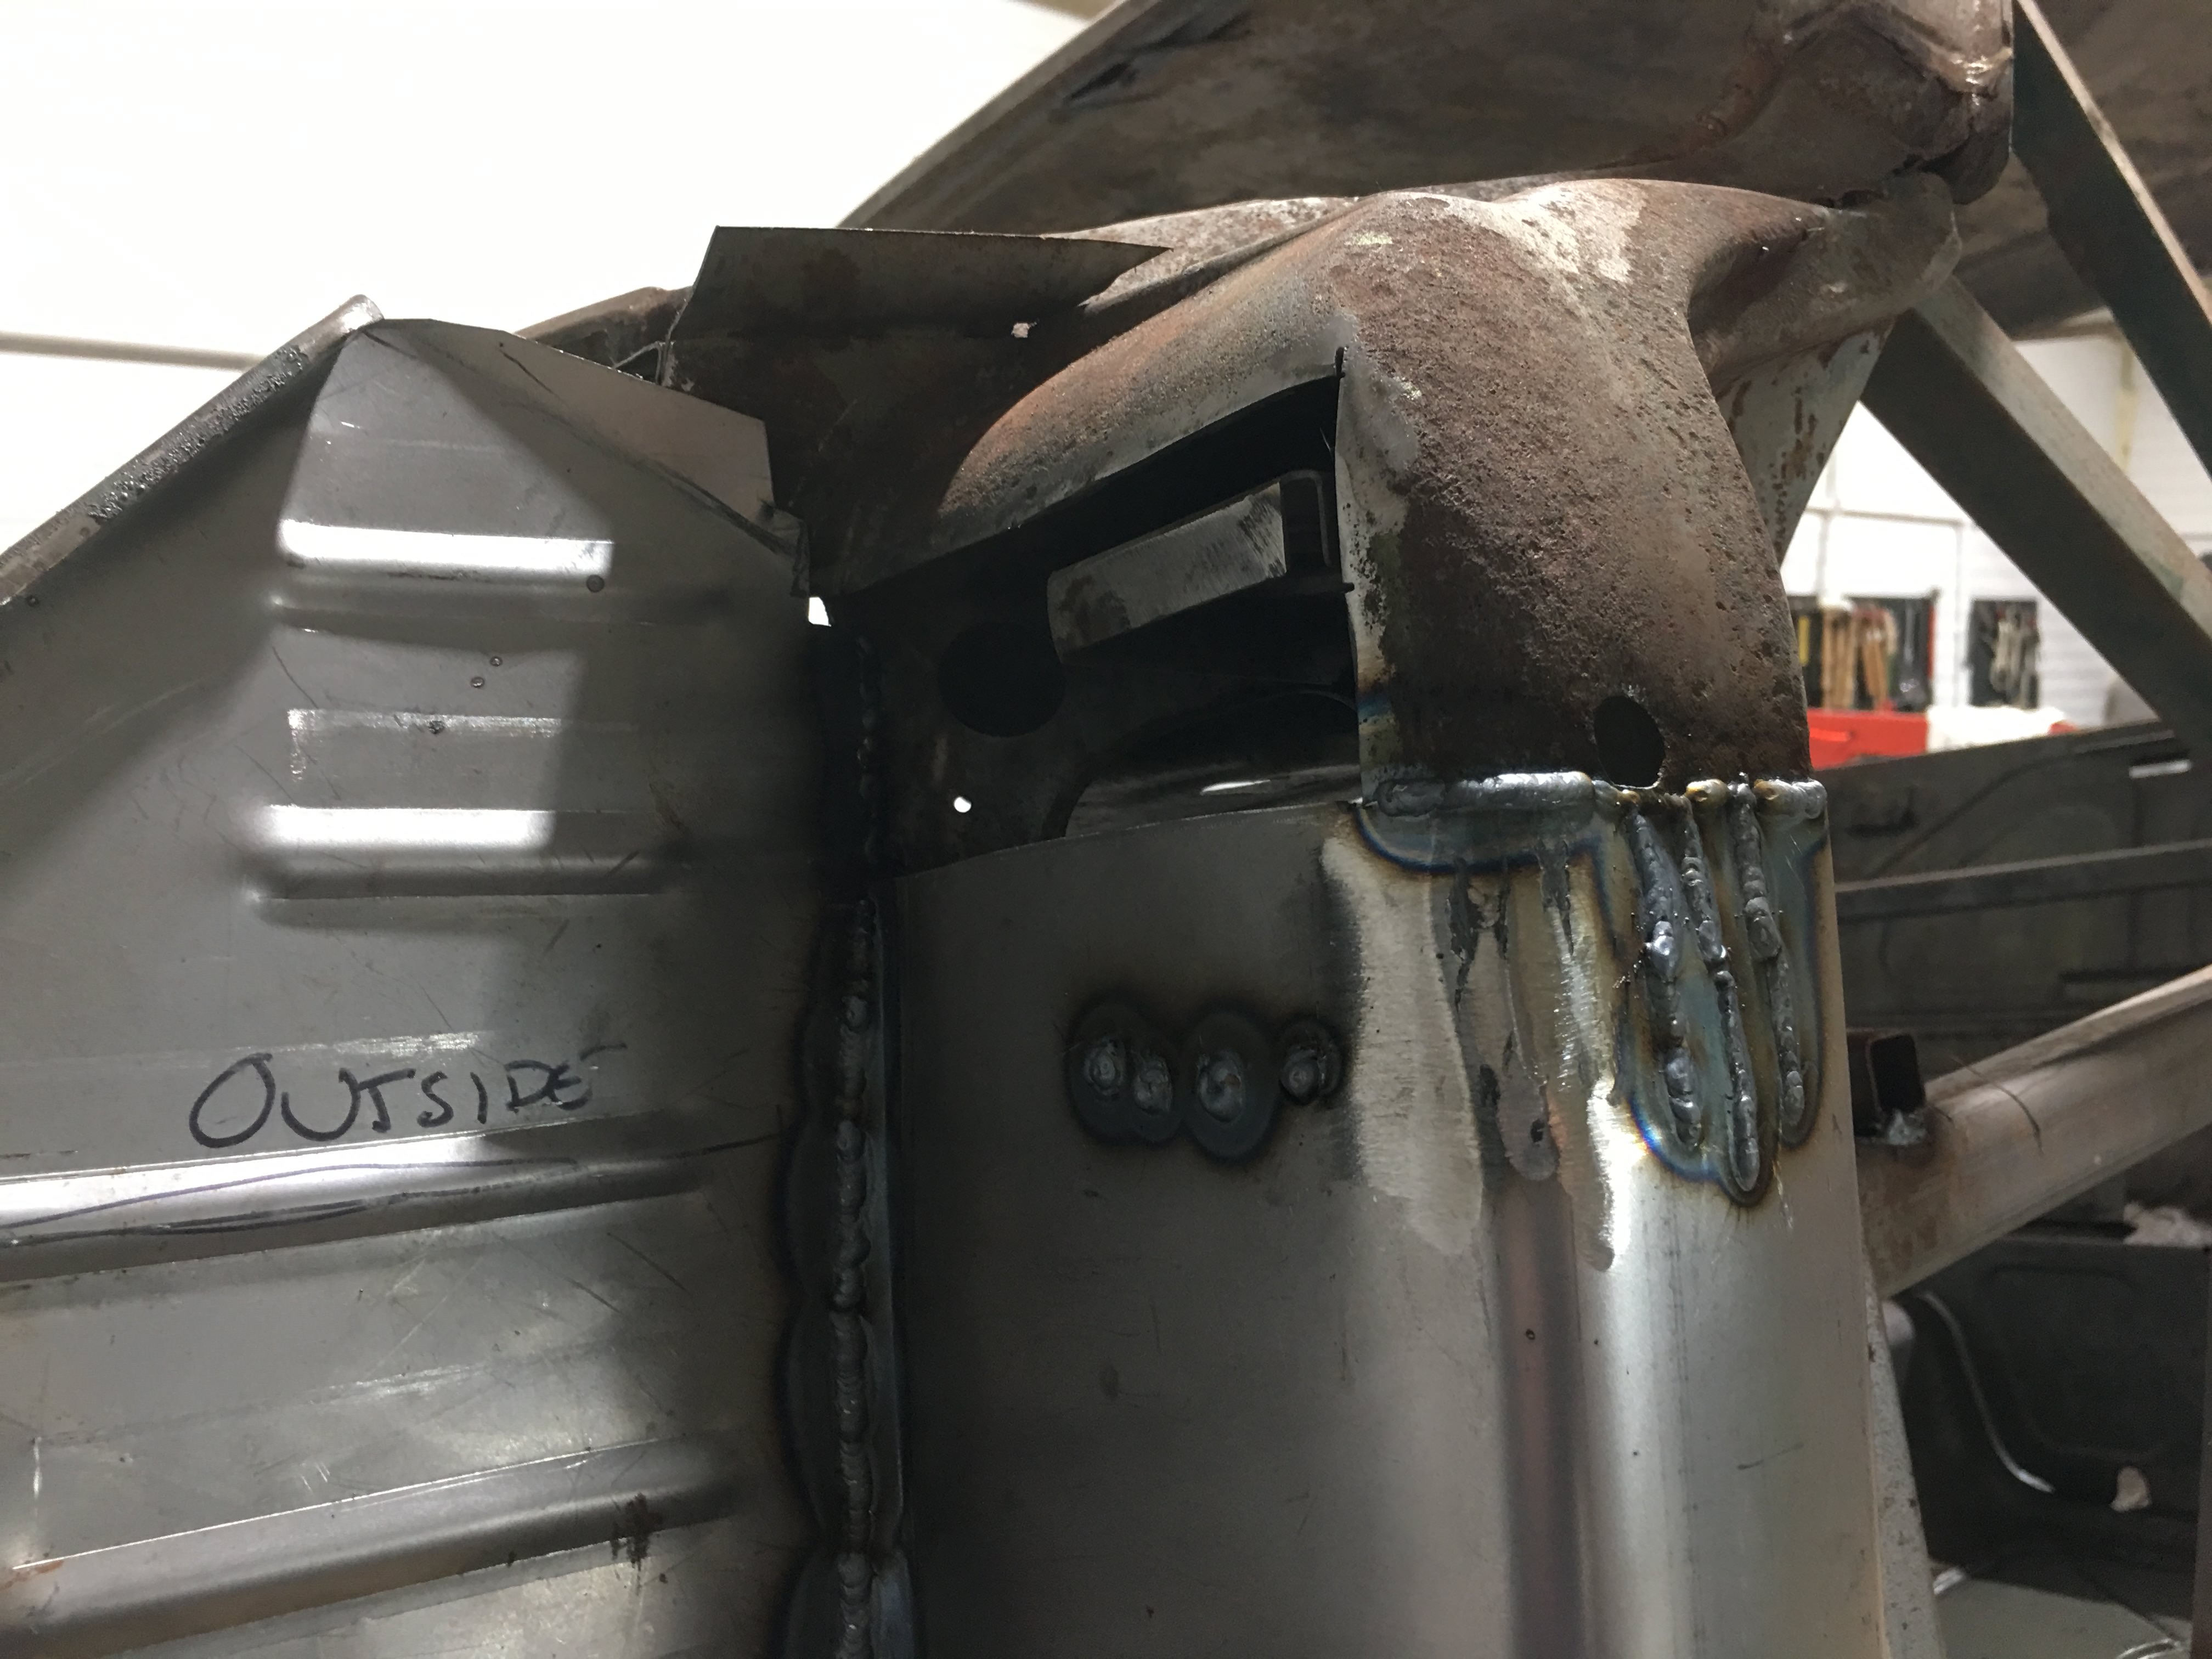
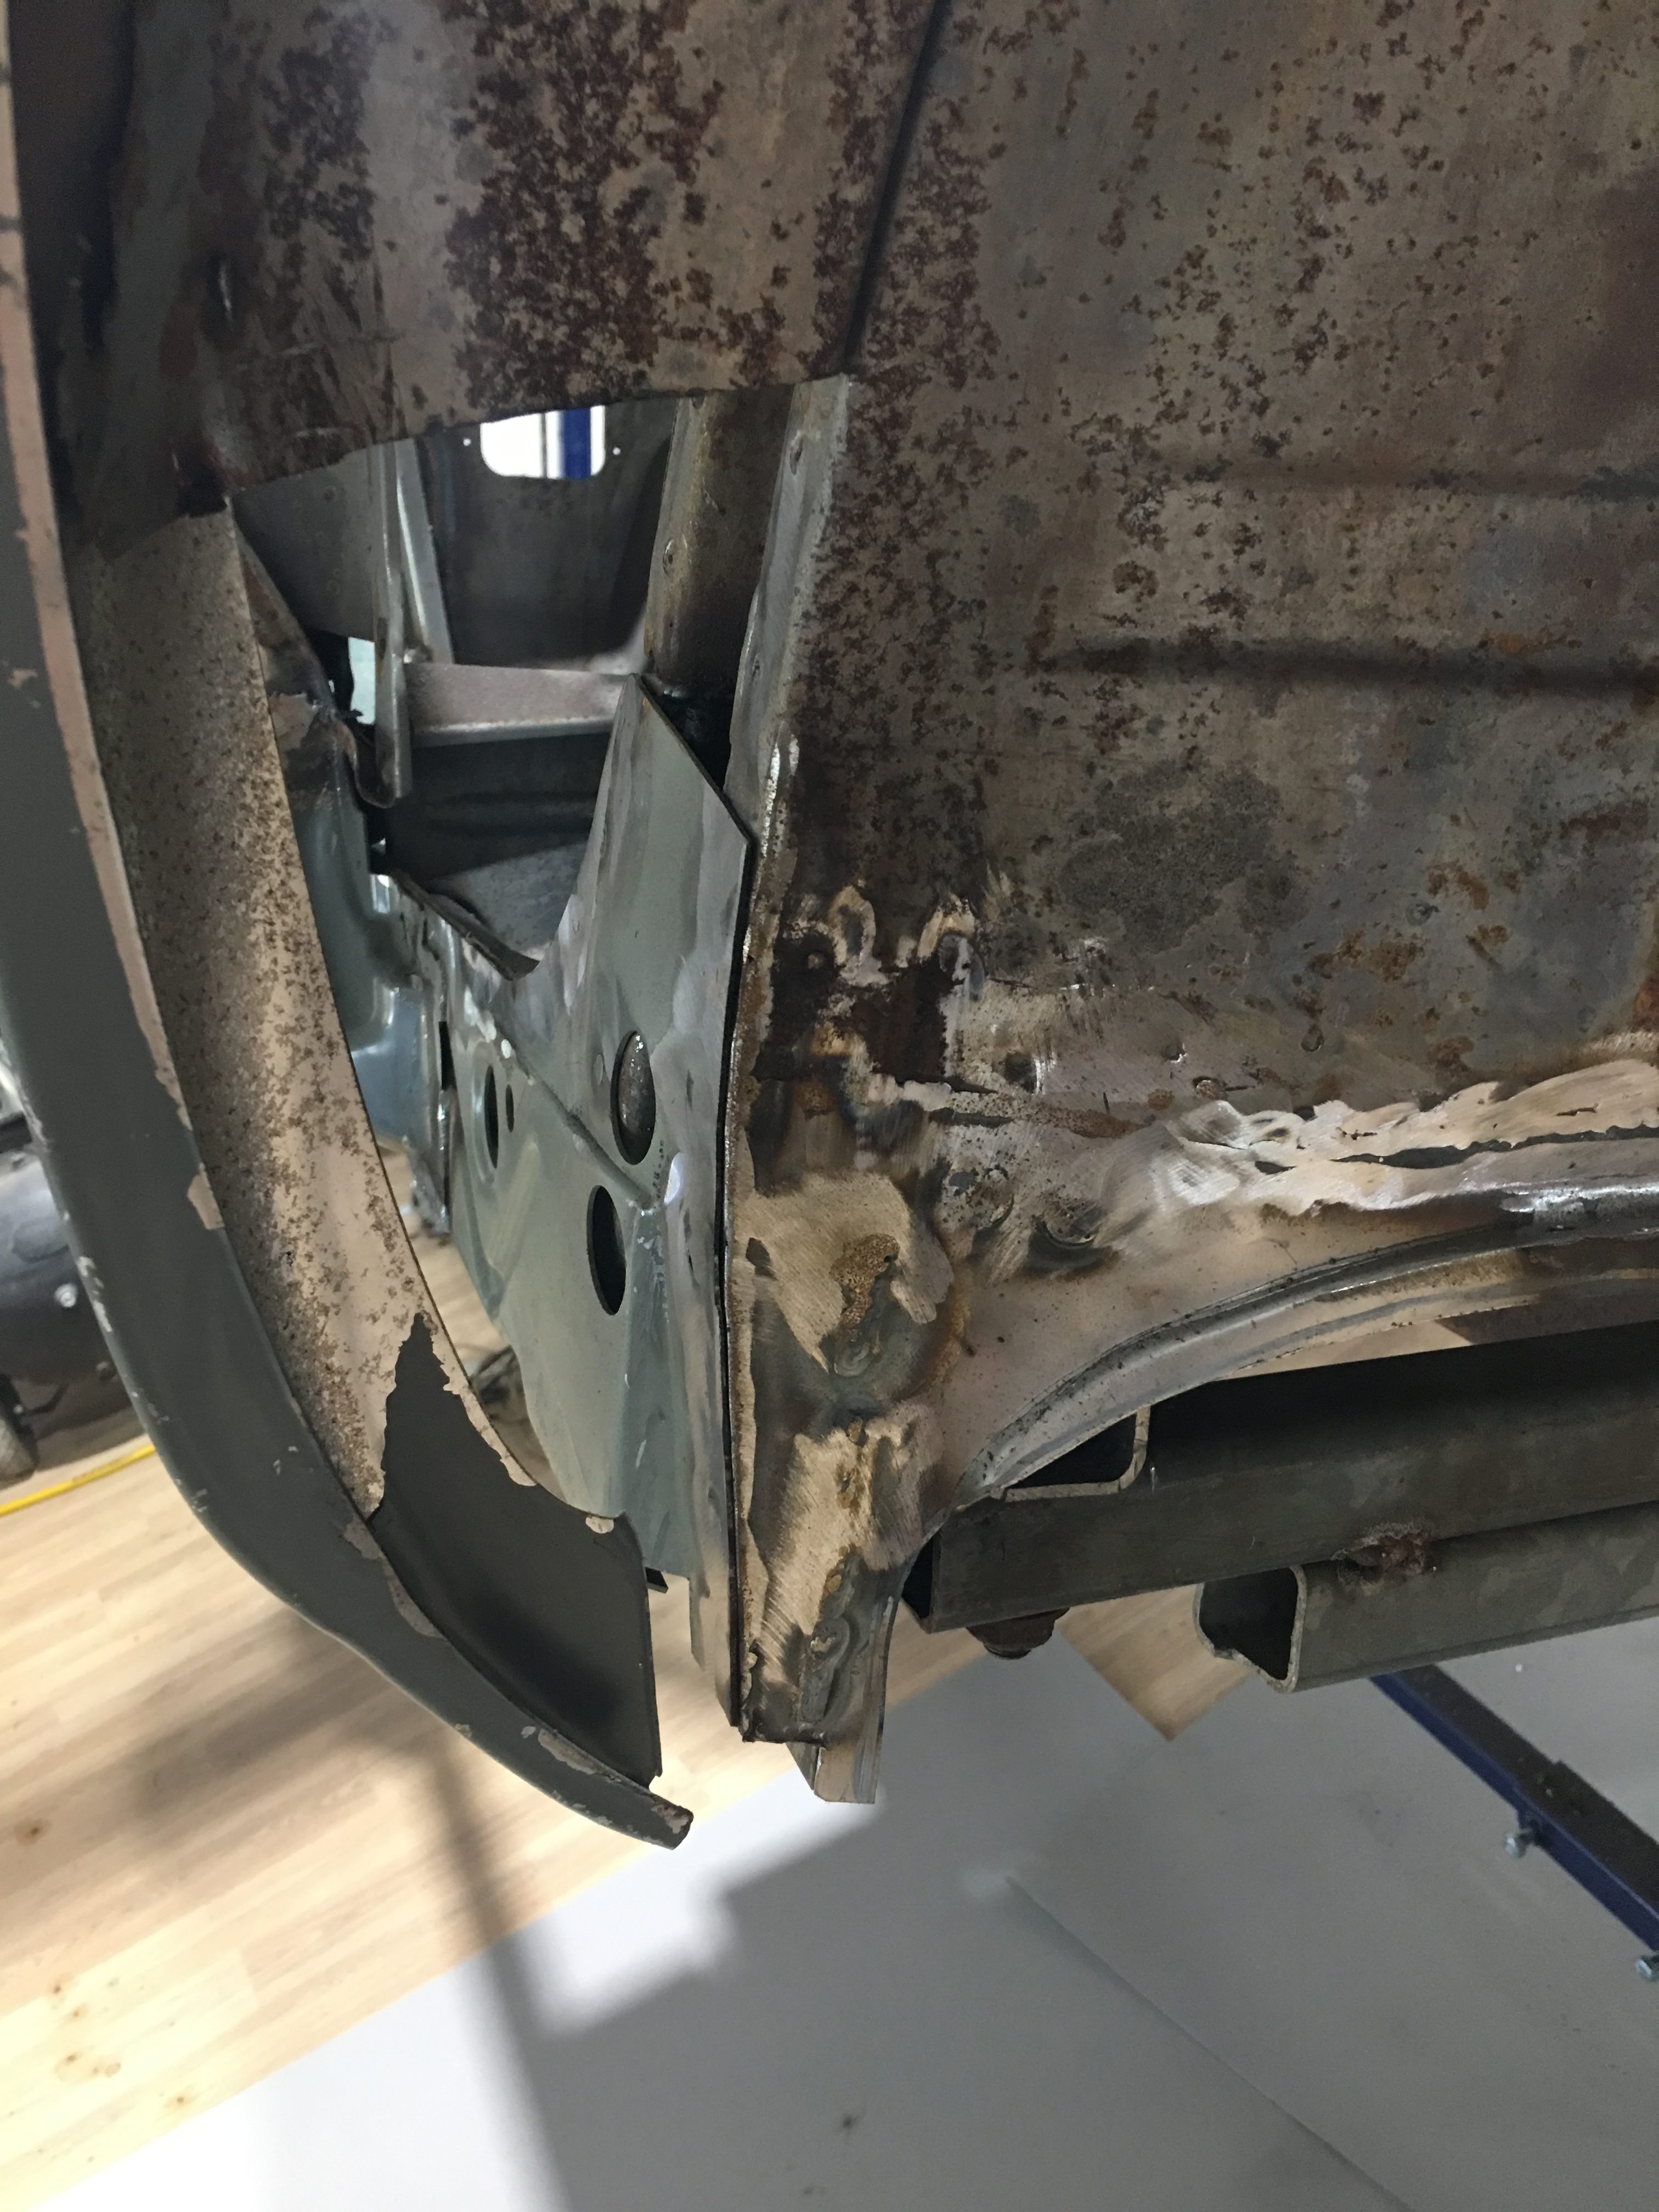
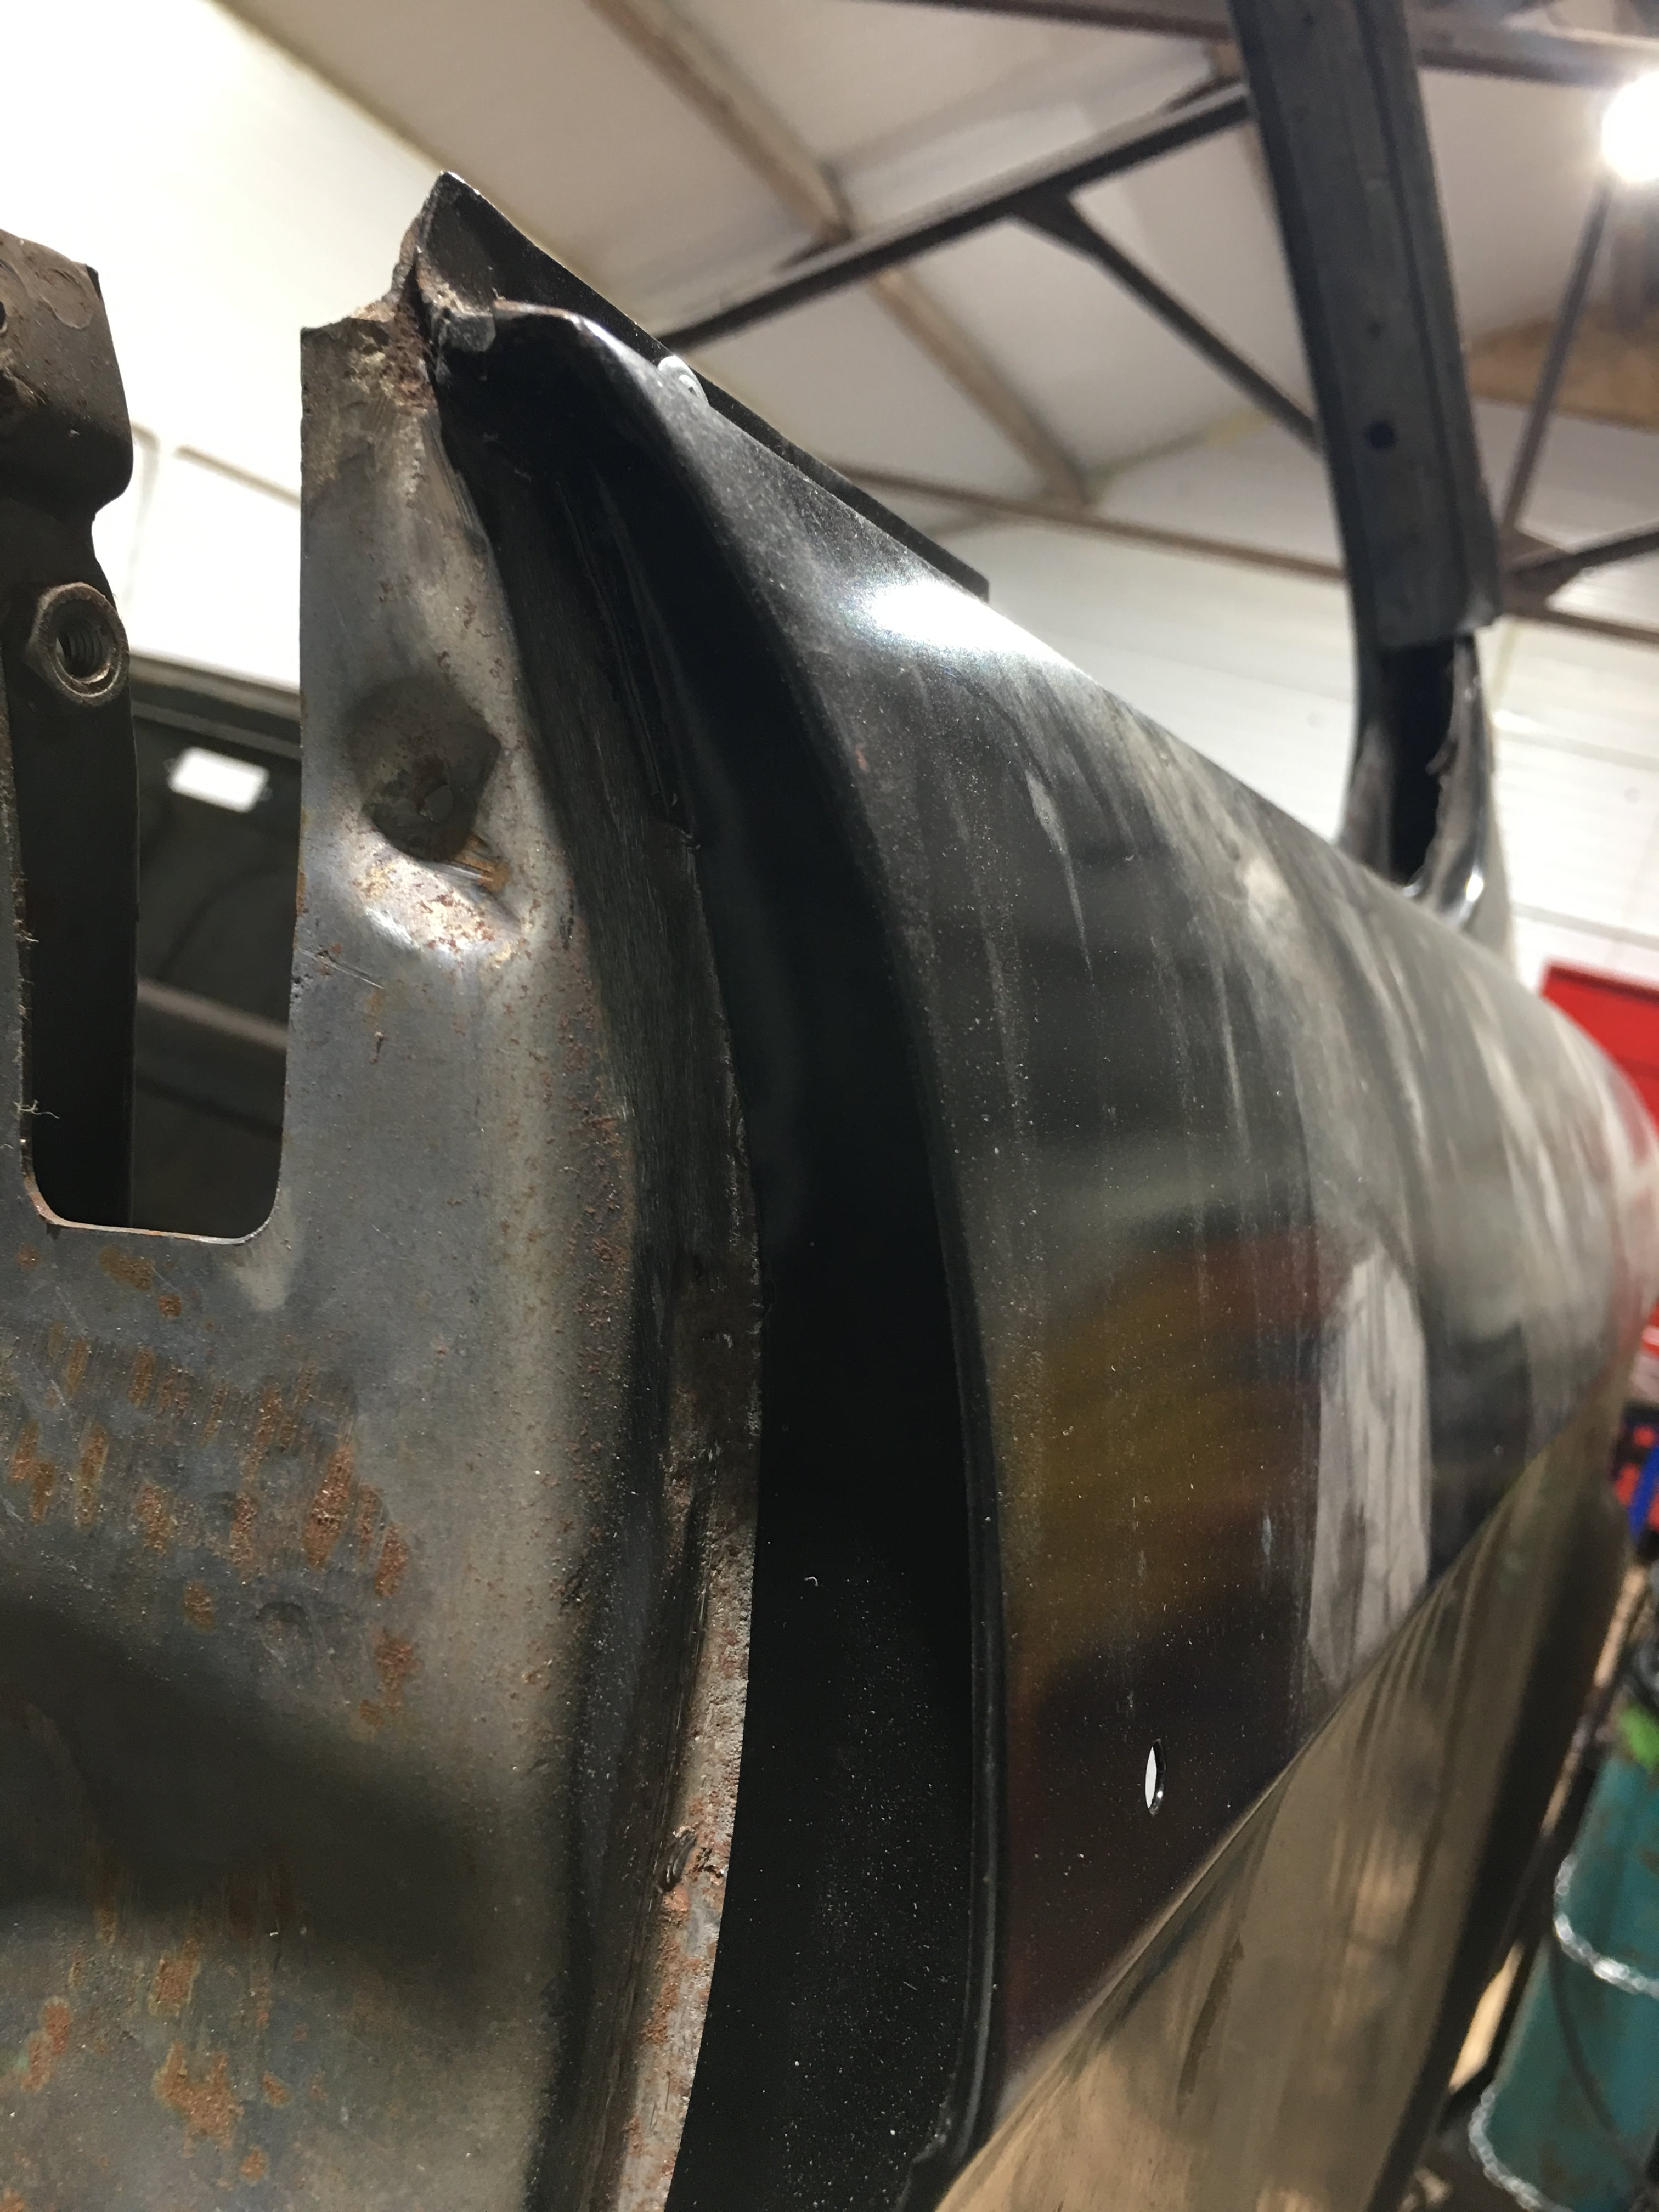
The A and B post bottoms ( the new ones from Wally and Nesh.... ho hum) will need to be cut exactly so they butt the old ( what is left) posts - what you see in the picture is them pushed over about 10mm of steel I have left ready to cut off.. well not pushed - used my mallet to bang them on temporality -
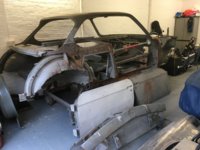
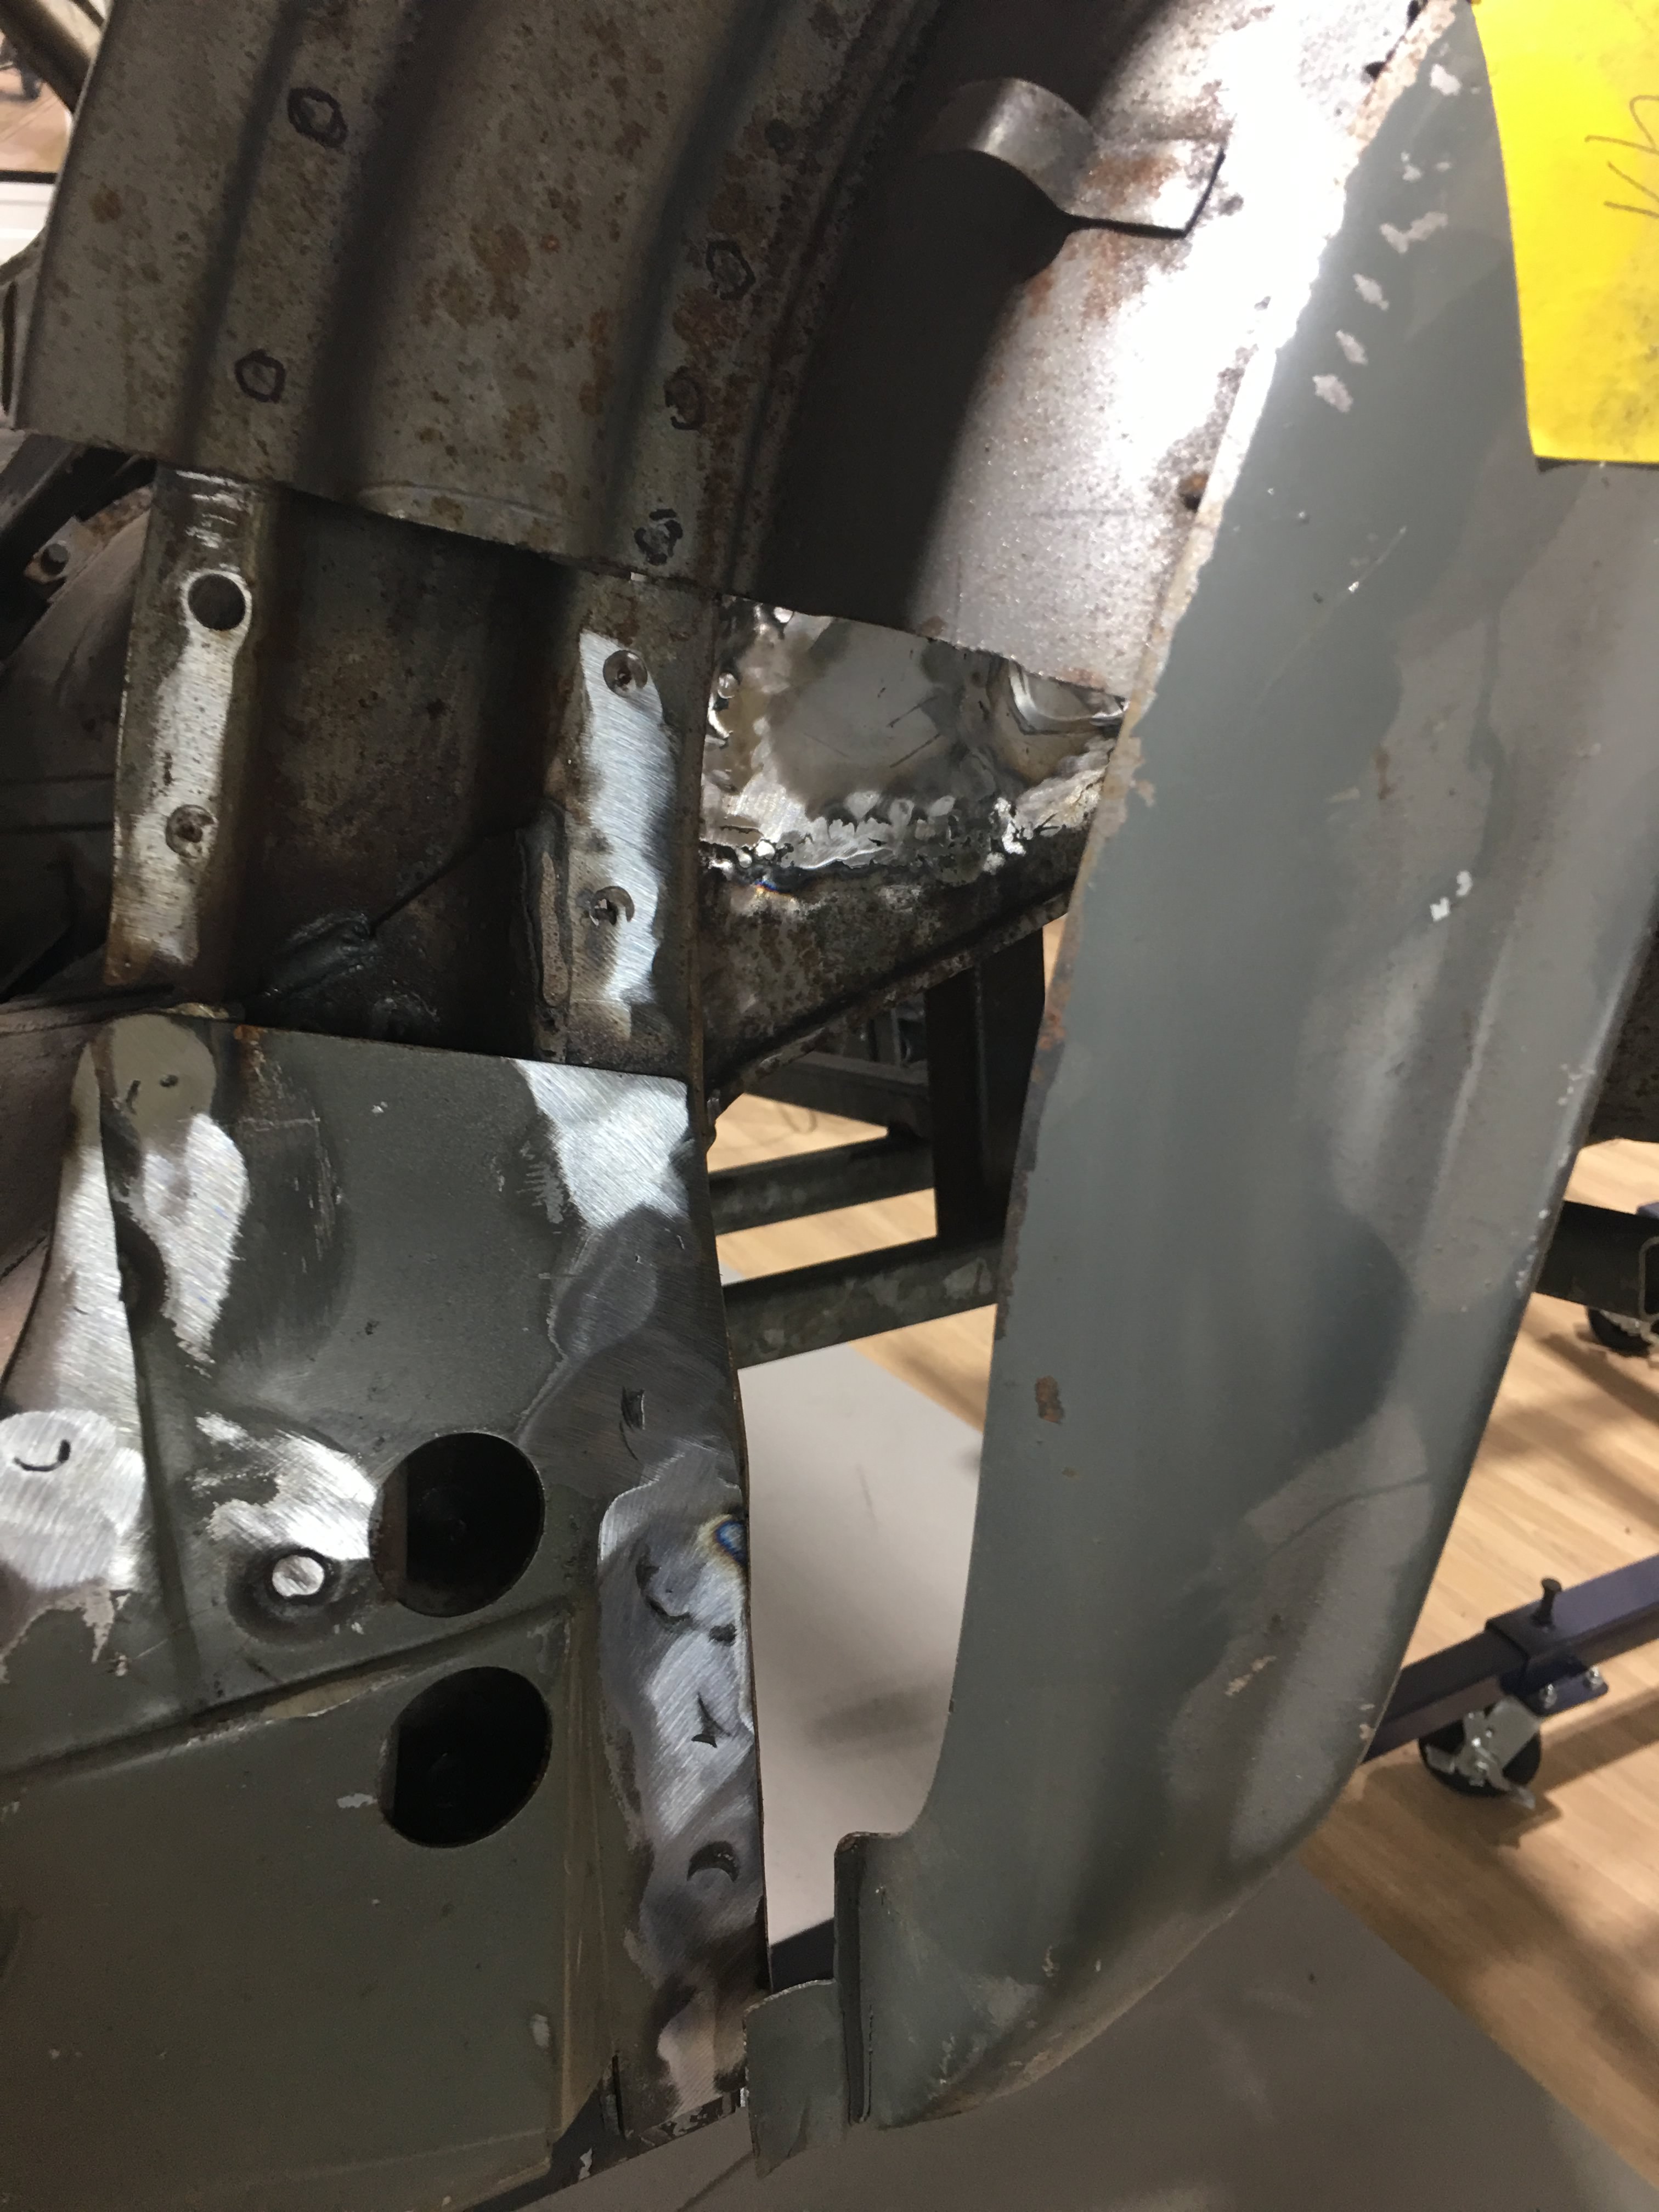
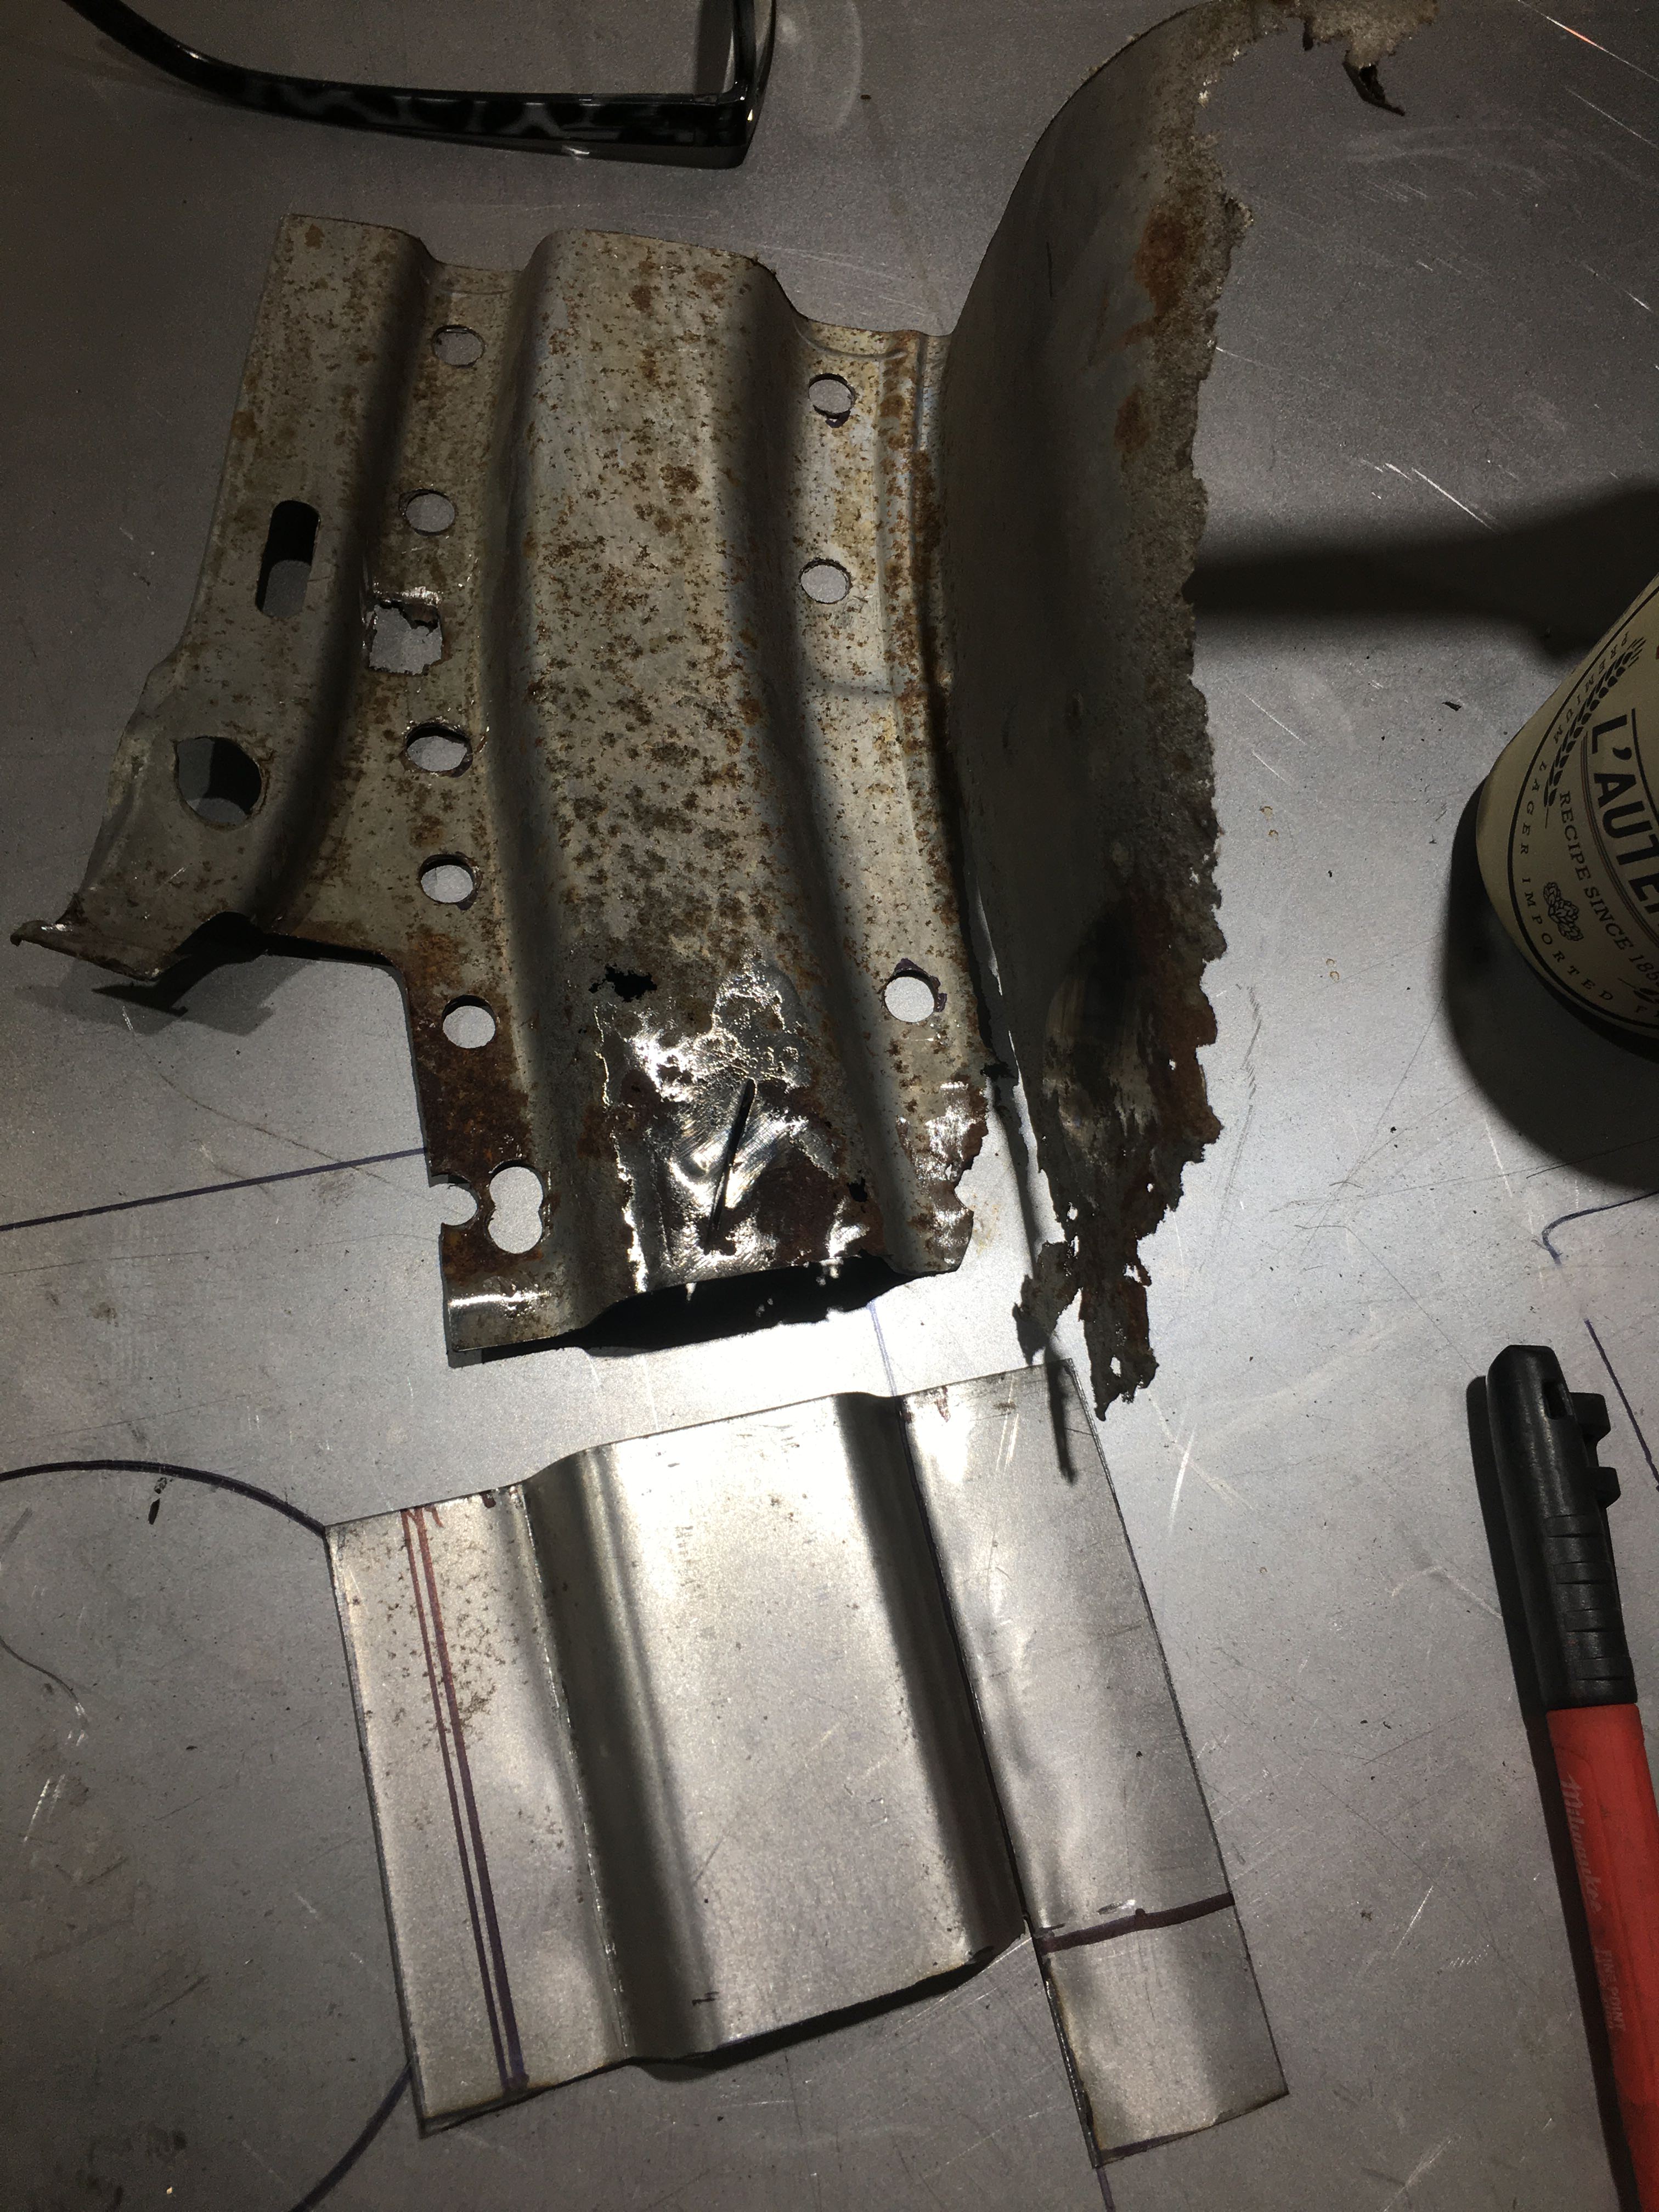
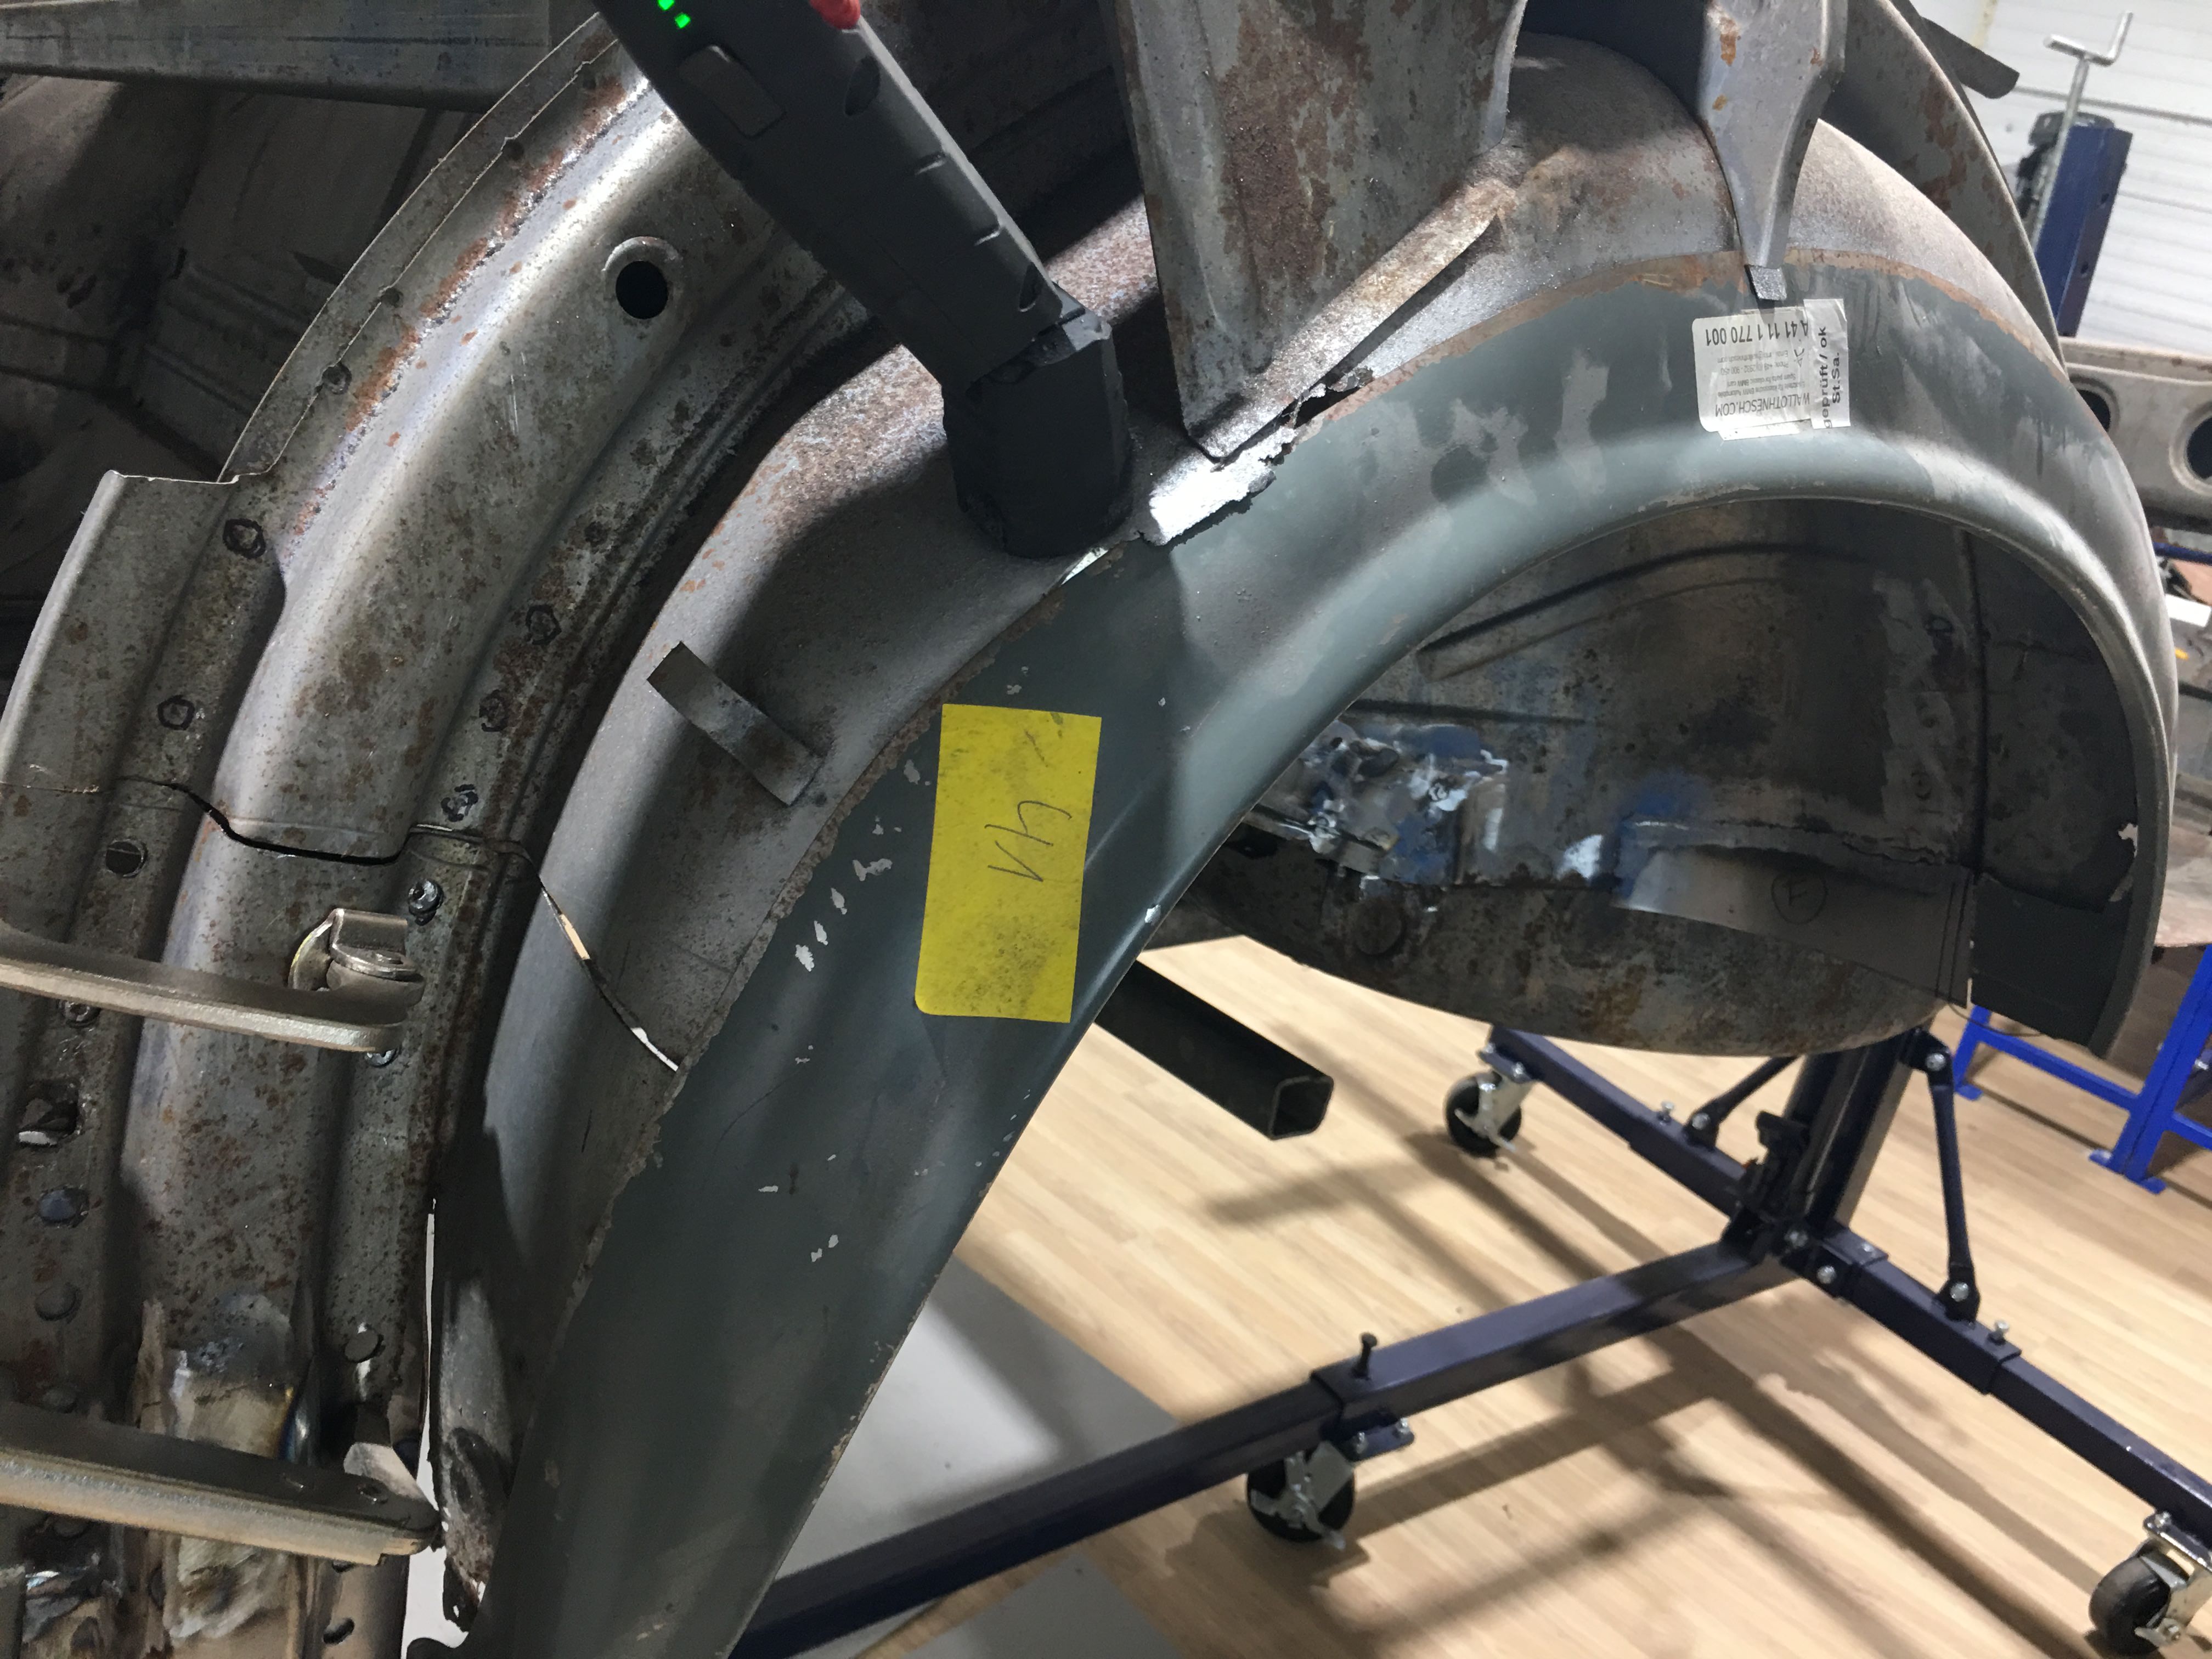
This weekend I have been working on the rear inner wheel arch - making sections to fit in before I can weld in the inner sill section... I was Freezing in the garage and had to have a hot bath to warm up!
Marc
 
Marc-M said:
The A and B post bottoms... will need to be cut exactly so they butt the old... posts
Oh good - that is what I was hoping was the fitment. That way, once butted tight and welded solid, it will match the original metal. Thank you, and stay warm!!! The temperatures have been hovering around 0 degrees F for at least three weeks here. Today it finally warmed up - it was 28 degrees this morning and it felt like a spring day.
 
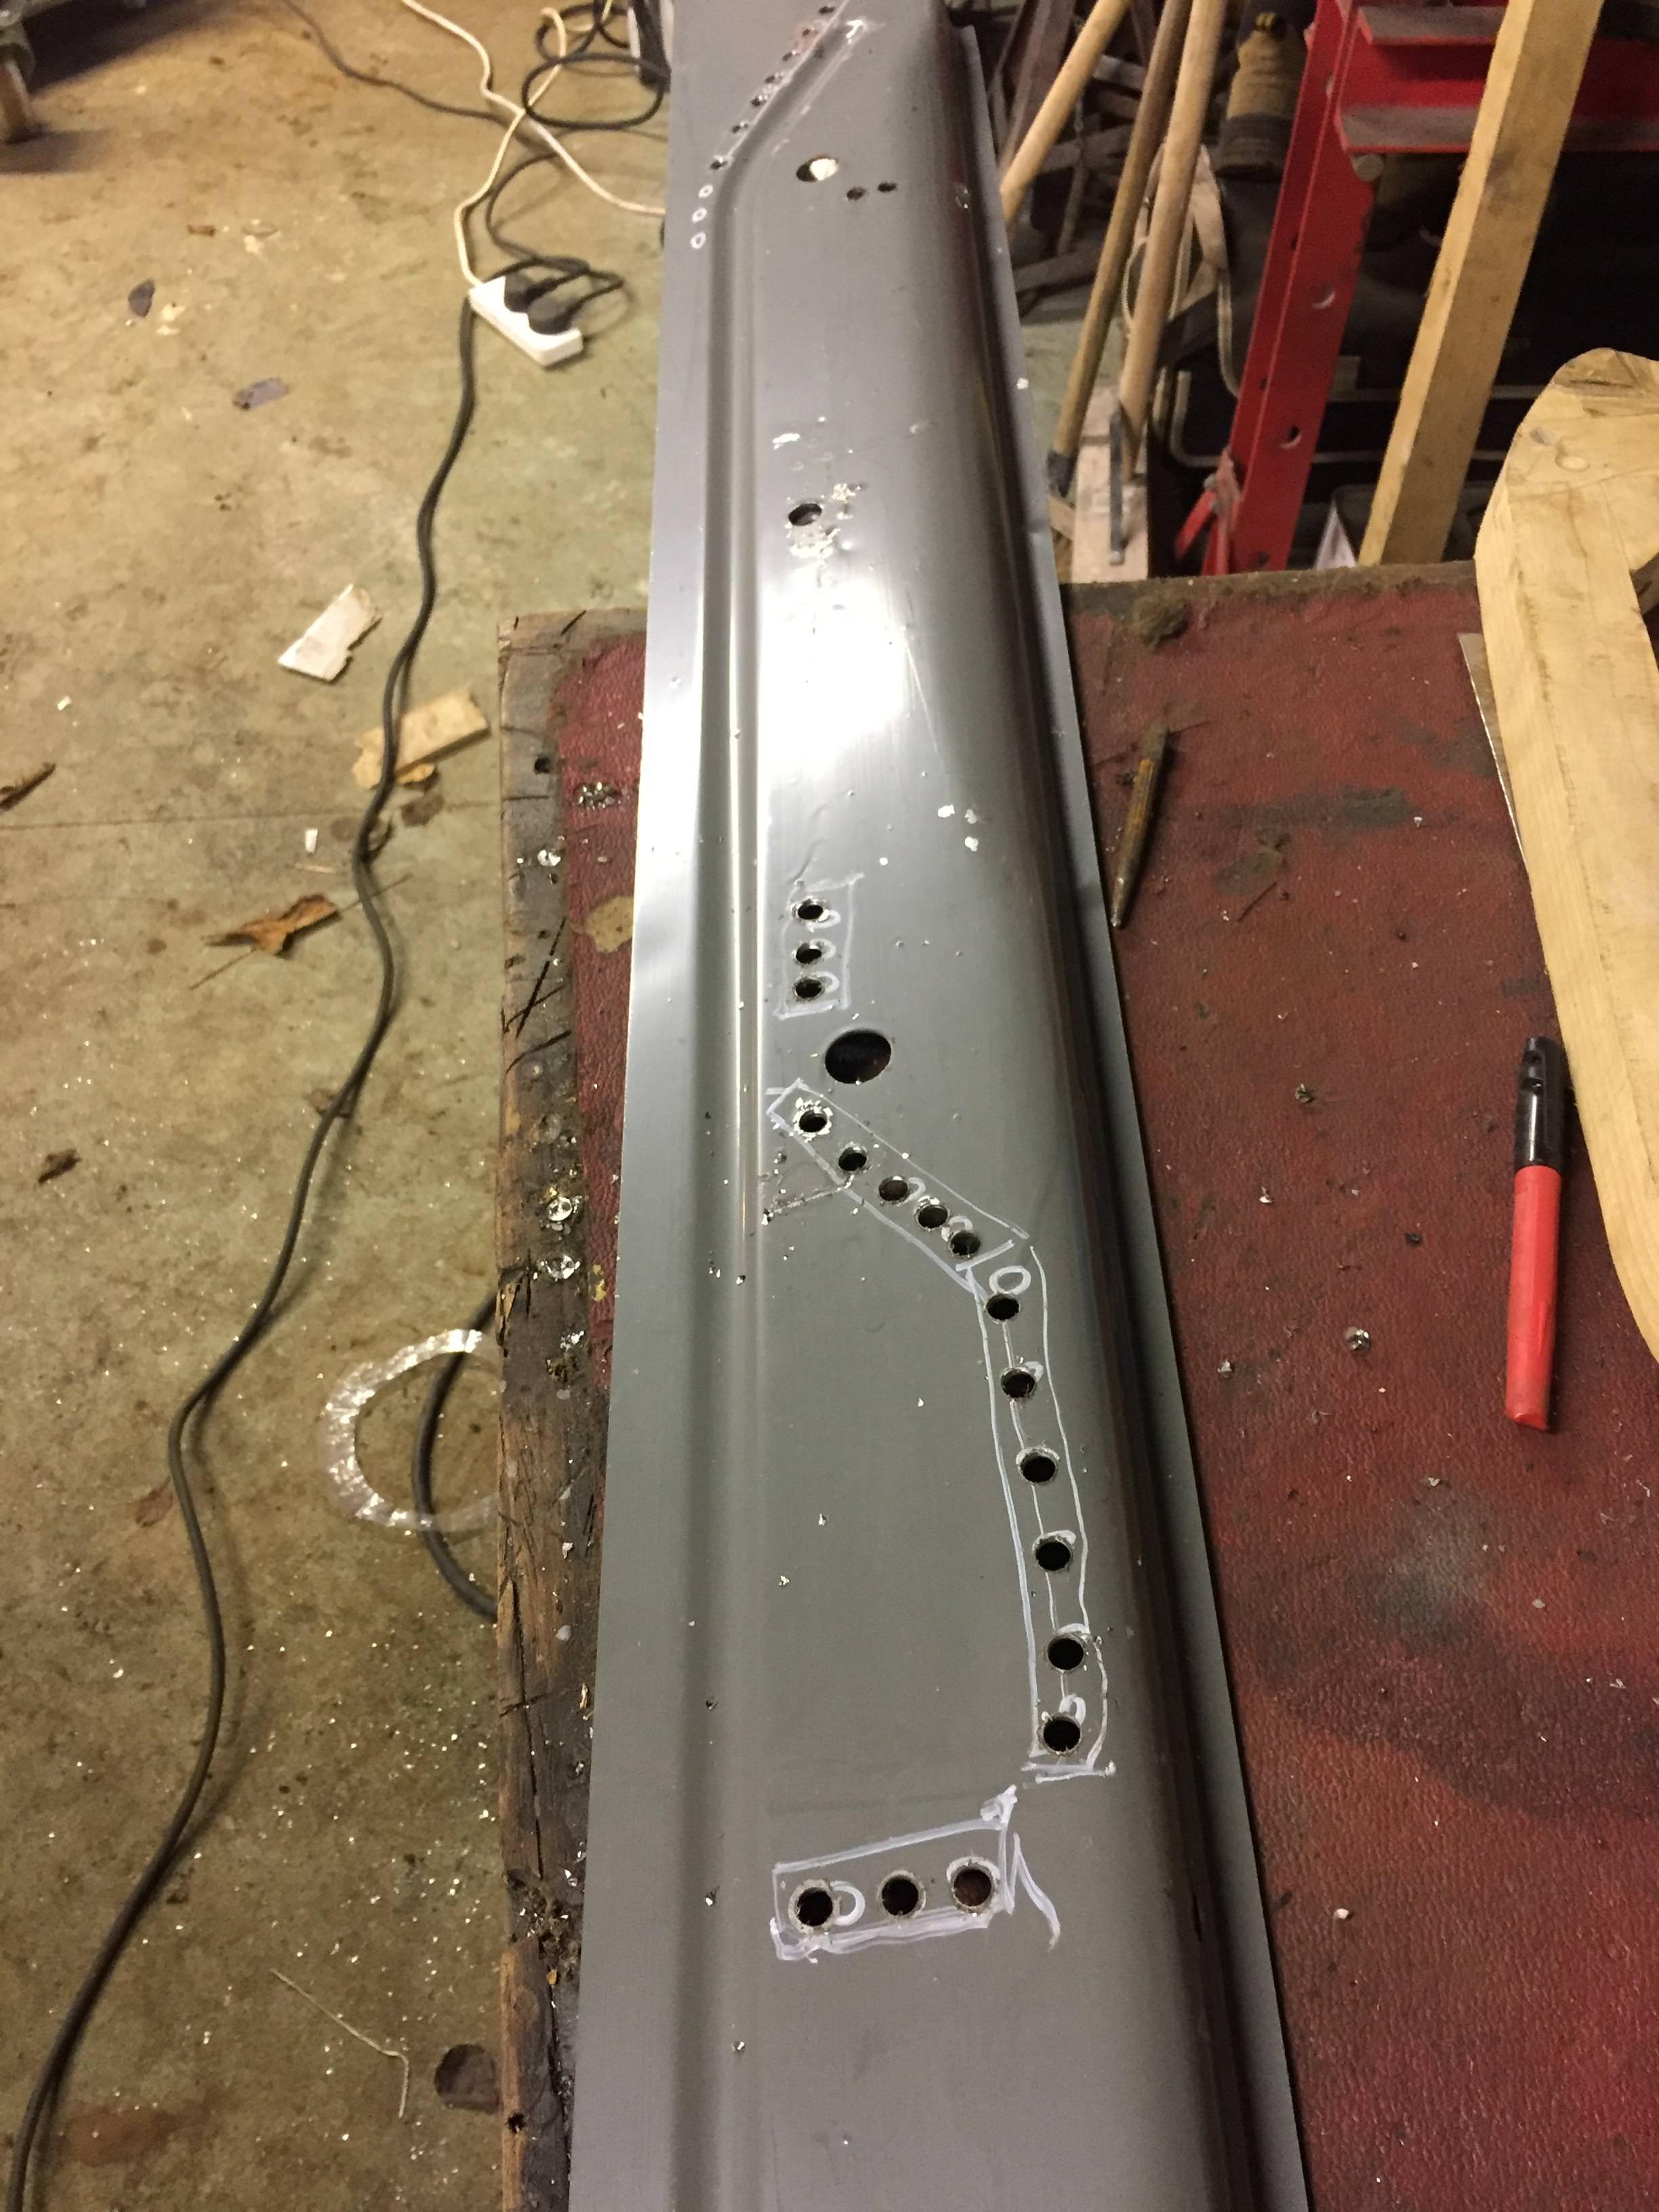
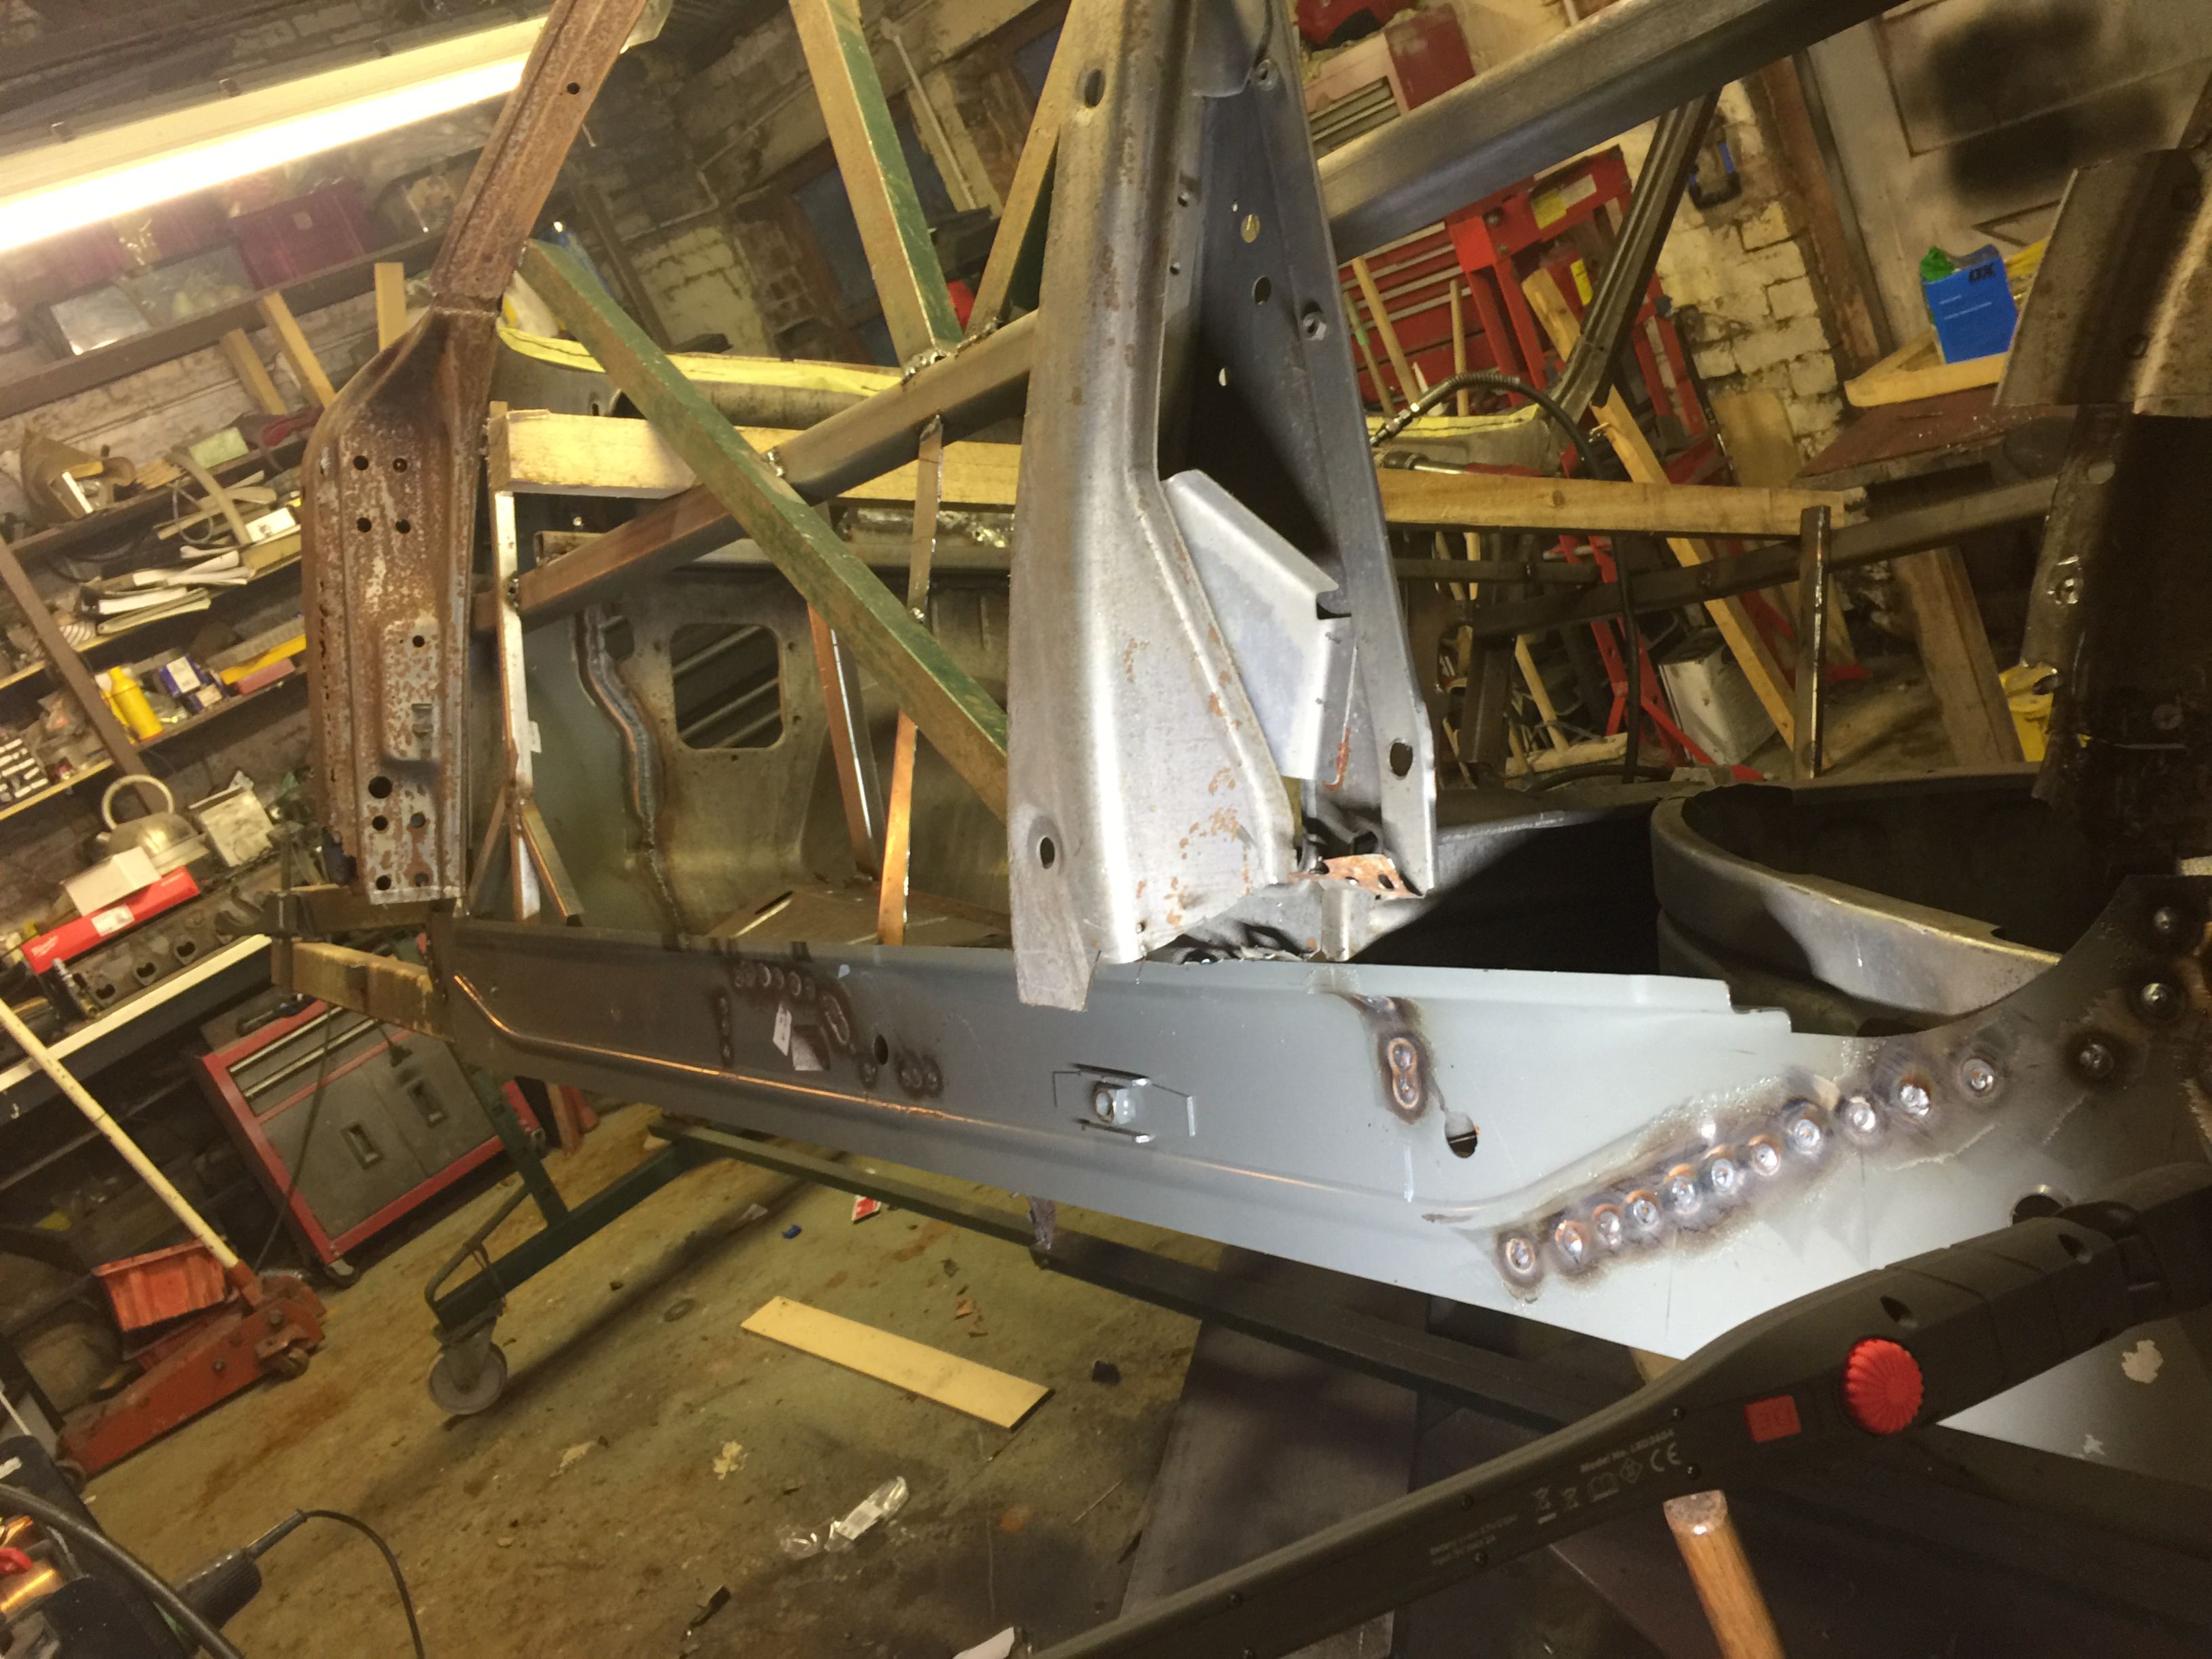
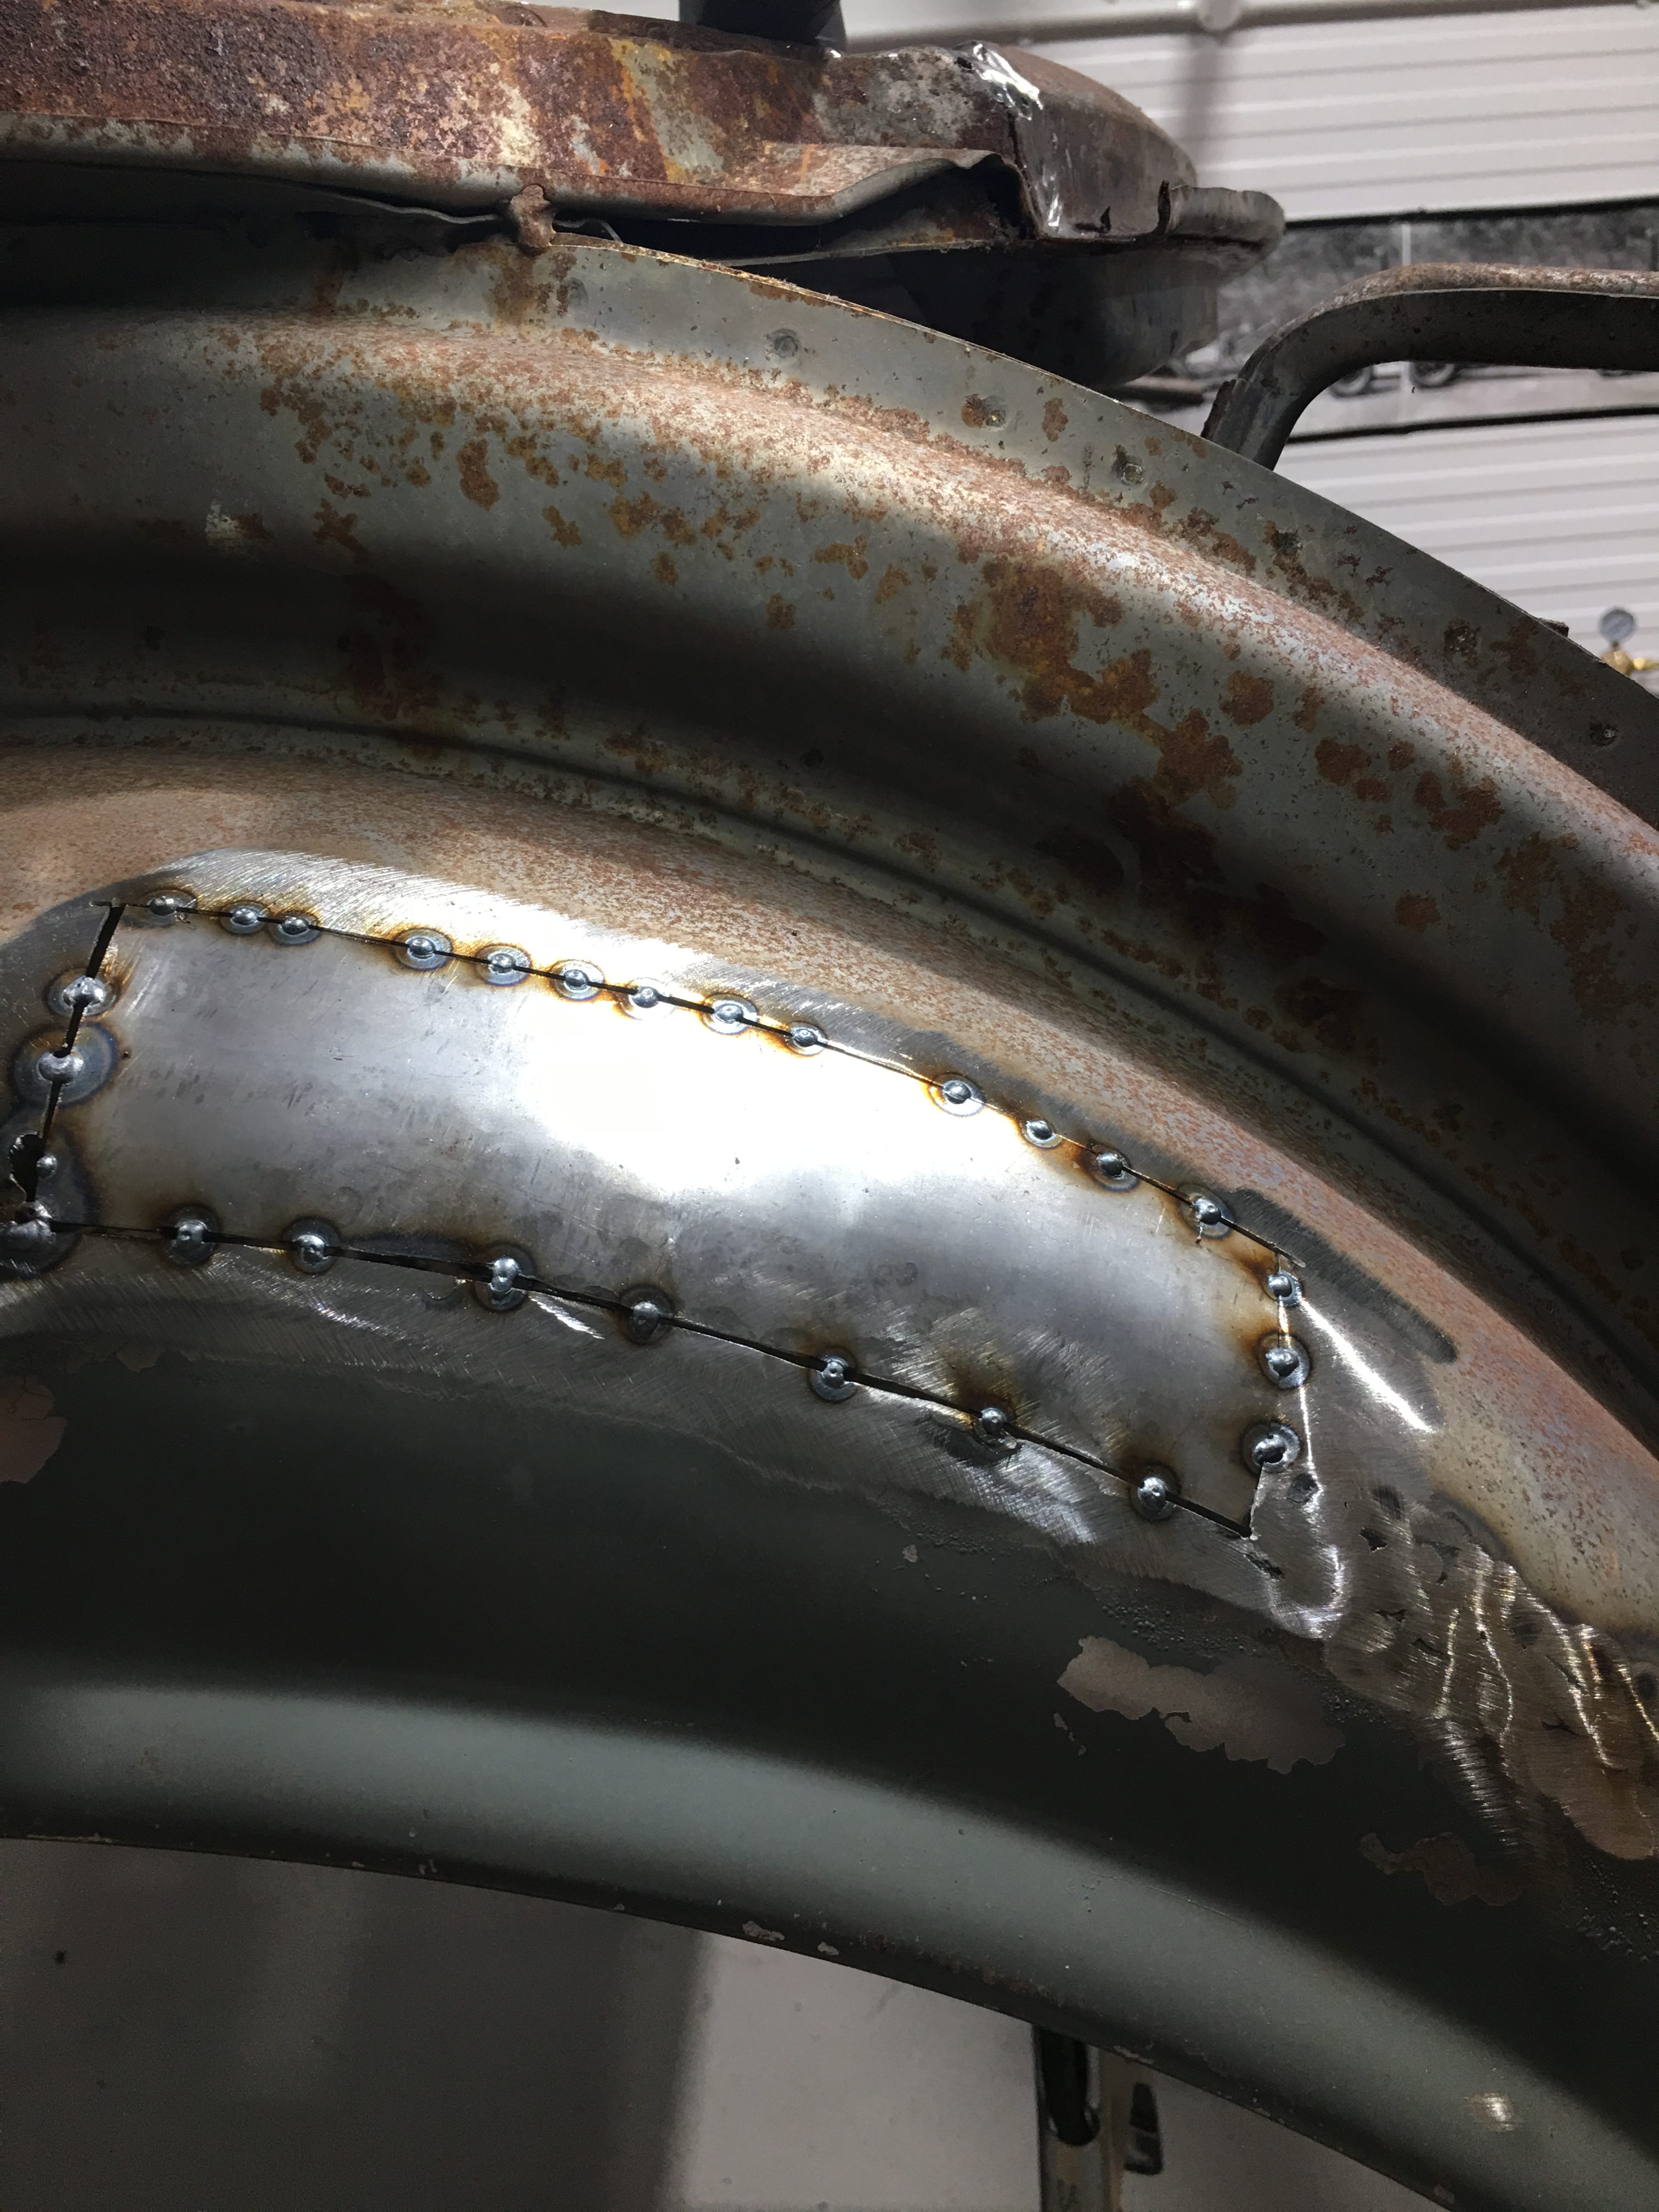
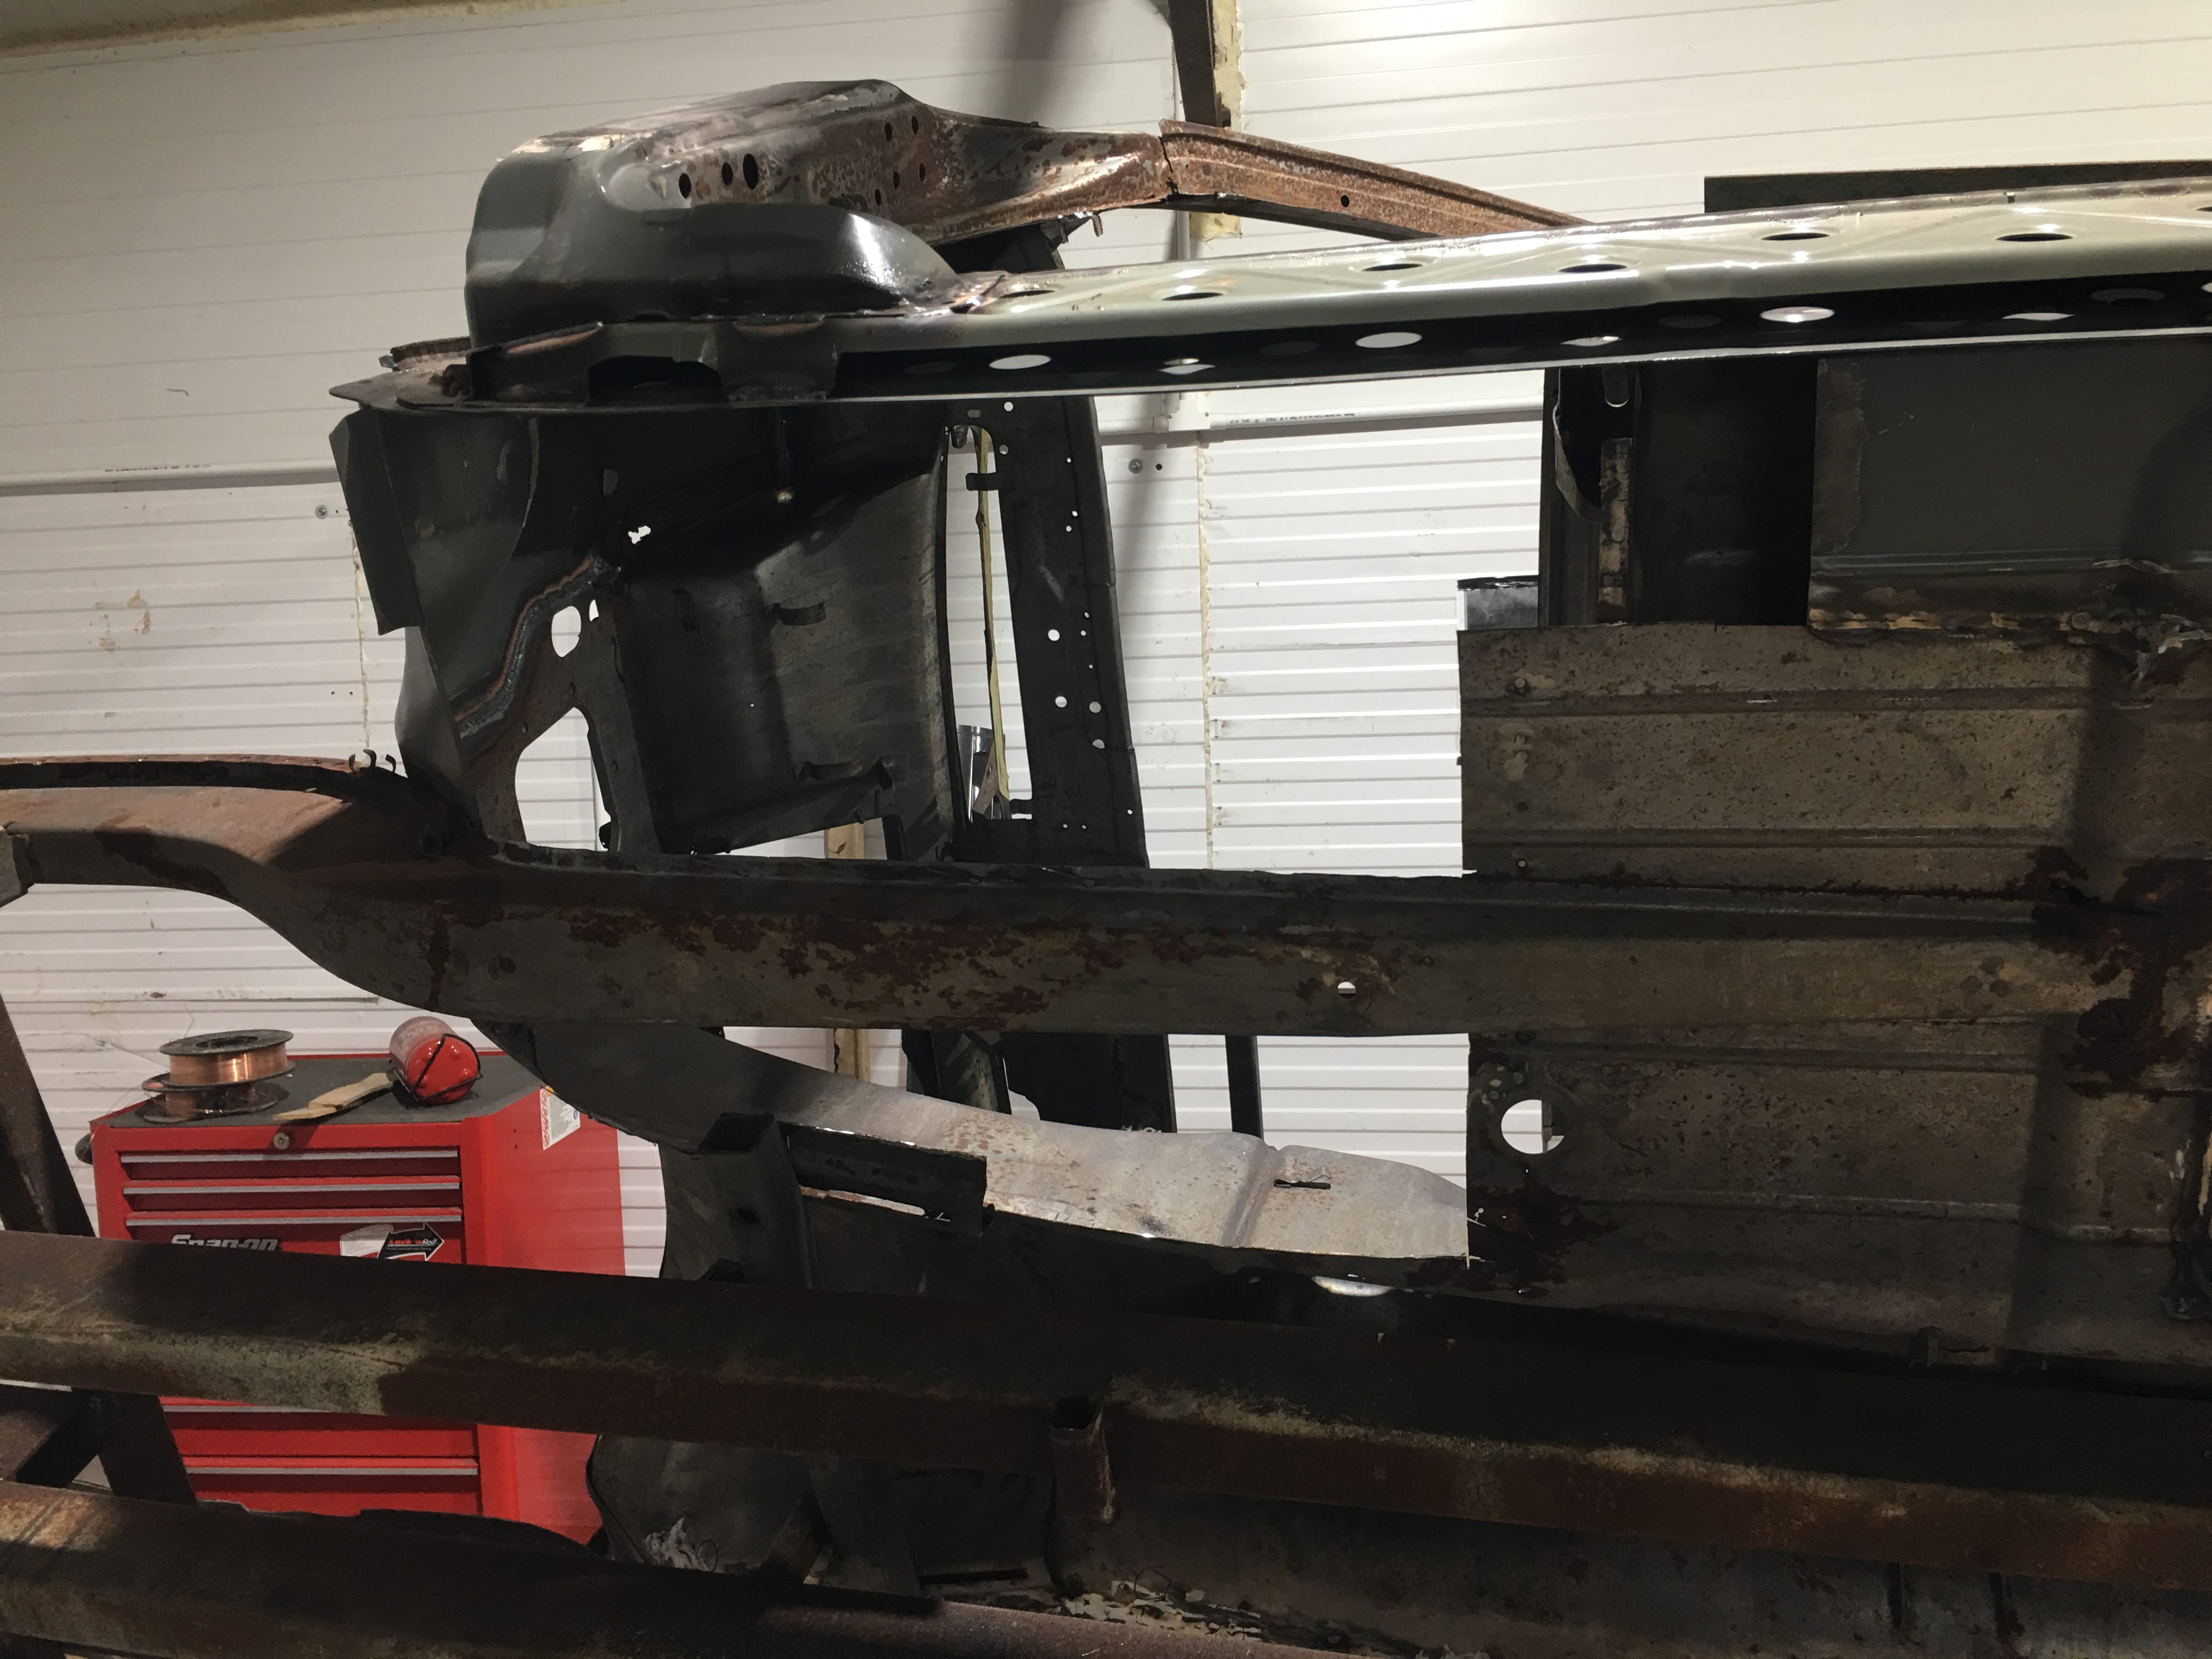
Plug welded the inner sill in – marked up where the holes should be – drilled out and hey presto the inner sills now welded and in place.

xi66Cdo.jpg

pVIZX4Z.jpg

88NXmMu.jpg


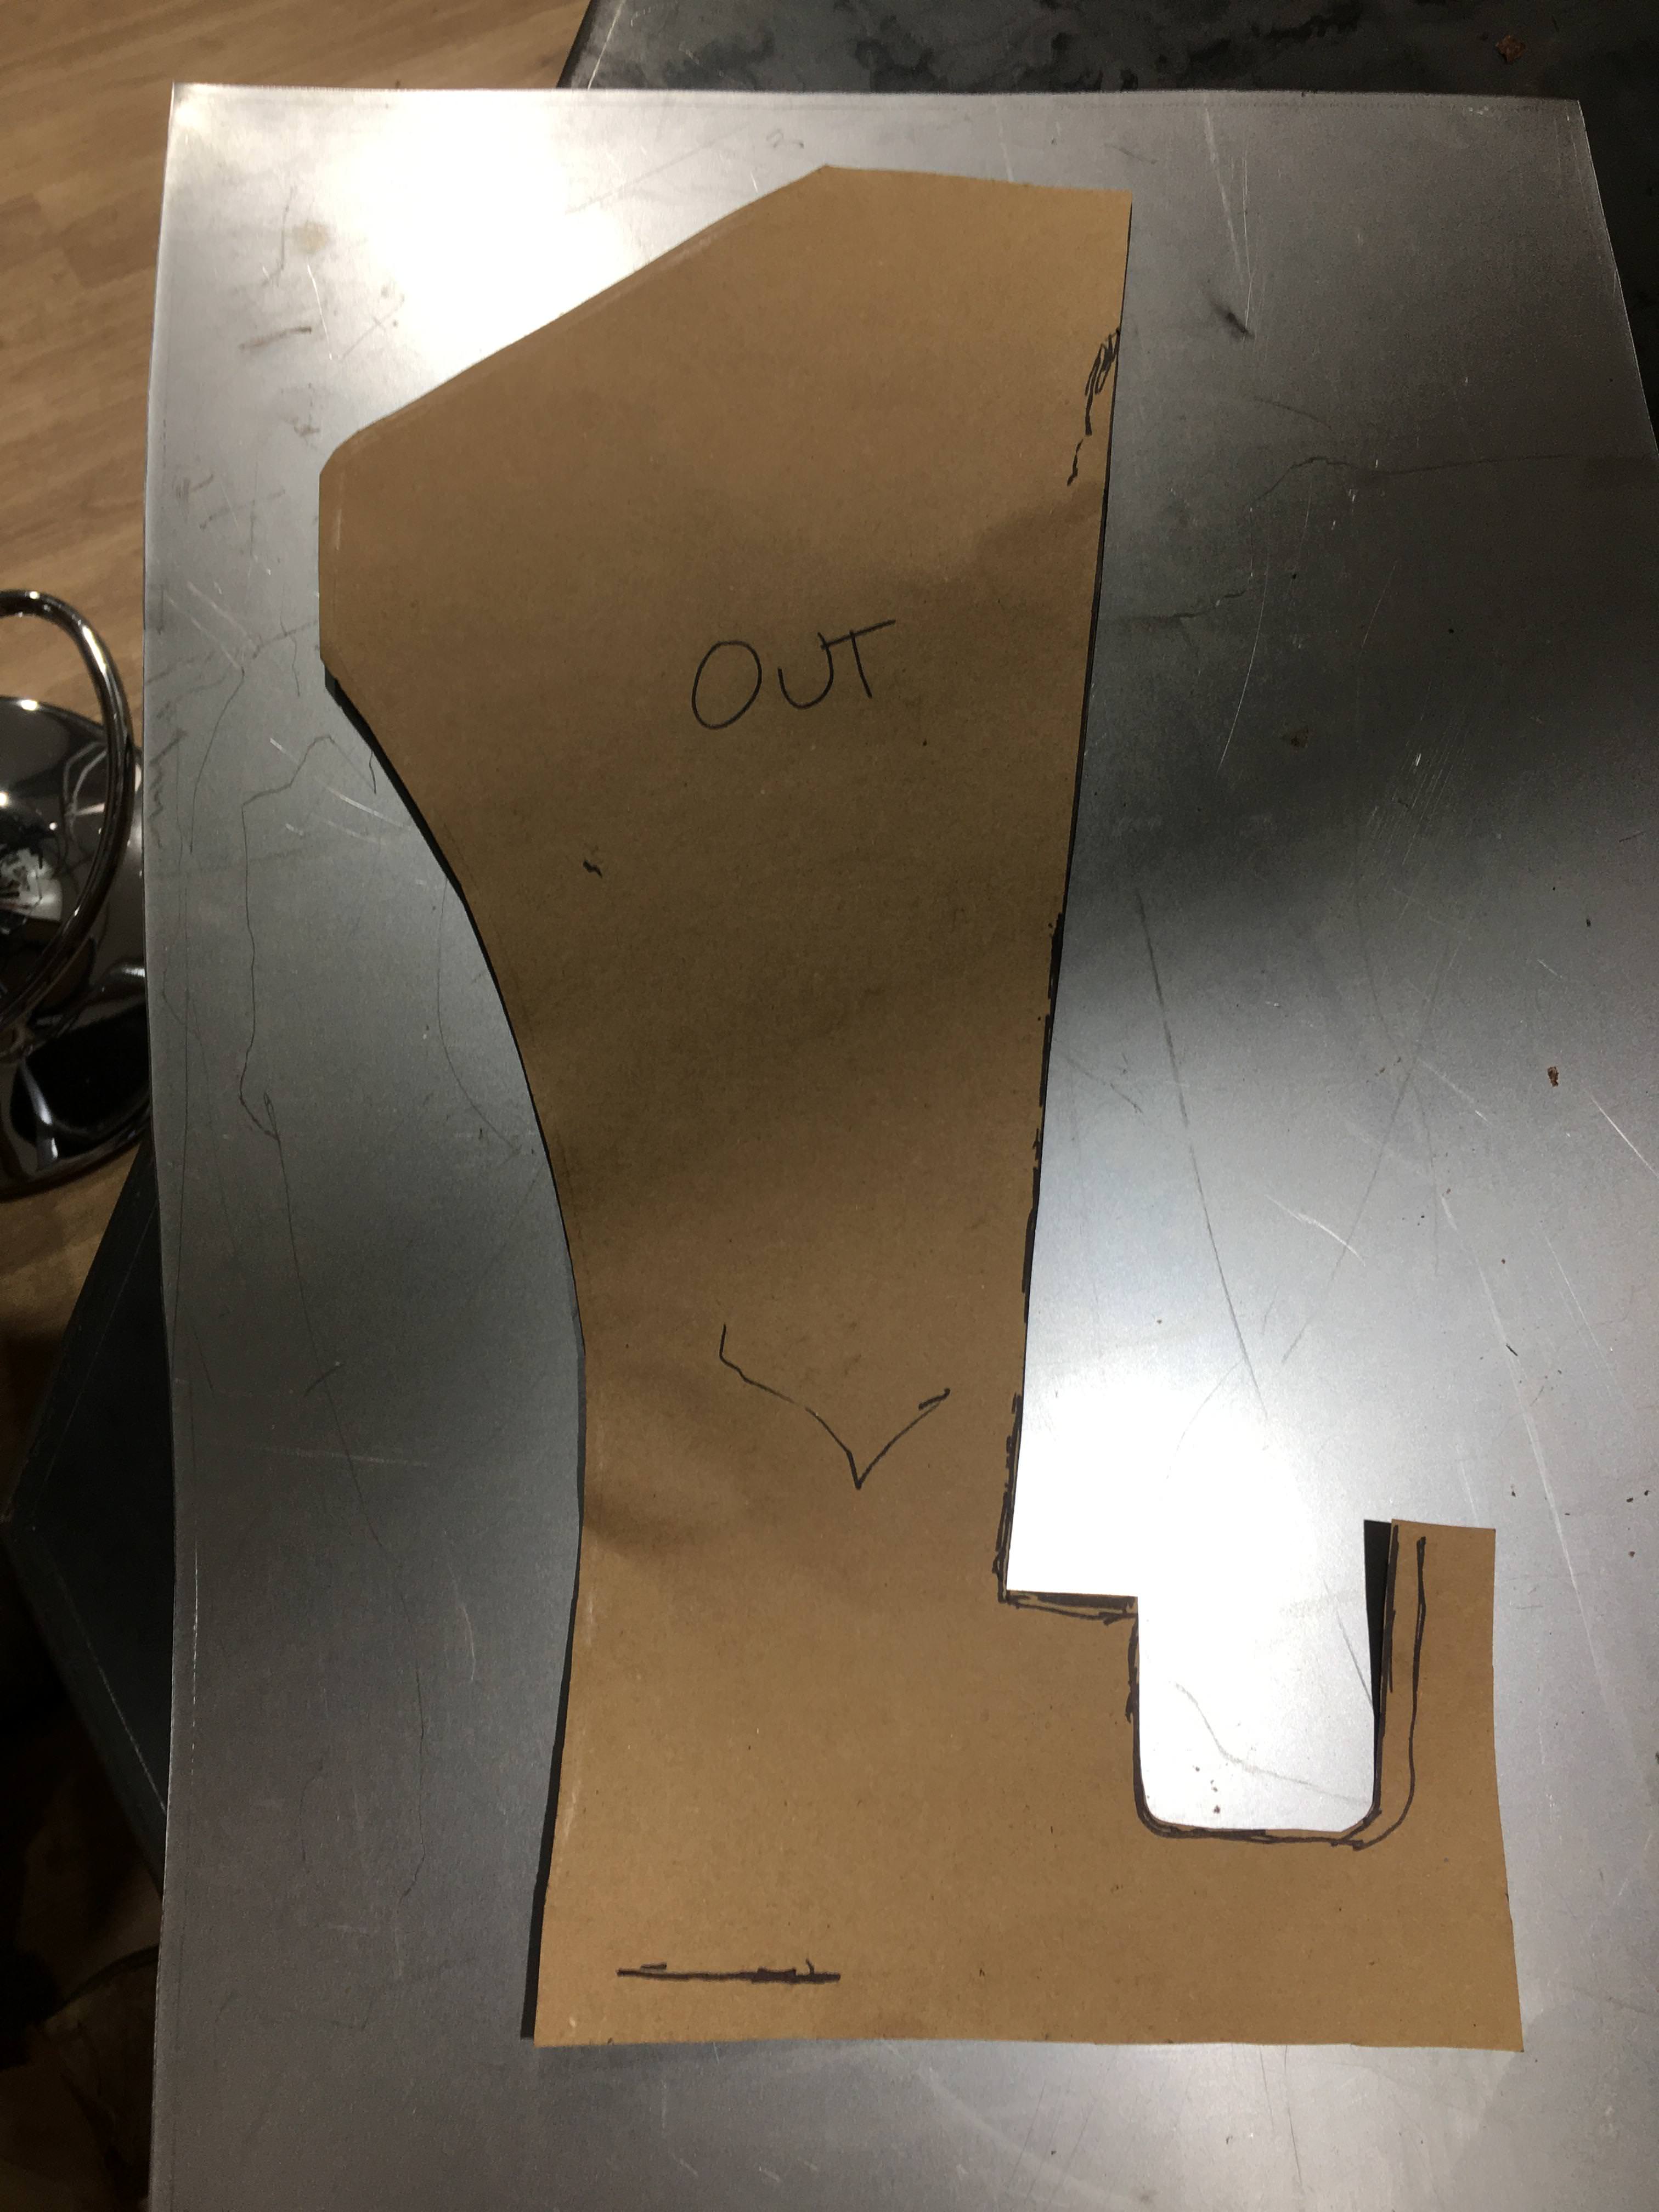
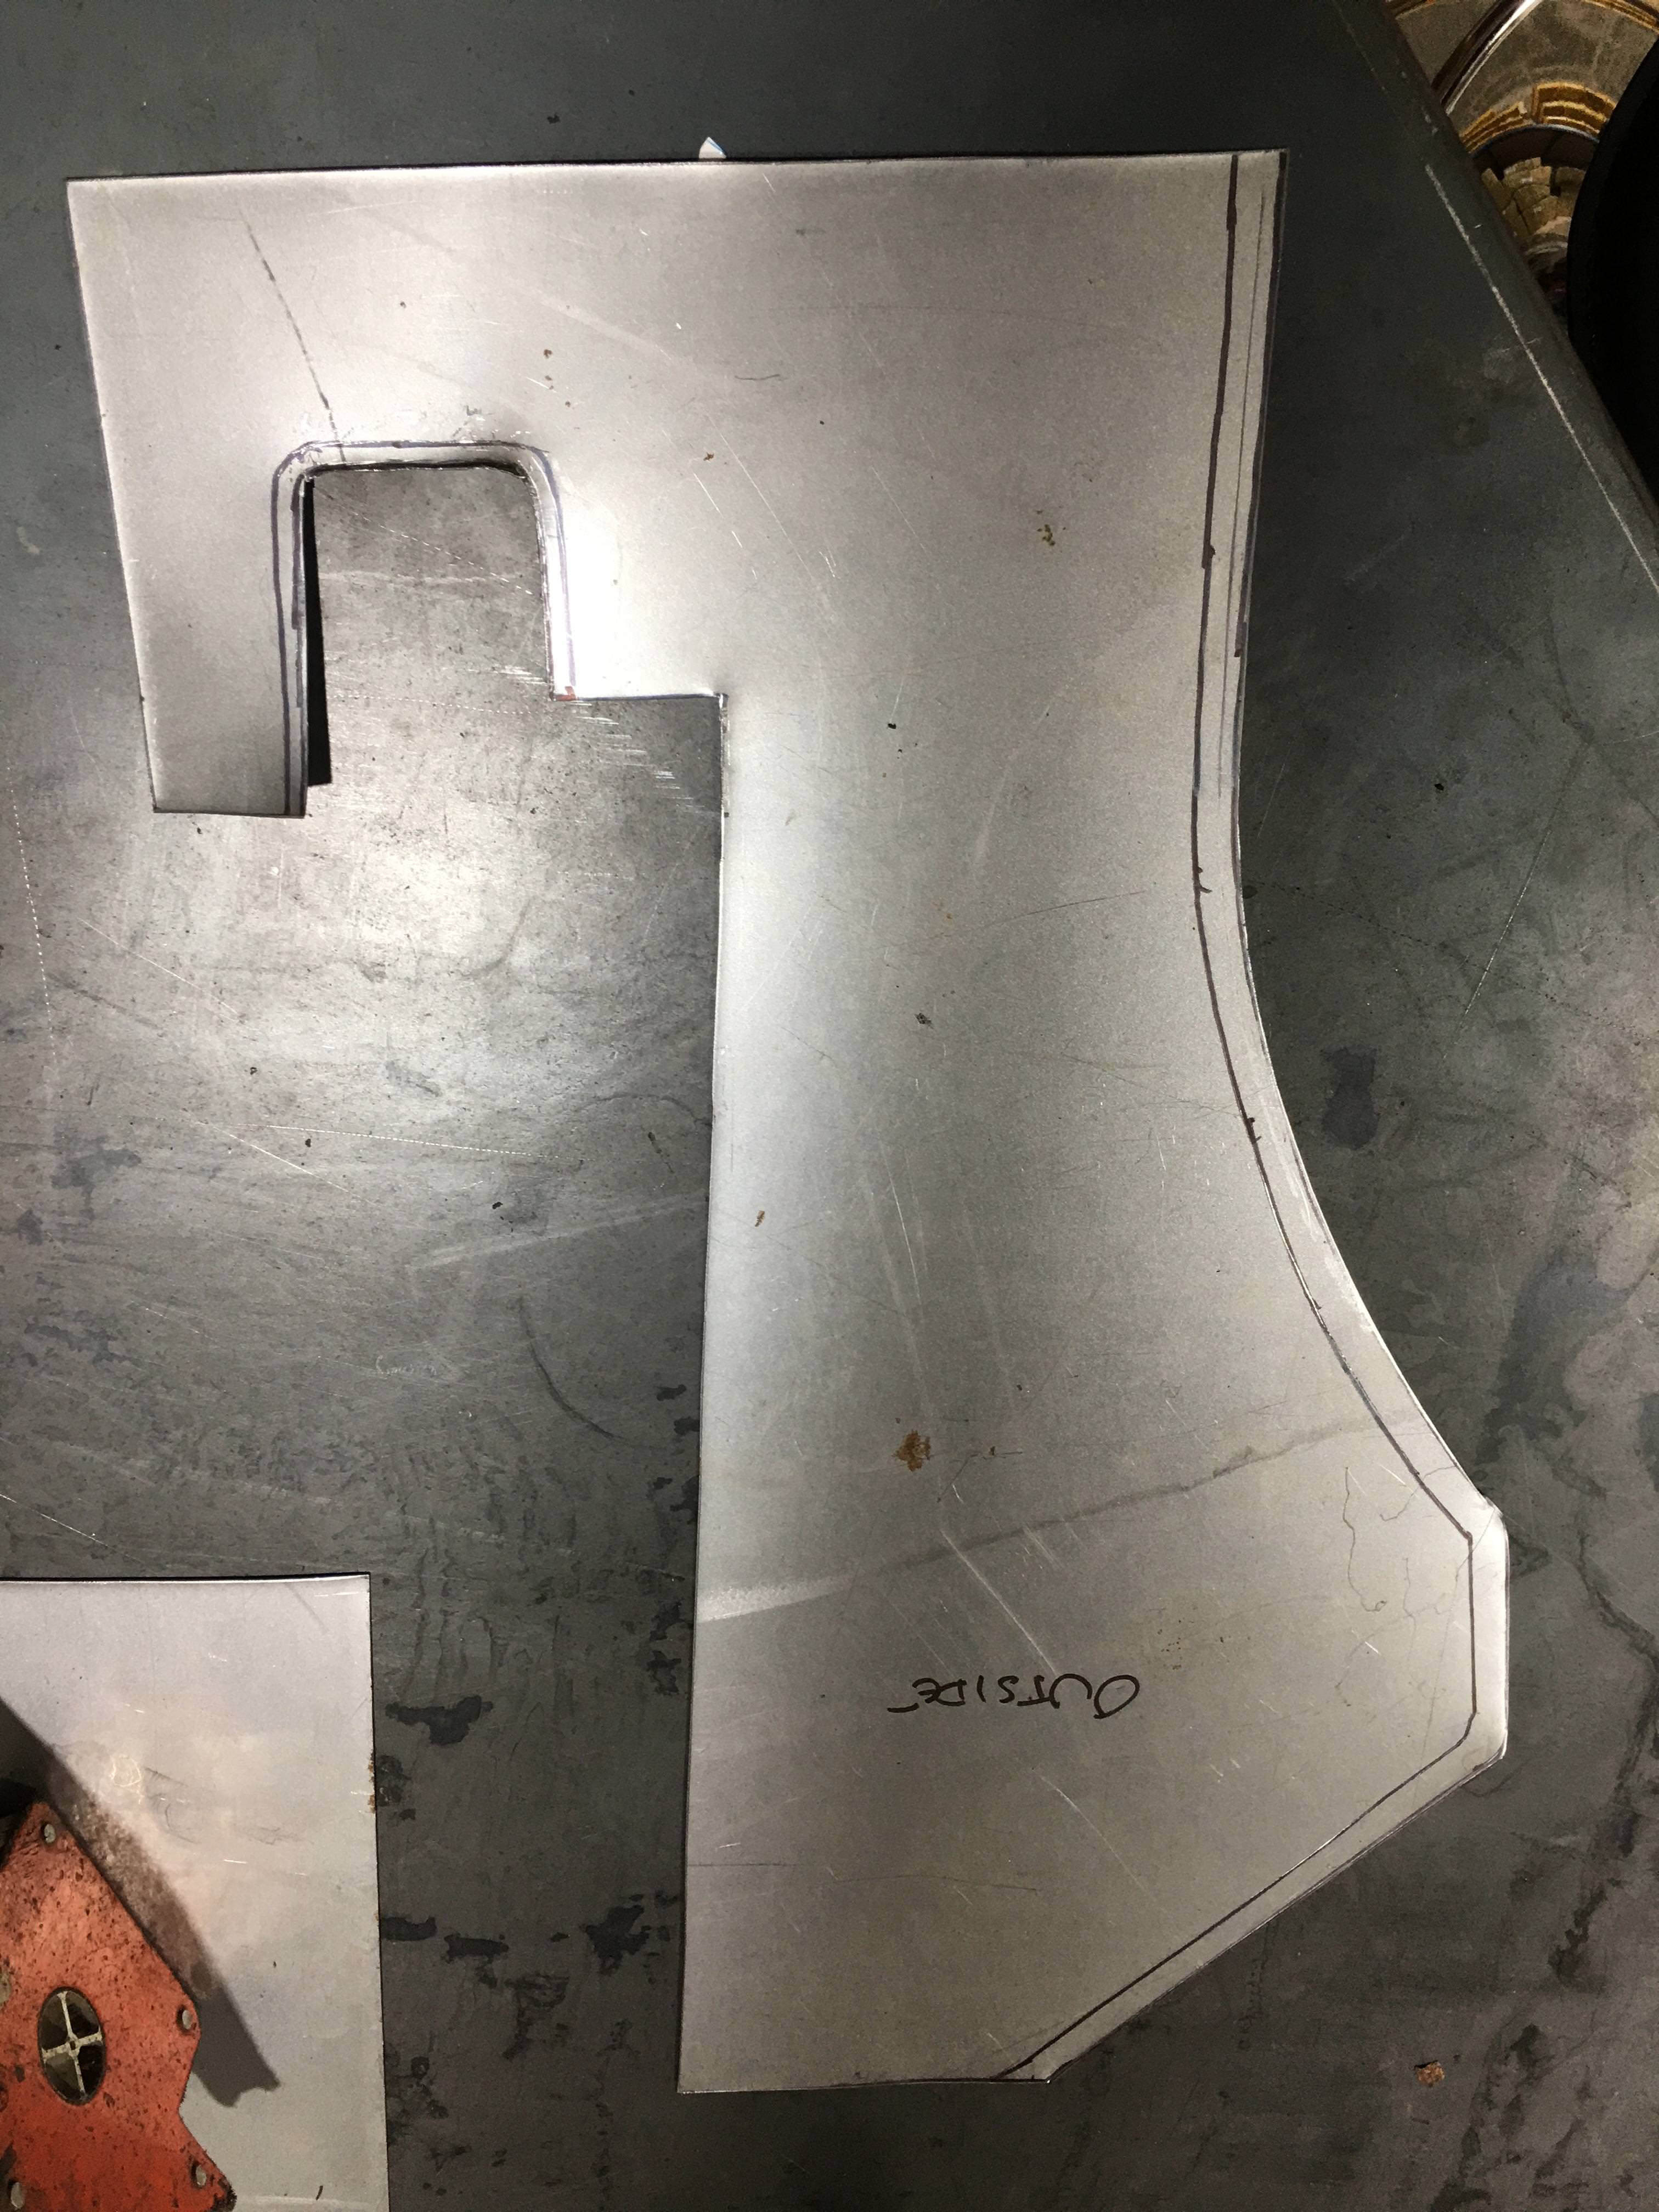
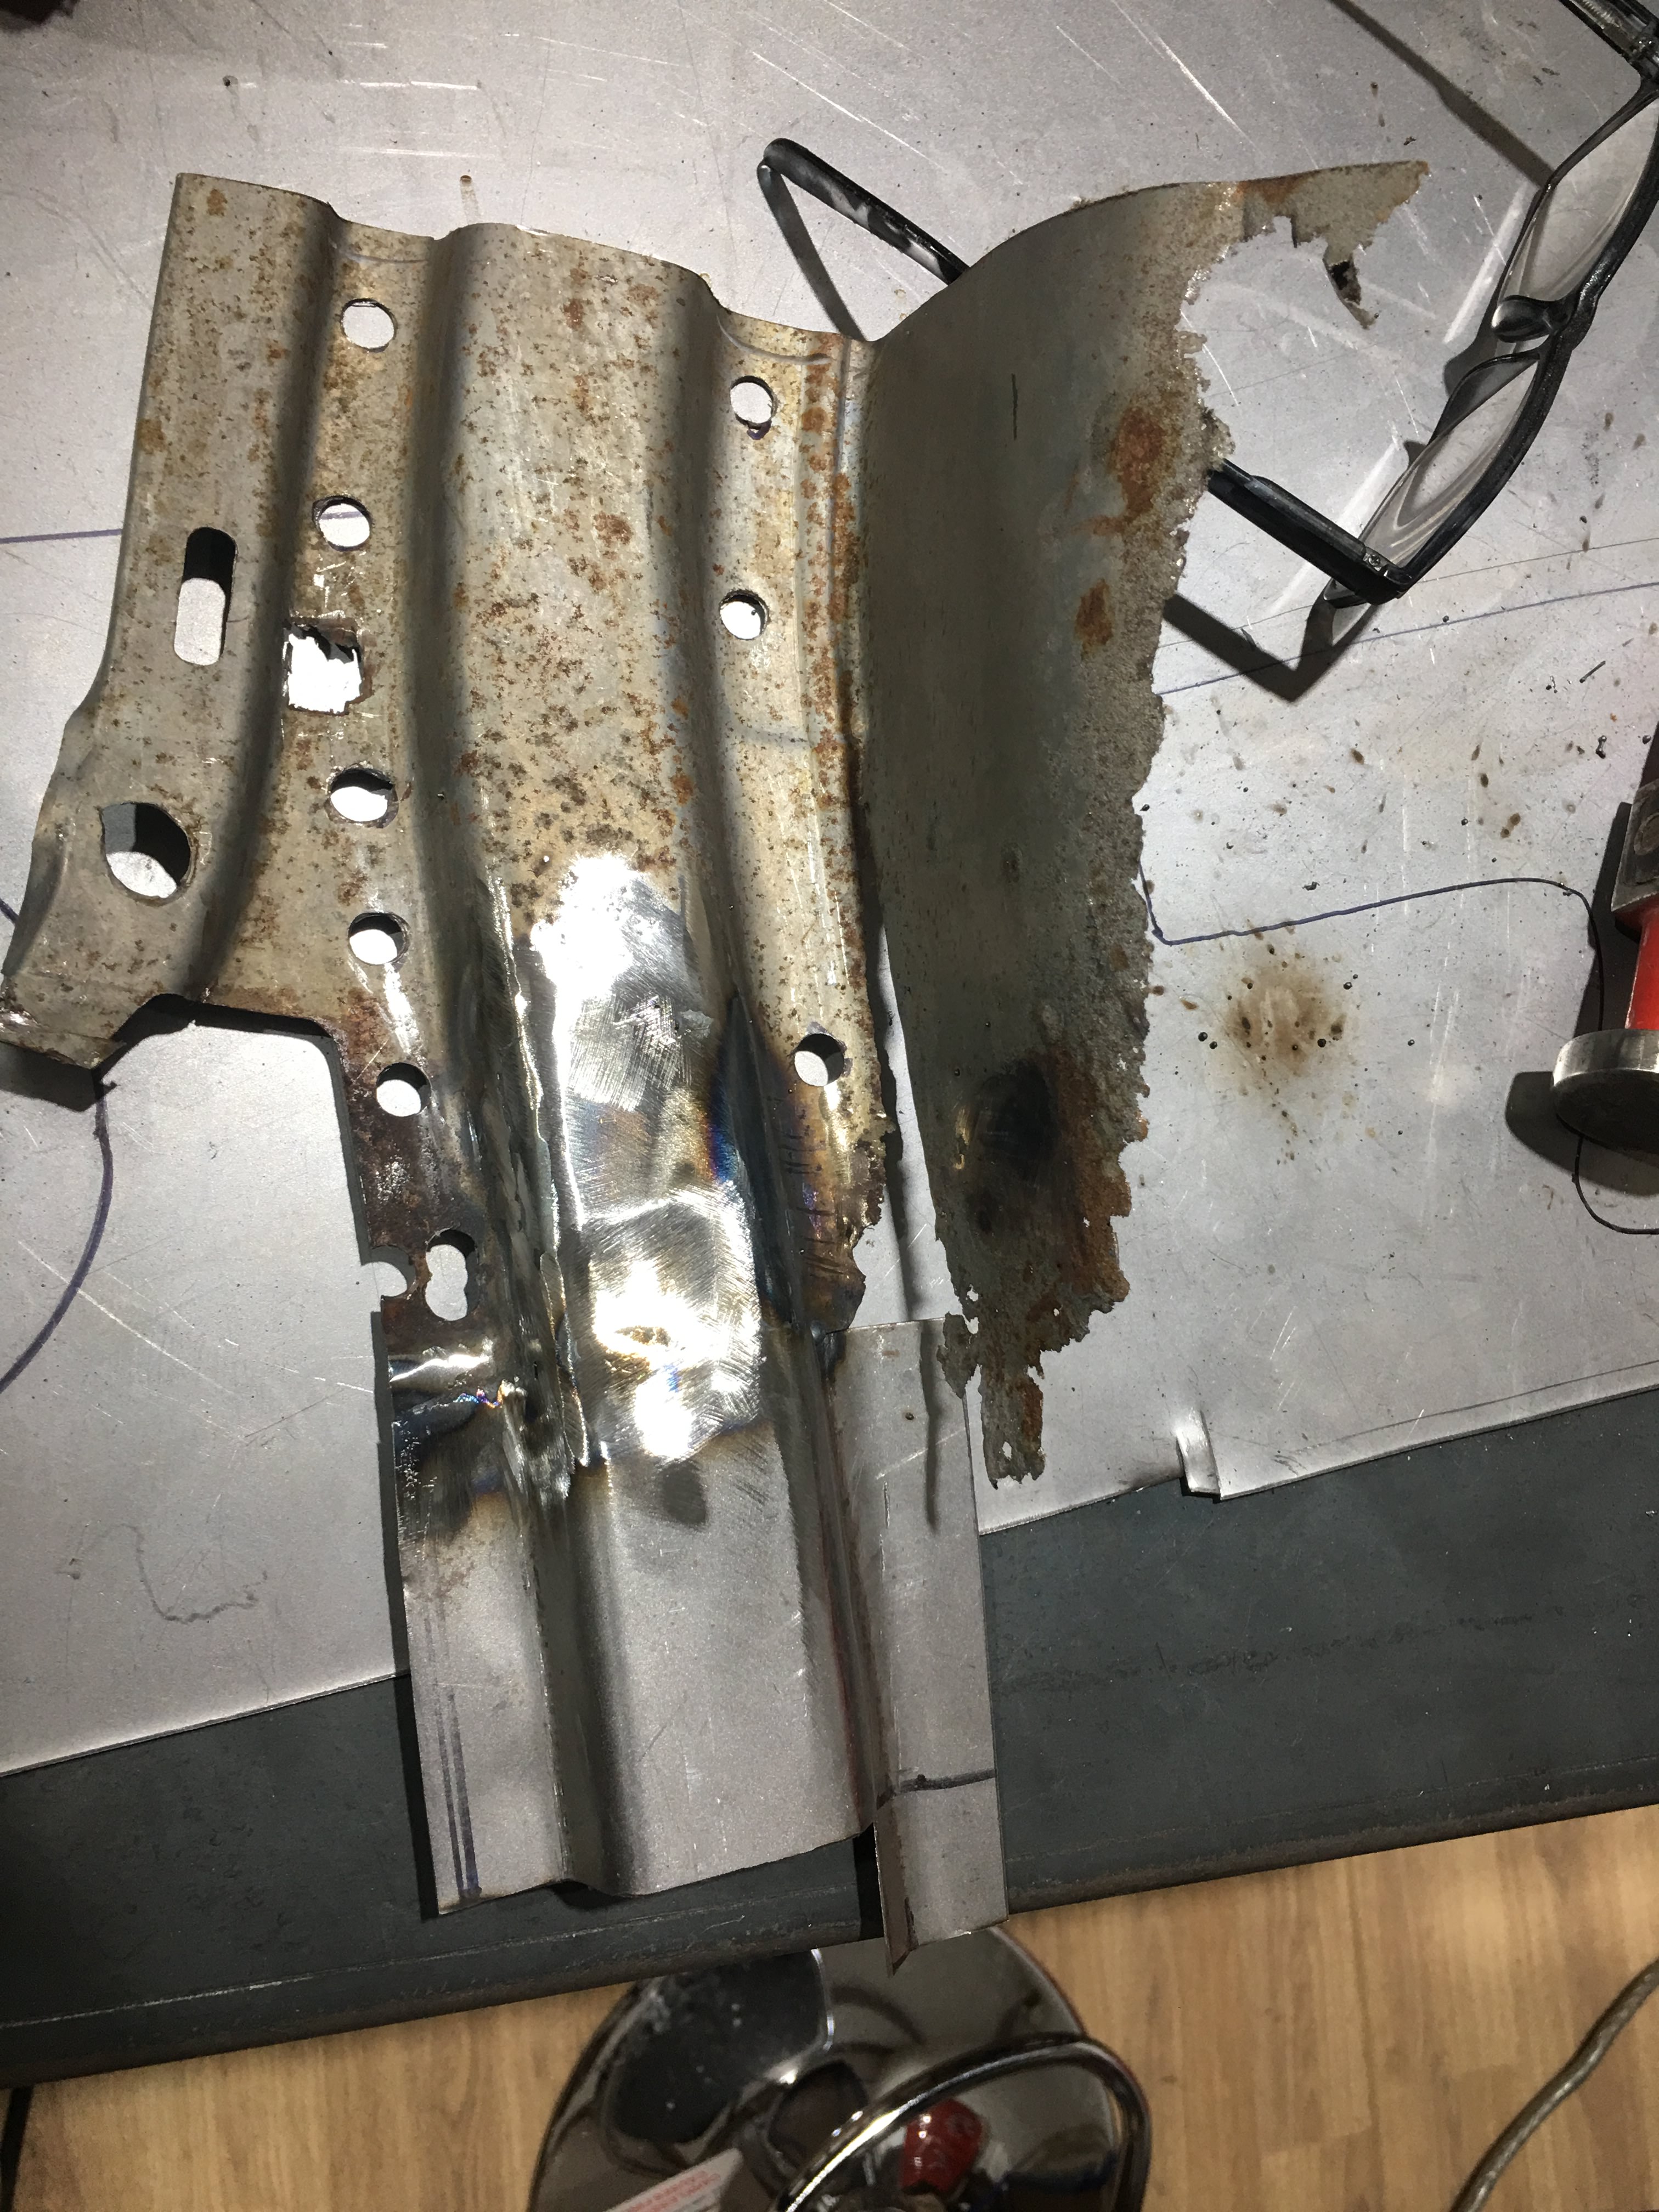
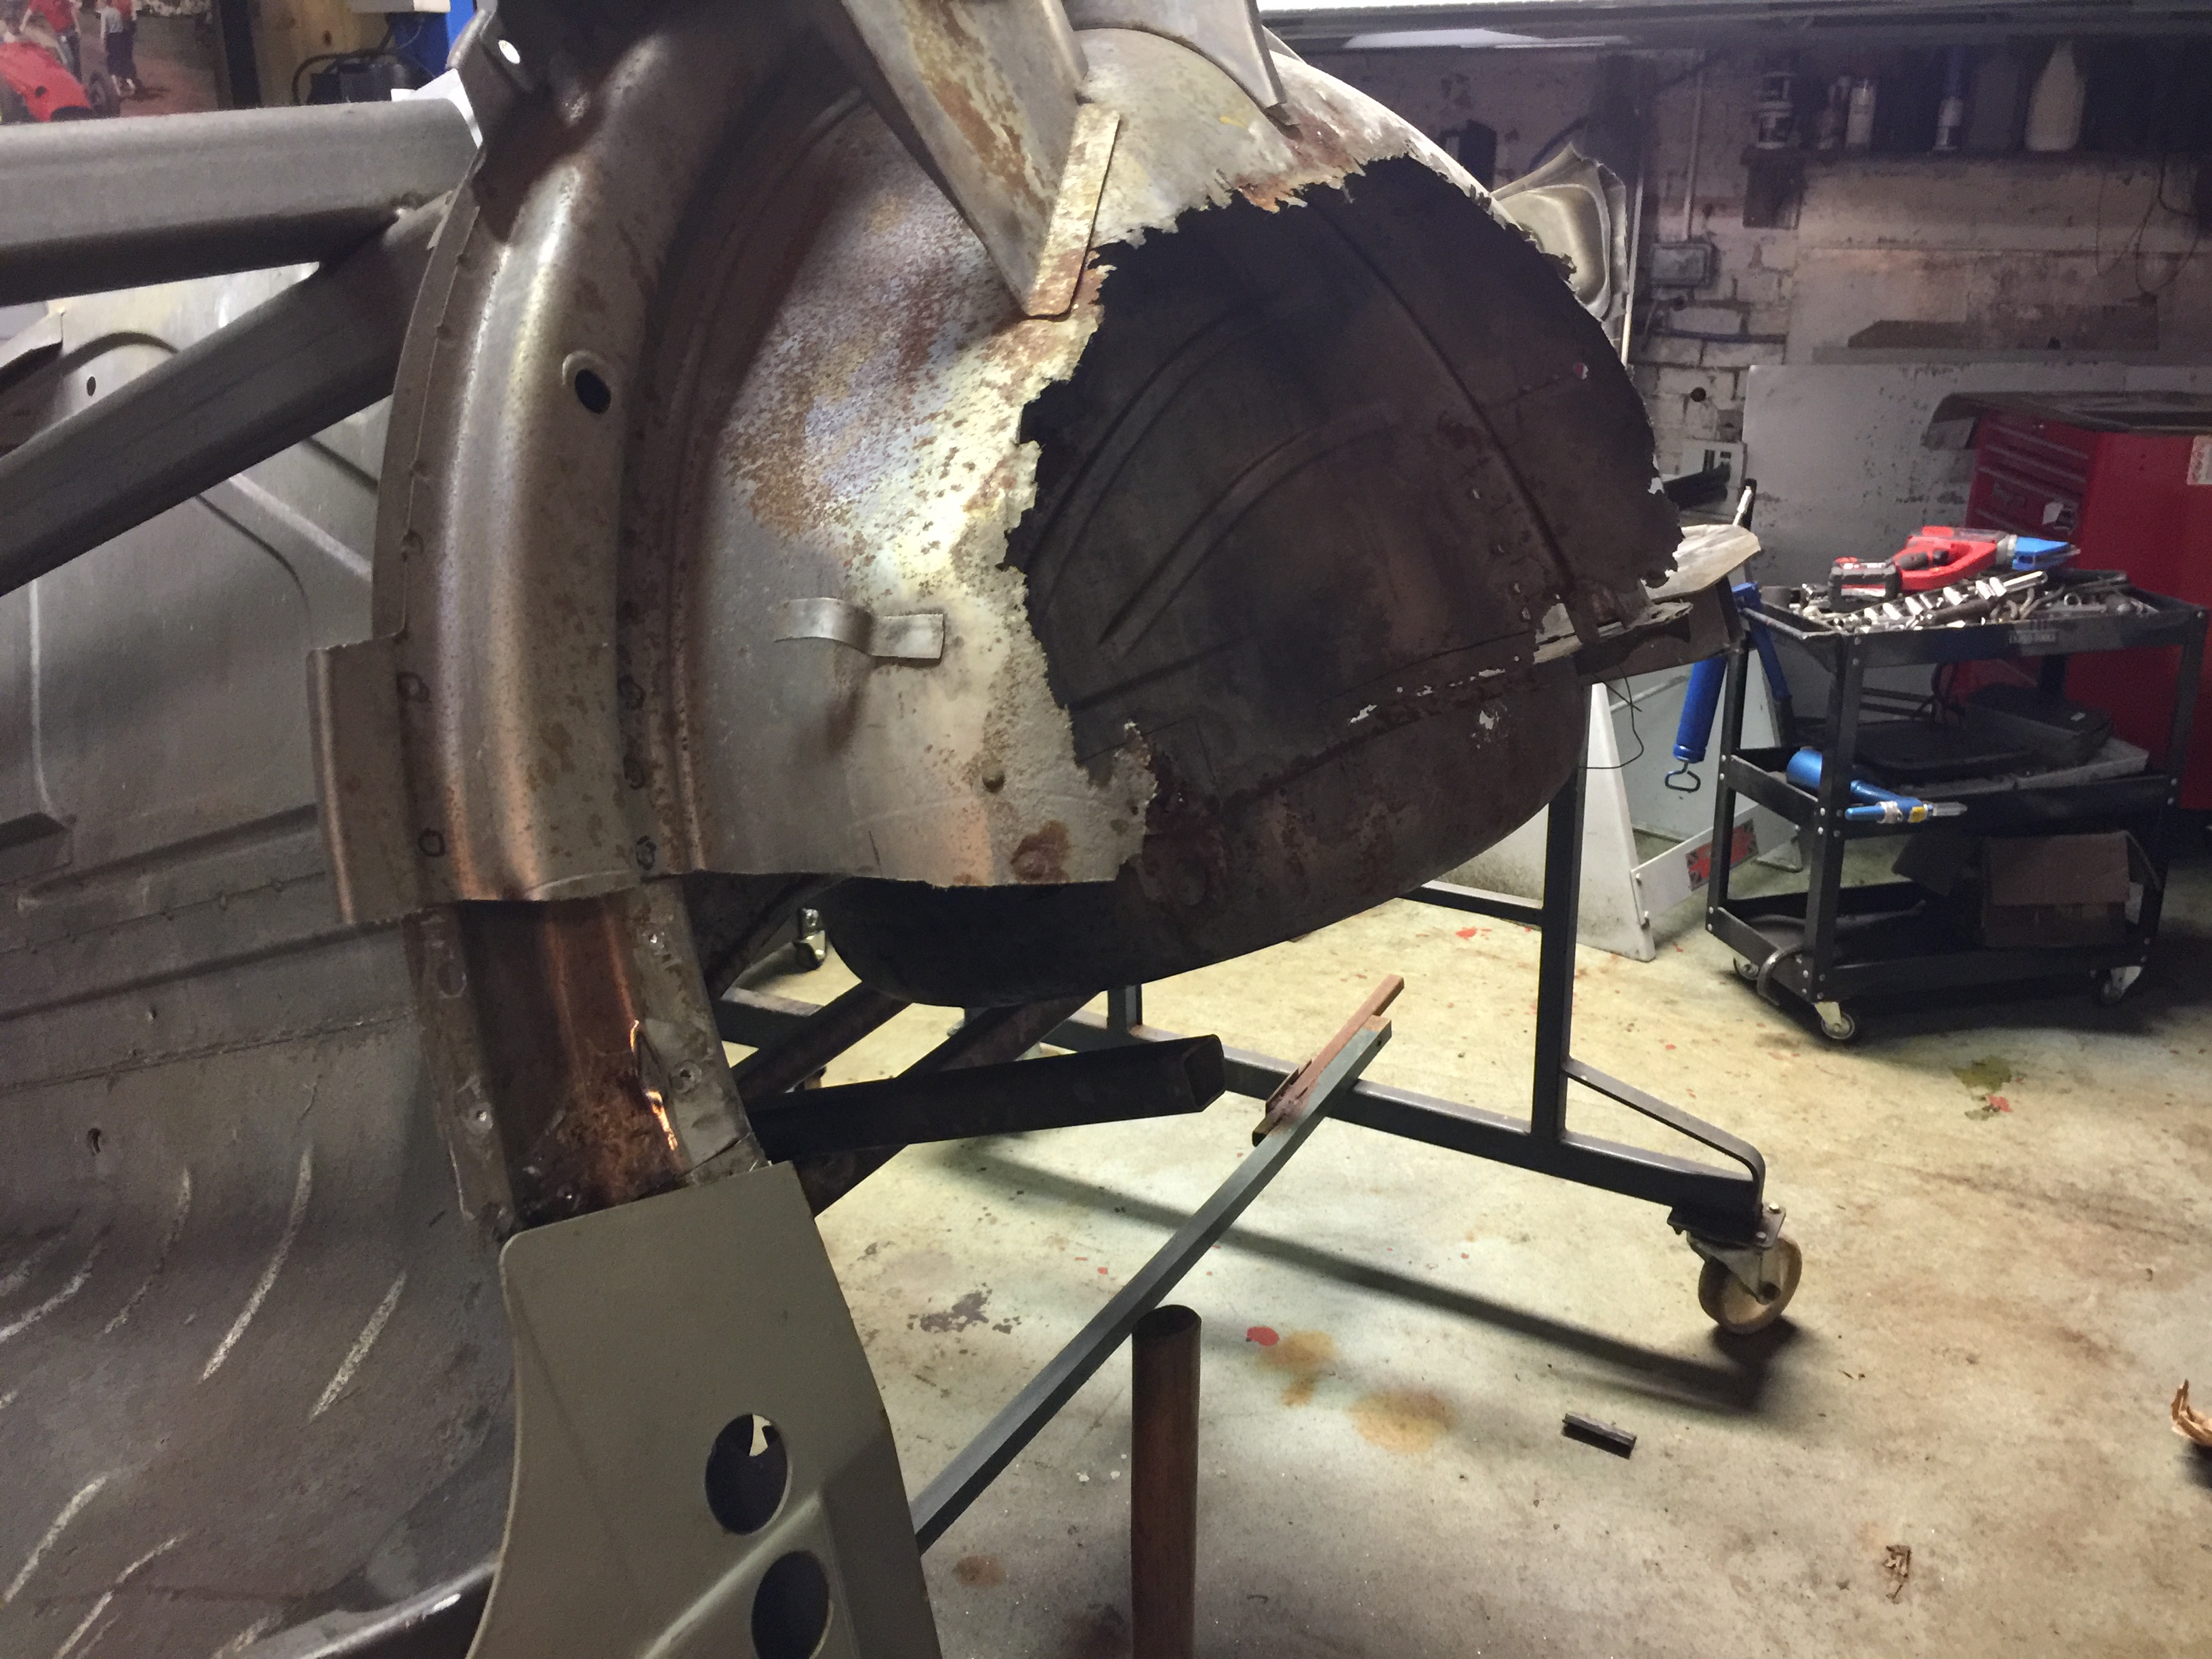
Had to fab up some sections that had rotted away in the rear wheel arch – now its hard to make stuff when its not there .. but it looked right.....

JzMZBh0.jpg

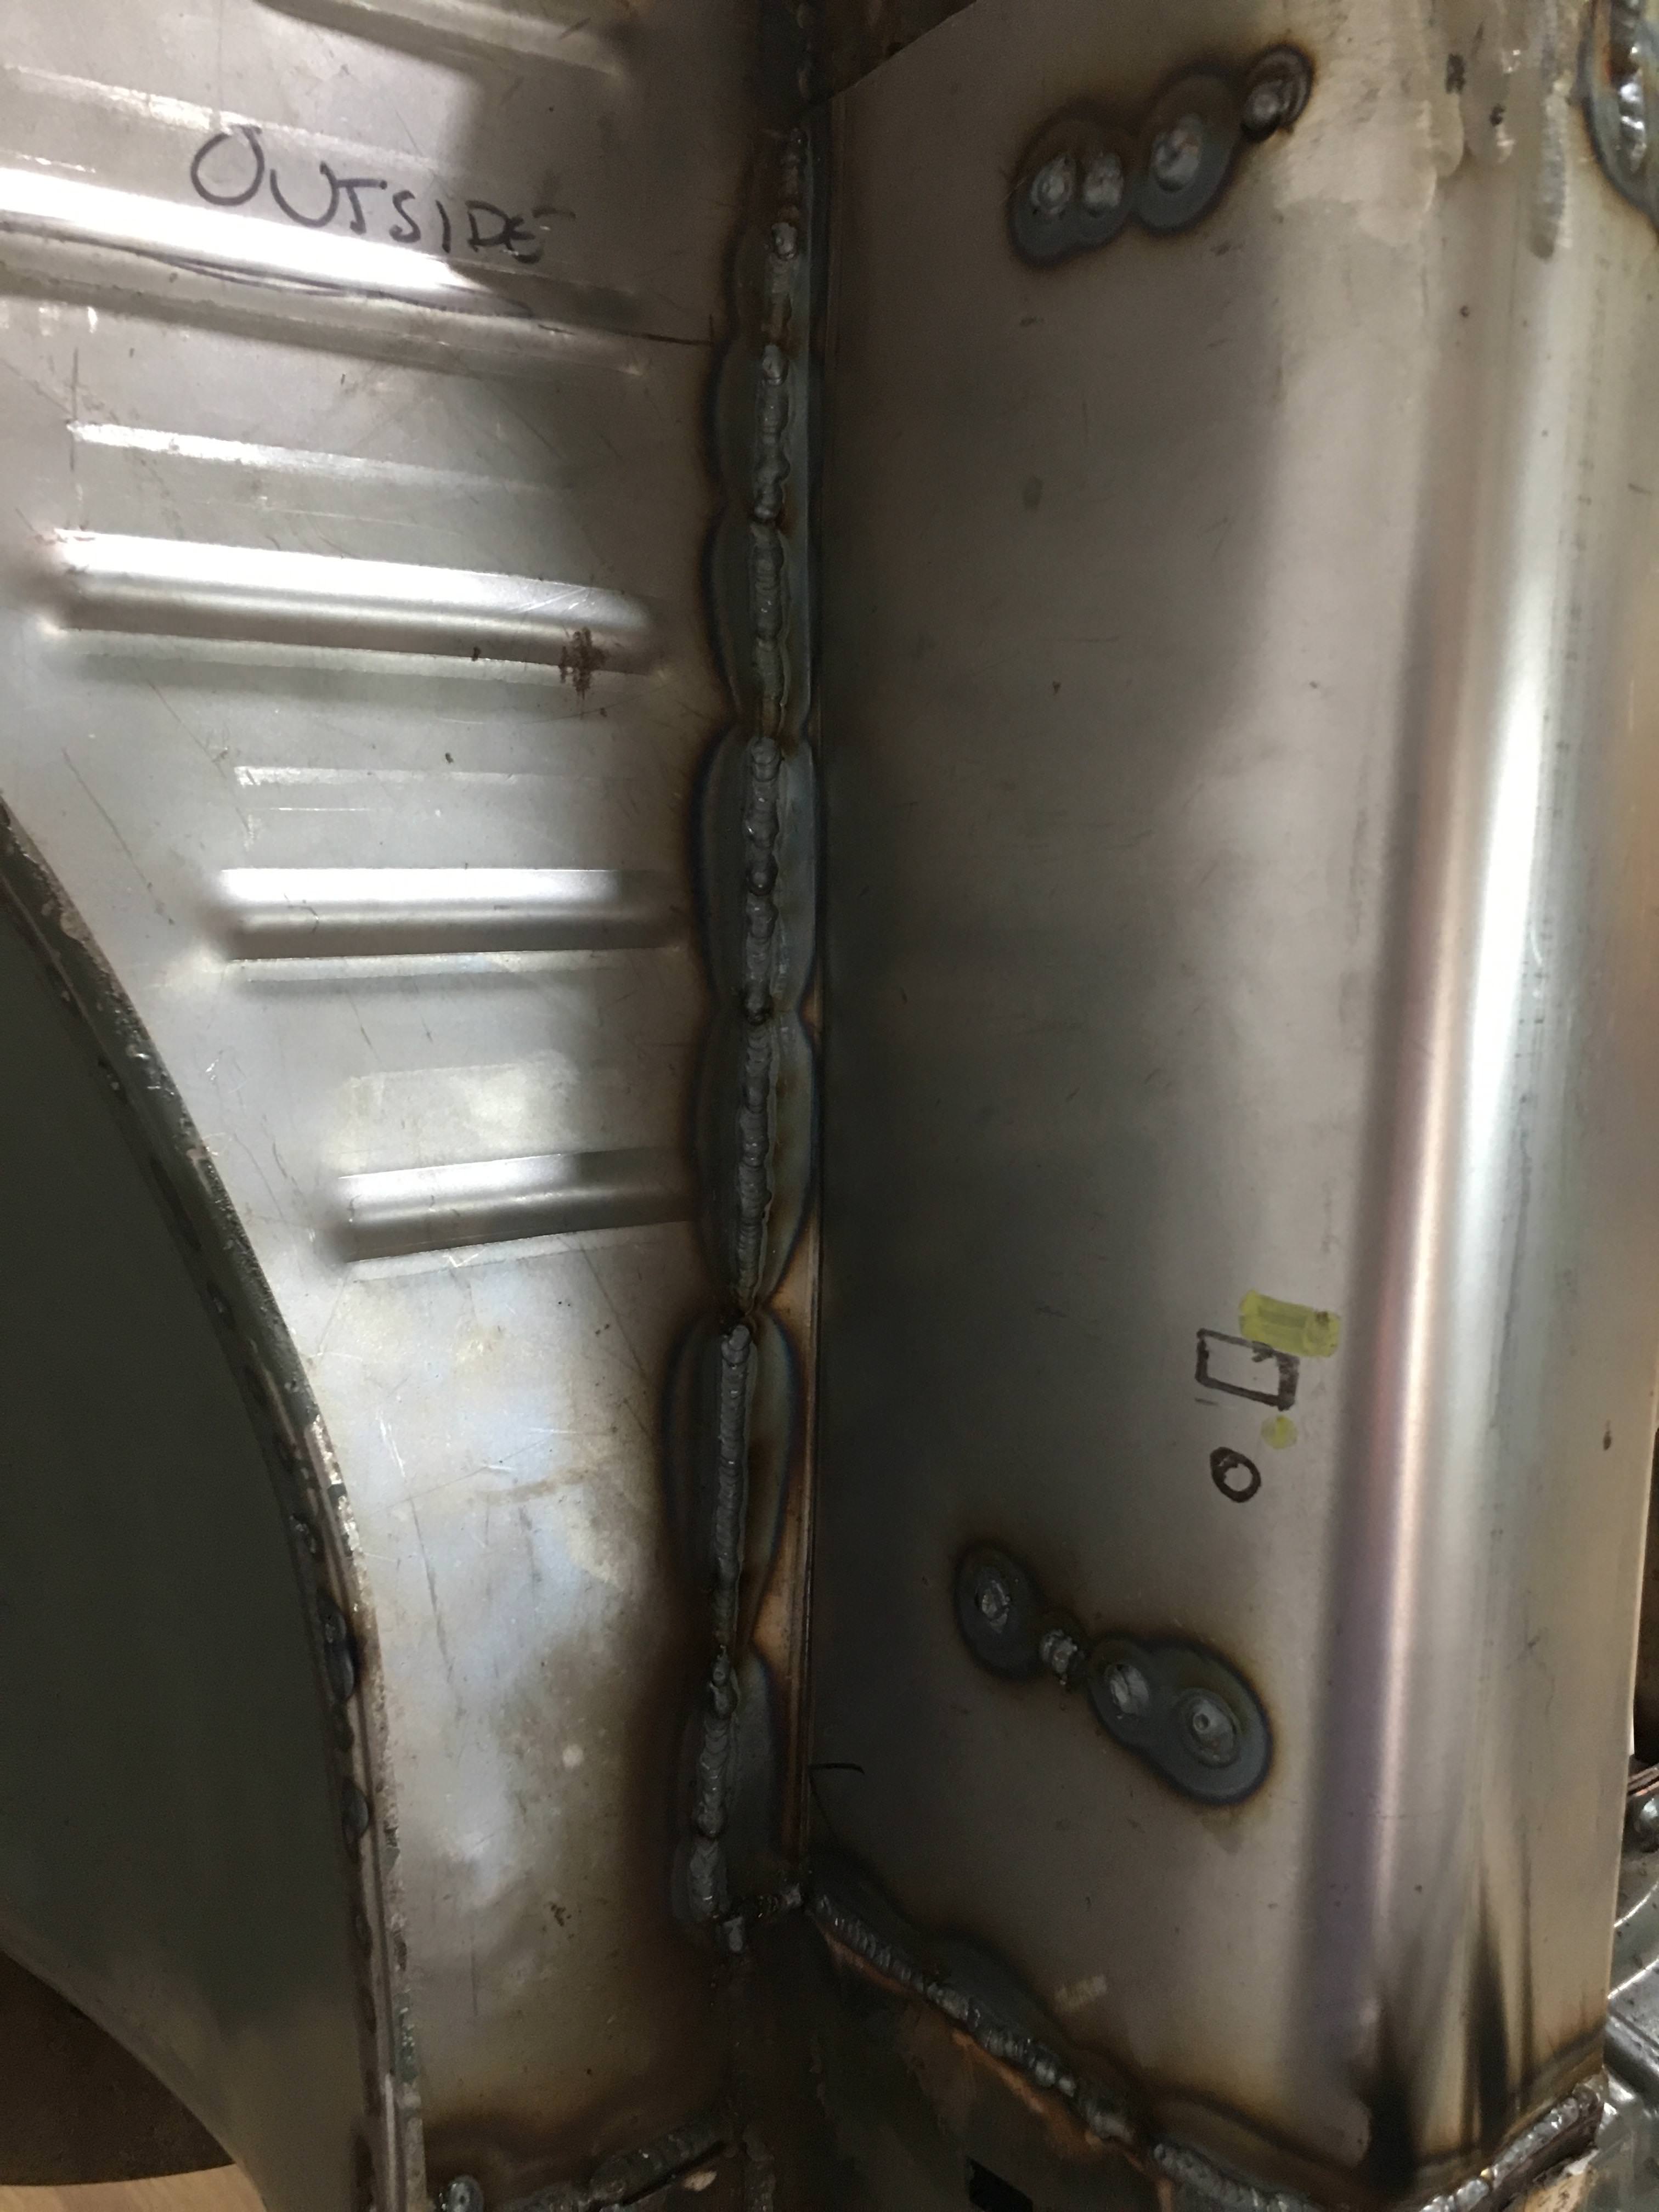
Section made and welded in - but its wrong!!!
mZN7rHO.jpg


Chassis reinforcement in ( picture below)– there is a gap to the rhs – the section i made should have been slightly splayed …

So, I will have to modify the section tonight – I was so cold I could not stand it much longer…
J9mhfbq.jpg
 

Attachments

  • 9eda91737faf8997c9a7380c915fbc83.jpg
    9eda91737faf8997c9a7380c915fbc83.jpg
    591.2 KB · Views: 343
  • 7b5c66e87ec1782ac02b569d6c5e6518.jpg
    7b5c66e87ec1782ac02b569d6c5e6518.jpg
    735 KB · Views: 326
  • fbbfeb22b30f465bd38bf411ccaec8a1.jpg
    fbbfeb22b30f465bd38bf411ccaec8a1.jpg
    692.9 KB · Views: 323
  • 60ba805e71039aeb494dfa37dc517617.jpg
    60ba805e71039aeb494dfa37dc517617.jpg
    729.7 KB · Views: 310
Hi
He Marc,
We're curious about any progress....

Is the Allard stealing E9 time?
Hi
No not been doing much - it’s been very very cold and 20 mins work = 2 days getting warm again.... the new garage is 90% done ... so I’m waiting till that’s up and then back to it ..
Allard will not start until the csl is done -
Regards
Marc
 
Cold. indeed, I know what your saying.
I just installed a wood burner in my garage to try and get things warm. Wearing 4 sweaters wasn't a hobby for me...
Hope your new garage will be comfy ready soon, allowing you to get going again.
Erik.
 
Cold. indeed, I know what your saying.
I just installed a wood burner in my garage to try and get things warm. Wearing 4 sweaters wasn't a hobby for me...
Erik.

Make sure your flue is venting properly. I put a gas heater in my garage many years ago and it didn't vent properly and I exposed myself to a good dose of carbon monoxide before I figured it out.
 
Make sure your flue is venting properly. I put a gas heater in my garage many years ago and it didn't vent properly and I exposed myself to a good dose of carbon monoxide before I figured it out.
Will do - the boiler is going in this week - so the underfloor heating should be up and running, just in time for summer!
Marc
 
Hi Marc,
Your CSL restoration work looks outstanding. I bought my CSL earlier this year and just about to embark on the structural body restoration. Would there be any chance in meeting up with you to get a few hints and tips on the order in which I should do the work.
Regards
Rob F
 

Attachments

  • 006.JPG
    006.JPG
    267.9 KB · Views: 316
Hi rob

I think you should go and visit Marc and Paul baker
For their advice on how to do your structural body restoration on your Csl...
major major work needed on your car .

Marc and Paul are geniuses working with metal and Paul is very experienced in restoring bmw E9 cars !!!
 
Hi Marc,
Your CSL restoration work looks outstanding. I bought my CSL earlier this year and just about to embark on the structural body restoration. Would there be any chance in meeting up with you to get a few hints and tips on the order in which I should do the work.
Regards
Rob F
Hi rob
Not a problem
I live in Preston and I would be happy for you to come up and see how rotten these cars are under the skin...and what things u can get - or not!
So much to tell you .....
My number is 07785 284680 -
 
After a long lay off due the garage being built, I am now back into the restoration of the rusty BMW…

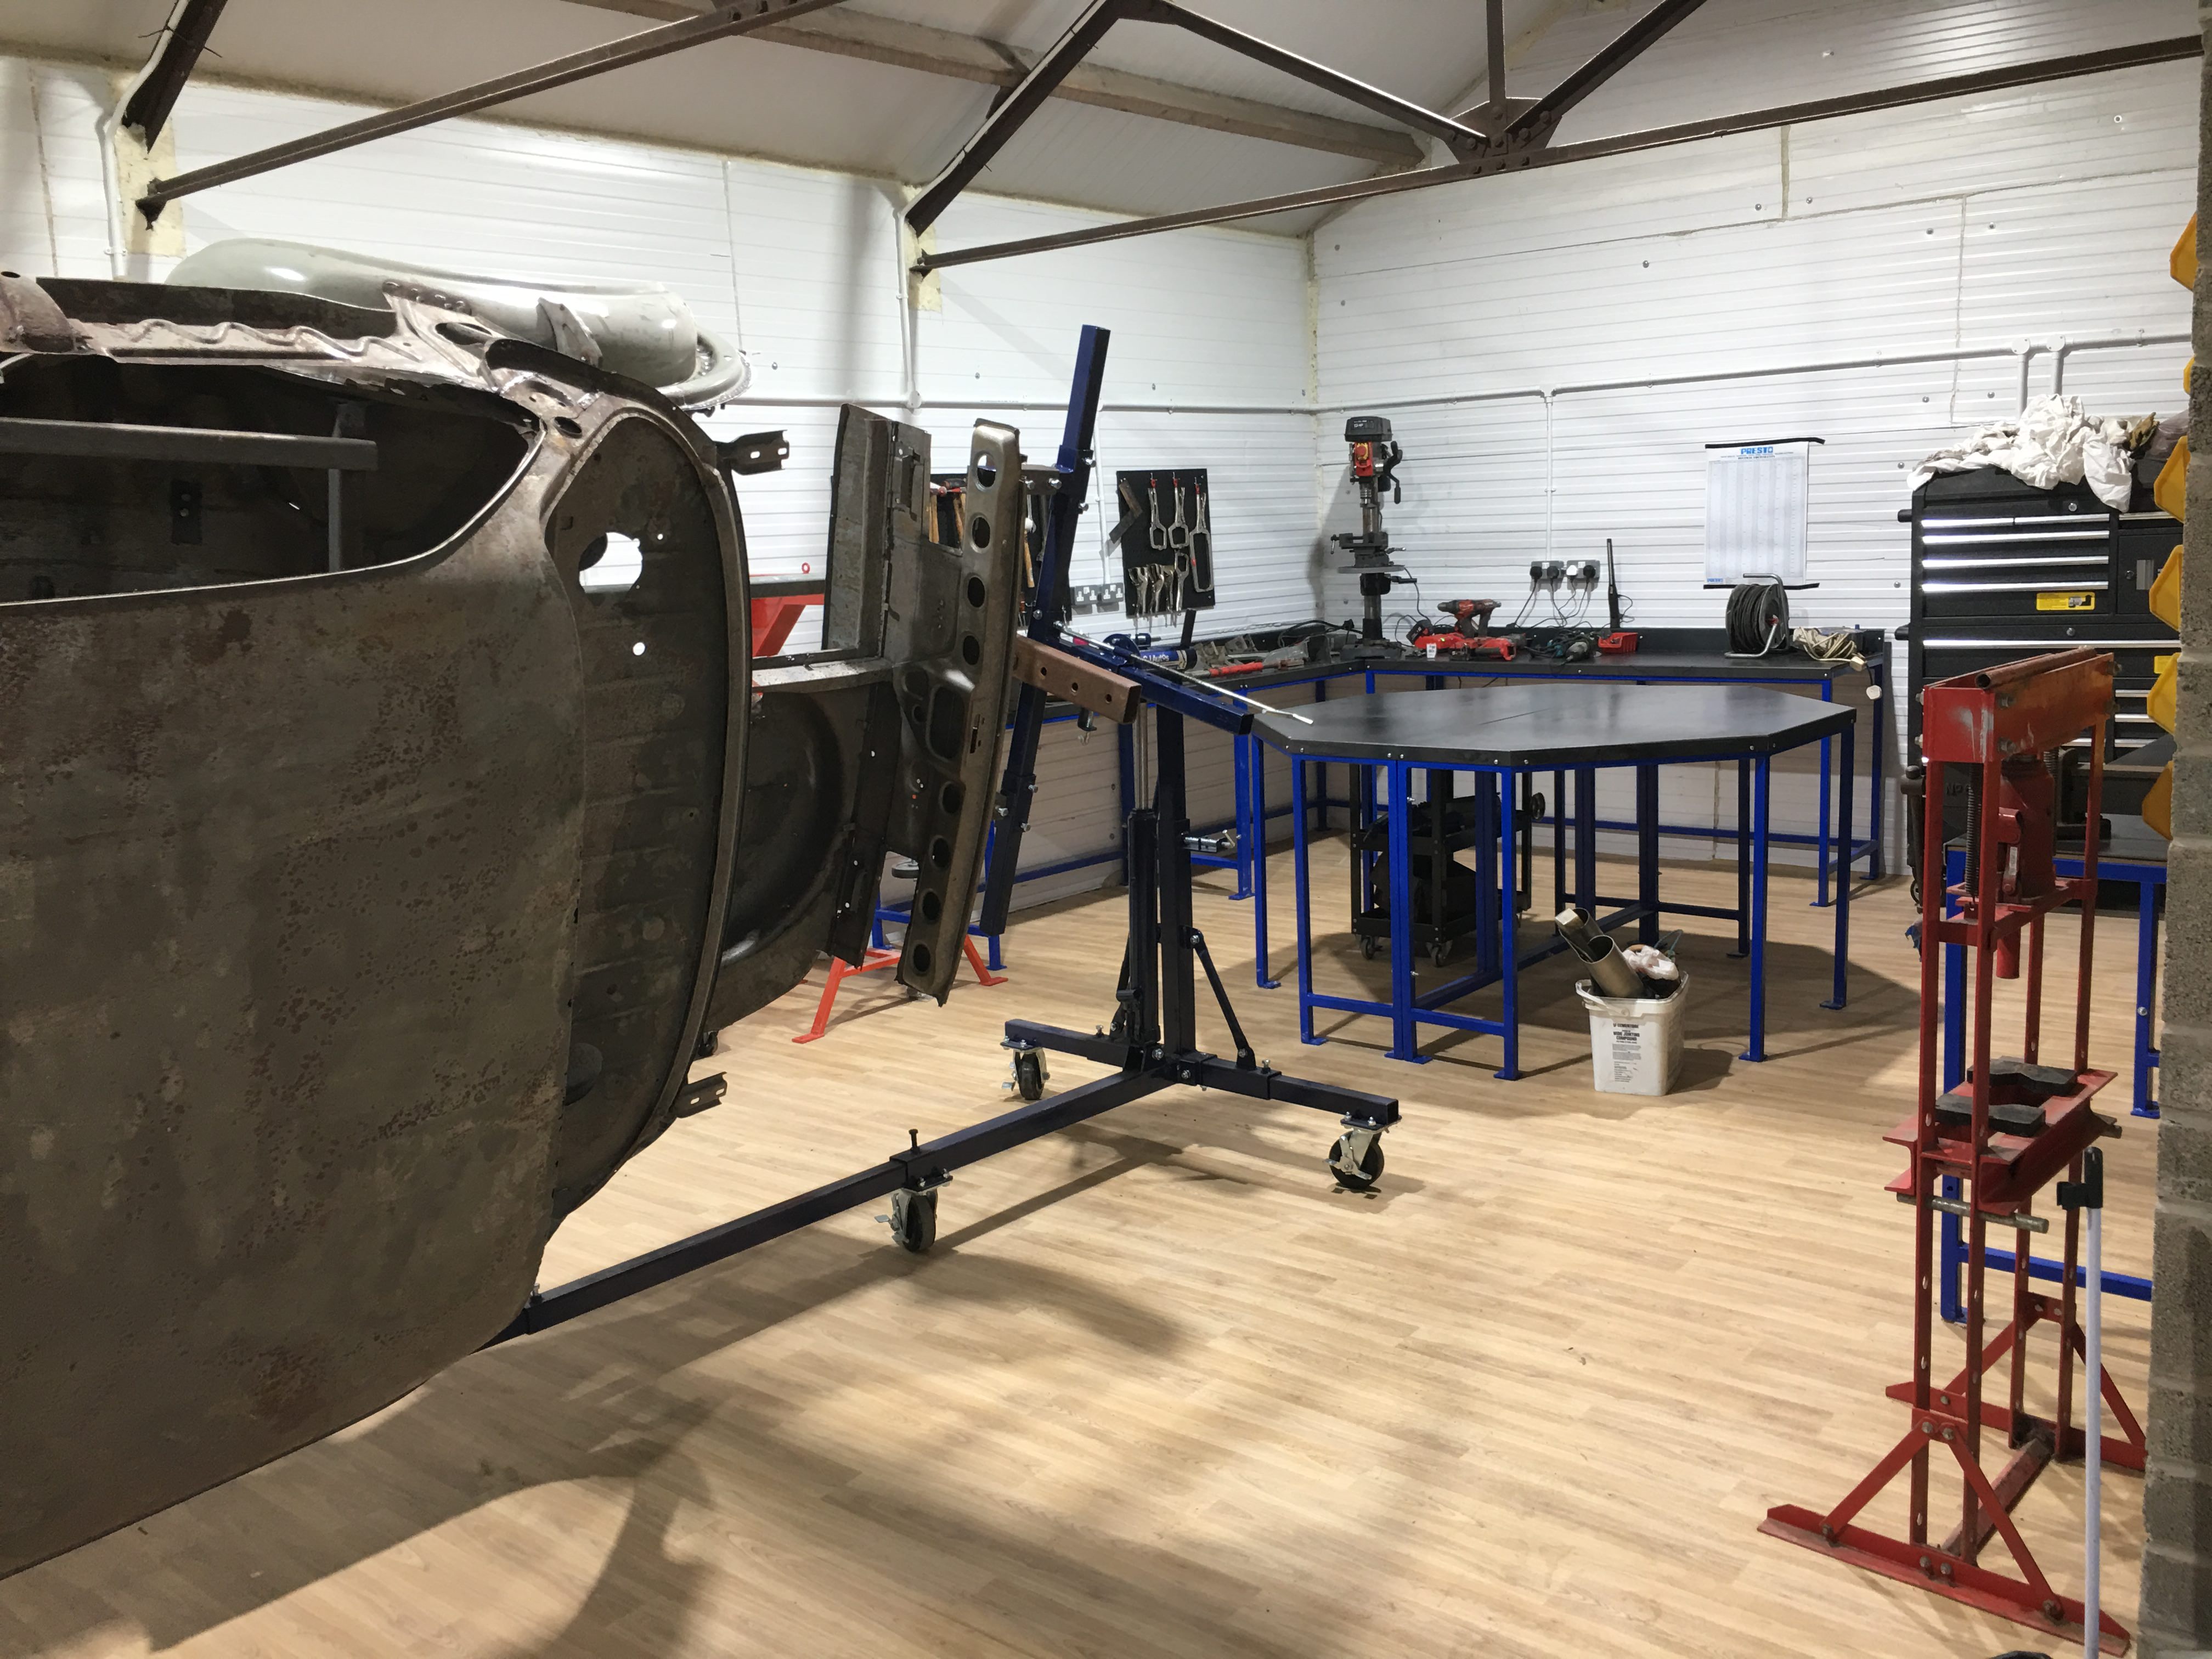
I have been itching to get on with it but had to get the garage sorted and wanted to get everything in place, I now should be sorted for life, and more importantly the buildings are insulated and now I won’t freeze my nuts off in winter, with the added benefit that the cars will be stored in great warm conditions.

6Cf7vWn.jpg


So… on with the CSL, the next part was to cut out and make the LHS A post – this section is NLA and so a good night was spent making the section, still a way to go, but the new section is starting to look right with a bit more tweaking.
i9tKauU.jpg

CD9C44P.jpg

dlEZIeN.jpg

msvWcxT.jpg


I managed to get a new old stock A post for the other side and checking the thickness it is 1.5mm, however the one I have to repair (after finding a good bit of non-rusty steel) is 1.2mm – so I guess not only were the outer panels on the CSL thinner steel– some of inner structural sections were thinner as well…

A few more sessions and I should get the A post and the section behind it made and then the cars cell will be done…. Then the floor, then the back, then the front, then the doors, then the …………
 
well its been a while - but things are going fine...
the photos will tell where im up to - but getting close to the cars cell being complete and then its just the front, back and door fitting - so probably another 20 years work ! - but what else would I do.....
will post some photos of the parts finished - I forgot to take them last night!
KAwTXpq.jpg

The front bit of the A post
YmLa6OW.jpg

steel cut out
ray7hoV.jpg

New steel welded in.. so now the a post is all done
FOhKC1c.jpg

Tacked welded it place - its now been seam welded - good to see I can still blow holes when tack welding........
uMxhWfN.jpg

tuUSHFg.jpg

rear wheel arch - all rotten and only patch parts... so a bit of fabrication to do... new wing put on in position , so I know where the inner wheel arch repair should sit.... and weld in
gnY1onr.jpg

KlsIjNi.jpg

had to cut out a few sections as they are so thin... and make a few bits up
AZ5w2tt.jpg

961IFRZ.jpg

repair section in place - but still a few big holes...
f31nVYY.jpg

When I welded in the wheel arch repair section - the steel was so thin at the top I had to make another repair section with a hammer and the English wheel -
uNJnF1t.jpg

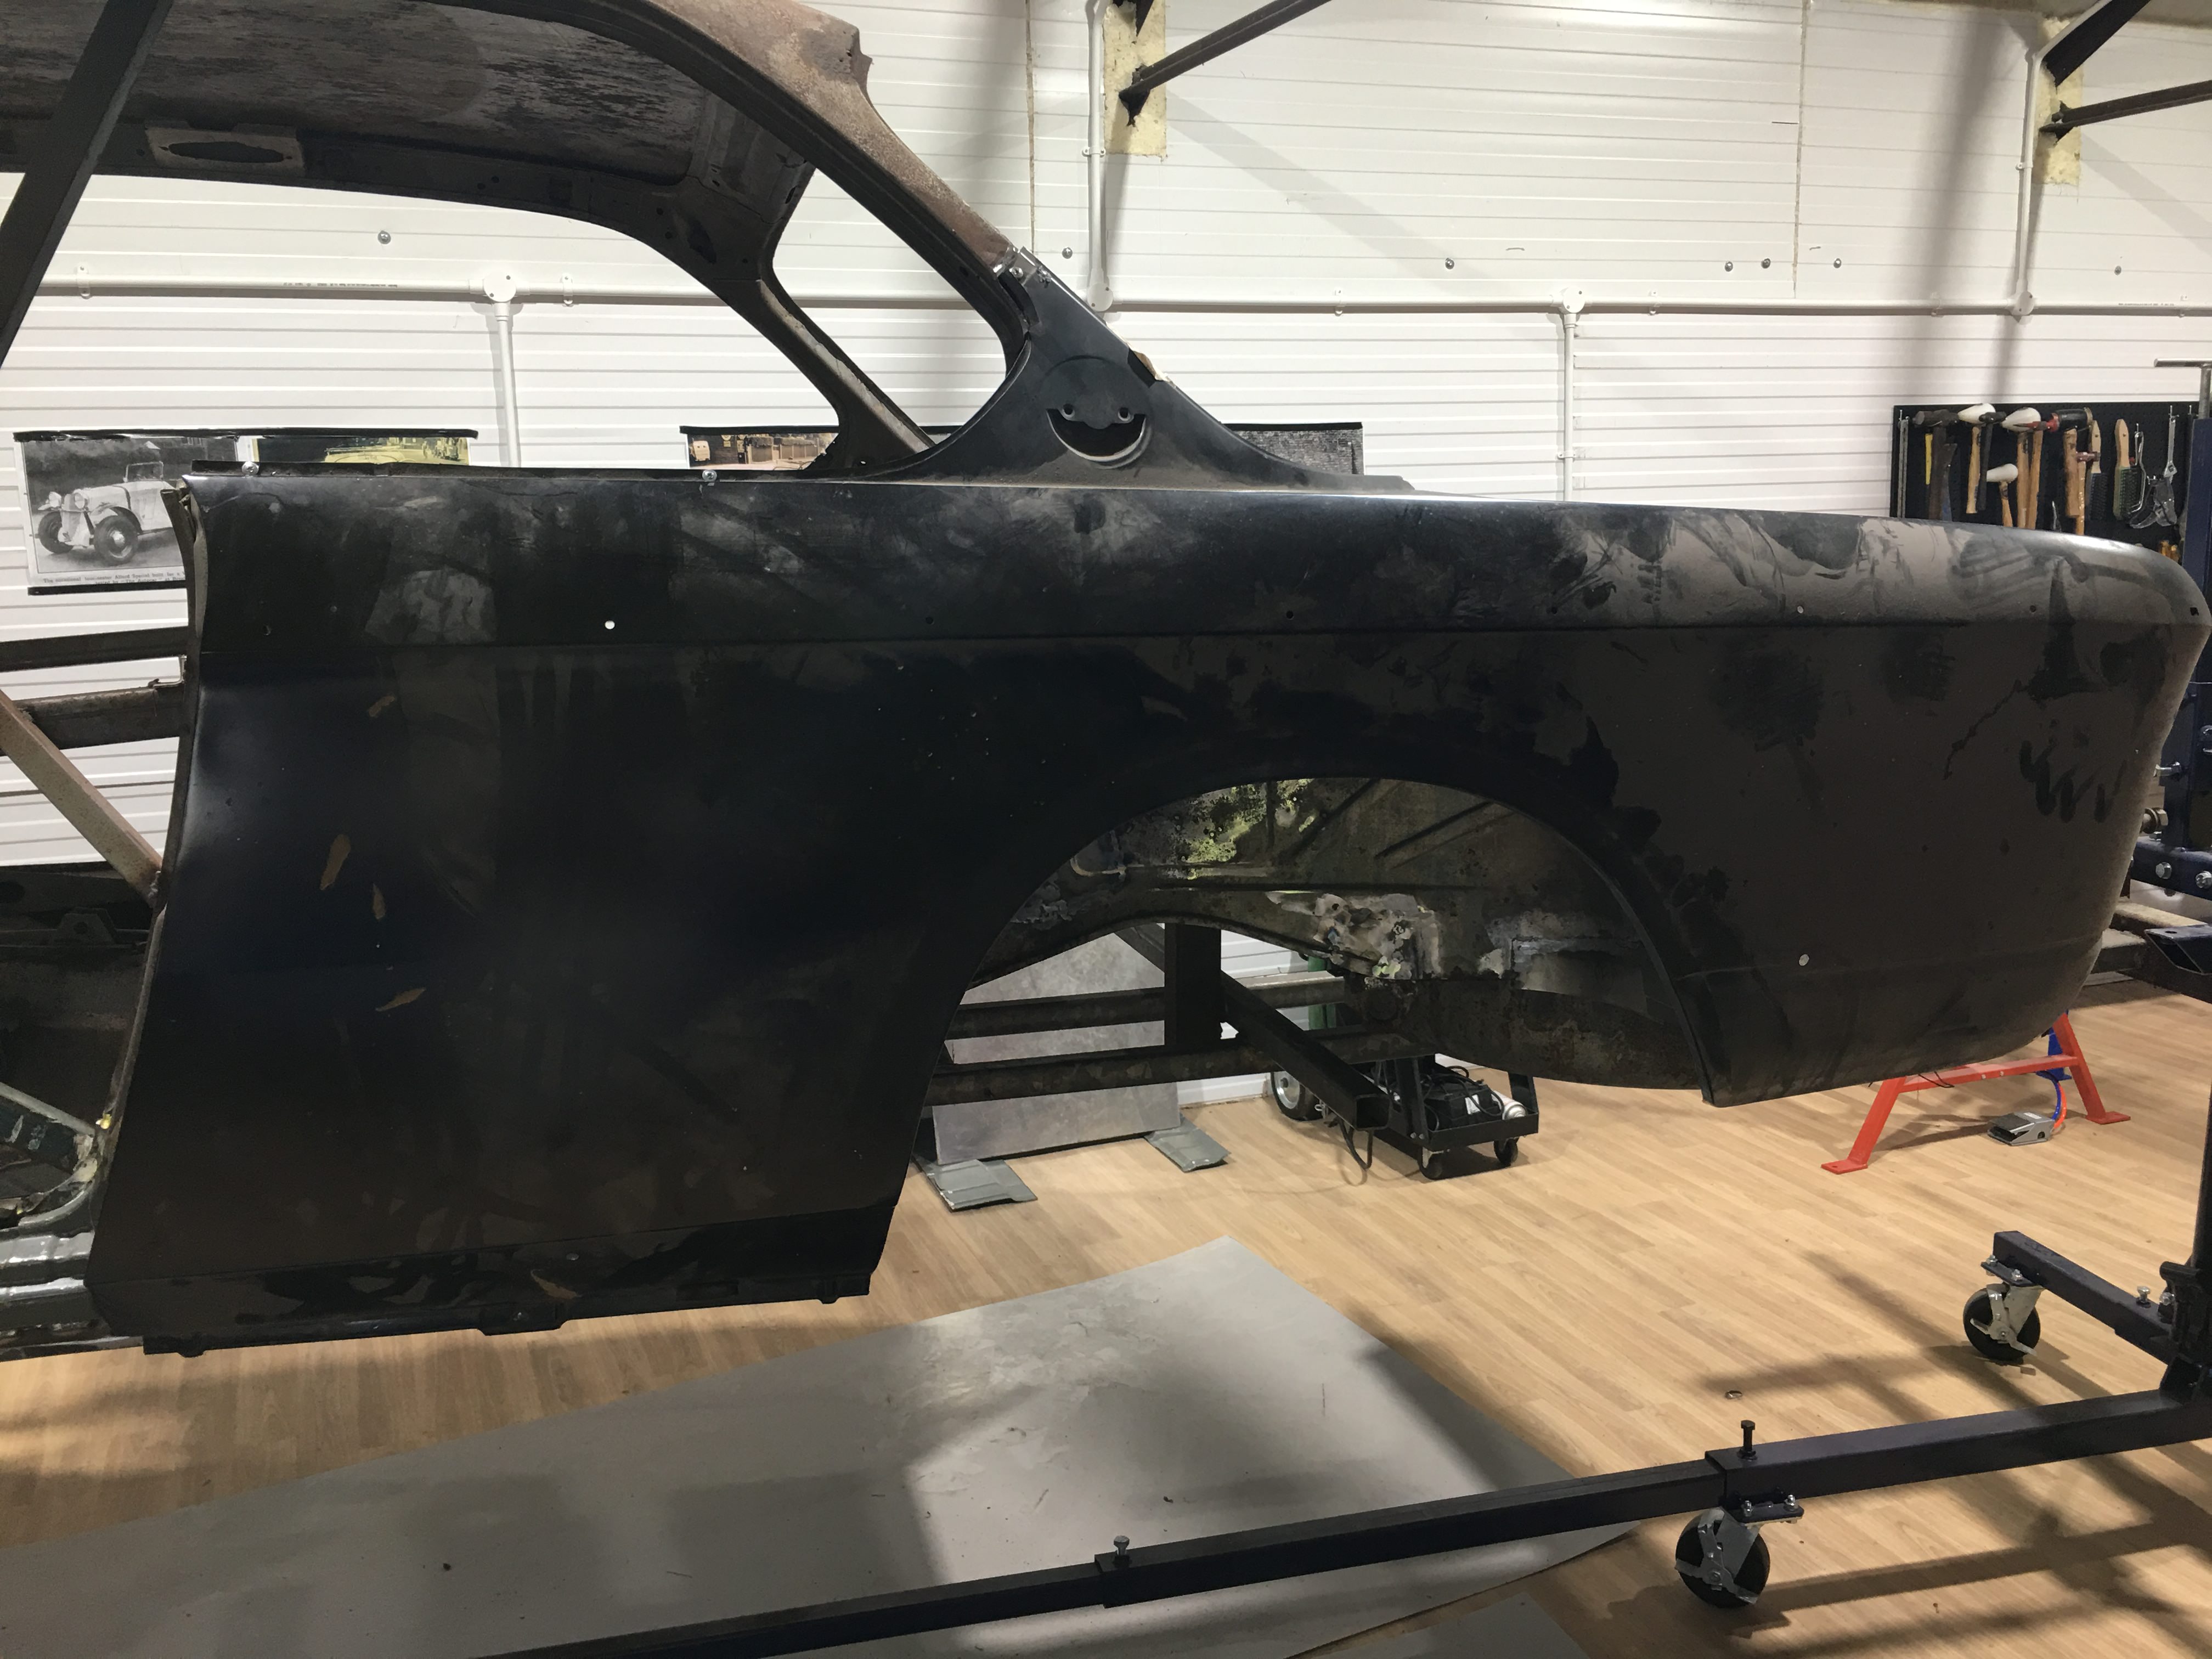
new wing in position - but there seams to be a little to much steel in the wing at the top where it buts up to the B post - picture is a bit dark... it may need some cutting out - we will see when I get the door on...
omF7NT2.jpg

Wing on, just for the inner wheel arch... but its good to see it on, its now off!
 
This looks like an insane amount of work you are doing there Marc. Most impressive!

I couldn't help notice the floor in your garage... That's not really wood, is it? Unless that's how you plan to solve your lack of heat in the winter problem. As soon as it gets too cold, you get the grinding wheel out, get a good spark shower landing on your floor and voila. Instant furnace.
 
Yeah, great job Marc!
I couldn't help notice the floor in your garage... That's not really wood, is it? Unless that's how you plan to solve your lack of heat in the winter problem. As soon as it gets too cold, you get the grinding wheel out, get a good spark shower landing on your floor and voila. Instant furnace.
I think it's rubber floor (linoleum) with wood imitation.
 
This looks like an insane amount of work you are doing there Marc. Most impressive!

I couldn't help notice the floor in your garage... That's not really wood, is it? Unless that's how you plan to solve your lack of heat in the winter problem. As soon as it gets too cold, you get the grinding wheel out, get a good spark shower landing on your floor and voila. Instant furnace.


As my proper job I sell commercial flooring, and when we were rebuilding the old garage I decided to put some non-slip vinyl flooring down.

Went into my warehouse and this stuff was left over from a job I did a few months ago – so my fitters put it in for me….

It’s not wood – it’s a commercial grade non-slip wood effect vinyl flooring – and yes it will burn, but I have two 8 x 4 sheets of thin steel under ( you can seem in the last picture) the car to stop sparks etc burning into it.


It is

https://www.polyflor.com/WOODFX

The good thing is it non-slip and its easy clean, and it looks great….and it was free!
 
Things are going quite smoothly, and progressing quickly (well my quick that is)

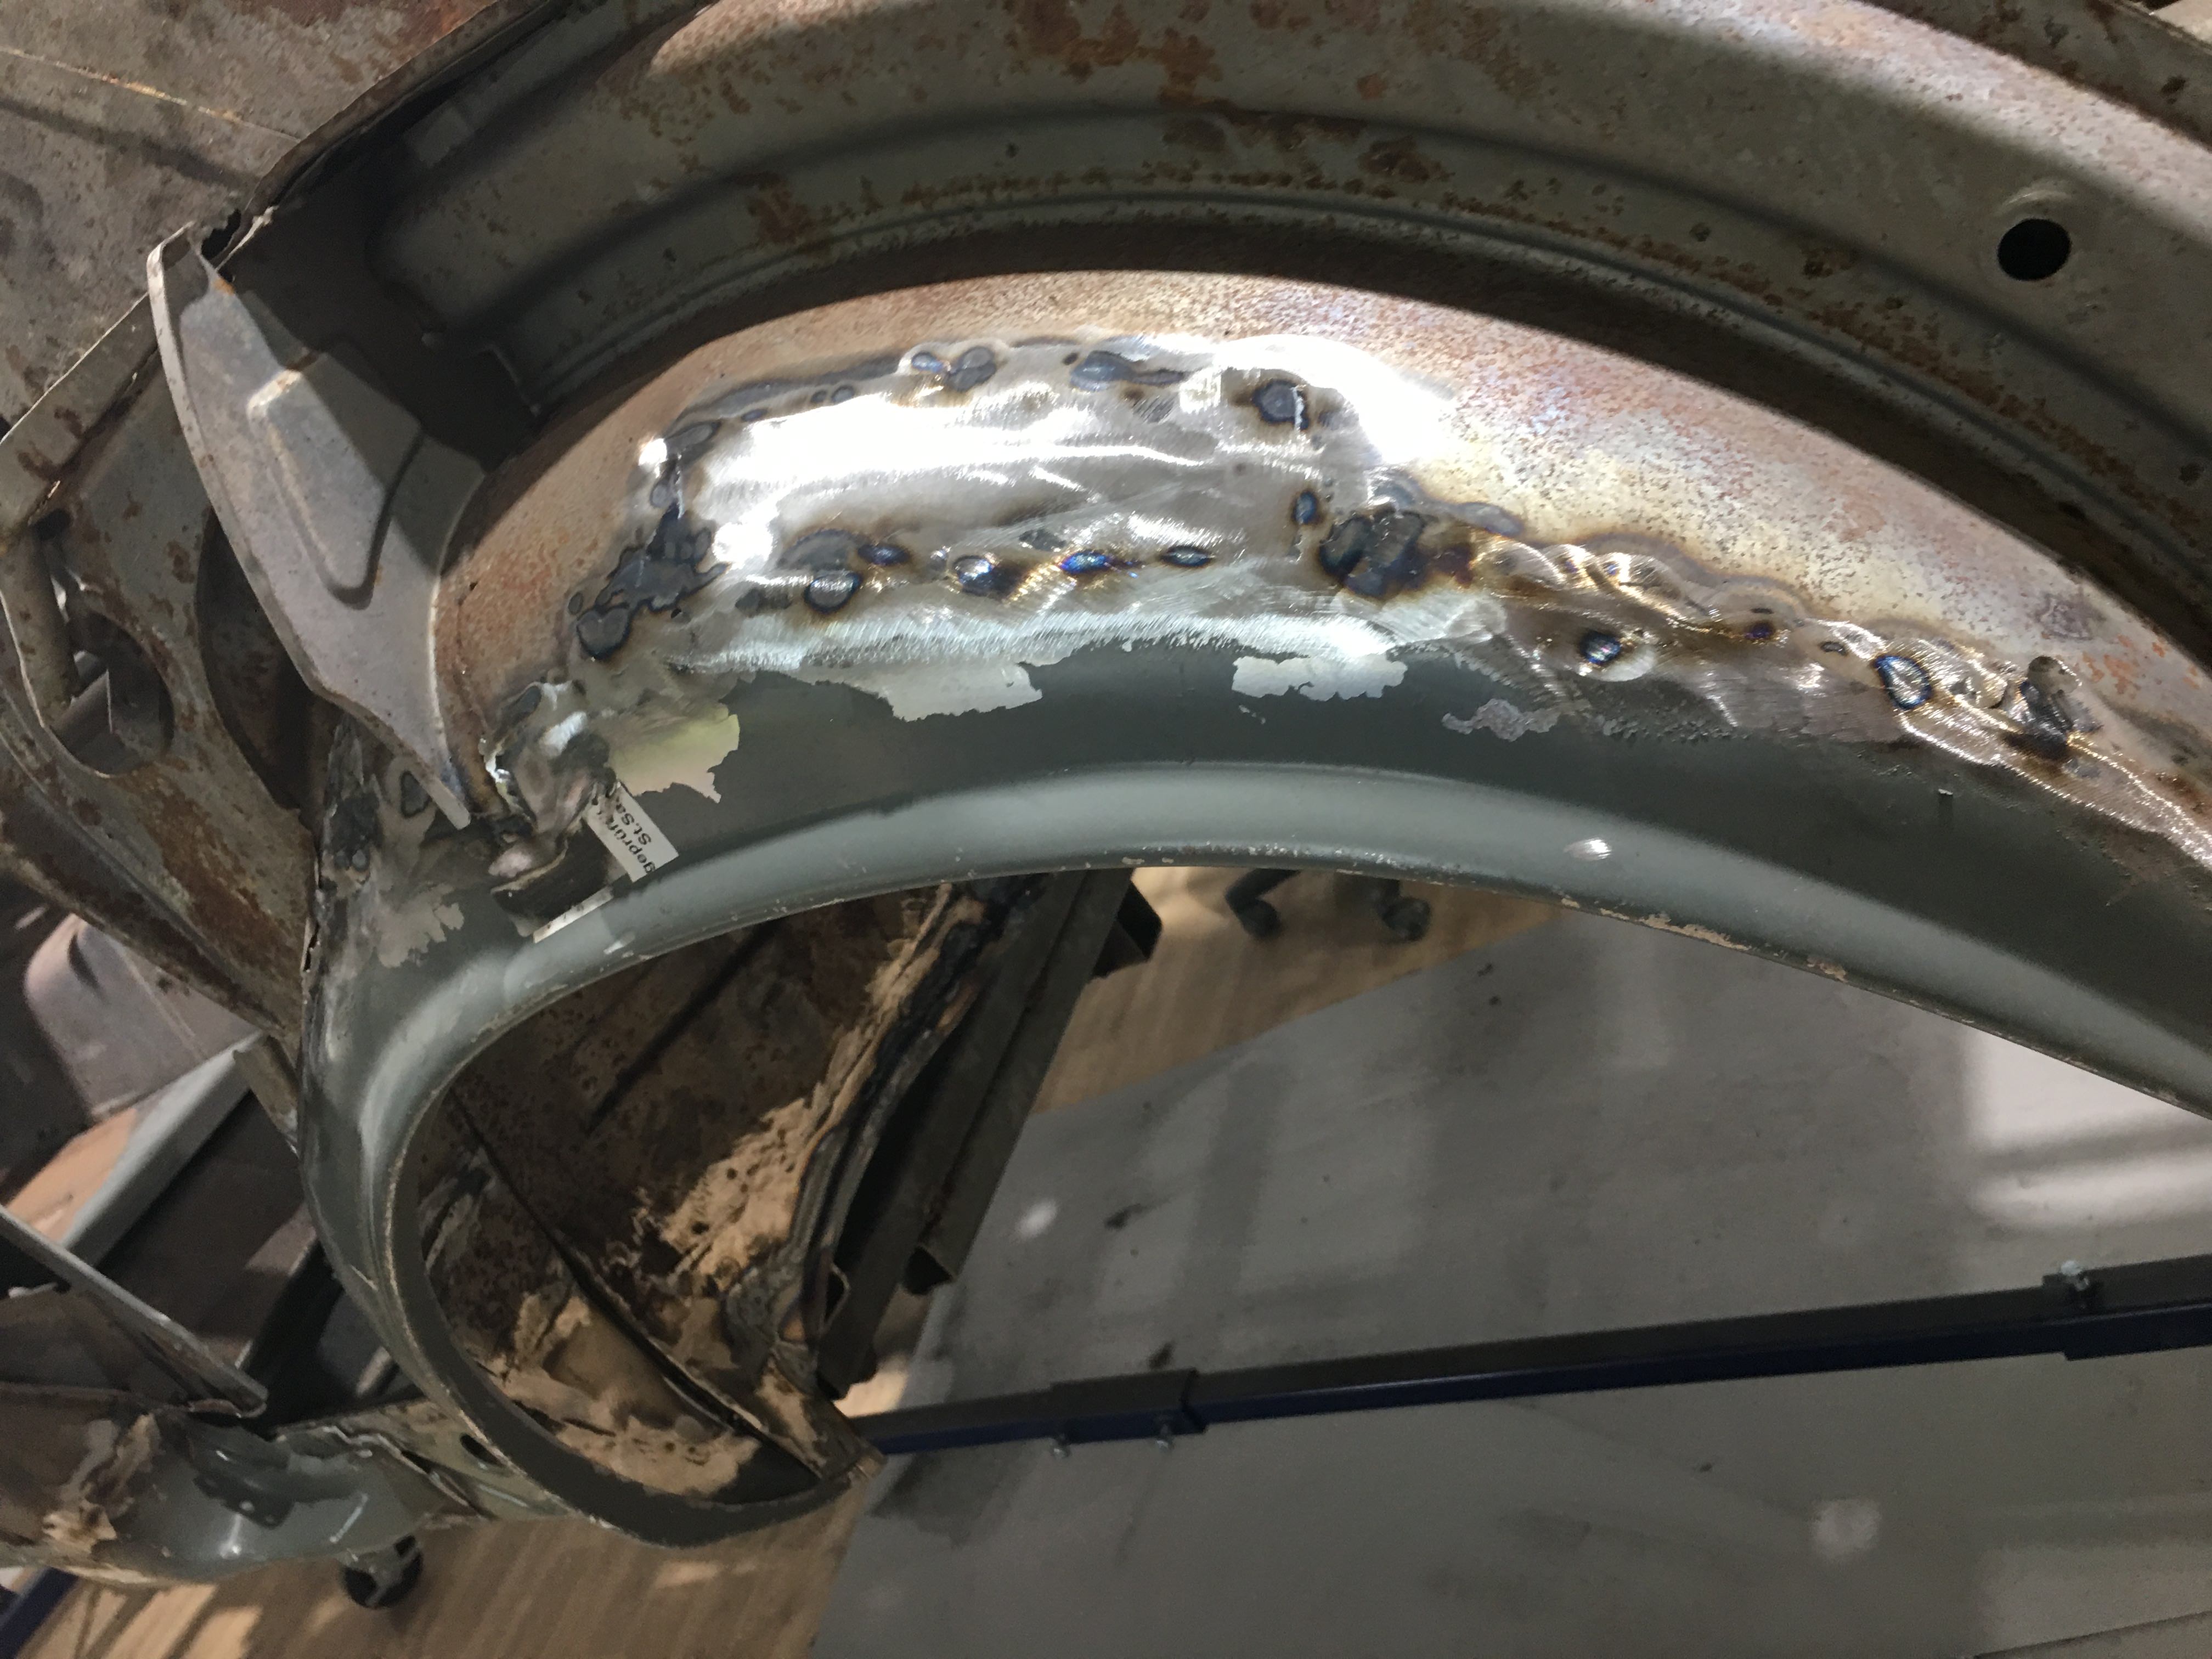
The rear wheel arch is 90% done and I must say the Wallis and Gromit repair section was close on prefect fit.

Its contours fitted the existing outer section with a small amount of dolly work and the inner section that fits into the rear wing return was perfect…

As you can see from the pictures (the before and after) I was thinking the section would not cover all the corrosion, but apart from the small section I had to put in at the top, it did – so a result….
lWh3fbB.jpg

RF7WqgY.jpg


Shame that BMW now are running out of full sections and that E9s are now becoming harder to find original body parts for than say a 1930s Bentley or any Jaguar etc…

I think it great that there is an industry replicating the repair sections but in my case. a British car that has existed in wet damp, shitty weather has become a so corroded – the sections that the repair section butts up to are getting so thin, that you have to make more sections for them to work.

Then when you weld these in, you blow through the seam with your MiG set on ultra-low setting due to all the car getting thin steel…. I don’t mind, and its therapeutic, but the guy who has a little less experience with welding would find this car a hard one to restore.

In my eagerness to grind off the weld on the wheel arch repair section, I managed to grind off too much in one place and so I will need to make another repair… what a plonker I am…

Still more cleaning up the weld and a bit of dolly work, but the wheel arch is now looking solid.

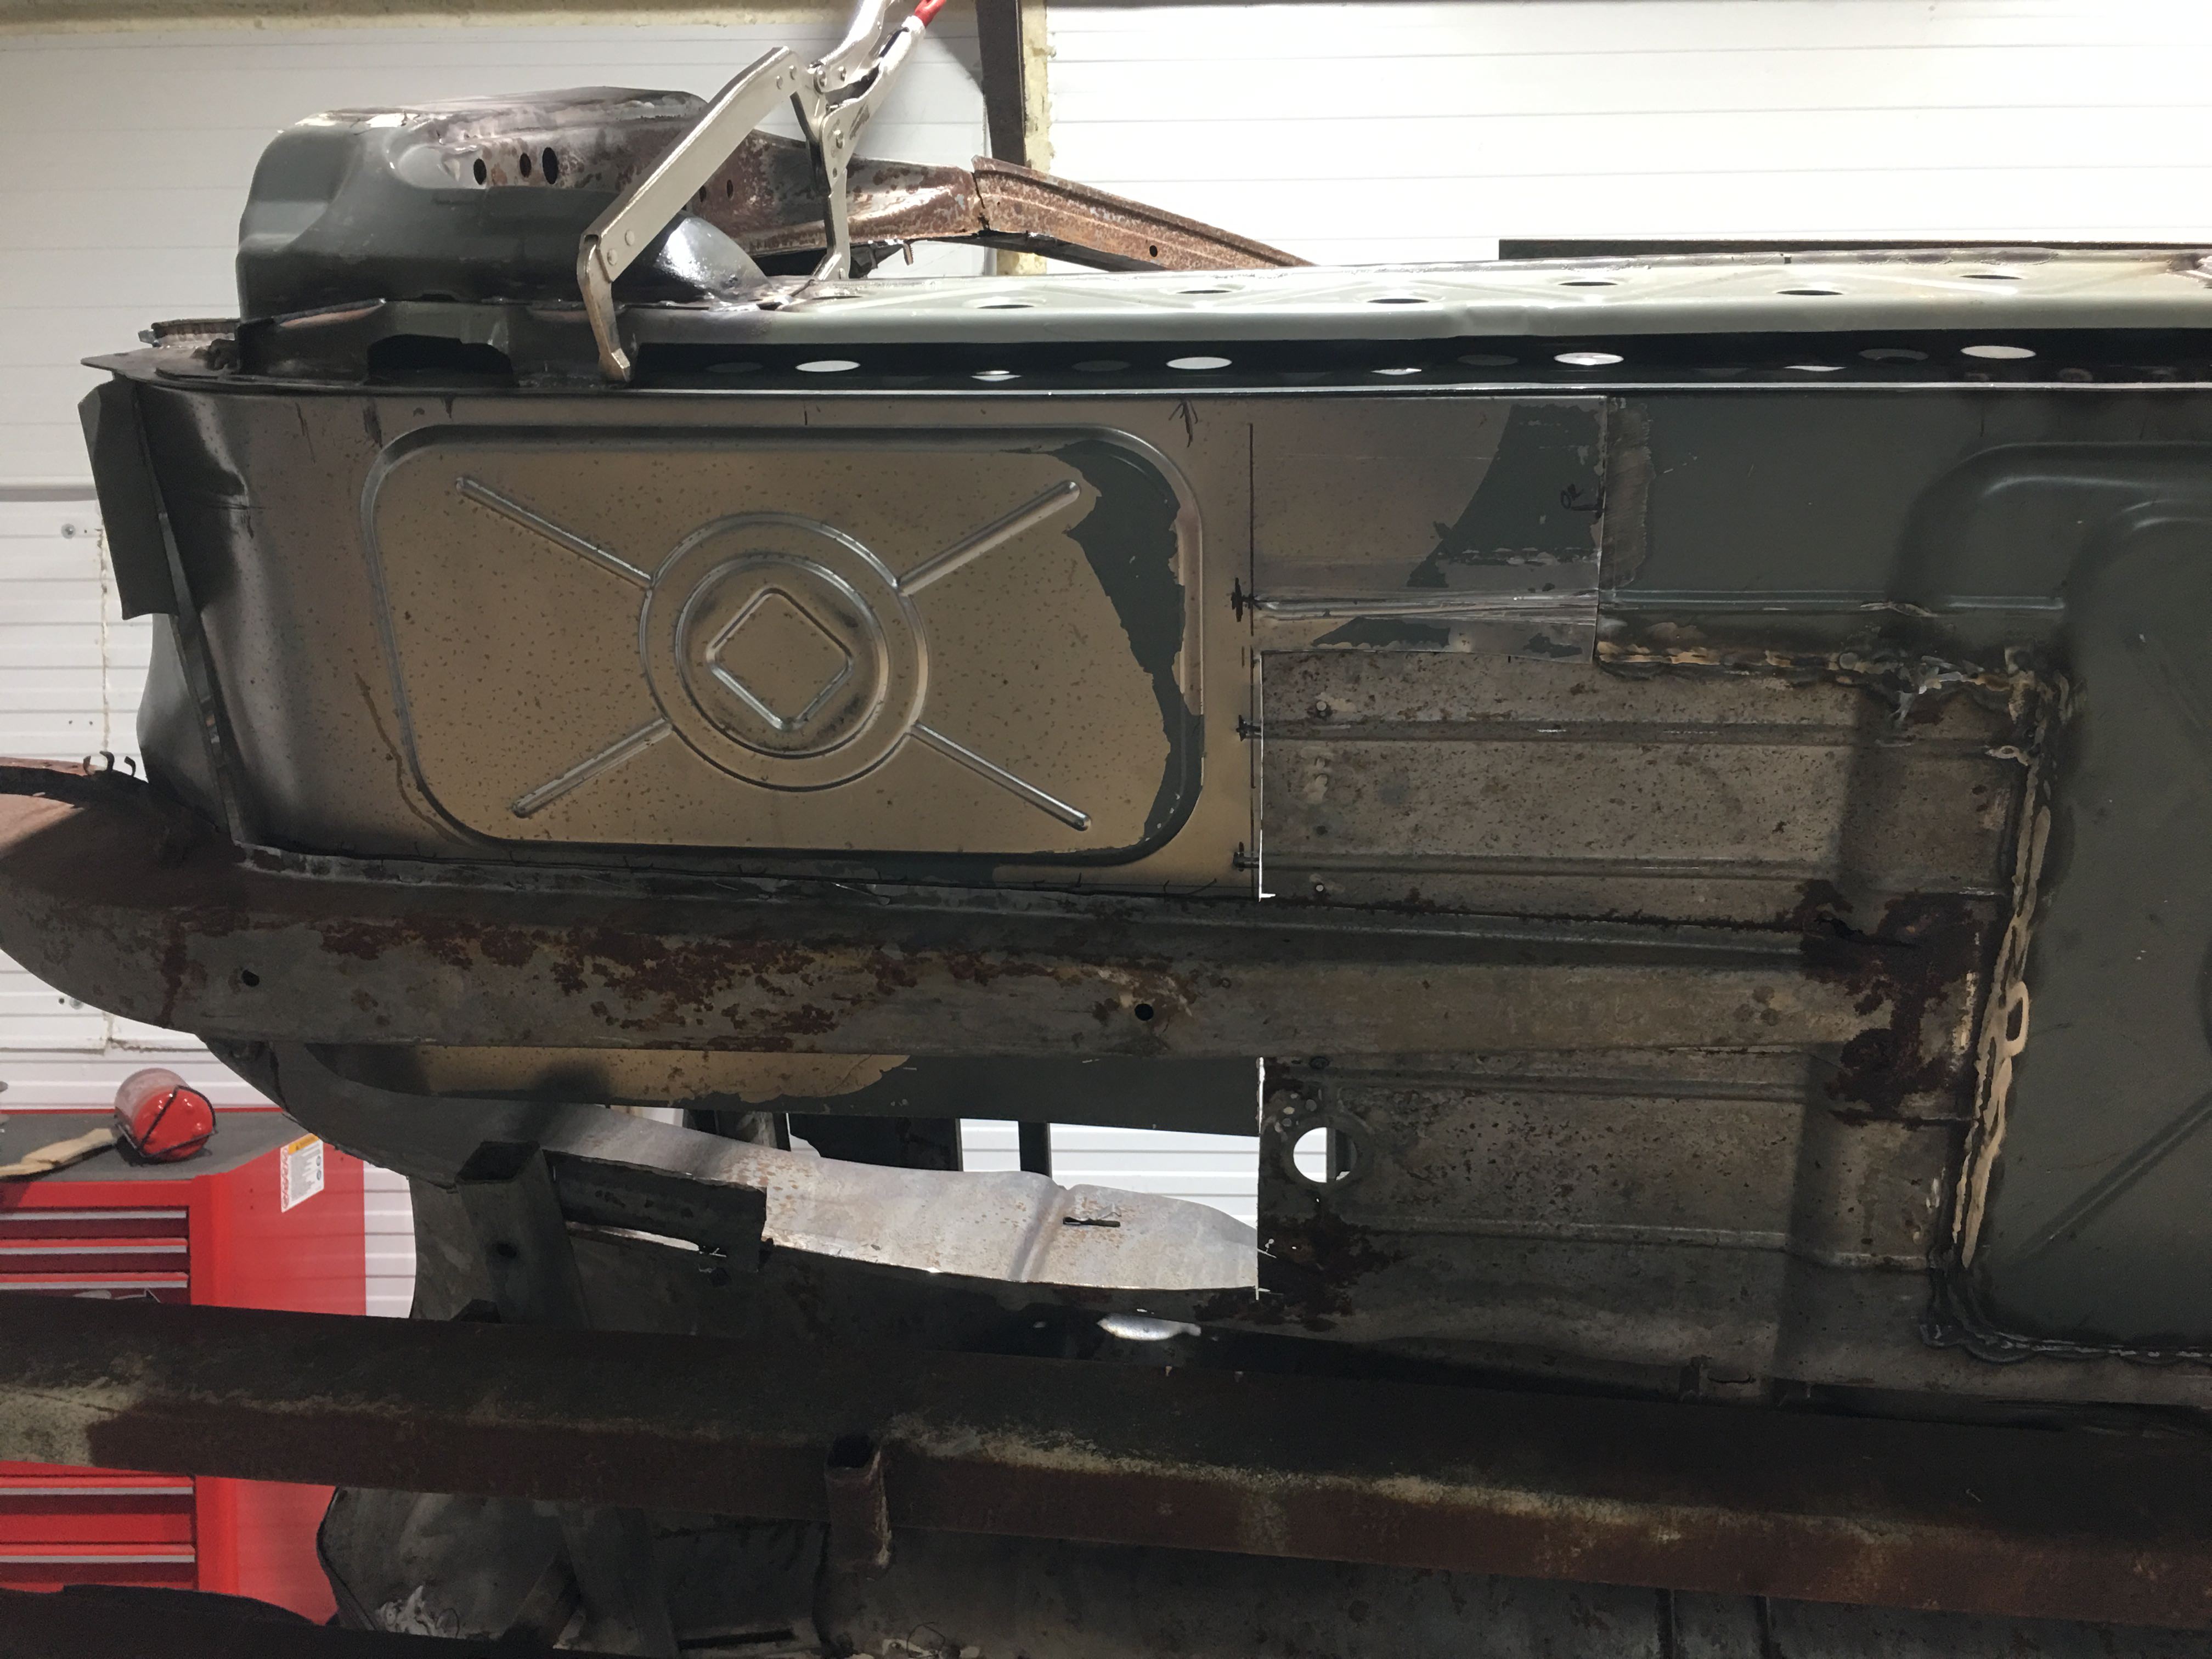
I decided to then replace the floor section… so one night this week was dedicated to take out all the old repairs, carefully trying to take out the shoddy sections, but keeping as much of the good steel as possible.

In my case the old repairs were tacked over the old rusty bits and then overlapped some 6 inches onto good steel. so, I had to grind off each tack, cut the old repair sections out bit by bit to reveal the full extent of the good steel.

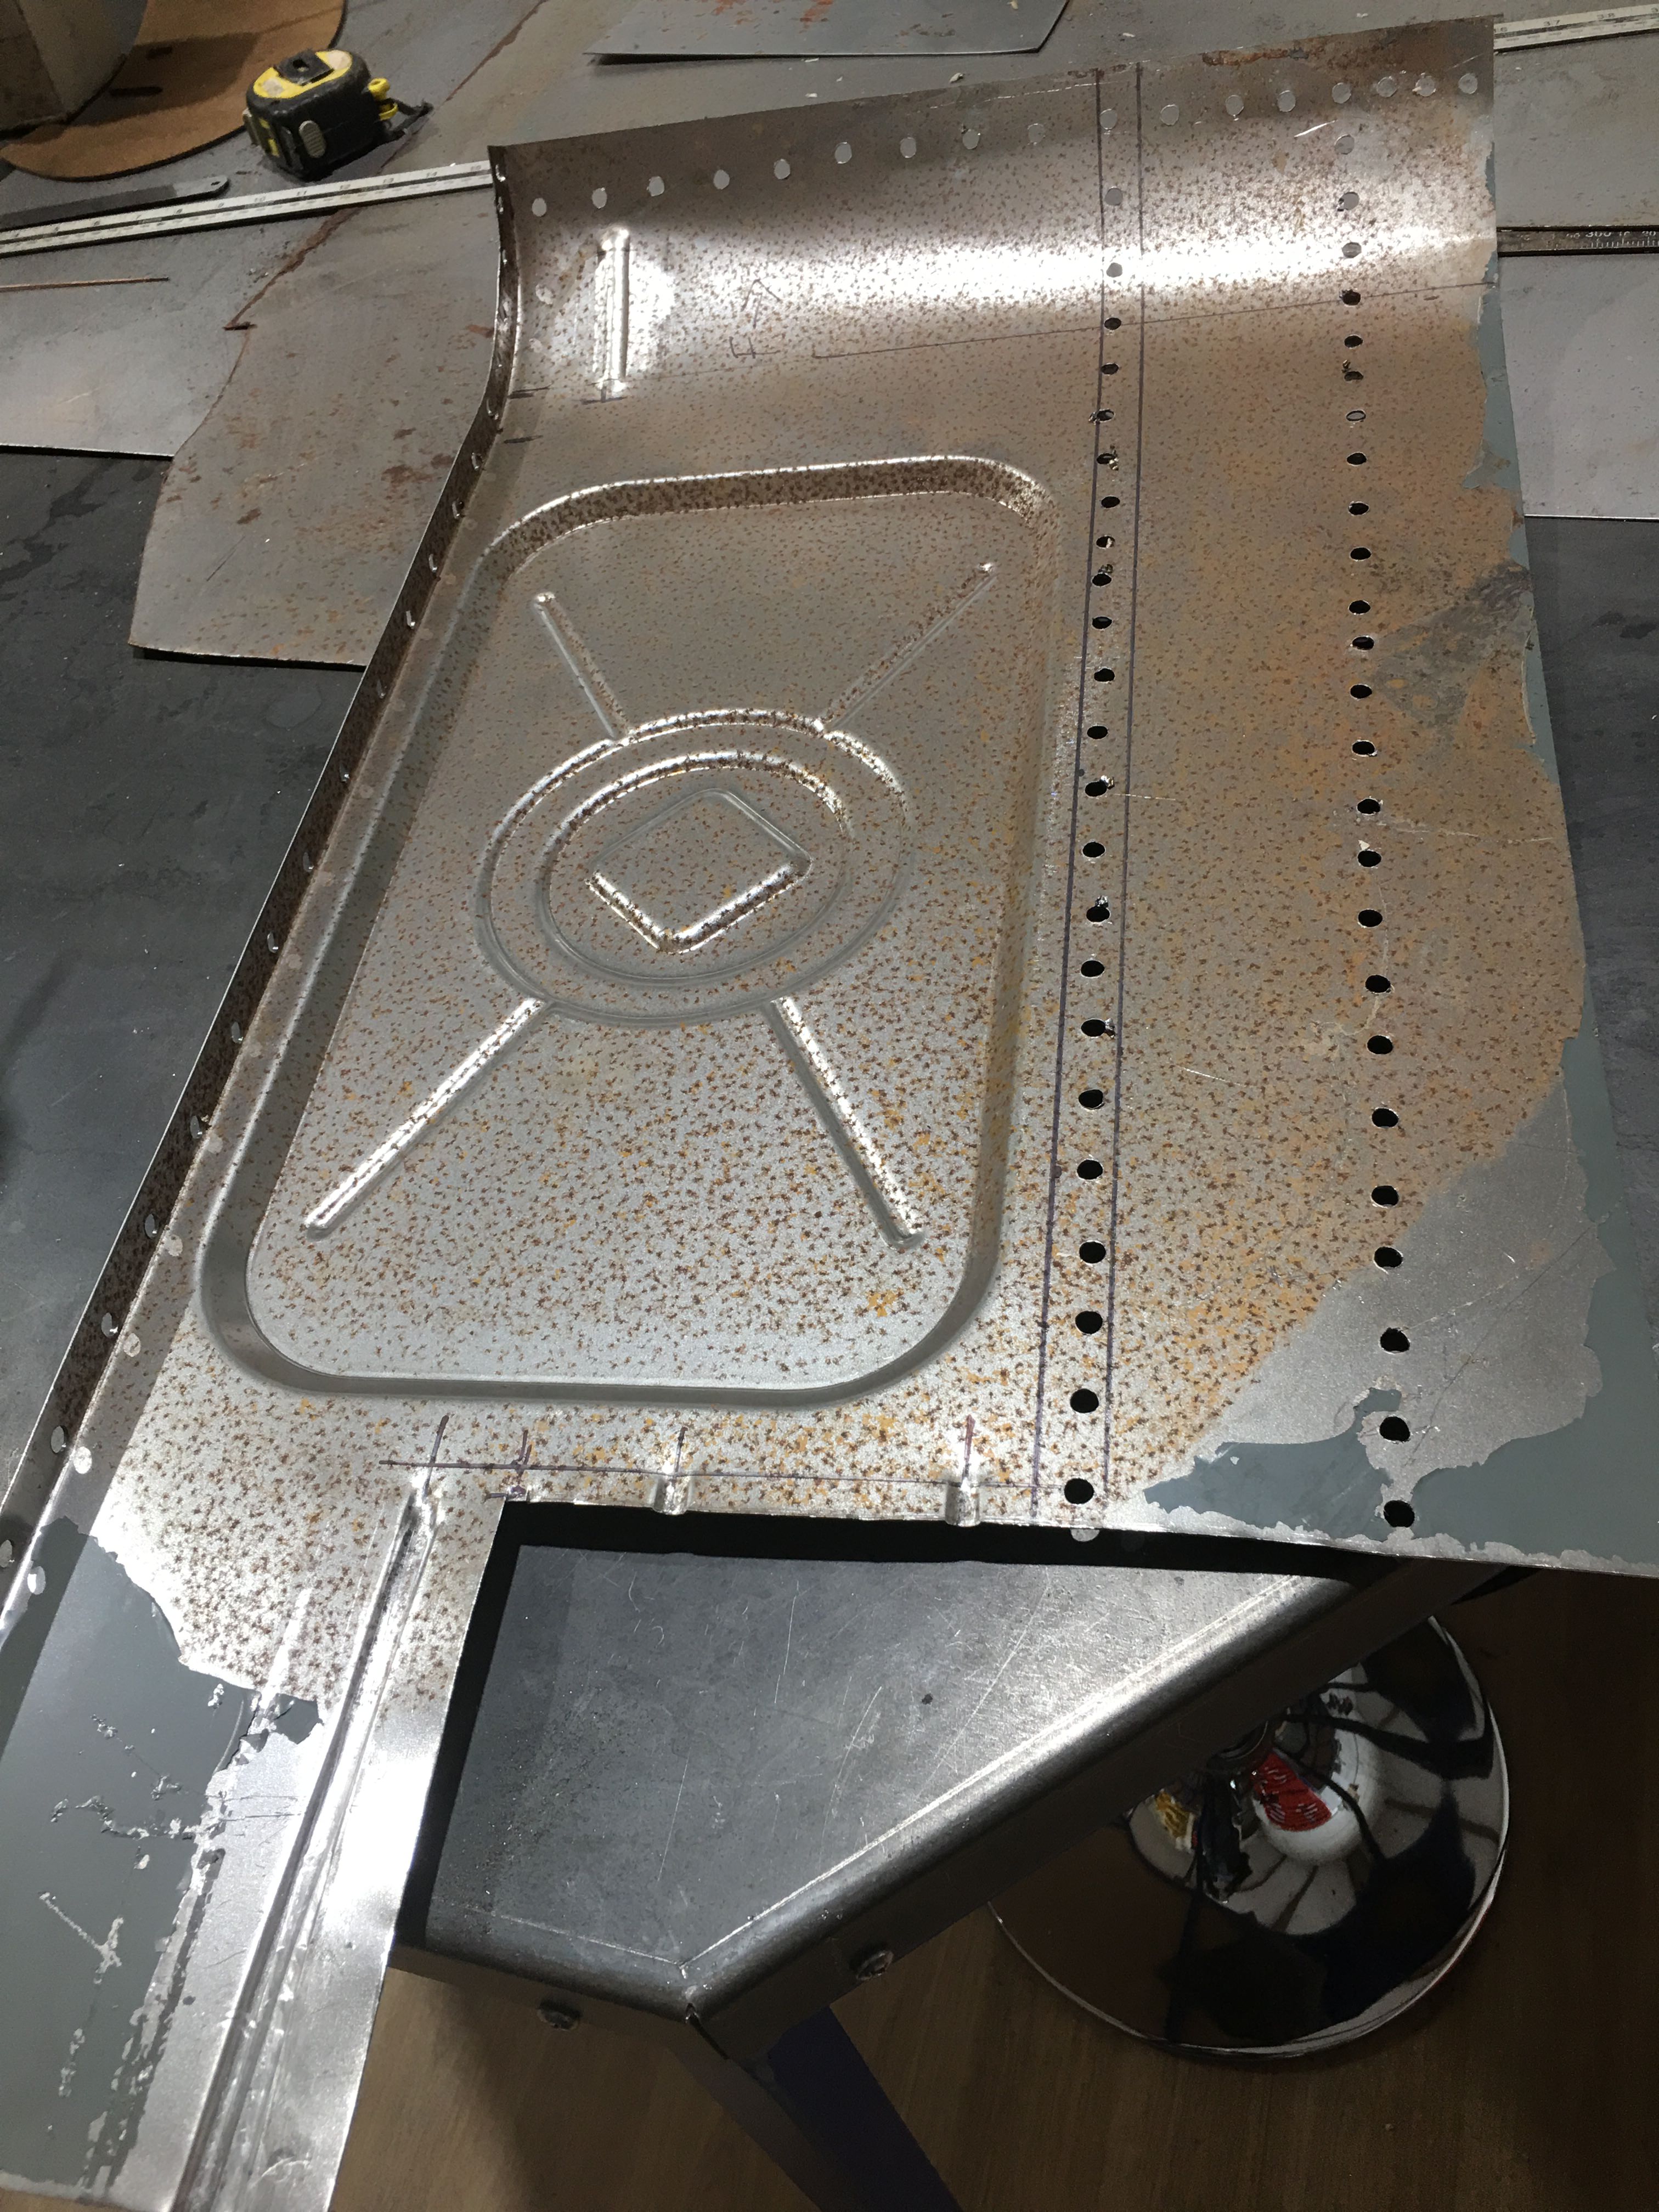
The new Wallis and Gromit floor section was rolled and shrunk to get the contour to the front and then fitted to the car…

Aligned up the swage marks with the existing floor and marked the new swage lines positions… put in the new swage lines only to find one was 5 mm off one of them ---- so had to re do it due to my marking it wrong – I put it down to parallax error!
eTfNS3f.jpg

cXxaCxH.jpg


On a plus note I have now installed a mini fridge in the garage so now I can have a nice cold beer.

I try so hard to only have one beer a night as its all too easy to drink many more and it being a school night as well!

I think this new addition could turn into an addiction, I’m getting the taste of Moretti beer….
 
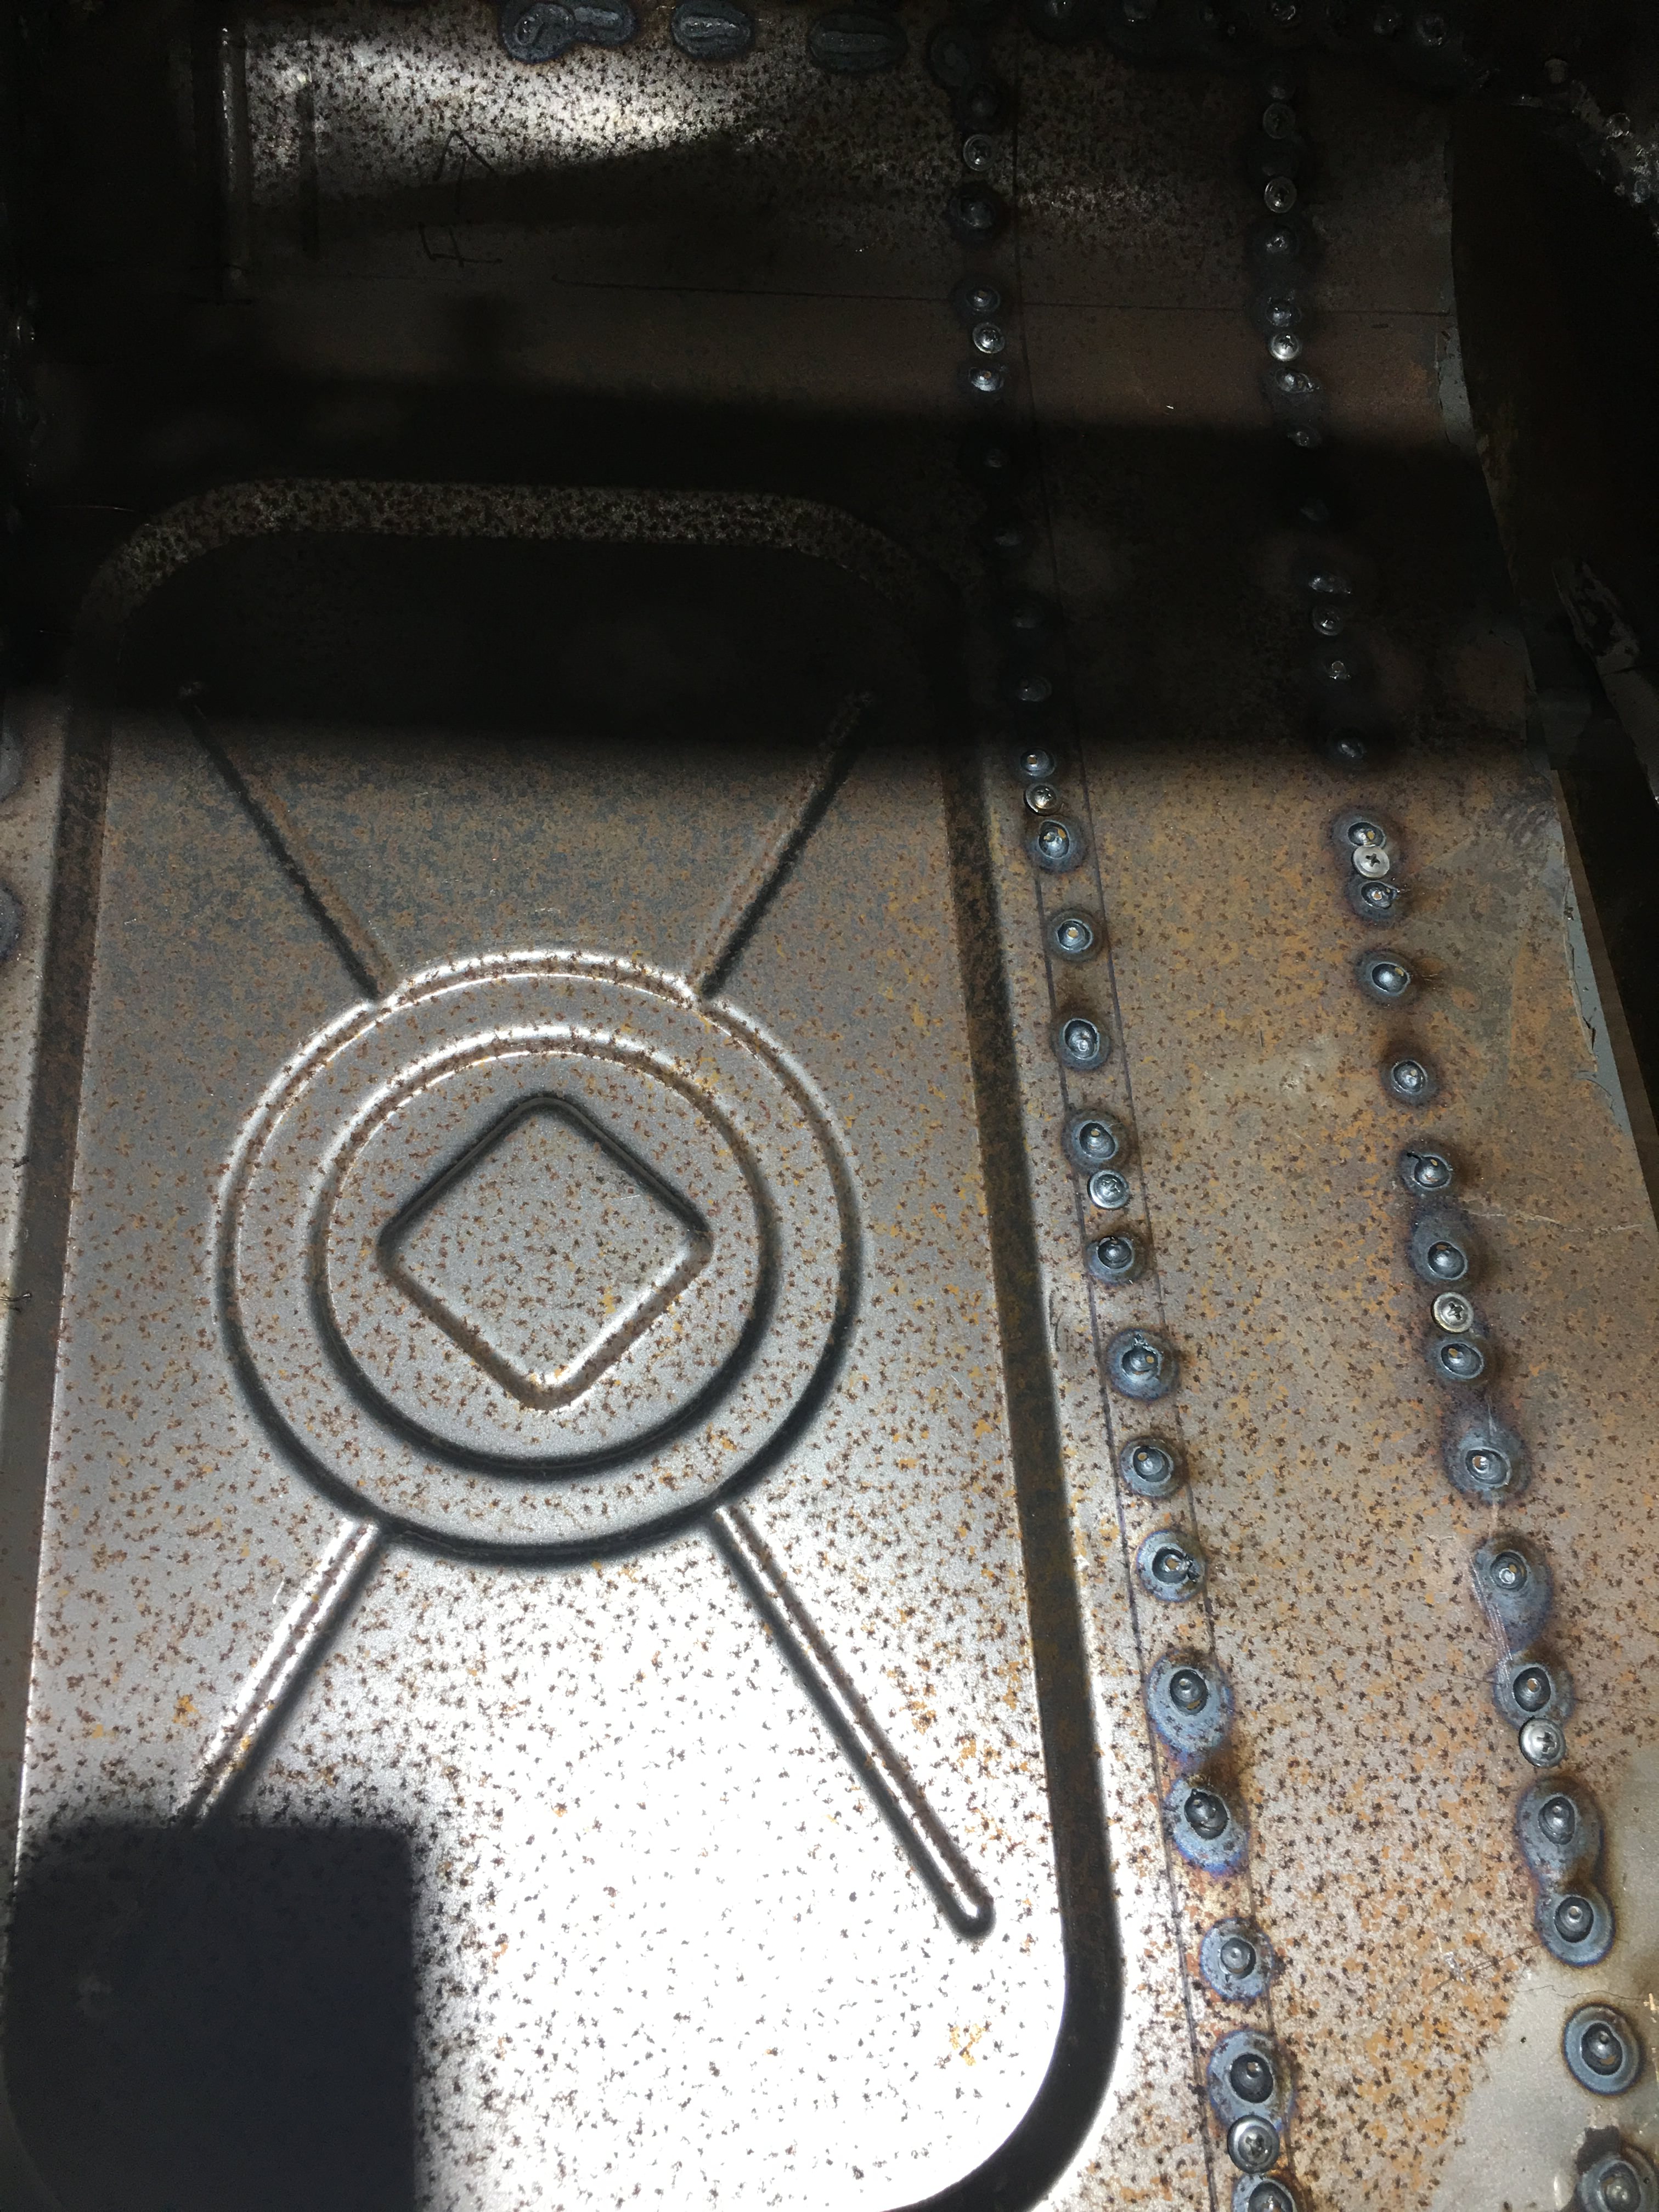
The new floor now welded in position.

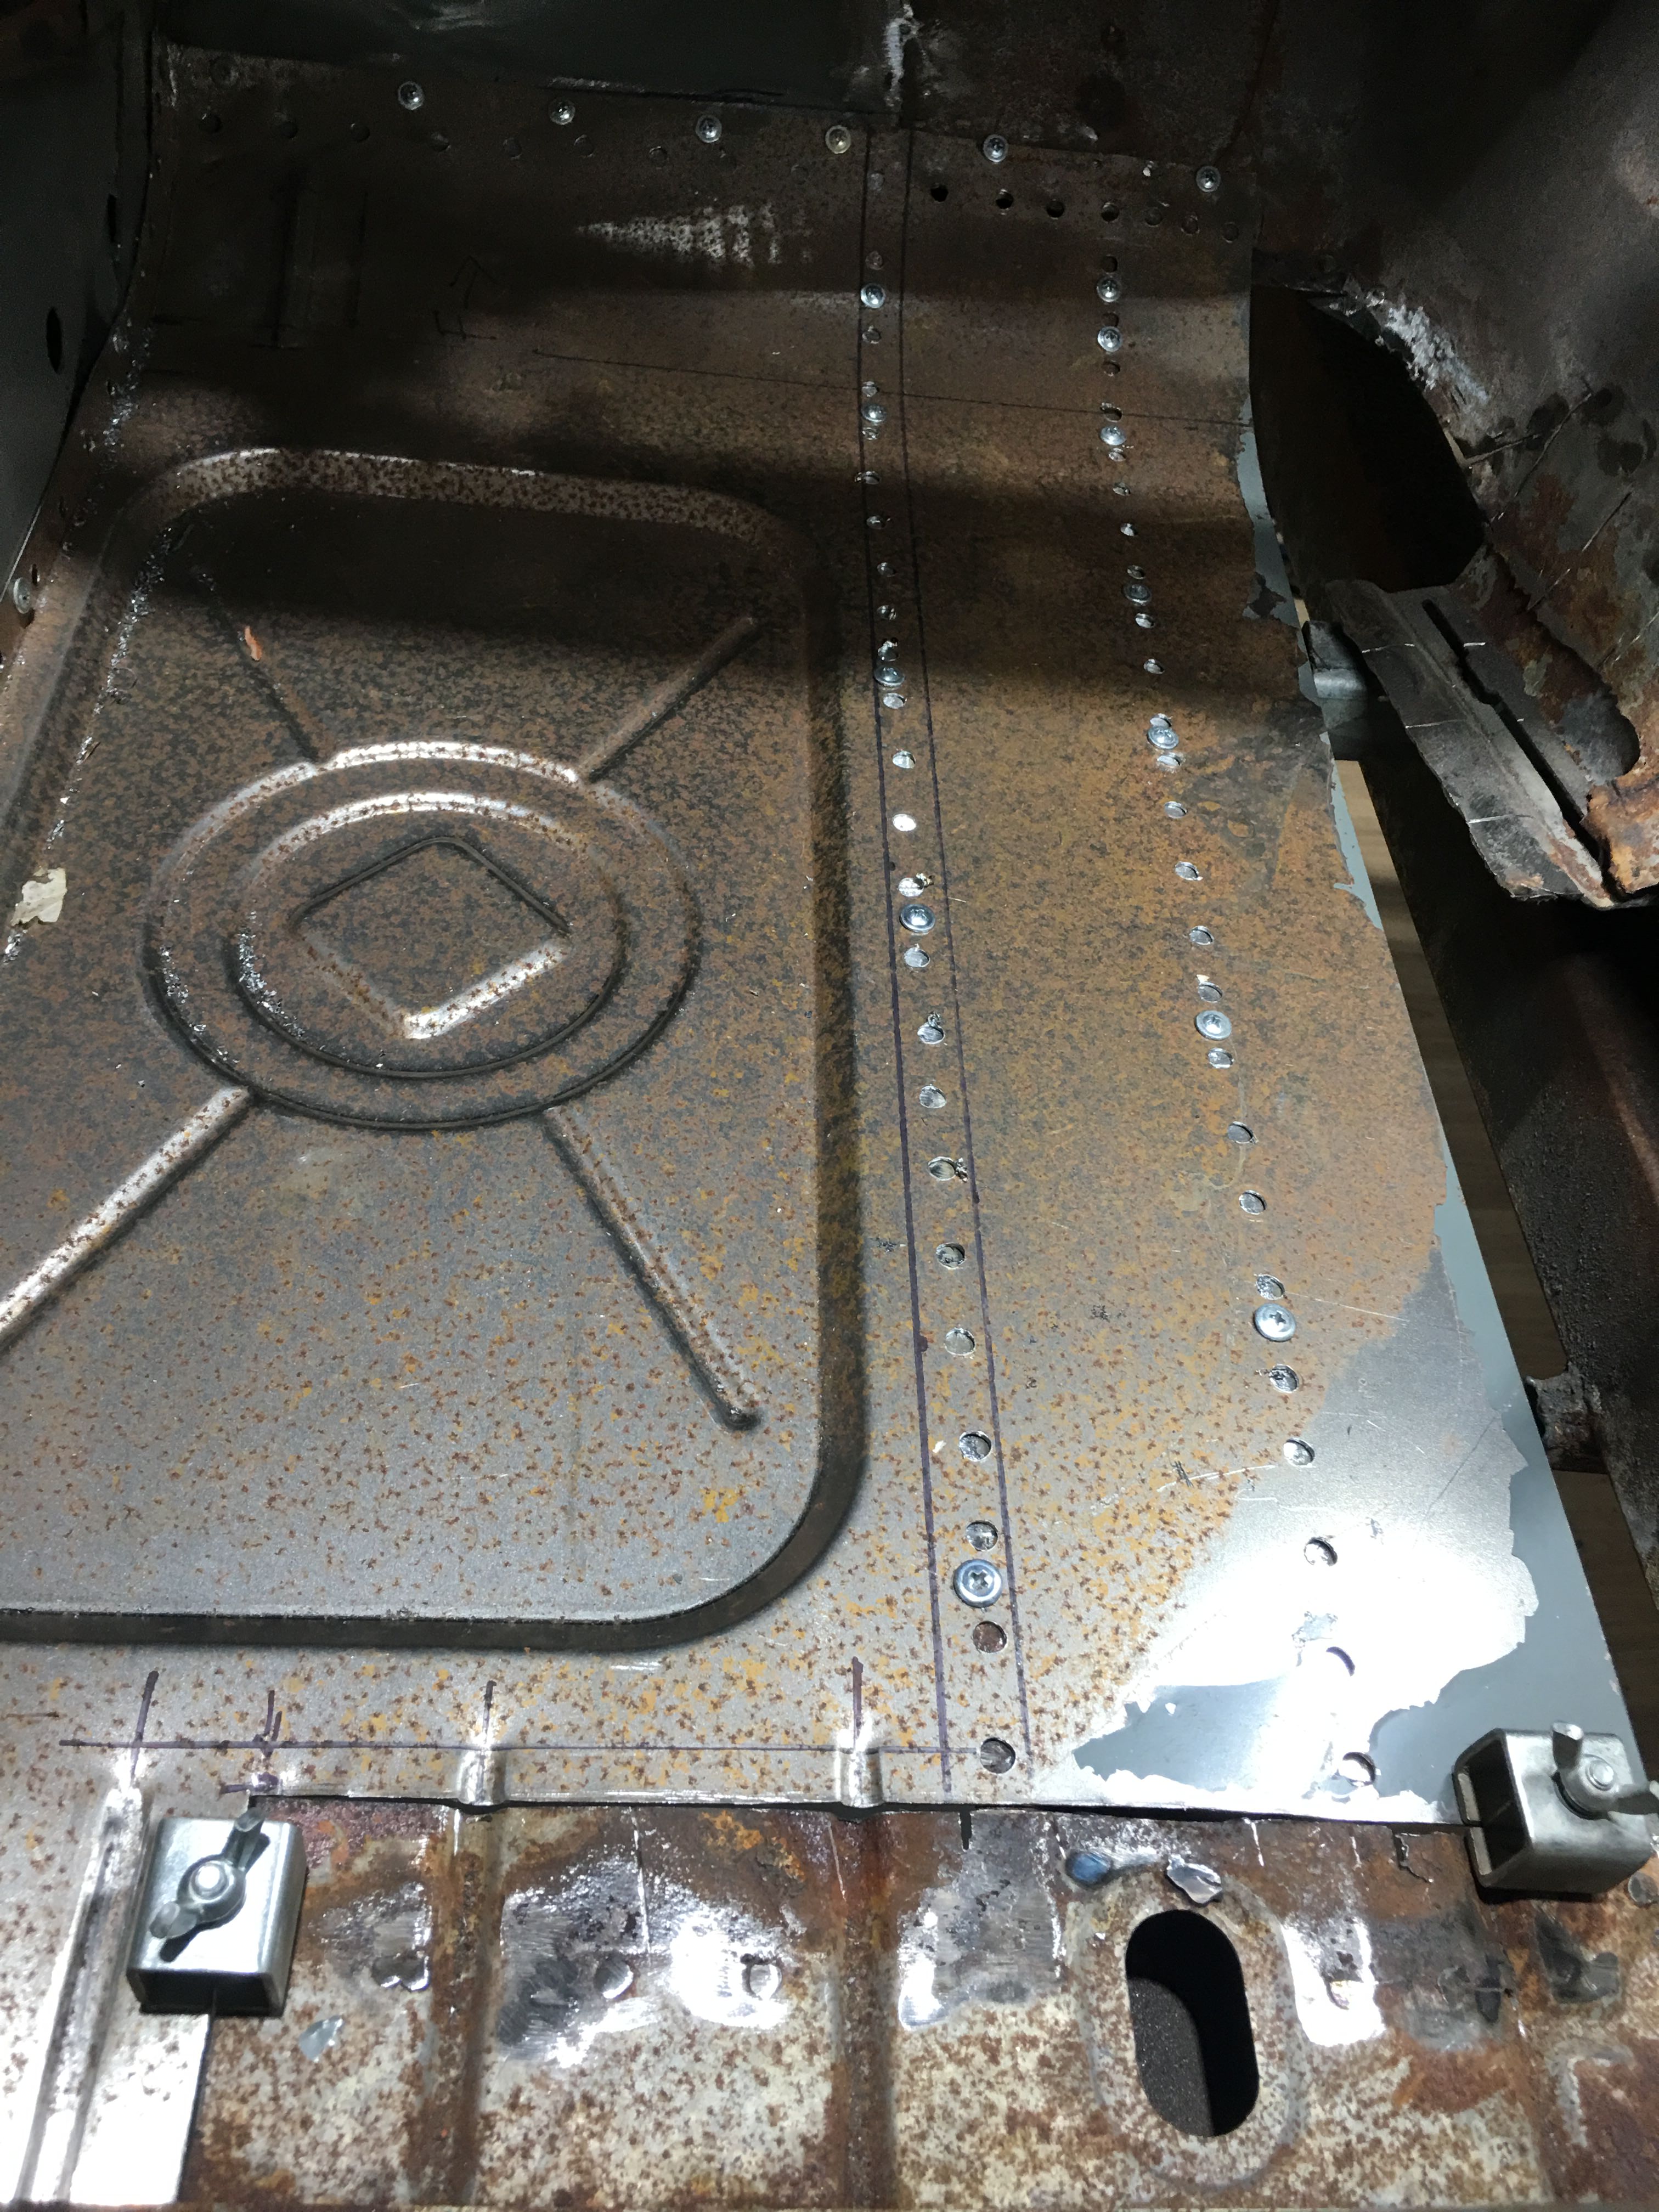
Dry fitted it and then Tec screwed it in place, gave all the seams a tap with the dolly and welded it all in.

I now need to make the section that butts up to the gearbox tunnel and that has a bit of shape to it.

Looks like I have lots of grinding of plugs and welds to do tonight.


Xc6Gwlq.jpg

All drilled out ready to fit
7UwRZHI.jpg

In position and held in place
Jx0arhQ.jpg
 
Back
Top