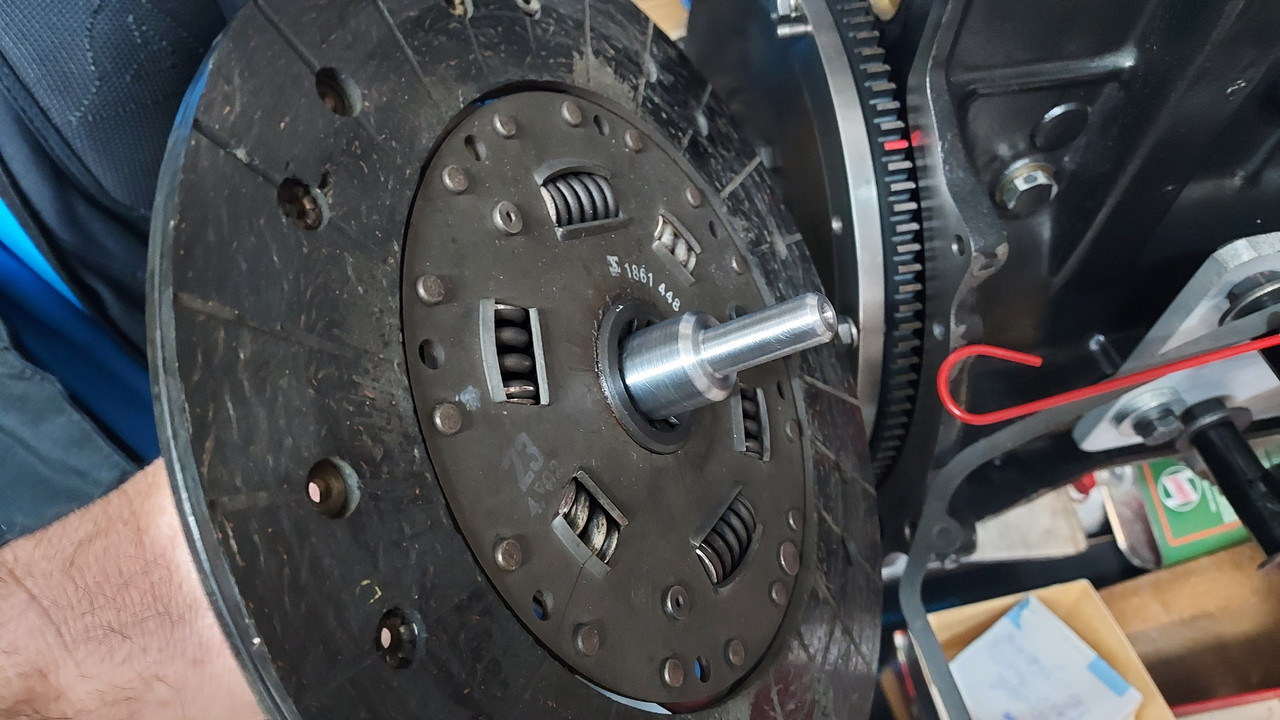
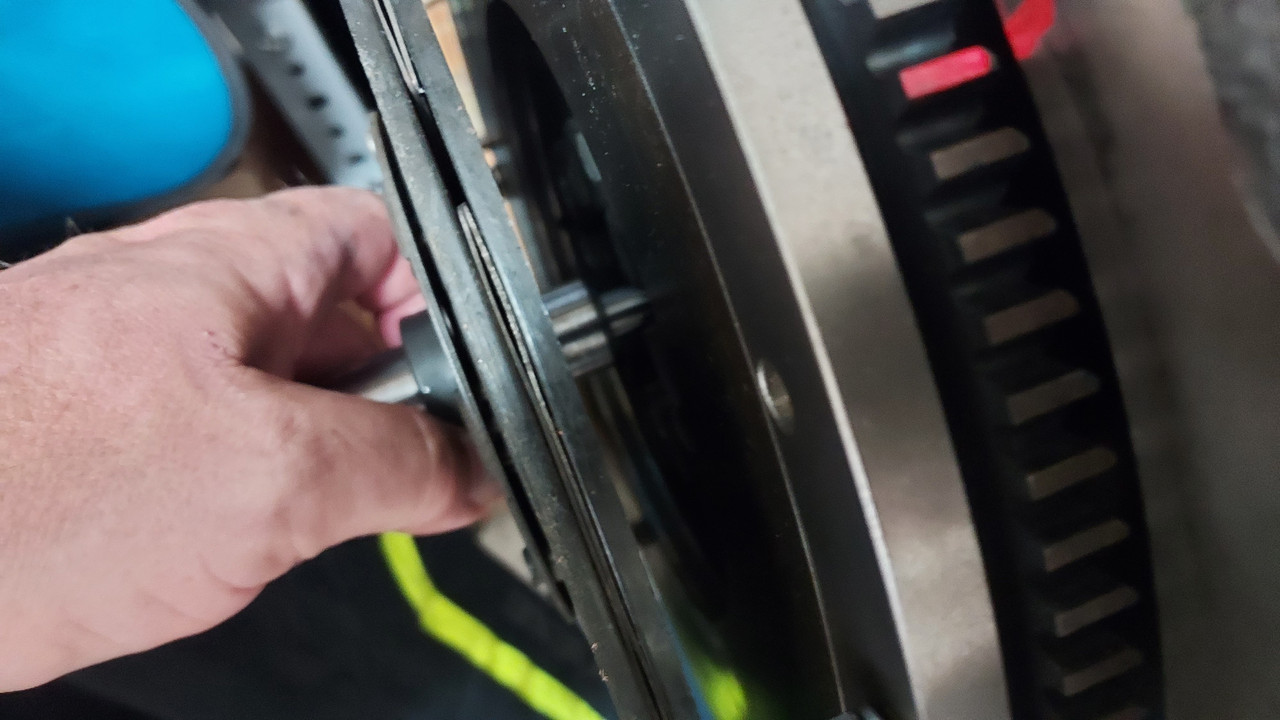
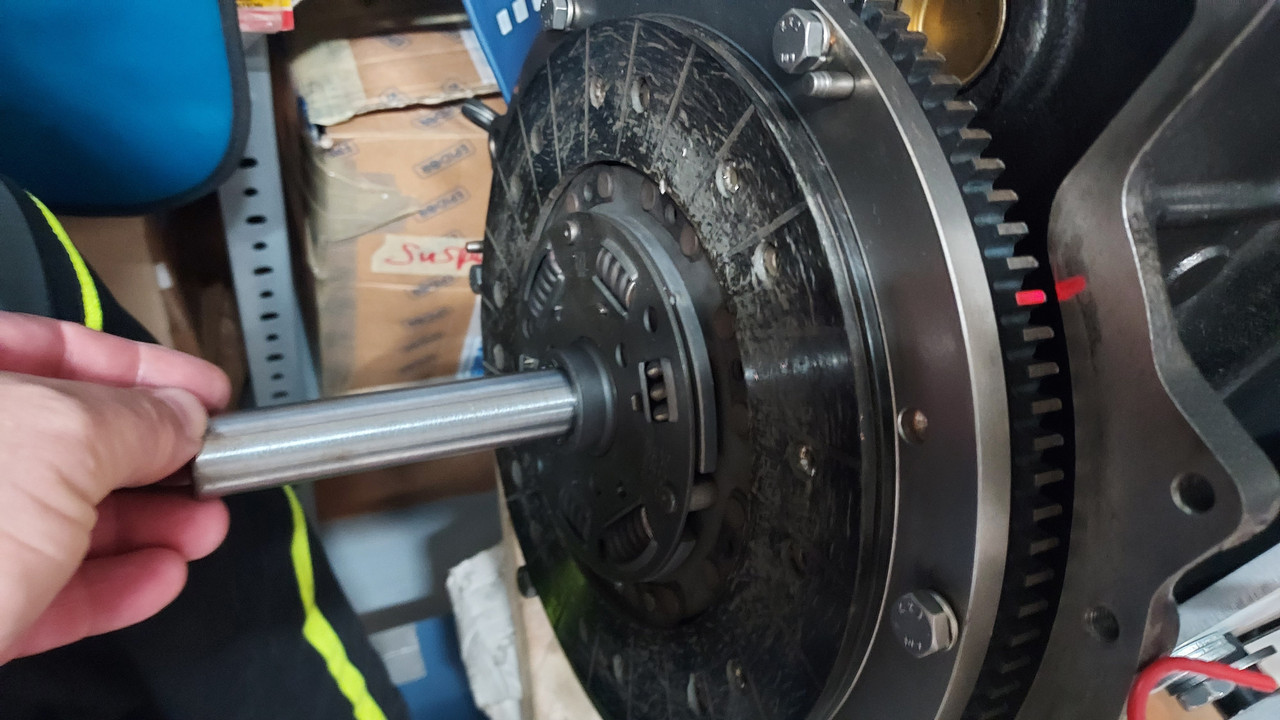
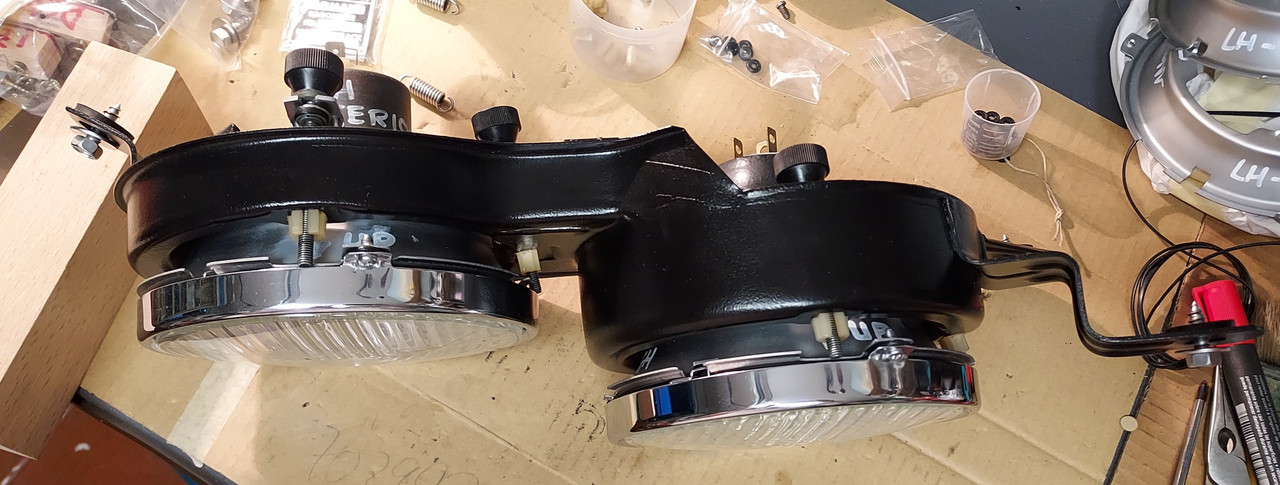
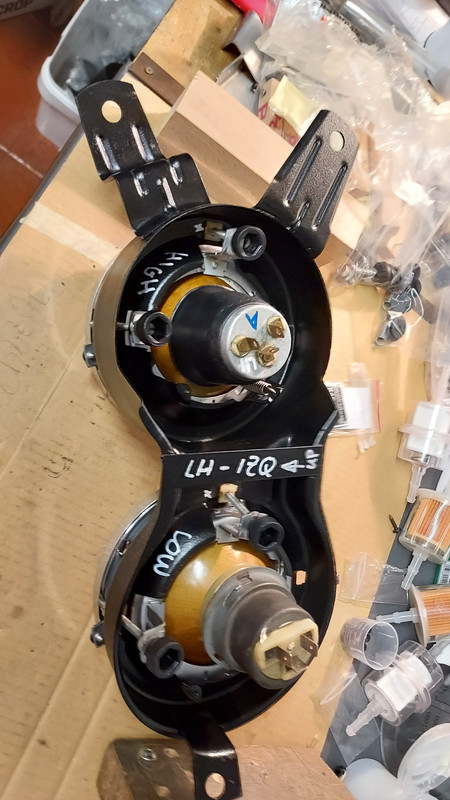
I greased both parts that rub and it has been fine for years.
You are using an out of date browser. It may not display this or other websites correctly.
You should upgrade or use an alternative browser.
You should upgrade or use an alternative browser.
LAN e9 empresas y tribulaciones, an epiphany in 042BBlau. OPUS MAGNA. XXXXXXXXXXXXXXXXXXXXXXXXXX
- Thread starter deQuincey
- Start date
I greased both parts that rub and it has been fine for years.
Moly grease ? Or just normal, lithium, …other ?
while we are on this...

swapping the old with the NOS
swapping the old with the NOS
I think I used wheel bearing grease.Moly grease ? Or just normal, lithium, …other ?
thgank you Steve, sounds nice, but i would prefer moly, it has higher density so it would keep in place at higher temp without falling downI think I used wheel bearing grease.
Last edited:
a difficult time it came with the need for fixing the horizontal wood piece to the vertical ones
i made a trial on the body mounted on duct tape, it seemed fine, but setting some screws freeze everithing in place forever,
i used the alu trim part as a support to join both wood bits on top,
then i checked how the shapes fit together,
made some changes in positions and started with the joint procedure
i felt that in order to introduce the screws the process is a bit laborious as drilling is involved
i found better to use nails as references, but i predrill the position, the nails to be removed afterwards
i used torx headed SS screws,
3x30 for the wood to wood, drilling with a 2mm drill


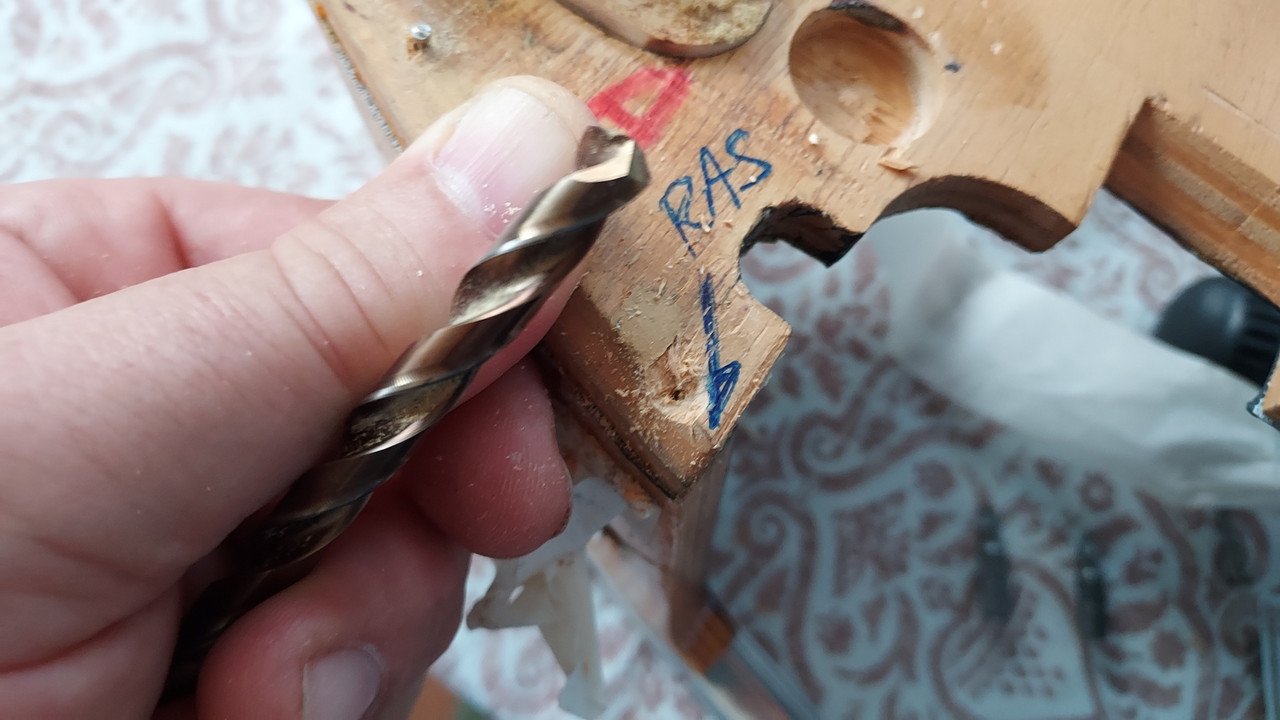


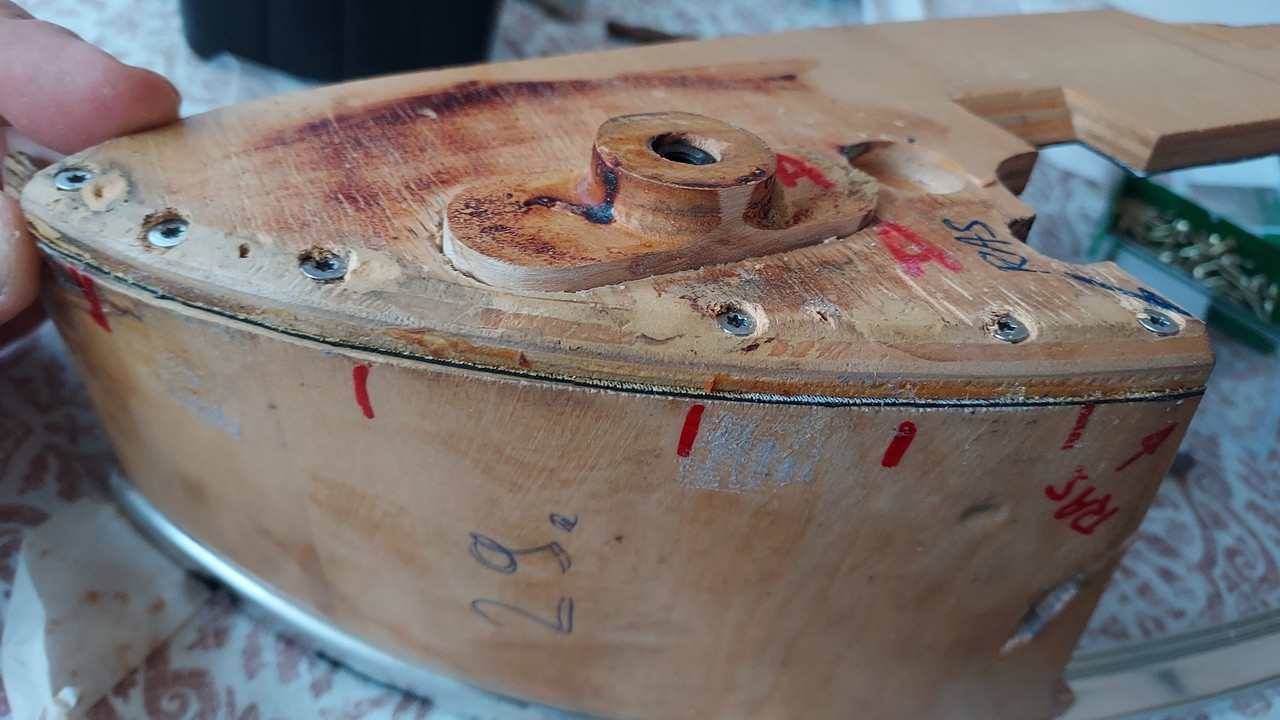

then 3x16 for the top alu trim, a bit longer than the originals, but originals seemed ridiculous like 3x8
went well, satisfied with outcome.
i made a trial on the body mounted on duct tape, it seemed fine, but setting some screws freeze everithing in place forever,
i used the alu trim part as a support to join both wood bits on top,
then i checked how the shapes fit together,
made some changes in positions and started with the joint procedure
i felt that in order to introduce the screws the process is a bit laborious as drilling is involved
i found better to use nails as references, but i predrill the position, the nails to be removed afterwards
i used torx headed SS screws,
3x30 for the wood to wood, drilling with a 2mm drill


then 3x16 for the top alu trim, a bit longer than the originals, but originals seemed ridiculous like 3x8
went well, satisfied with outcome.
So so, here it comes, checking the conduct


And now some consoles…


so, once all this was ready it only took 2 hours to complete the upholstery process,...i am getting old...
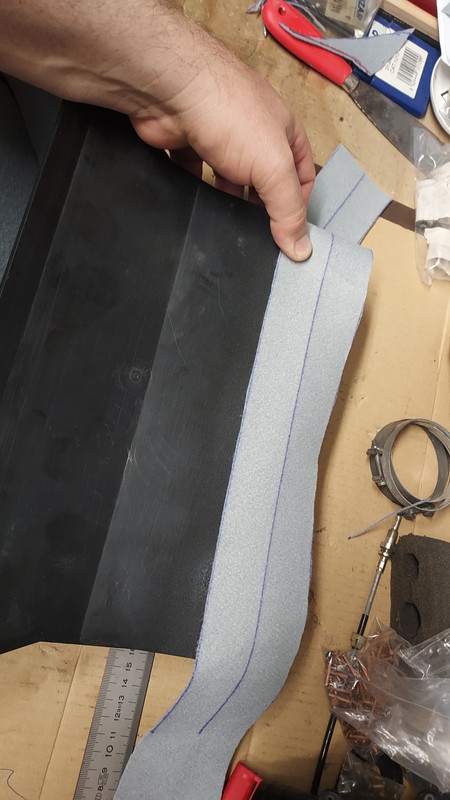
most difficult part is to get the edges inside the rubber channel...
start in one corner back side
then turn other side and pull while puting staples to fix
keep the tension and work the other end
tools
nice result, clean lines…
ready for the alu trim lines
Last edited:
goooussss

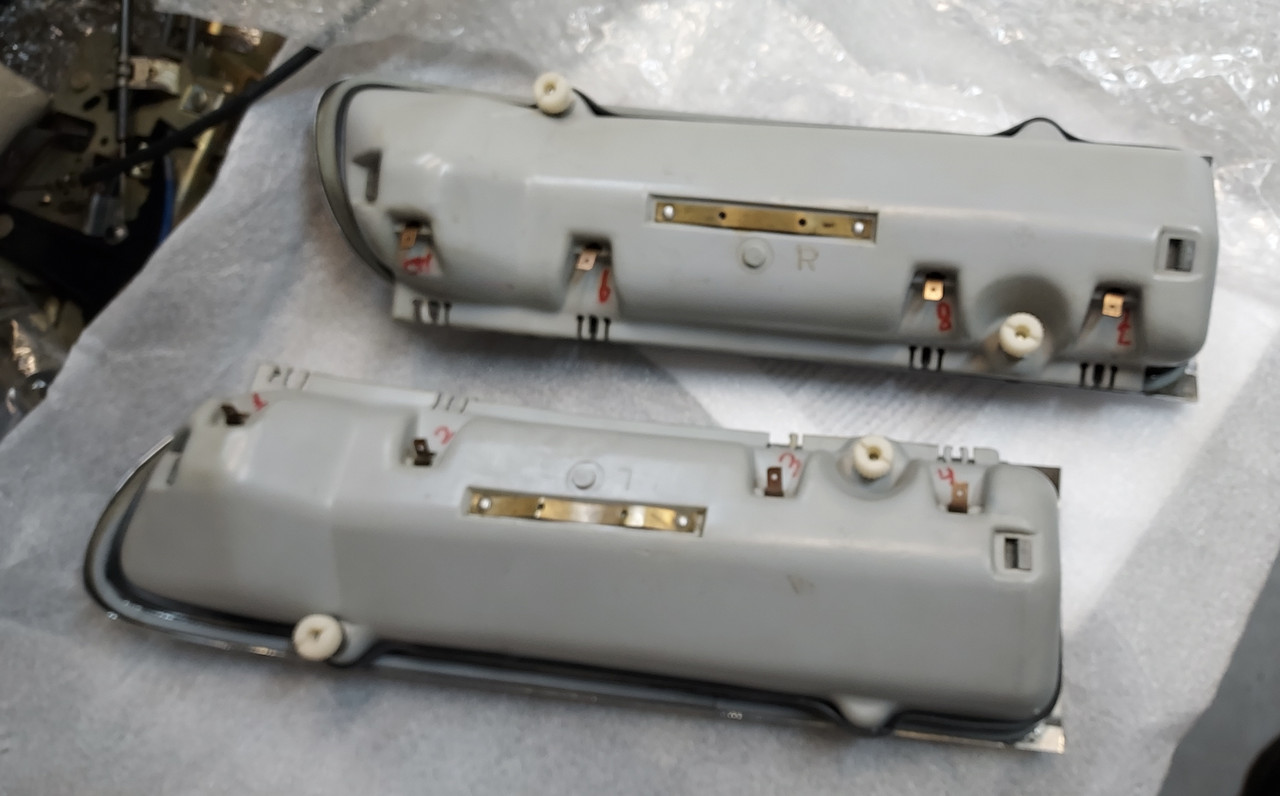
rear lights,


so, once all this was ready it only took 2 hours to complete the upholstery process,...i am getting old...
ready for the alu trim lines
feel that getting used to it…
so, once all this was ready it only took 2 hours to complete the upholstery process,...i am getting old...
View attachment 149295
View attachment 149296
most difficult part is to get the edges inside the rubber channel...
View attachment 149297
start in one corner back side
View attachment 149298
View attachment 149299
then turn other side and pull while puting staples to fix
View attachment 149300
keep the tension and work the other end
View attachment 149301
View attachment 149302
View attachment 149303
tools
nice result, clean lines…
View attachment 149304
View attachment 149305
View attachment 149306
ready for the alu trim lines
the last step is the critical and risky one,….the alu trim moldings,
frist draw the line with a pencil, then straighten the spikes, position the moldings, and use your thumb for good control
if you fail, you will need new covers, so, remove olds, cut, sewing, place news, upholster and give a new try…


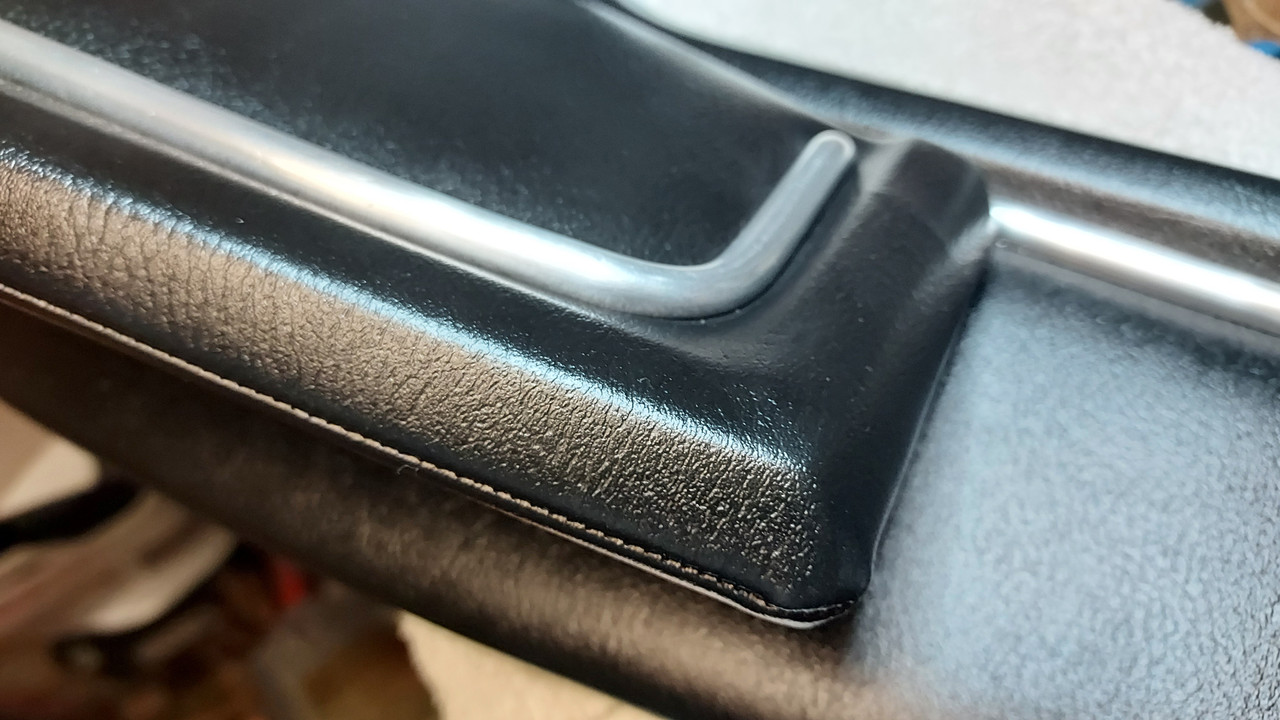
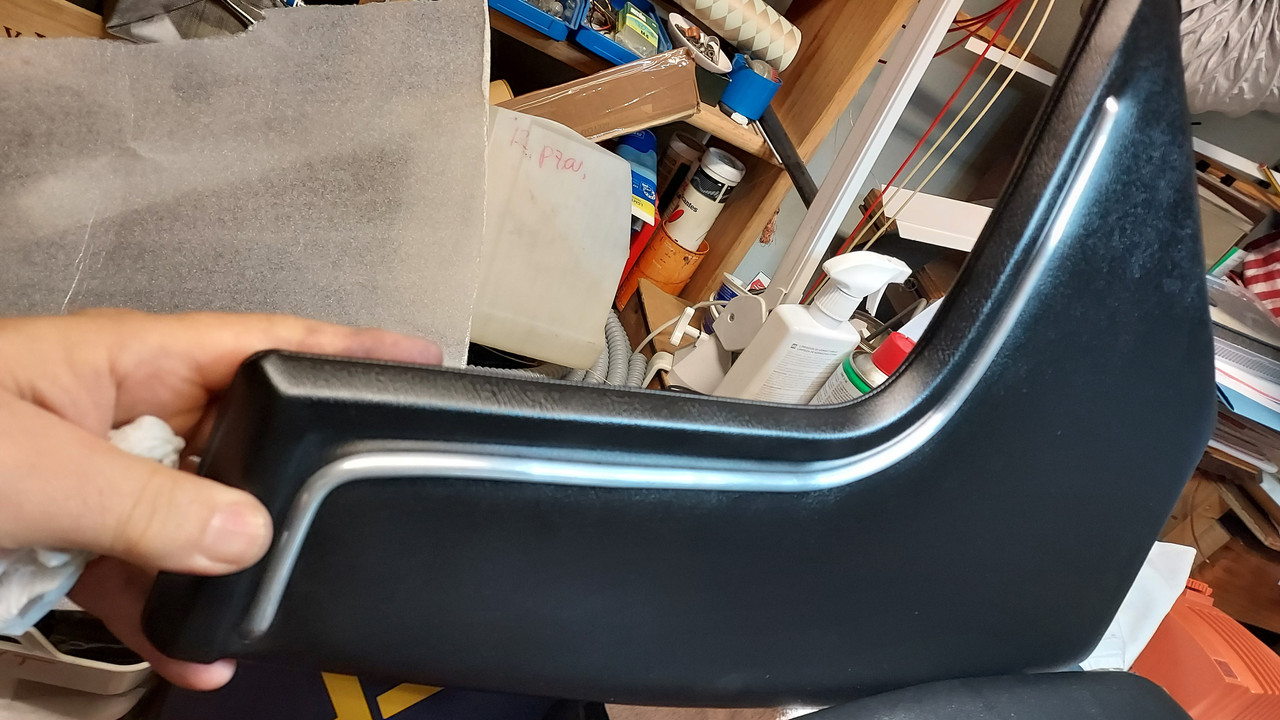
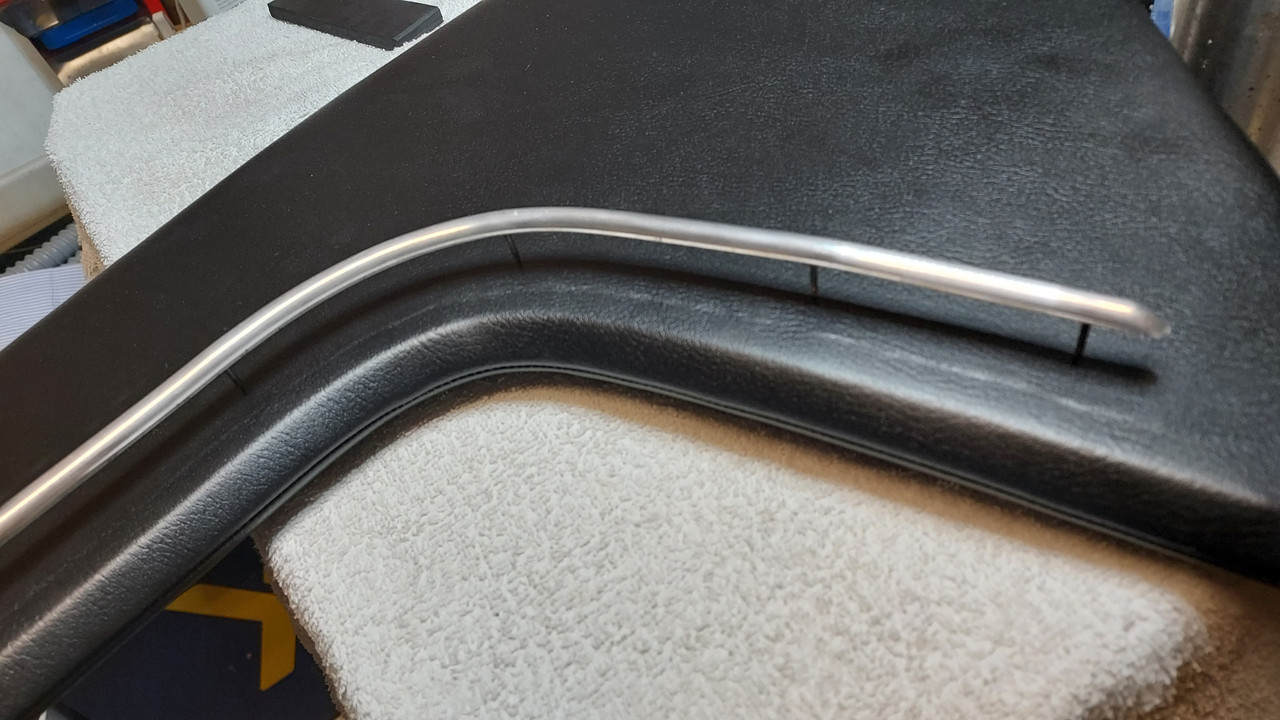
so one of the facts, is that the new consoles will mean new central stand for gauges and radio...
Last edited:
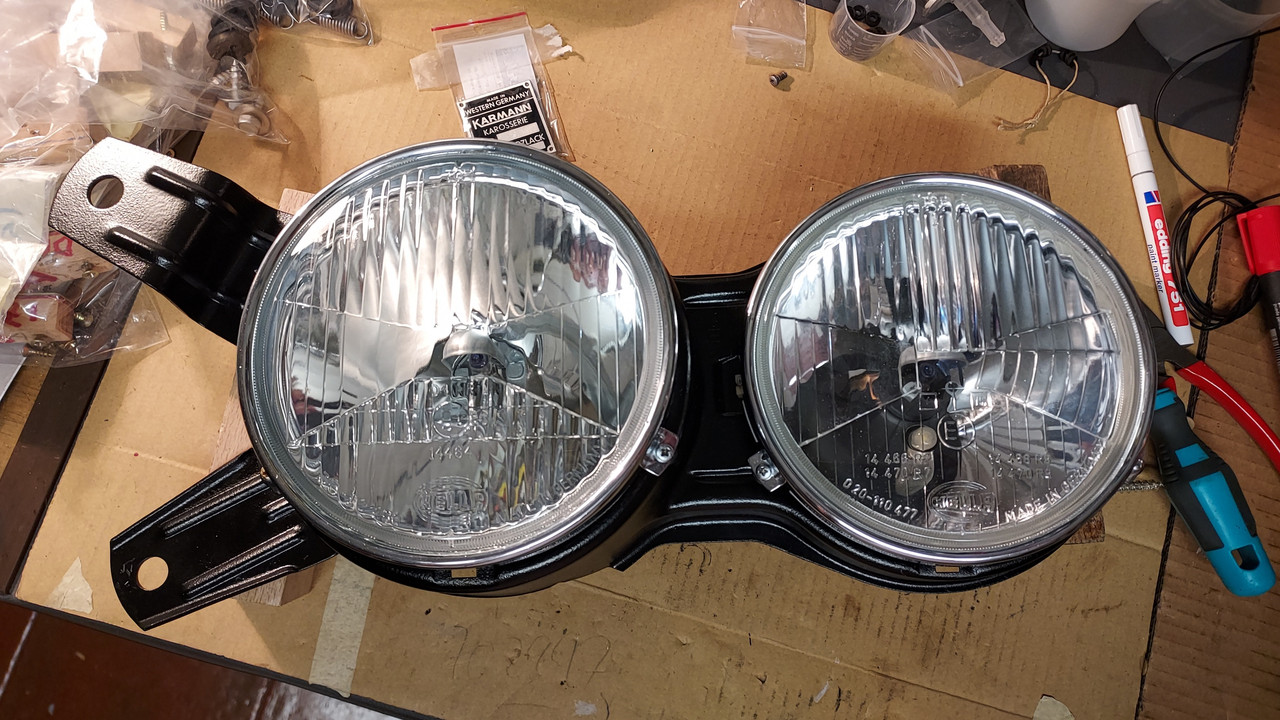
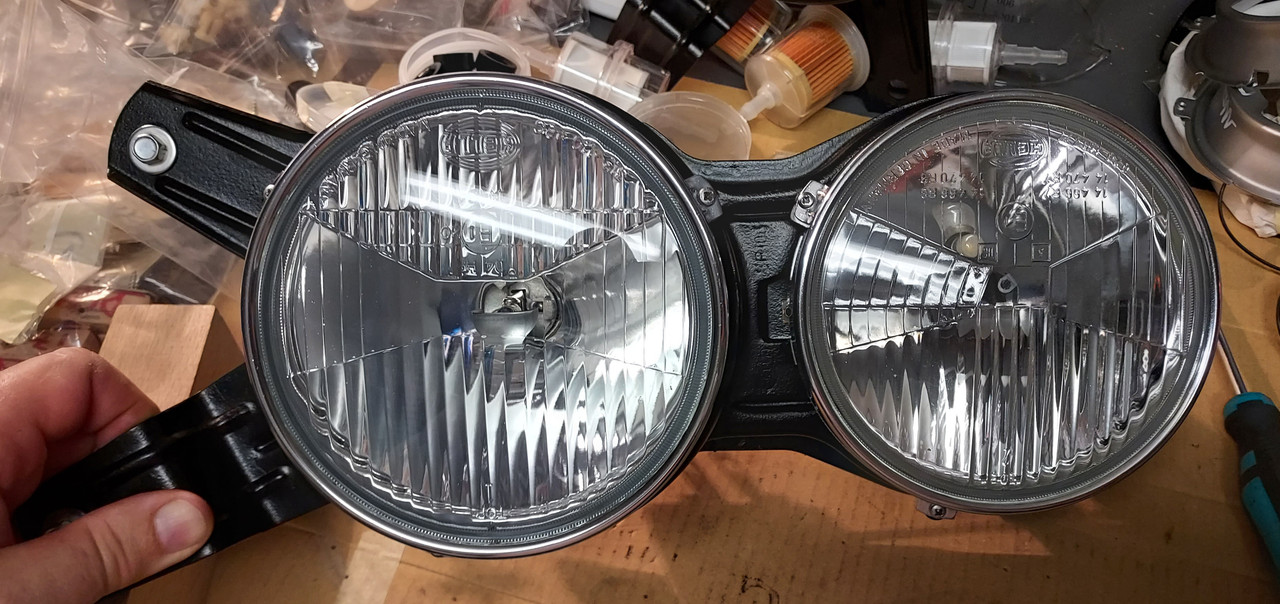
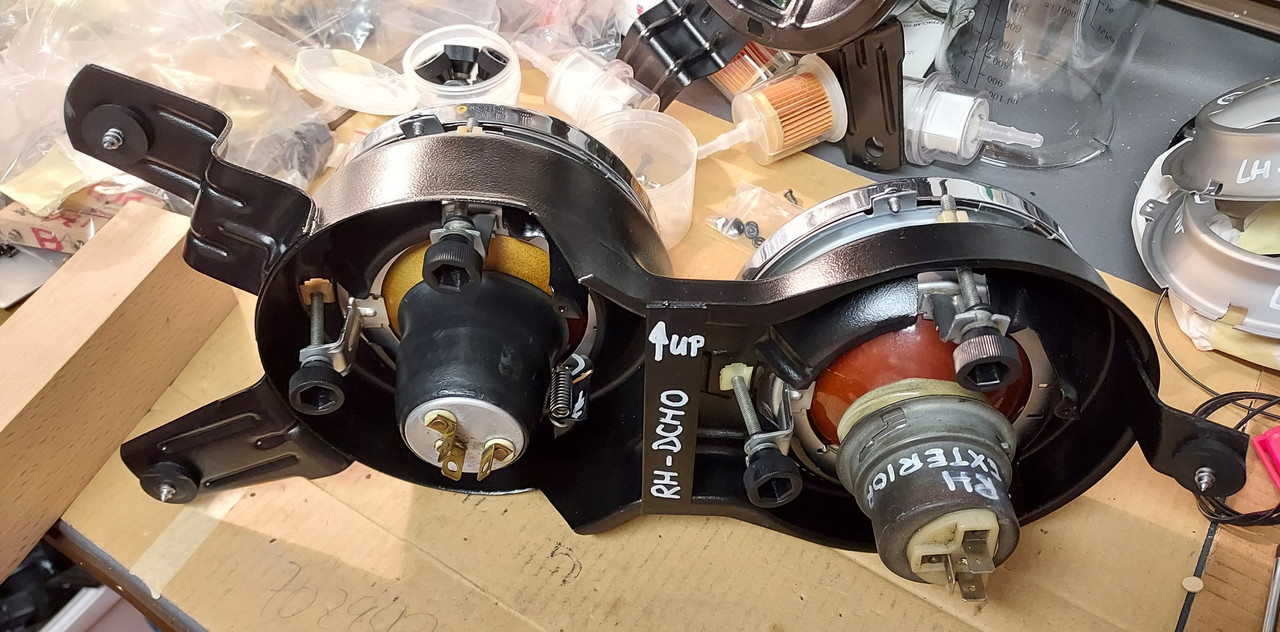
en esta seccion trataremos de los faros delanteros

los divinos pequeños detalles,...

los divinos pequeños detalles,...
en esta seccion trataremos de los faros delanteros
View attachment 150257
los divinos pequeños detalles,...
View attachment 150258


