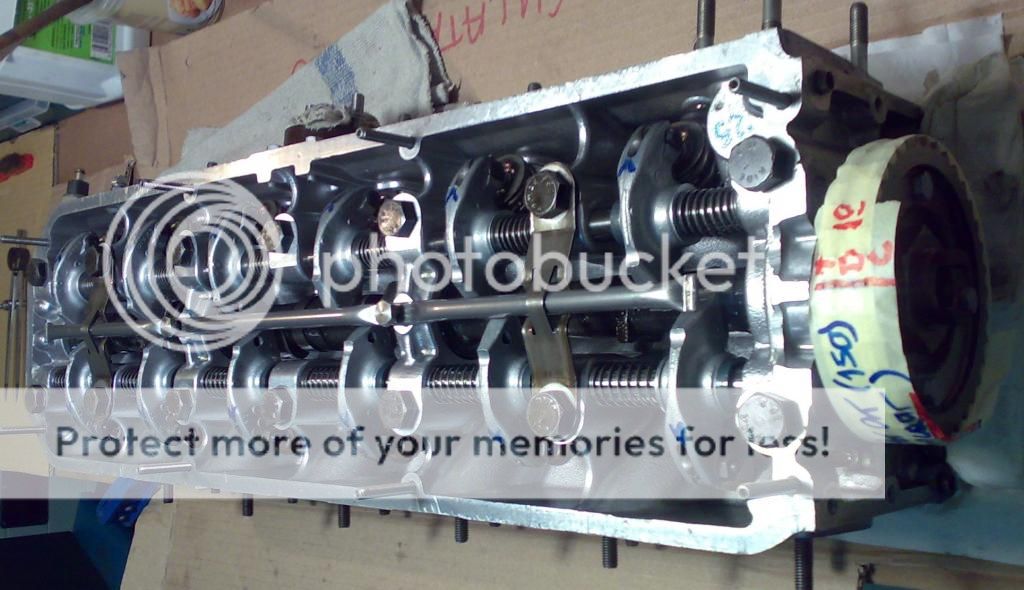
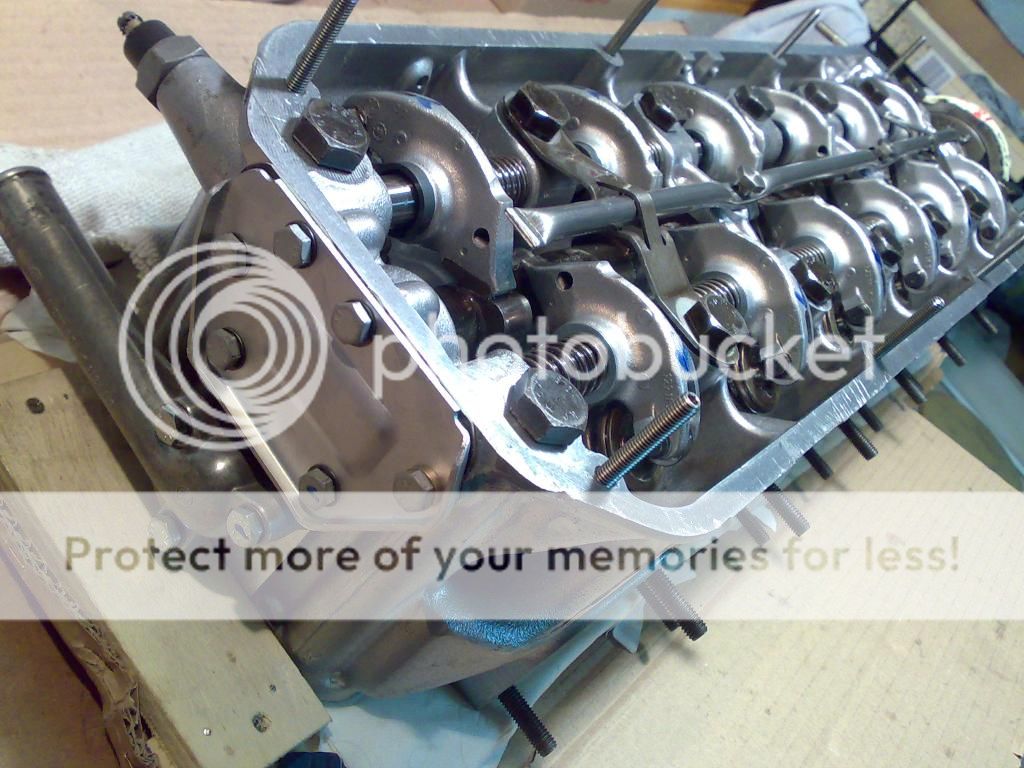
my new engine M30B30

But the smaller the clearance the hotter the valve gets, yes? Why would the clearance increase as temp goes up?

i will fix cold tappet clearance to 0,25mm, it is the minimum value established in the blue books, and as heat increases the clearance, i will set to minimum value
 
not sure

hmmm...the valve is not the only thing that becomes hot there....

now i am unable to find where i found specs for M30 engines, the hot clearance settings were wider/larger than the cold ones

another point, tappet noise on hot engine is louder than when you start cold the engine

??
 
how to block the camshaft to do the big nut, solved !

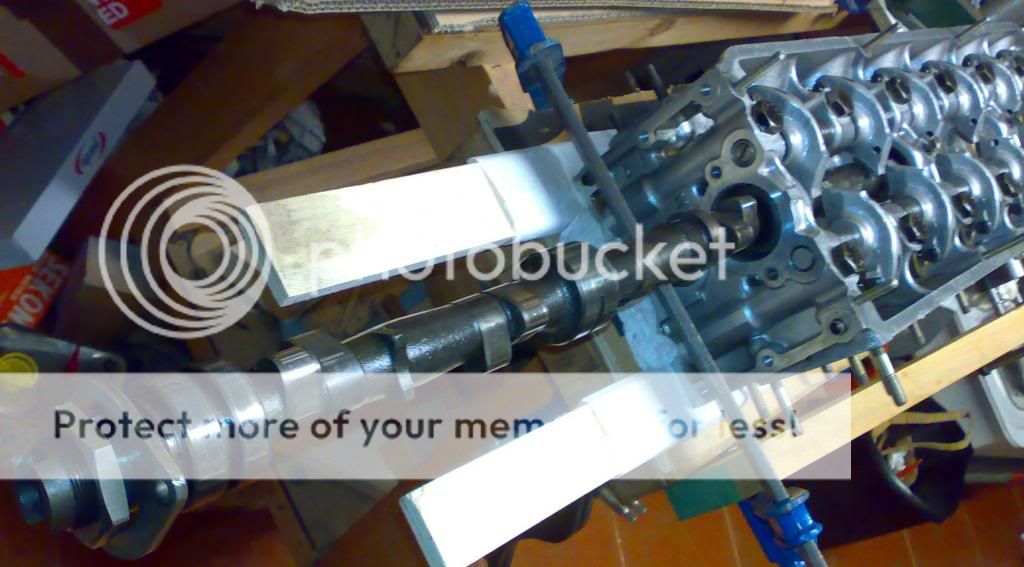
hi, i used this setup to block the camshaft in order to be able to do the big 41 mm nut to the appropriate torque


it is 150 N.m torque, so a strong blocking system was required, i was aware of the fragility of the camshaft so i did not wanted to block any part of it using any strange force or other odd methods

it went very well, strong enough and stable

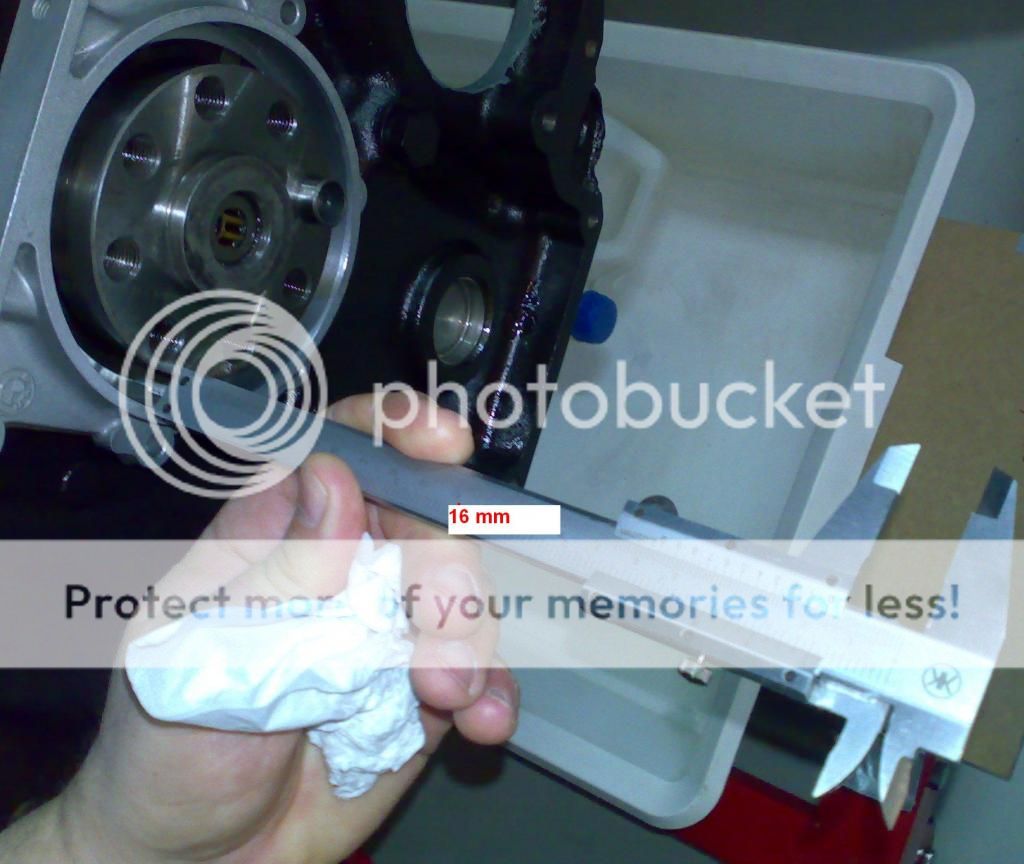
once this is done i am able to finally check the axial play using a micrometer gauge:


once the camshaft is moved frontwards, set the gauge to zero, now using a long screwdriver force the camshaft backwards and read the gauge


result = 0,13 mm, so within tolerances (from 0,03 to 0,17mm)


then include the oiling bar and the head is ready


i placed the camshaft so as the valves are ready for the 1st cylinder to be at TDC


Last edited:
feelings on the manipulation of the camshaft

being the first time to do this, and with no experts around me when doing it, one of the difficulties is to know if you are doing things right or not

when i assembled the cam together with all the valves, springs and so on, the feeling of turning the cam was pretty bad, it turned easily but not uniformly, somehow it turned at finite steps

what was the reason ? you name it, the clearance adjustment, ...yes, but i didnt knew that...and noone told me neither

so once the tappet clearance is fixed, the cam turns very smoothly, perhaps a bit more effort than before has to be applied, but it turns very nicely

TAPPET CLEARANCE

another issue, i decided to go for 0,25mm tappet clearance, the way to work was, use the 0,25 gauge and let it be loose enough to enter but not as much as allowing the 0,30mm to enter,

believe me, to adjust the clearance is a hard thing to learn, and is learning by doing, it can not be explained, you should feel it, in the first row of valves i repeated the adjusting process several times until i get my hand set to the feeling of the right pressure,

a final check is required rotating the cam and checking all the valves, then a final torque to the nuts to assure the blockage

(if you have set the gap of the distributor points, is a similar issue, feeler gauges are tricky)
 
Last edited:
3 things

#1 the valve clearance will change once you torque the head down
#2 I would set the valves at 30 , car will run better and I think that is the actual spec ,
#3 never lay head with valves open on the bottom , you risk bending them

this is from working on BMWs for 25 for a living ( not a Hobby ) M30s were what I got my start on , and I have worked on thousands of them. We set the valves at a 12 ( a 30 in your measurement ) Cold .
 
my comments in blue


3 things

#1 the valve clearance will change once you torque the head down
interesting, i will check it when i do it

#2 I would set the valves at 30 , car will run better and I think that is the actual spec ,
why ? the spec is from 0.25 till 0.30, so why 0.30 ?

#3 never lay head with valves open on the bottom , you risk bending them
thank you, probably you missed part of the thread, i prepared a setup that inlcudes two long wood pieces that place the head 20mm up from the table (you can see a pic here)


this is from working on BMWs for 25 for a living ( not a Hobby ) M30s were what I got my start on , and I have worked on thousands of them. We set the valves at a 12 ( a 30 in your measurement ) Cold .

thank you for your kind comments
 
Last edited:
You will find the valve gaps will tighten quite quickly after a 100 miles or so - hence it's best to run them at the looser end until it's done a few miles.
 
You will find the valve gaps will tighten quite quickly after a 100 miles or so - hence it's best to run them at the looser end until it's done a few miles.

well, i am happy to accept your reccomendation, but i would love to understand why

i can not understand why the gaps will be reduced after the first miles,...

anyway, when i place the head on the block and do the bolts i will re-check the gaps, and then after some miles, we will se what turns out...

thanks
 
basically , as a young tech in the late 80's and early 90s I was taught by my mentor's form their many years of experience to set them at 12 ( 30 ) . Im usually one to question authority , but in things mechanical Ive learned that wont take you far.

That being said the best explanation of why valves tighten up after a valve job , is they are getting seated in which would make them tighter , potentially burning them ?

one story that I do remember , we but a brand new crate motor 3.5 M30 in a carbed Bavaria , once I got it running it ran awful , very poor idle , etc, etc, my boss told me to set the valve lash to 14 , I thought WTF , but did it as told and swear to god after that , that was the smoothest running M30 I have ever seen !
 
Sometime in the mid 80's they changed to a single row chain.
I just saw this looking at part numbers for the cam gear for my M30 build.
Guess they felt they didn't need it and it was easier to work on and assemble at the factory.

My S38 has a double row chain and locking tabs for the 6 bolts that hold the cam gears on the cams.
 
preparing aluminium parts

hi some of the main covers, the two front covers, plus the oil pan, made of aluminium had very bad aspect, very dirty, so sand blasting was needed

the usual process is to repaint them in aluminium colour, but this uniform silver paint is not very natural

so i have tried VHT flame proof transparent, three layers, excellent finish


IMHO excellent result, and being rated 720 ºC i assume that i will not have temp issues
 
removed old seals, clean to place the new ones, used steel wool wet in oil


using the vise to put it in place, no lubricant at all, first position it evenly and horizontally, and place in the vise using a hard wood to spread force, screw the vise until flush, works very well


for the big one, this setup:


but i have to check this:


there is a distortion created by the old seal, i have to avoid placing the seal in the same place again, or leaks will occur

relative position:


check the old seal lip position


check the new seal:


it seems that the new seal, if placed flush to the support will seal (bite) in another point so no leaks will happen
 
Last edited:
Bonjour sa fait un moment que je suit vos sujets et je vous tire mon chapeau pour votre passion poussé a l’extrême

Hello its been a while since I follow your subjects and I take my hat off for your passion pushed to the extreme
 
works on the garage and a new friend

it has been difficult to accomodate all the parts that are now being prepared, and as i have found an unexpected incorporation to the garage i needed some works there, a new table as working space for panels and so on,...the engine is covered in a plastic bag waiting for a new push...


yes, i have found a Bosch motortester + oscilloscope + vacuum tester, it has been sort of a barn find, but in really good condition (thanks to stevehose to start the infection (i was terribly envious, he made me think that it was posible...))


funny name "compact" test,...if this is the "compact" versión, wait to see the standard one, :roll:


i will have to study the books, and check how they work, but they seem to be in pretty good condition, despite the workshop said that they were not in use for more than ten years...just before removing them and transporting to my garage we checked the power on, and they were alive, but now i want to check all the connections before switching them on again

....
 
No way-that is the coolest thing! Can't wait to see pics of it in action. How did you find it?

yes, i have found a Bosch motortester + oscilloscope + vacuum tester, it has been sort of a barn find, but in really good condition (thanks to stevehose to start the infection (i was terribly envious, he made me think that it was posible...))
 
No way-that is the coolest thing! Can't wait to see pics of it in action. How did you find it?

hi Steve, it was after searching ebay trying to find one like yours, and realizing it was almost imposible to get it shipped to me, then i went virtually round the corner to a old electric auto workshop that had been there forever, and suddenly found the thing covered by a big Green cover (that is the reason for it being so well preserved), i immediately recongised the shape, it was no need to ask for what it was, i knew at a glance !

the nice thing is that they brought it to my garage in their van (almost 2km away), and they told me to check for good operation condition before paying for it, so by now it costed me virtually a bottle of "chablis" french wine that i gave them when they reached my garage (as a thanking gift).

Price if good condition has been agreed too

IMHO amazingly cheap considering that it includes a stroboscopic lamp, and a pressure/vaccum tester too, so all the operations that are explained in the blue manuals can be performed

:lol::lol::lol:
 
Back
Top