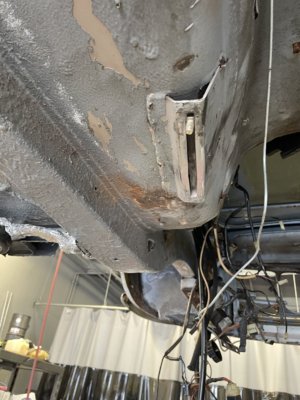
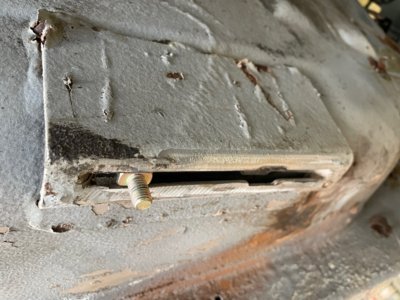
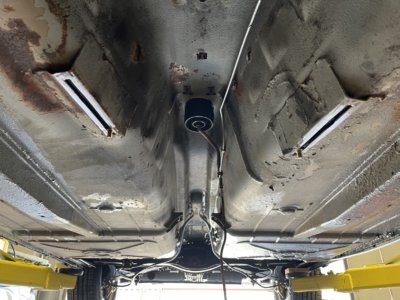
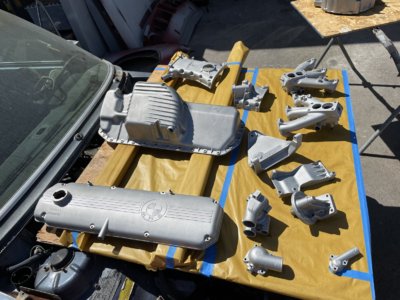
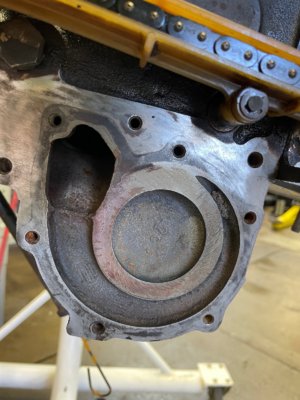
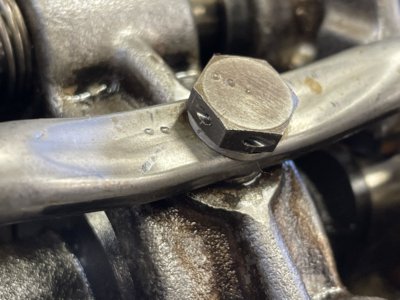
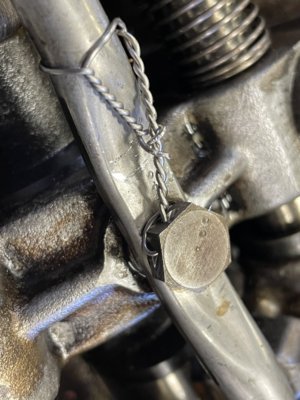
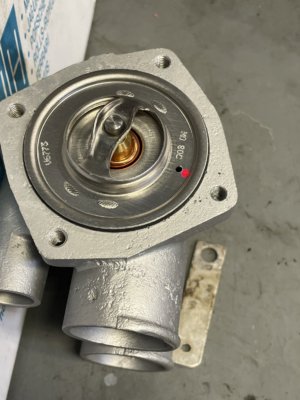
It's funny how much better pics taken with newish, high-end iphones and androids often come out when compared to dedicated digital cameras - especially when seen in screen resolutions and sizes. The dedicated camera can take better photos than the phones, but as you noted they make you work for it. Not sure why exactly, other than a supposition that a large amount of the resources of the amazingly powerful chips in these phones is being used to get white balance right. And that there is an assumption that the pics are going to be used at the aforementioned screen resolution, so prioritize what the pic looks like on the screen of the device that took it.I am currently experimenting in the above images with both an iphone12 and a Canon G5x. All the bluish hue images are off the Canon. So far the iphone yields better results and is more effortless. Thanks for noticing.
Anyway, you can probably get better results from the Canon if you manually set the white balance. This isn't something you would need to do very often as long as your lighting conditions don't change much in the shop. You'd have to redo it when moving from undercarriage to engine bay pics for example, as you'll probably experience a pretty big change in lighting. My apologies if you already know this, but getting the white balance right makes a huge difference and thus my pedantry.
There are many guides/resources on the subject, but I think this one does a pretty good job:

How to Set Your White Balance Manually
In this article, we'll cover what is white balance and how to properly set a custom white balance manually in your digital camera.
Considering the high quality of your iPhone pics combined with your fast approaching deadline, maybe this fine tuning is a down-the-road project.
Whatever camera you use, your work and documentation are fabulous. Thanks for sharing!

")
")