Hello guys,
in my introduction some weeks ago I mentioned to start a restofred when it's becoming "serious".
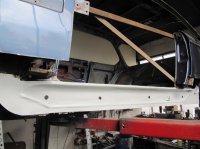
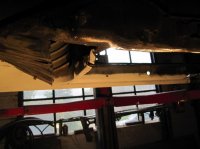
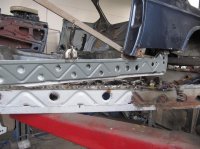
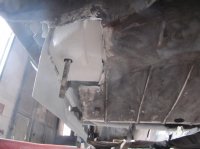
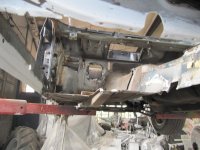
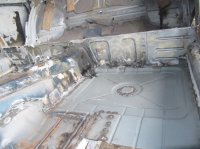
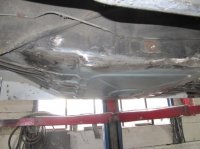
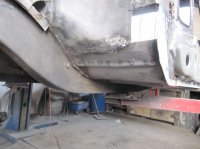
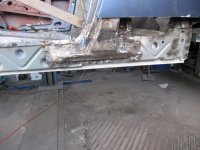
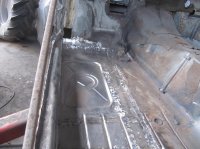
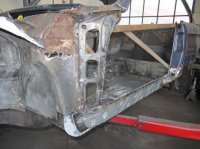
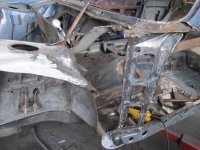
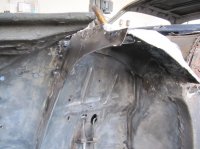
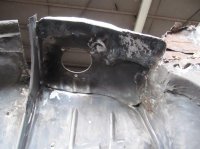
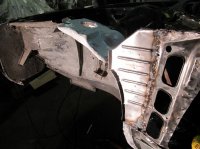
So in the meantime I already prepared more or less everything to exchange the whole outer skin. Have front and rear fenders, complete front mask, door skins, endpiece for the trunk, front and rear floor pieces, A-pillars and a roof skin from a car without sunroof.
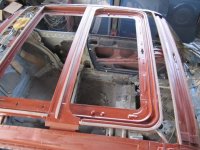
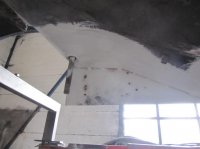
The decision where to start wasn't that easy but I prefered to do the little tricky stuff first and so I cut out the old roof skin yesterday.
Not necessary to say, that I disassambled the complete car in advance.
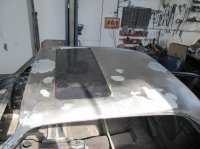
At my former repairs I welded the roof in the complete front area around the sunroof hole. This ended up in a bad roof shape an the need of a lot bondo to compensate this. Despite the sunroof and the roof didn't fit in a satisfying way.
The risk, that later on the rust will come back through again was also to high for me.
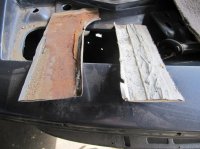
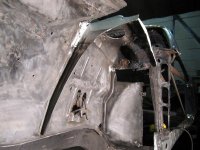
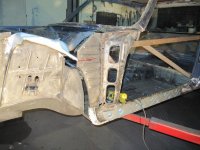
When you see, that apparently Karmann didn't do anything for rustprotection, this wasn't the worse decision. Between the roofskin and the frame you discover naked sheetmetal. (see cut out pieces in my pictures) The mounted foam in the middle stores the humidity perfectly and so the rust has perfect conditions.
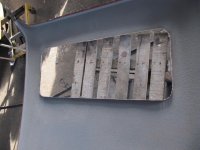
I took the new skin from a complete used roof, seperated it from the supporting structure, welded 2 holes (former mounted antennas I guess) and removed some dents. After that it got 2 layers of basiccoating.
The supporting structure and the sunroof frame were cleaned and also basiccoated. The hole for the sunroof was quite a challenge but went out perfectly.
After I did this opening I put a 3rd layer (underfloorprotection) to the skininside, placed new foam for the intermediate spaces and welded the piece in.
I'm very satisfied with the result, even though I'll need to apply a little more bondo around the roofhole. But this will just require thin layers of it and there's no more timebomb tickin' from the inside
Upcoming next will be front left area, front rocker etc.
cheers
Ingo


![2d8fa534[1].jpg](/forum/data/attachments/5/5030-2353a2a069e565ea155bc12e4c2f1e31.jpg)
![7e73c9fc[1].jpg](/forum/data/attachments/5/5031-e514f3c680acd03cb375f8dd0019ecdd.jpg)
![9ca1303b[1].jpg](/forum/data/attachments/5/5032-b61229cf5cdc378f4207aee03297d8ea.jpg)
![91a6204d[1].jpg](/forum/data/attachments/5/5033-4f57c76d28fd7bafb05744a5e6d4fd20.jpg)
![739d6fea[1].jpg](/forum/data/attachments/5/5034-552229859af8dadda87ca7c20932840e.jpg)
![53546152[1].jpg](/forum/data/attachments/5/5035-acce969d1e4a51a9386665afe6a9525e.jpg)
![3312740a[1].jpg](/forum/data/attachments/5/5036-5f4471415fa682c64c1b49dc7bfd5b13.jpg)
![c0c682f0[1].jpg](/forum/data/attachments/5/5037-0388b6583093fb406a822886d3c11d87.jpg)
![284f5b93[1].jpg](/forum/data/attachments/5/5038-931a0e558e60049b556955870a3fd418.jpg)
![98dea189[1].jpg](/forum/data/attachments/5/5039-a0fd1eb0b7588156d83773a9cc3188f9.jpg)
![d7fa56d1[1].jpg](/forum/data/attachments/5/5040-af28204fa5d361ee59226daa4202da88.jpg)
![17f621df[1].jpg](/forum/data/attachments/5/5041-3cce21b663d562e662e8062a779d7dd0.jpg)
![74c5e739[1].jpg](/forum/data/attachments/5/5042-f27f109672897e50016fea189d5c1cf9.jpg)