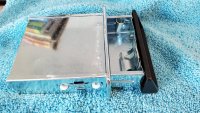
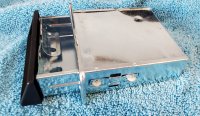
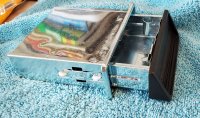
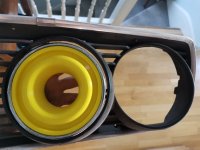
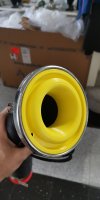
Discovered the ability to use tinkercad on the toilet the other night. 12 hours later ended up with a perfectly radiused raised bellmouth intake with a 3"outlet, trim ring slots straight over, the recess is to allow for a 120mm LED ring to seat in.
You are using an out of date browser. It may not display this or other websites correctly.
You should upgrade or use an alternative browser.
You should upgrade or use an alternative browser.
What did you do to your E9 today?
- Thread starter adawil2002
- Start date
I'm a bit out of date with British slang but this one sounds way too kinky for breakfast time reading.Discovered the ability to use tinkercad on the toilet the other night.
I'm a bit out of date with British slang but this one sounds way too kinky for breakfast time reading.
Limey learnt how to use number 1 Web based CAD software and created a part whilst also creating a number 2.
Better?
I've been learning Fusion 360 as you can get a free copy for noncommercial use. So far I've made a lens board to mount a massive 1943 Kodak Aero Ektar Aerial Lens to a 1948 4x5 Speed Graphic. Other E9 related things will follow.Limey learnt how to use number 1 Web based CAD software and created a part whilst also creating a number 2.
Better?
Hey do you know if anybody has scanned these pieces into electronic format? I have some wood trunk floor pieces but I think they've all been cut up by the previous owner.I made up new wood panels for my trunk floor, I then had some vinyl paint mixed up to match the new rhino hide ,then tomorrow I paint the plastic inner wheel covers, tool box , and taillight inner covers, then with some help , replace all the rhino hide , then ALMOST SADLY, cover most of it with the new carpet .
Burky 73cs, 74cs.
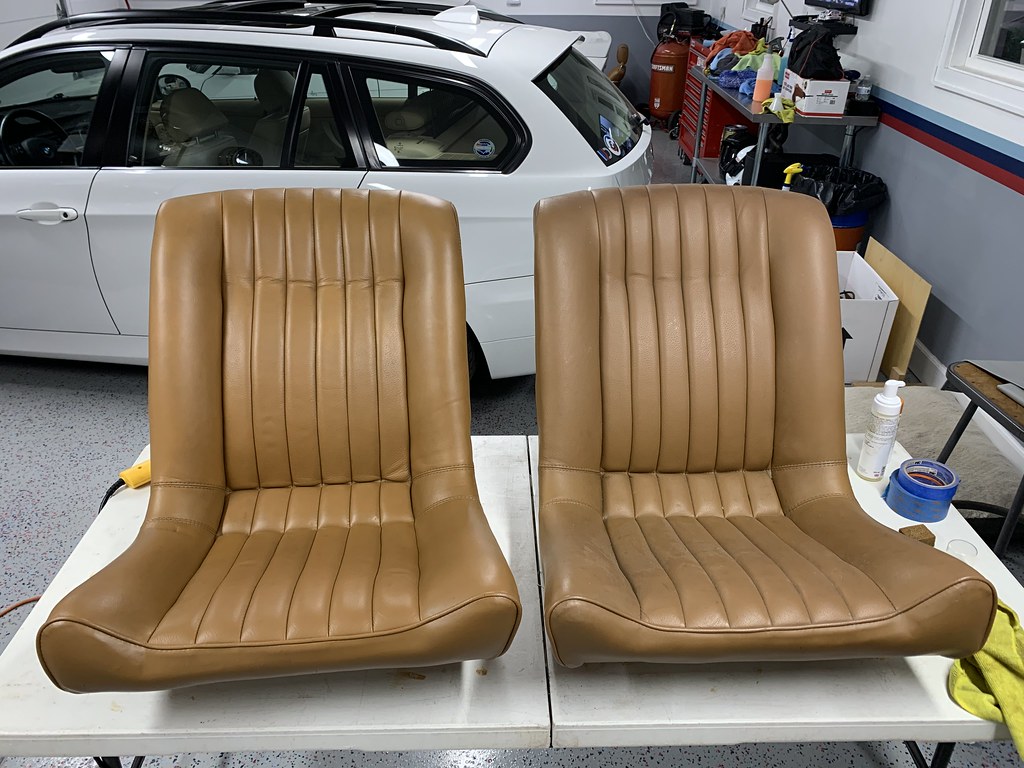
Been working on a friend's Tii for a while so little time for my car, but I managed to show some love and Leatherique the Petri - such a timeless design!

inovermyhead
Well-Known Member
Spent a couple of hours giving all the chrome some love, the belt line has to be done regularly as it’s not coated and we are close to the ocean. Came up well


either you are a quick learner or need more fiber in your diet...Limey learnt how to use number 1 Web based CAD software and created a part whilst also creating a number 2.
Better?
Been working on going EuroStyle with my ‘74.
Zzzzzztt! Welding n grinding.

Zzzzzztt! Welding n grinding.
Awakened her from a long slumber yesterday, shown some lovely spring sunshine and rekindled the old flame.
Unfortunately, a lil rusty on my Batcave's spacial dimensions and re-entry turning radius...made a slight miscalculation and added a scratch to a rear fender lip....argh!
A first time for everything.
But the overwhelming satisfying feeling of making her sideways through that left-hander earlier dilutes the annoyance of adding a minor scratch...
They are meant to be driven and it'll buff right out.
.....and yes, the flame still roars.
Took the coupe out for a drive along the ocean in NH, ran some back roads, visited the site of many Bav Auto Show n Shine events and just drove down random roads.


These were sent out to be refinished today.Project creep...View attachment 87133View attachment 87133
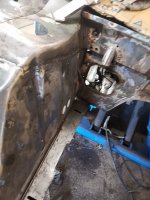
Stupid is a continuum. I believe you have quite a ways to go, until you are considered, say, embarrassingly stupid. Go for the turbo!Got the arch on, started welding up the holes in the engine bay, brake and washer reservoirs are being relocated as I may be stupid and fit a turbo onto the 3.5 lump
Took out the stock foam hood insulation and installed the closed cell one from the ebay seller. Instructions call for 3M 80 adhesive and it’s a little stressful getting it all lined up before it dries. The stock foam deteriorated quickly and absorbs everything. This should last longer.

Steve,
You are gonna' like that insulation product. Robert Budd who developed that product is a friend of mine and I installed it on the hood of my '74 about 5 years ago. It looks great for a LOOOONG time. I don't know whether he is still selling it, as he sold the Classic 9 upholstery business about a year ago and retired.
Cheers,


 Untitled