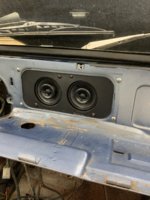
This may not work for audiophiles but you can put two 3 inch speakers in the center speaker location.I cut holes in my dash wood. Before you burn me at the stake, know this:
1 my wood is shot, and I have a new set to install, so if I regret this I’ll not cut the holes in the new wood. (But that’s ignoring that I also cut through the steel
2- I mixed albums in the studio for 20 years so while I was planning on putting my tweeters in the door ashtrays, it is not a great place for them. Sound is important to me and The sound in my car is amazing right now. I don’t have a nice motor to listen to.
3- my car is already a Dr Suisse experiment in most other ways, so what have I got to lose
View attachment 117954View attachment 117955
You are using an out of date browser. It may not display this or other websites correctly.
You should upgrade or use an alternative browser.
You should upgrade or use an alternative browser.
What did you do to your E9 today?
- Thread starter adawil2002
- Start date
I am slowly installing bits on the coupe. Today it was wiper assembly and heater fan cover, interior mirror and sun visors, driver exterior door handle with new rubber bump stops. I put the tail lights and license plate on several days ago plus the front turn signals. Belt trim is being polished again and clear ceramic coated as the nose had a bit of road rash. That prevents me from installing rear quarter windows, much easier to do belt trim without those in the way, Stan remembers!
Was cleaning up the internal points on the FI relays for the D-jet and the manifold pressure sensor plug.
Sorry I forgot to take pics of the relay internals...
Also a couple of the injectors connectors that were loose and the rotted rubber boots just don't do a good job of holding things together.
Didn't someone find an alternative source for those injector boots that didn't cost 35 bucks each?


Sorry I forgot to take pics of the relay internals...
Also a couple of the injectors connectors that were loose and the rotted rubber boots just don't do a good job of holding things together.
Didn't someone find an alternative source for those injector boots that didn't cost 35 bucks each?
Go on Amazon. 4 boots with plugs $9.95 . If wrong plugs , toss them and you have your boots for $20. Go on Amazon and put in fuel injector boots and they will come up unless I am looking at the wrong boots. I know they are correct for My early E24
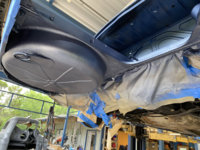
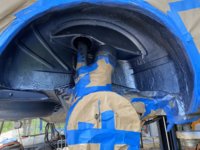
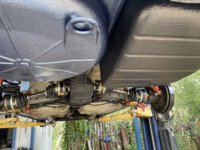
Started to put it back together, installed rebuilt half shafts...

Nice, is that an outdoor lift?Started to put it back together, installed rebuilt half shafts...View attachment 118899
Barney, That is the original factory primer, sort of a khaki shade. Was there undercoat you removed?
Chris yes that’s the original factory primer, The car was sold new in San Francisco and I know that was there for at least 20/25 years so I’m not sure what kind of undercoating was done at that time to cars sold there ...I’ve been cleaning oil and fifty years of dirt off as I assess what needs attention The car is in great shape...Barney, That is the original factory primer, sort of a khaki shade. Was there undercoat you removed?
I’m moving forward now, but we are waiting on my new stainless steel exhaust from Fritz bits and refurbished gas tank to be driving again...
Nice! Most have a thin grey undercoat which turns black due to dirt and oil over time.
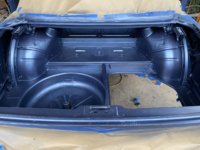
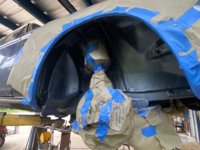
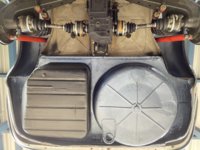
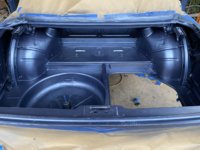
More prep/priming/painting to get ready for installation of refurbished fuel tank...also repainting wheel wells the body color, they had been painted black.
Attachments
Slowly putting things back together on my coupe. Looks like I will be redoing the door cards and kick panels, after 15 years they’ve seen some wear.
...and on the other end of the spectrum from the impressive work Barney is doing... I installed a longer rad-reservoir hose so it could be hung out of the way since after 10 years of ownership only recently did I learn here there was a clip for it under the air filter assembly  . I can now manipulate the dipstick without the hose always being in the way.

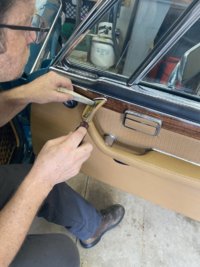
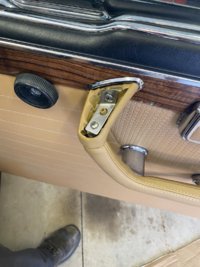
The Coupe King Grab handle/armrest stainless support was installed correctly on the passenger door card. This will prevent the upper plastic piece from breaking again in the distant future. All of the armrest is covered in matching tan leather.
Attachments
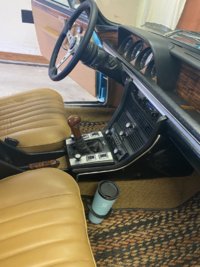
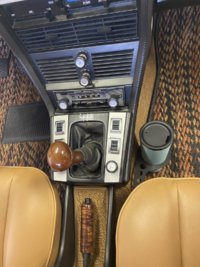
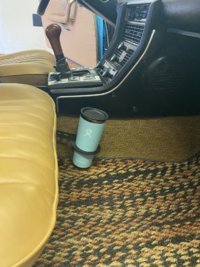
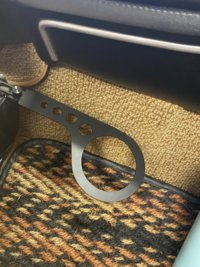
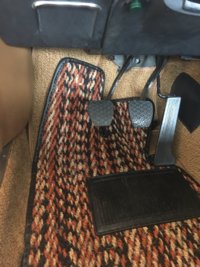
Can I ask where you got your cocoa mats?I installed the Patina alum. cup holder below the passenger seat against the tunnel. It holds a HydraFlask 22oz tumbler nicely.
Tom
Tom- go to www.Cocomats.com. 1-800-461-3533. They have them in several colors for our cars. If you have that wedge-shaped foam under your carpet where you rest your left foot, then ask them for the pattern with my name,Drew Gregg, or initials DG. I made a template to have them made to fit correctly. If you don't have the foam wedge, ask them for the Doug McKenzie pattern. Doug bought his set years ago. They can send you both patterns so you can see how they fit in your car. The pic below is the first pattern made to fit w/o the foam. I then made a pattern to have the left edge of the matt fit straight up against the sidewall since that foam is under my carpet. DrewCan I ask where you got your cocoa mats?
Tom

