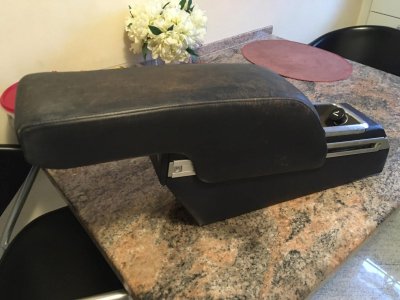
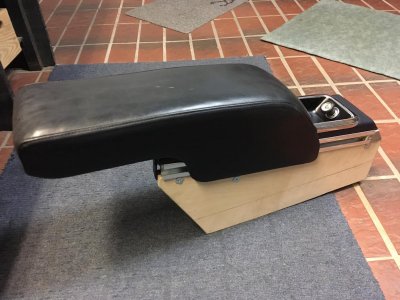
Hi Ulrich, hey, that looks albsolutely great. I hope you dont mind I am going to copy your idea !!! Now, the only thing is to find the armrest. Do you know where I can get one? I live in France, we have quite a few BMWs, but not quite sure I can easily find one.
Then, I will be asking you some questions, like:
- how did to fix it?
- is it high enough? (I imagine the perfect height would be the same as the door armrest ?
- do you have a "slide forward" option? My E9 is manula, not automatic, so it makes even more sense to have your elbow resting while your hand on the shifter
- could you easily bring power? As for charging a cell phone?
Anyway, great job. Congratulations
")