Well, much better. Rarely are they perfect.
You are using an out of date browser. It may not display this or other websites correctly.
You should upgrade or use an alternative browser.
You should upgrade or use an alternative browser.
What did you do to your E9 today?
- Thread starter adawil2002
- Start date
Charged the battery and swapped CSLs for the ride home and first time out this year.
Such a lovely collection! Must be a difficult decision on which to drive.
I'd like to give a BIG shout-out to SFDon and Peter C for stopping by and spending so much time inspecting the 2000CS this afternoon. I was thrilled to hear so many good things about the engine and to have some genuine experts go over some of the finest details prior to reassembly. I took notes and mostly listened...
I'll start posting some pictures soon, but we are very close to begin bolting pieces back onto the car.
Thank you both for all the tips and the detailed explanations for some of the intricacies I might have overlooked.
Ed Z
I'll start posting some pictures soon, but we are very close to begin bolting pieces back onto the car.
Thank you both for all the tips and the detailed explanations for some of the intricacies I might have overlooked.
Ed Z
Here’s pictures some have seen...


Lots to be said about this car and the owners quest to make it into one of the best to be found in the USA.
Beautiful car with a world of effort put into it.
Beautiful car with a world of effort put into it.
I'll start posting some pictures soon, but we are very close to begin bolting pieces back onto the car.
Ed Z
Ed,
As I pull the last bit of wiring out of my CSI and think "oh crap I need to do this again", I must take my hat off to you. It is one thing to take a car completely apart, but another to put it back together properly. I had an "I don't want to do this anymore" moment on Friday night while dealing with my rear axle disassembly. Kudos to you for making this happen!
P.S. So THAT is what Granada is supposed to look like!
Looks like he is going "full Burger" on this car! 
Beautiful car with a world of effort put into it.
Kind words indeed, Don. Paint was farmed out to a professional, but the rest of this has been handled by simple, but motivated,enthusiasts. Underlying all of it was the fact that the car had very good bones. Through diligent pursuit, and some good friends, I've been able to find and acquire some very choice bits for the finish-out.
I haven't posted a lot of pictures to the build thread, but I have been working on all the bits. At some point soon, I'll update that thread to bring everyone up to speed. In the meantime, I'm still sorting out some details, but the wheels are in motion and reassembly will begin very soon.
Ed
BTW... paint pictures are from the paint shop. Our work space is not at that level...
Last edited:
She looks fantastic, glad you have her!View attachment 47006 View attachment 47005
Charged the battery and swapped CSLs for the ride home and first time out this year.
I've taken some time to create a mold of my spare ignition switch cover. The silicone rubber mold has come out well and I've ordered the material to cast some copies. It's not a perfect master, but it will be serviceable. It's even picked up the texture in the plastic, so it should look good. The silicone rubber made a perfect mold of the back side where the ridge grabs onto the lock, so that should work well. We'll see. No price yet, I have to see how many my supplies will make and what the demand is. This molding stuff works great but is not cheap.
Ian

Ian
Fantastic! I’ve been wanting to mold some stuff also. I have a spare ignition cover in slightly better shape if you want to go through the hassle again.
Philippe db
Well-Known Member
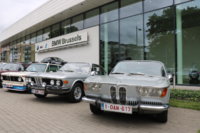
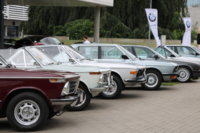
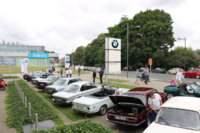
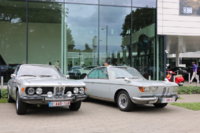
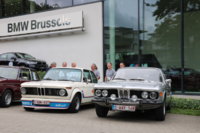
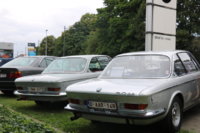
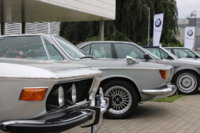
Visited the BMW heritage days at BMW Brussels. Was in good company and had the chance of test driving the new M5. Very impressive!
Attachments
Visited the BMW heritage days at BMW Brussels. Was in good company and had the chance of test driving the new M5. Very impressive!
mmmm Bristol!
View attachment 47823 View attachment 47824 The 2800 got new cocomats today to replace the “originals” that had BMW part numbers on them.
I have the same ones in my coupe and my old '02 and will probably put them in my new roundie project.
Last edited:
Ditto! Love 'em!
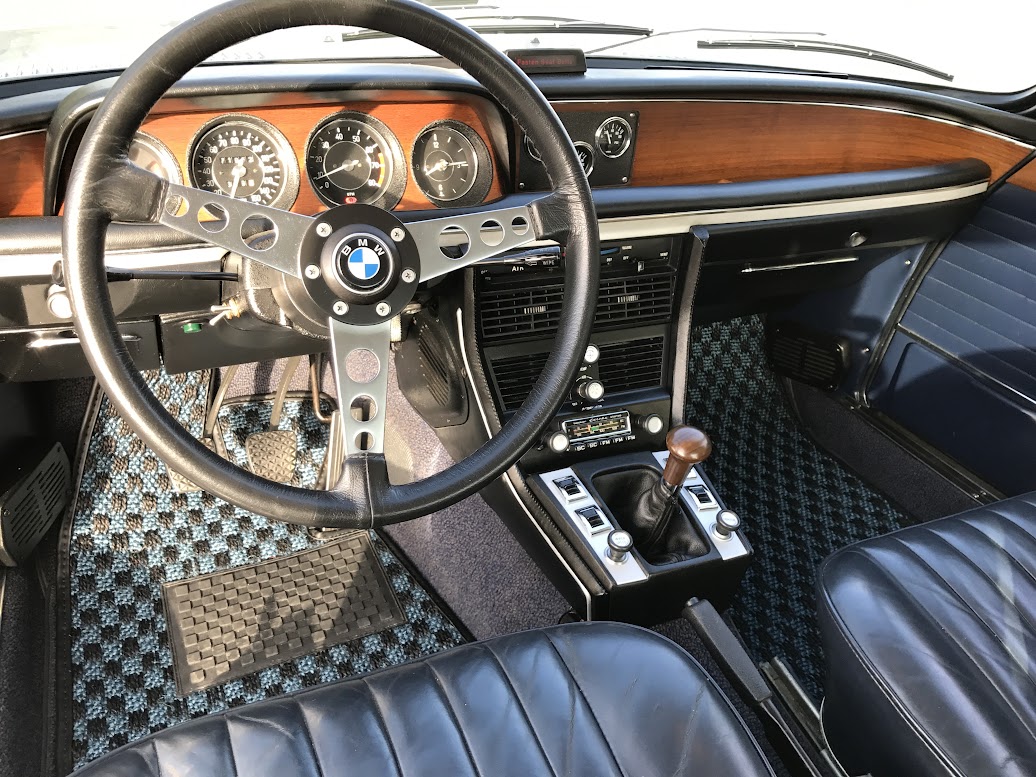
They sent me patterns which I widened for driver side and I trimmed the upper left corner, perfect.
Glad you waited till after Targa so I didn't have to wipe my feet before each entry!View attachment 47823 View attachment 47824 The 2800 got new cocomats today to replace the “originals” that had BMW part numbers on them.
Glad you waited till after Targa so I didn't have to wipe my feet before each entry!
Does Coco make clear mats protectors to go over the mat so I don’t soil them?

