You are using an out of date browser. It may not display this or other websites correctly.
You should upgrade or use an alternative browser.
You should upgrade or use an alternative browser.
Will have to start somewhere
- Thread starter Peter Coomaraswamy
- Start date
-
- Tags
- restoration list
so nice,
and what a nice feeling when you do it with your hands
congratulations
and what a nice feeling when you do it with your hands
congratulations
Lingering fumes
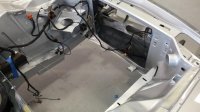
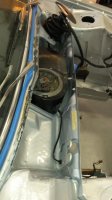
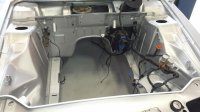
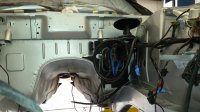
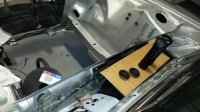
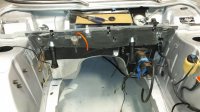
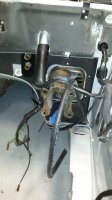
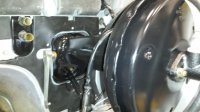
Wow, the place still smells-what a surprise :-( I posted some shots below as I had a couple of hours before anyone at home was awake so I snuck away to the shop. Well, might as well do a little work while letting the air in. Now, the assembly can begin. Still allot of cleaning and I will have to crank up the spray gun again to do the grill cavities and the hood torsion bar and the wheels...and the... (I'm sure I'm forgetting somethings) though its good to be able to start getting the wiring and the clips in there.
Question; are there 2 different bulkhead pads for A/C and non A/C? The one I have for the right side does not have the cut outs for the A/C.
Thanks for the comments and help!
Attachments
You have to cut holes for A/C pipes.
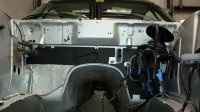
Thanks Chris, took your advice and cut around the A/C tubes. A primary goal is to reuse every piece that came with the car whenever possible or practical. Even the grommets when they still function. Hmmm, mold, even the wiper-washer tubes were full of it but they had such a nice faded look I had to clean them out and reuse them- I am really hoping the outcome is kind of a Polaris "max". I think that somewhere I read that Blu Max had the original engine and head and still made over 400K miles so there is hope for the Polaris. As far as engine appearance my plan is to replace all the freeze plugs and respray the block black, but other than that just a complete cleaning painting/replacing only those parts that are rusty and/or no longer functioning. Also, the "smog" devices will remain in place though disabled in a hidden way. I posted a couple shots below just for the record 
Attachments
Looks realy sweet.
I believe Blue Max had it's engine replaced.
I believe Blue Max had it's engine replaced.
Blumax had a b34 for many years and we replaced it with a b35 shortly before Murray passed.
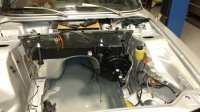
Top insulation piece
Slapped that baby on today, still needs some adjustment and securing but it's starting to look more complete with each piece. Hoping to make some more dramatic impressions once the brake lines, booster, clutch master etc, go in.
Slapped that baby on today, still needs some adjustment and securing but it's starting to look more complete with each piece. Hoping to make some more dramatic impressions once the brake lines, booster, clutch master etc, go in.
Attachments
Tom P
Well-Known Member
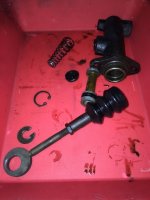
Looking good. Not sure if you have a new clutch master or a recently rebuilt one but I overlooked mine and simply reinstalled it. After a few hundred miles on the road it failed on me and I'm now paying for it. Not a big deal but I wish I thought about it and dropped the $20 for the kit - it would have been money well spent at the time!
Attachments
Wow Tom, really nice- Polaris as well  Yes, I rebuilt the clutch master, that was the easy one, the brake master I got new and I'll rebuild the clutch slave as well. I think I'll rebuild the front calipers as they are completely frozen but will definitely need some guidance from the forum as it's been a long time since I performed that operation.
help/question
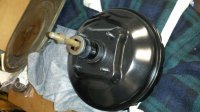
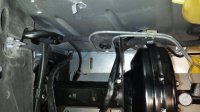
Hello esteemed forum members, can someone tell or show me what the rubber piece that attaches to the back side of the power brake booster looks like? Because I am so smart I neglected to photograph that and now I'm stuck- another surprise! I have a couple of pictures below that may help illustrate what I'm talking about.
Thanks,
Attachments
Thanks Drew, and when I'm done I'll take a picture and frame it and send it down 
Just posting some shots
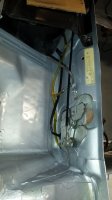
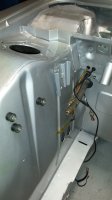
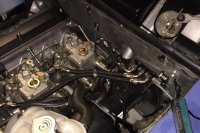
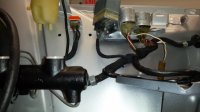
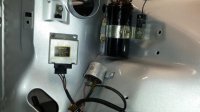
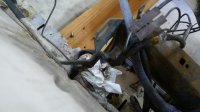
Really just some documentation on the old girl, Since "someone" on the forum likes to point out my shortcuts I thought I would address those, however I do have a question regarding wire routing; behind the brake booster where the wire harness splits and goes to the starter before being clipped to the booster support is a little crowded and I'm wondering if it is supposed to go in between the brake lines or if the way I have it is OK. Also if anyone sees any other wiring misplaced please say something before I get too far The engine and transmission will be "lowered upon" so I'm not too worried about putting things on the top-side- basically I'm going to install the opposite of the extraction (just with allot less mold).
... And thanks for the comments- they all help!
Really just some documentation on the old girl, Since "someone" on the forum likes to point out my shortcuts I thought I would address those, however I do have a question regarding wire routing; behind the brake booster where the wire harness splits and goes to the starter before being clipped to the booster support is a little crowded and I'm wondering if it is supposed to go in between the brake lines or if the way I have it is OK. Also if anyone sees any other wiring misplaced please say something before I get too far
... And thanks for the comments- they all help!
Attachments
Wiring looks correct under brake lines. Your ballast resistor should be above the coil, yours looks vertically attached? I thought all rad wall openings for the A/C lines was triangular, yours is oval. Maybe my memory is faulty.
Peter, that "someone" must be a real PITA.
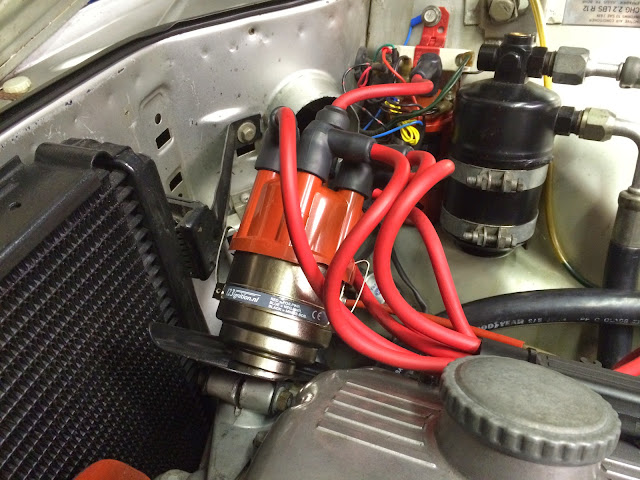
For the wiring (wirerouting.jpg) image, I think the carb/starter line comes through the main hole with the primary harness toward the front, and then makes a U-turn to go back through the secondary hole in that bracket that attaches the booster to the inner fender. This is a pic from the Bav but I believe your routing is the same.
For the wiring (wirerouting.jpg) image, I think the carb/starter line comes through the main hole with the primary harness toward the front, and then makes a U-turn to go back through the secondary hole in that bracket that attaches the booster to the inner fender. This is a pic from the Bav but I believe your routing is the same.
Attachments
Drew, perfect shot, thanks, Chris, I'll check the shape of the A/C on my '74 and report back- your observation is interesting and thanks for the note on the ballast. If you have a moment, I would love to see where the ballast should be placed as from my pictures this is where it was when I got the car but it does seem an odd place.
Peter
Peter
You can see it in the background, there should be a hole in the side wall above the coil where it screws in, next to the hood bracket.
Drew, perfect shot, thanks, Chris, I'll check the shape of the A/C on my '74 and report back- your observation is interesting and thanks for the note on the ballast. If you have a moment, I would love to see where the ballast should be placed as from my pictures this is where it was when I got the car but it does seem an odd place.
Peter
Thanks Steve, then that's where she's going- there is a hole there on mine as well.

