So the dude with the body is pissing me off big time. Just stripping and priming… he’s had it since mid December… we are having a come to Jesus meeting this week.
I’ve got a ton of work to do on it. Need to get moving.
i know its frustrating but proper prep is the key to having a paint job last. you don't want a body guy to cut corners. now, that being said, if he isn't doing anything ... that is something altogether different
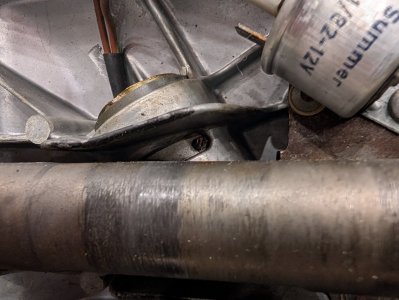
Was very pleased that I was able to get the little grub screw out with ease on the ignition switch. As I had stated previously, when I was doing the wiring harness removal I just touched the wires to the ignition switch and the black plastic popped out. Was obviously broken and looked as though someone had been in there before.
Switch slid right out after removing the screw.
Scuffed the flaking paint off. Severe oxidation as all of have seen. Only way to deal with it properly is to strip it all off and clean and clean. I used Carbon Off as I have for many projects. Great stuff.
I'll get some VHT wrinkle paint later today when I am out.
Also painted the hockey sticks... Which will never look like the original chrome finish.
If anybody you have tried the chrome paints out there you know they all suck. Just tried to make them as uniform as possible without all the peeling plastic chrome.
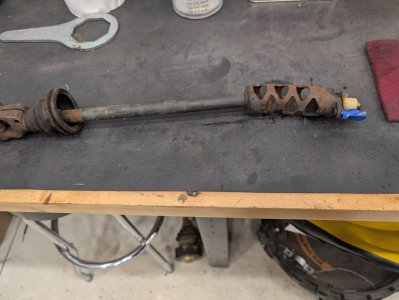
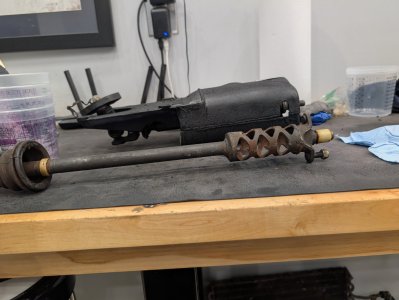
Oops... meant to post a question about the steering column.
When I had it on the bench I noticed that the intermediate shaft is certainly not straight.... is there supposed to be a "curve" to the shaft? I kind of doubt it but thought I would ask.
Mine is not totally solid… has a small bird or squirrel cage on the top portion. Should have taken a pic. I believe that is where it is bent. I think I can straighten it out…. Maybe.
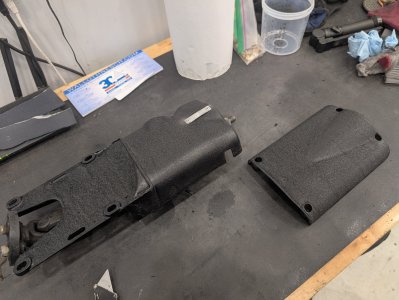
Whilst out in the shop I did a touch more work on the steering column cover.
I had stripped it. The used VHT wrinkle paint on it. Left it for a couple as that stuff takes forever to dry. Follow instructions.
After it's dry the finish is not really that great and you don't have much control over how much it wrinkles. I chose to knock it down with a red scuff pad... Very very lightly.
After that I sprayed a couple of coats of satin black as again... The VHT finish is not all that great. Other than a couple of areas on the vin tag which need cleaned up... Paint bleed... Looks fairly good.
Your steering column looks like it came from a car that had a massive crash. The 'squirrel cage' as you call it was an early attempt at a crumple zone. It was designed to deform upon impact from a torso on the steering wheel.
To steer you in the right direction....I'd advice you to get a replacement part.
Post a want to buy in themparts section I'd say.
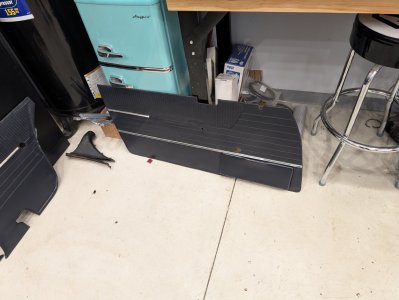
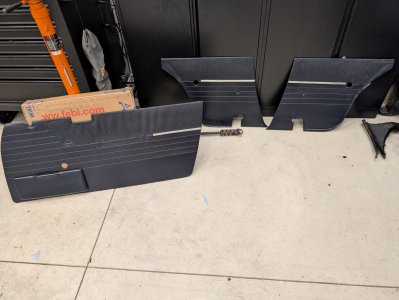
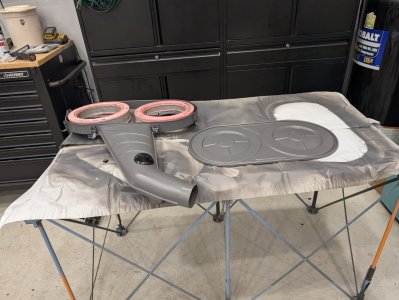
So I painted the interior bits over the weekend... Ventured out to the shop to reglue a couple places and do some assembly.
Turned out pretty good. Still old material so there are some flaws but I kind of like it that way. Color match was awesome. This is Chromabase with an interior / vinyl binder. Doubt many people have chromabase tints anymore... My guy is almost out.
I am missing one piece of trim and one of the rears is in very rough shape. Anyone have some they want to part with?
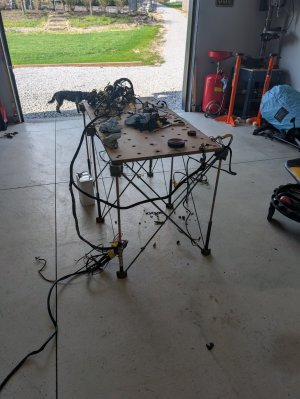
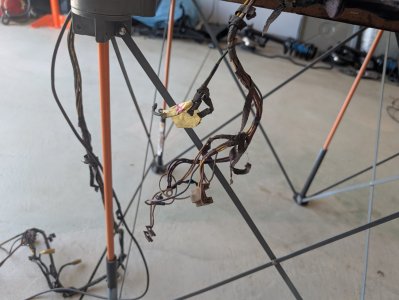
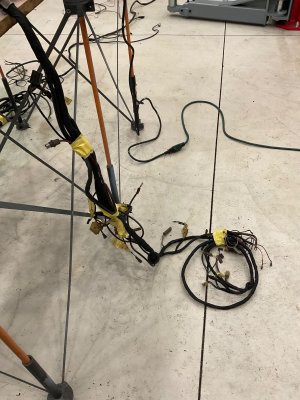
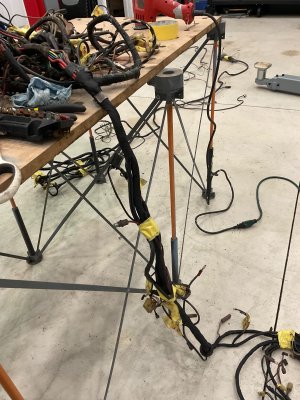
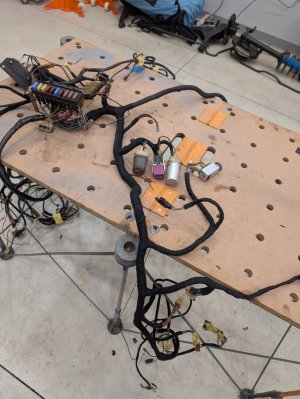
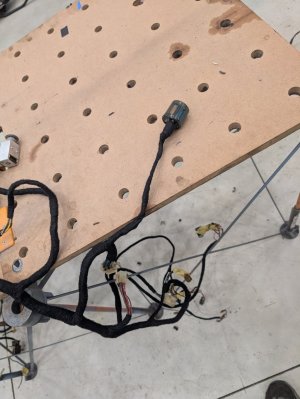
I decided to start working on the wiring harness. I had been putting this horrible task off for quite a while. It's tedious, hurts my hands (torns tendons .. long story) and it's just plain un-fun.
Got my trusty work table out. Stretched it out and got started.
Plenty of nicked wires. Some splits. Fixed them with liquid wire where I could. Had to use electrical tape couple places. But all in all looked pretty good.
I used Tesa tape. Tight flat for the engine bay and under carpet. It wears better. Used regular cloth inside up under the dash and in the trunk.
Started in the engine bay and worked backwards towards the firewall.
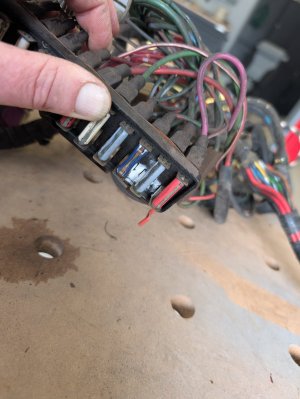
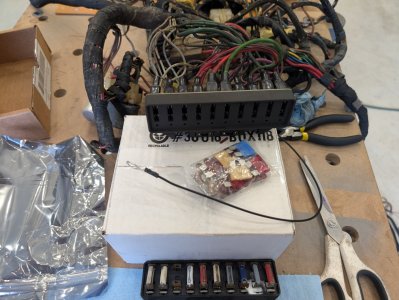
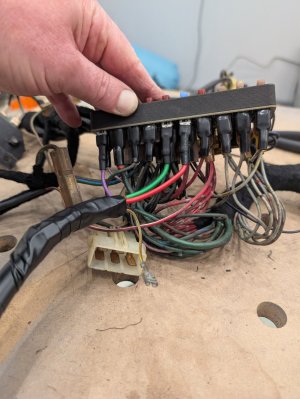
Then I decided it was a good time to put the new fuse box in. This is the product from our boards friends at Holy Grail Labs. Great stuff. Super easy install. Some real quality here folks.
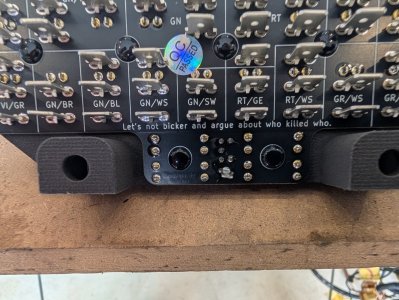
And I love the little hidden message on the back... Nice guys.
You get the drill… lots of checking and taping. Pay attention to you branches and if you get to places like I did where there is no previous covering just follow the bends.
I’m sure I screwed up some spacing or nuance here or the but it’s solid and all the wires are good.
This site uses cookies to help personalise content, tailor your experience and to keep you logged in if you register.
By continuing to use this site, you are consenting to our use of cookies.