'71 2800 CS Budget Resto

I have to say the same, I'm surprised in a positive way. Needs some love but still manageable.

Reassuring words from the recent E9 sheet metal expert. While I have your attention, what type of welder were you and your helper/mentor using?
 
Reassuring words from the recent E9 sheet metal expert. While I have your attention, what type of welder were you and your helper/mentor using?

Well, it's always hard to tell what's really going on from a couple of pictures, the only thing I know is that it could have been worse. I guess you're gonna have to remove the front fenders to really get a sense of what's going on under them, and to be able to repair the bad parts. As you said, there seems to be some small holes behind the spider web, so the question is how thin is the rest of the sheetmetal inside those boxes..

We've only been using MIG, I guess one could get better/nicer welds with a TIG but in my opinion it's easier with a MIG. In the end, everything depends on the quality of the welding machine and the one who is holding the handle.
 
I picked up my set of "rollers". Really I wanted something safer to drive on but cheap. I'm also pretty certain that I don't want to buy nice 14" tires. 15"+ make more sense to me.

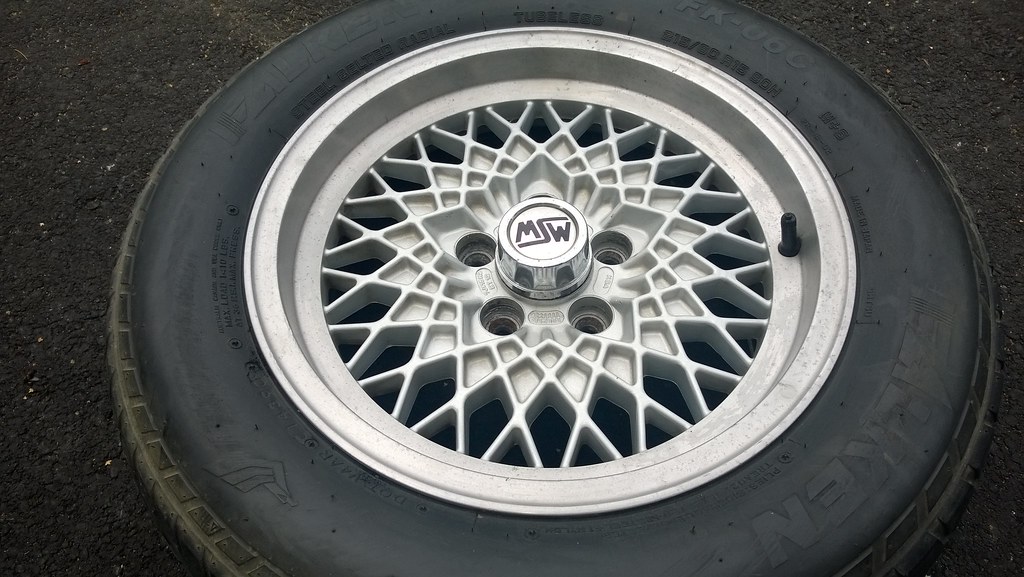
With that said, I picked up a set of MSR wheels. They are stamped "made in Italy OZ". The wheels were made by OZ, and closely resemble BBS Mahles. I have four sets of E9 wheels now, so I need to unload some aluminum. Now that I can ditch the ancient rubber, I am going to refinish the Enkies and figure out what I want to do with them. This is something I can do stand alone, without tearing into the car.

4 15x7 OZ MSR Nuova Typ 1911.C. ET12: $115
20010641415_c4b117ef88_b.jpg


Total Spend: $4,713


As mentioned these were 5x10⁸, not the necessary 5x120. Sold for $350 shipped. I spent $20 dismounting, and $50 to ship.

Total Spend: $4,433
 
Last edited:
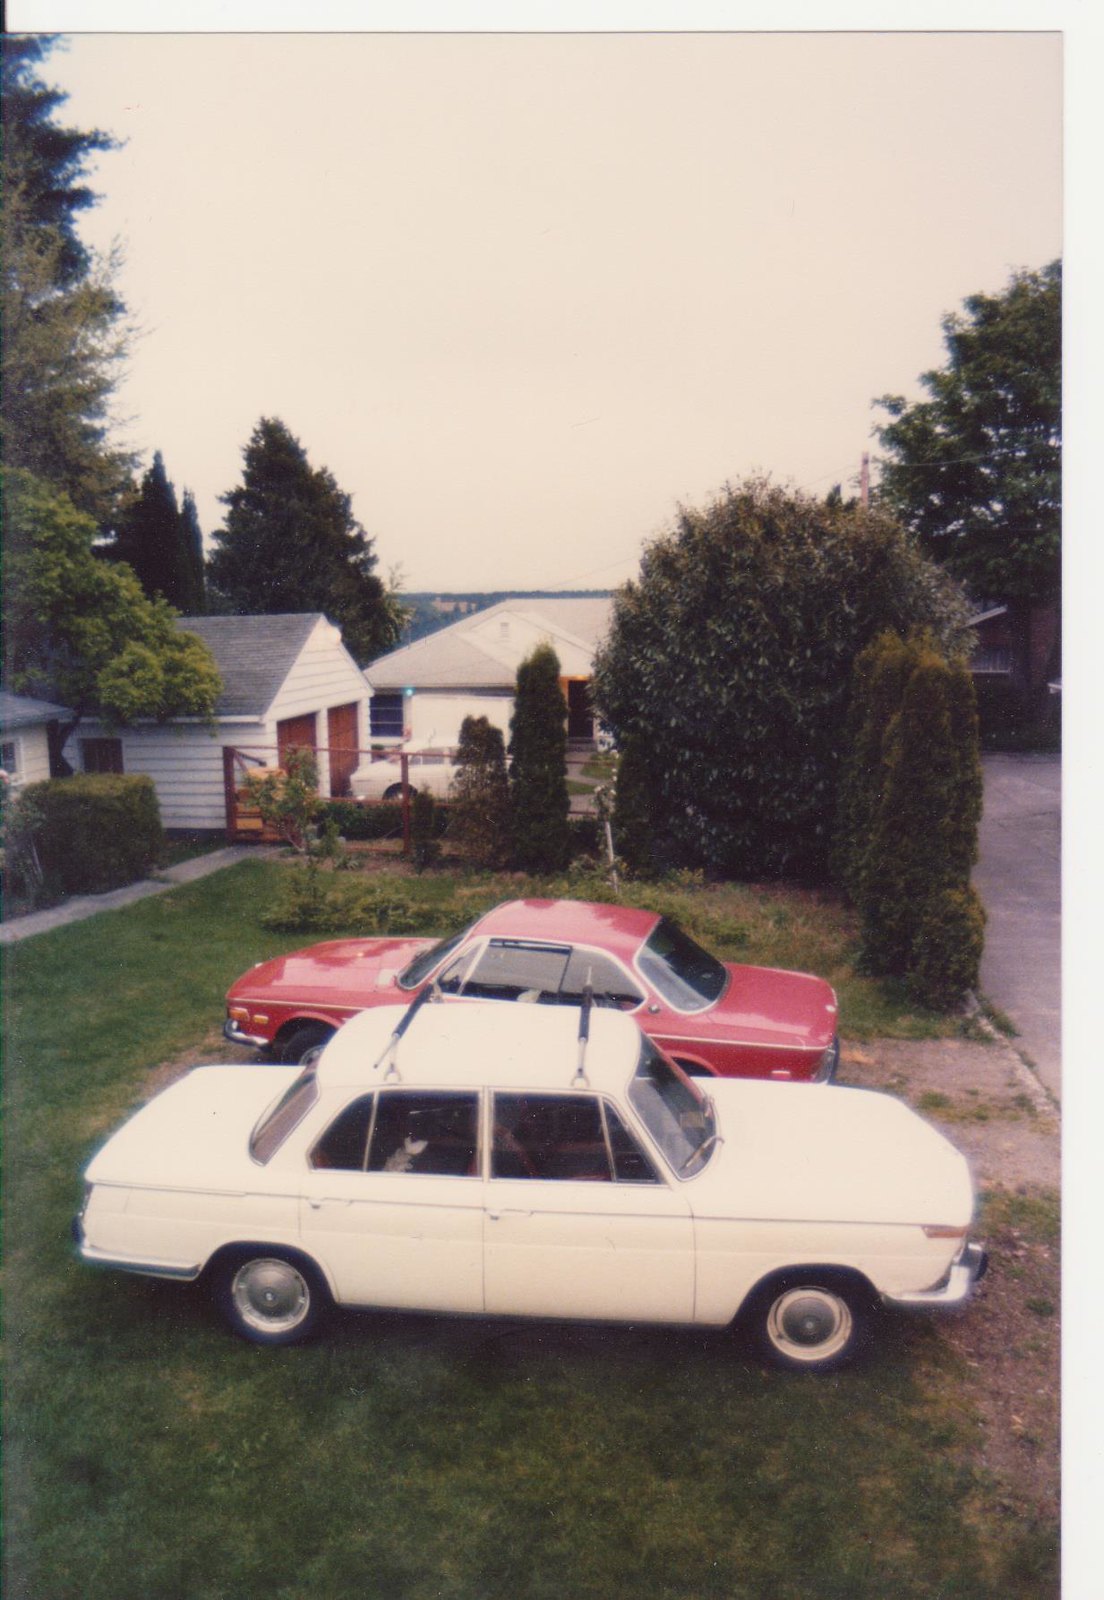
A local forum member that I am in touch with is pretty certain that his roommate owned my car in the early 80's. See for yourself. I know that the tint has been redone about 15 years ago, but the 6x9's and manual antenna seem to be a match.

20853130712_576afba01f_h.jpg
 
For fun, paingold drew a sketch of my '71 with his IPad. He made it black and white since I'm on the fence about colors. :) His style is very distinctive! he did a really cool Inka E10 also. Thanks man!

tumblr_ntit3laQOA1rhjr4uo1_500.jpg


16776096109_51e8051264.jpg
 
Last edited:
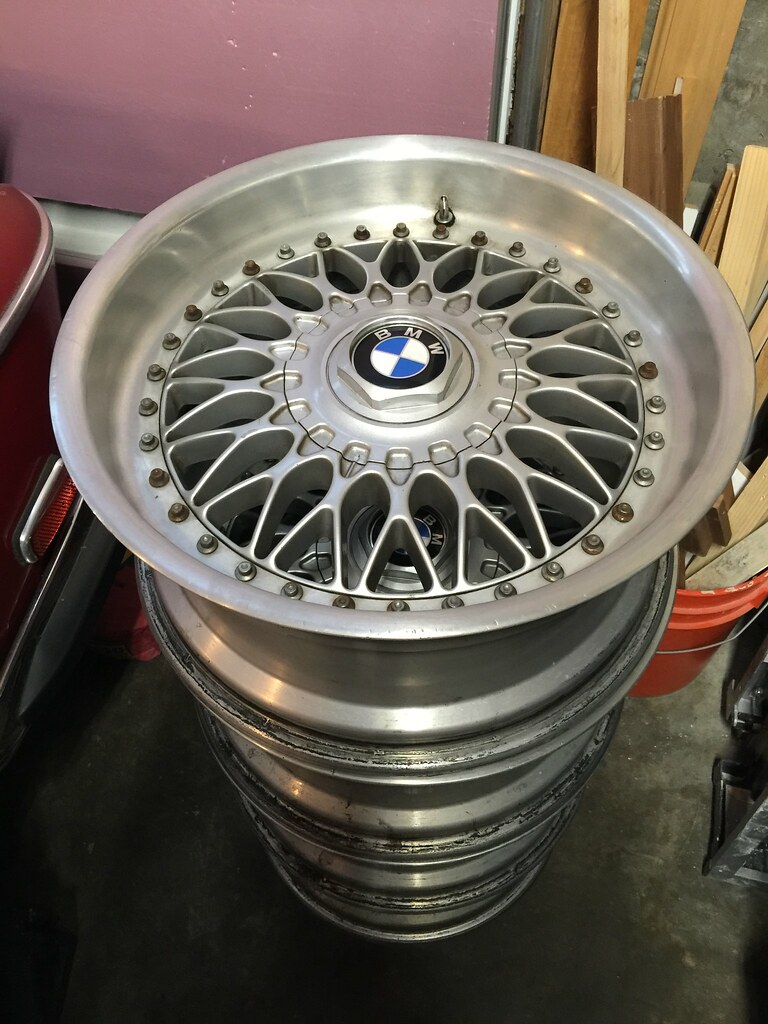
Cranking through the house projects and buying more parts. I kept lusting over a set of RC090's. I've wanted these ever since I started searching for an e28 two years ago. Admittedly, they are more appropriate for an e28, and this decision counters my previous thoughts. However, after reading multiple threads about difficulty buying 14" tires, I decided to pull the trigger. I said that I'd never pay more than $600 for a set, but these don't have curb rash which is a big plus. I have a "mini project" planned to address the polishing of these wheels, more on that later. I need to finish my air compressor "mini project" first. Too many ideas, not enough time. I have a tire purchase in my future but I'll split the wheels first, polish the lips, and blast/spray the centers.

Total Spend: $5,103

Four 17" BMW Style 5 - BBS RC090 Wheels: $650
21458227499_540fe630d7_b.jpg


Additionally, I met up with a forum member and bought an assortment of interior parts. He ended up needing the E9 steering wheel hub that I went out there for, but I picked up a few armrests, ashtrays, lock pulls, chrome armrest parts, spark plug wrench, and original relays.

Miscellaneous parts: $20
 
Try TIG

Random updates...

......

When the time comes to do the structural work, I will need to acquire a gas MIG. I'm thinking Lincoln or Miller. ....

My car is very similar to yours, though a year older and Chamonix. Odd to be working on a car that was made when NASA was landing men on the moon.

I have a gas torch, but wanted the control of electric welding. I bought a MIG setup and it was pretty capable, but when I moved from Hawaii to the mainland, I sold it and bought a TIG setup from Eastwood.com. It's capable of welding aluminum and welds very cleanly. It's on sale often for $750, the version that can't do aluminum is $500. 200 Amps, 110 or 220 volts. As with all welding, but especially TIG, the parts must be very clean.

Bowling Alley workbench! Nice. I'm about to do the same with an as-is wood laminated table top from IKEA.
 
I have a gas torch, but wanted the control of electric welding. I bought a MIG setup and it was pretty capable, but when I moved from Hawaii to the mainland, I sold it and bought a TIG setup from Eastwood.com. It's capable of welding aluminum and welds very cleanly. It's on sale often for $750, the version that can't do aluminum is $500. 200 Amps, 110 or 220 volts. As with all welding, but especially TIG, the parts must be very clean.

Thanks for the tip. I would love to have a TIG welder. I'm already wired for 220, and this project will warrant a new welder no matter what. As far as cleaning, I typically use a flap disk on a 4.5" angle grinder. I have cheap harbor freight grinders, but they haven't failed me yet. It's nice because you can have one grinder with a flap disk, one with a cutoff wheel, and another with a riding disk. I also picked up a die grinder finally. I have some scotch write pads on it. It's great for cleaning gasket surfaces.

Bowling Alley workbench! Nice. I'm about to do the same with an as-is wood laminated table top from IKEA.

I'm excited about the new workbench. I should start it in about a month. I'm pretty certain that I'm going to a do a steel base, likely 2" square tube. I'm finally going to get a rolling tool cabinet, which will help with the clutter. I'll be picking up some old cabinets from the second hand place that sells the bowling lanes. I love that place!
 
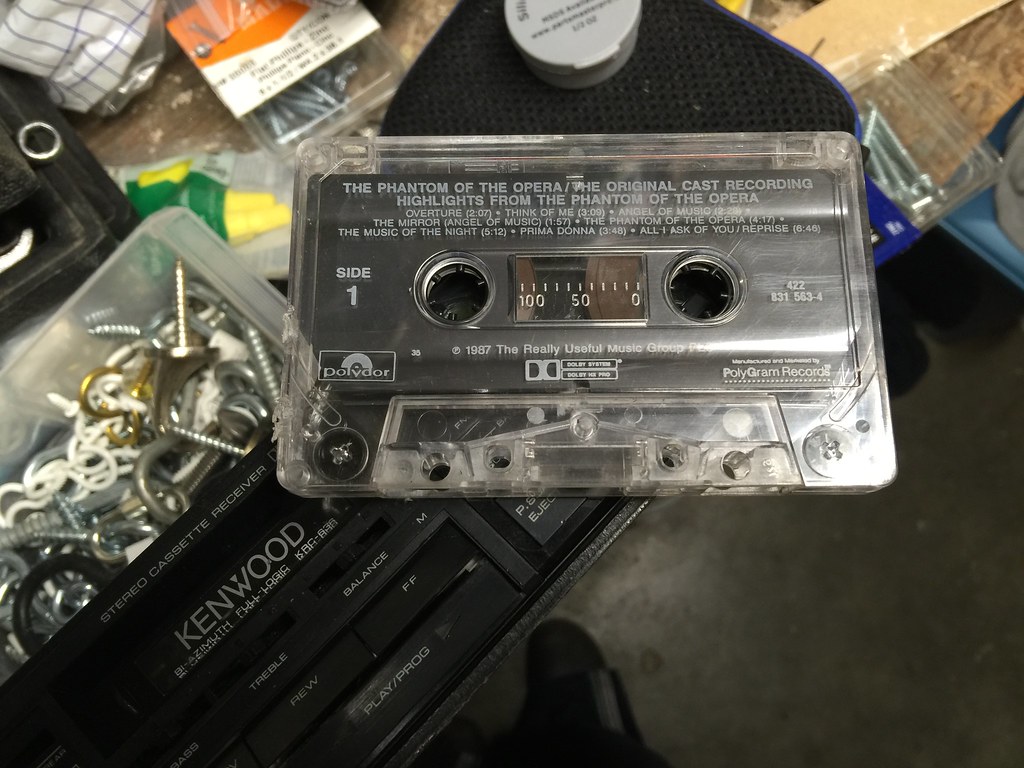
I pried this out of the old Kenwood. Not quite what i expected, but it confirms that E9 owners were/are sophisticated. :D I would have preferred the soundtrack to Back to the Future, but this works!

21127654093_464ced1b10_b.jpg
 
I could have sworn that I posted my status update, but it appears not...

I needed to fire up the car so I finally tackled the fuel system refresh. I pulled the tank. Removal was a bit awkward do to the weight but overall uneventful. I hit the 10mm bolts with some PB blaster and waited all of about 30 seconds since I was short on time.

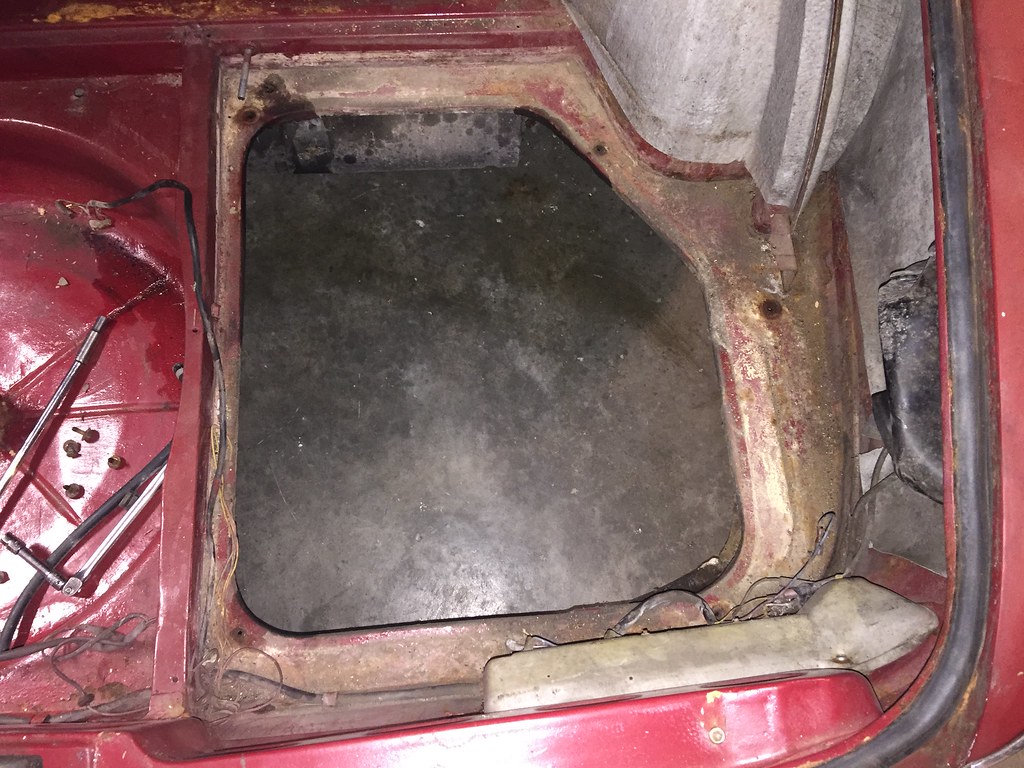
I don't think that the tank had ever been removed. The original foam tape was still intact. I inspected the rear trunk area and was pleased to see that there is no major problem areas. The trunk is in really good shapes relative to other parts of the car.

21560685240_2429ecc1b6_b.jpg


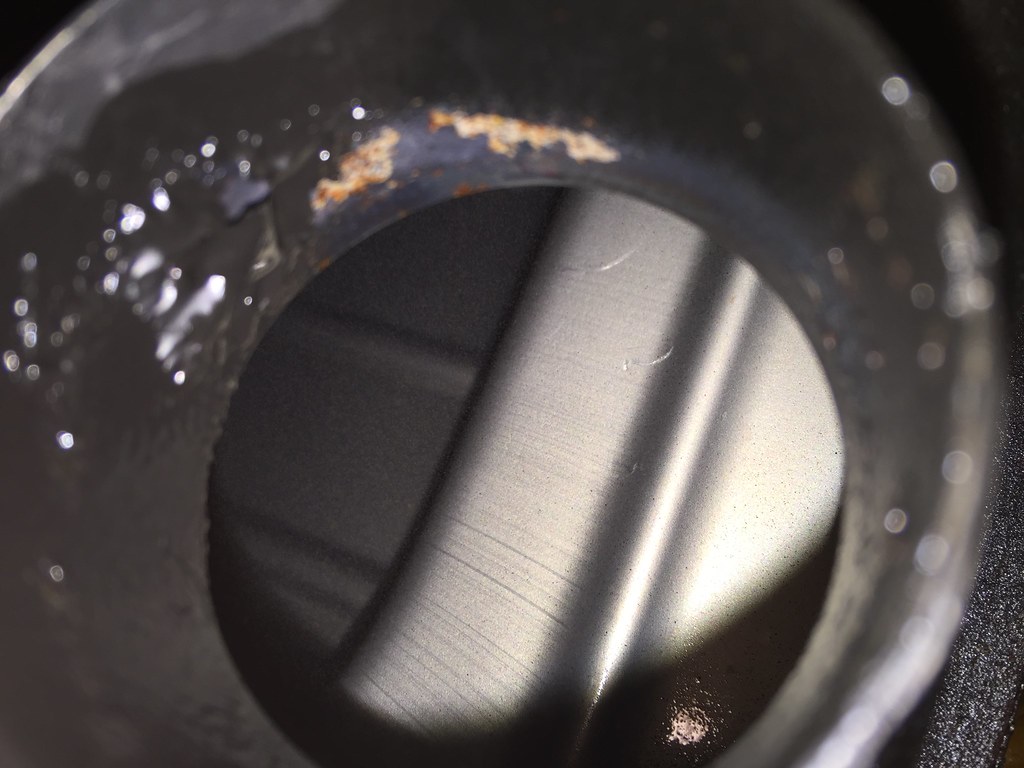
I originally intended to rinse and seal the gas tank with an Easton kit that I purchased. I found no issues with the inside of the tank. It is clean and shiny, and the seams look great. I didn't to remove the pickup tube, since I had no reason to. I have read on here that the seal can be difficult to procure, so I skipped removal. I ran my 10mm inspection camera into the tank after airing it out in the sun for a day. This helped me confirm that the tank is in fact looking great. I'll need to figure out what to do with the Easton tank seal kit (PM me if interested).

21561814439_48954d4f84_b.jpg


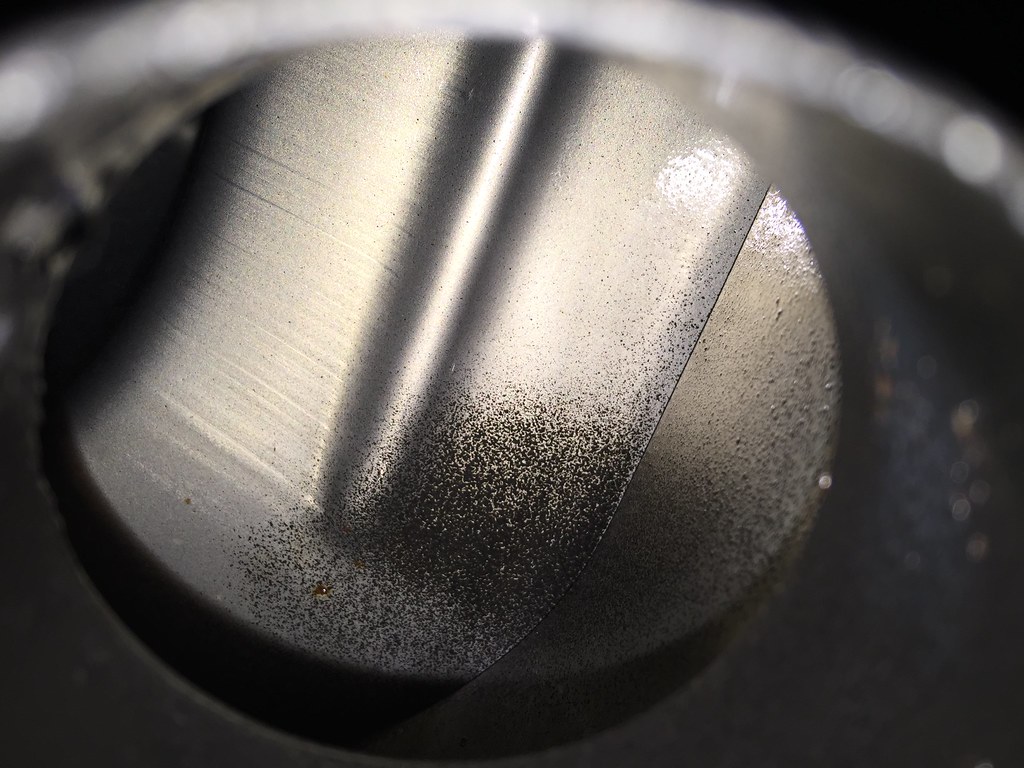
This appears to be overspray
21722576266_82dc7d3481_b.jpg


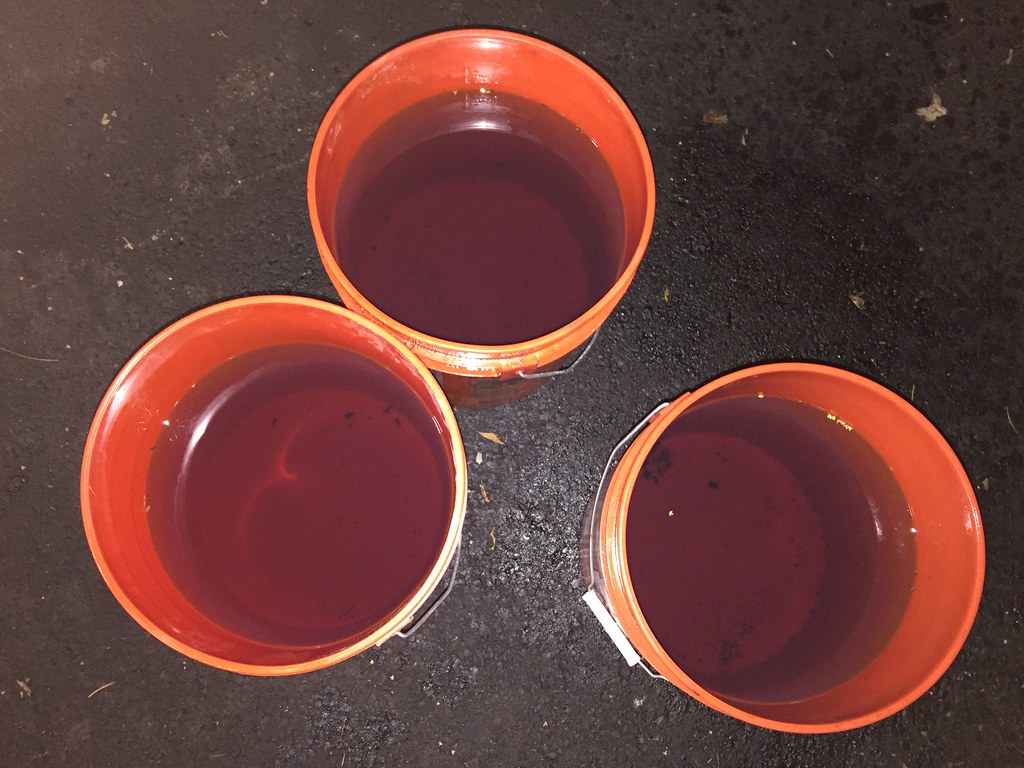
The tank had about 12 gallons in it. I think this helped keep water out, but it also made removal a bit trickier. I wish I had cleaned the buckets prior to dumping the fuel.

21127652203_1fd06038d0_b.jpg


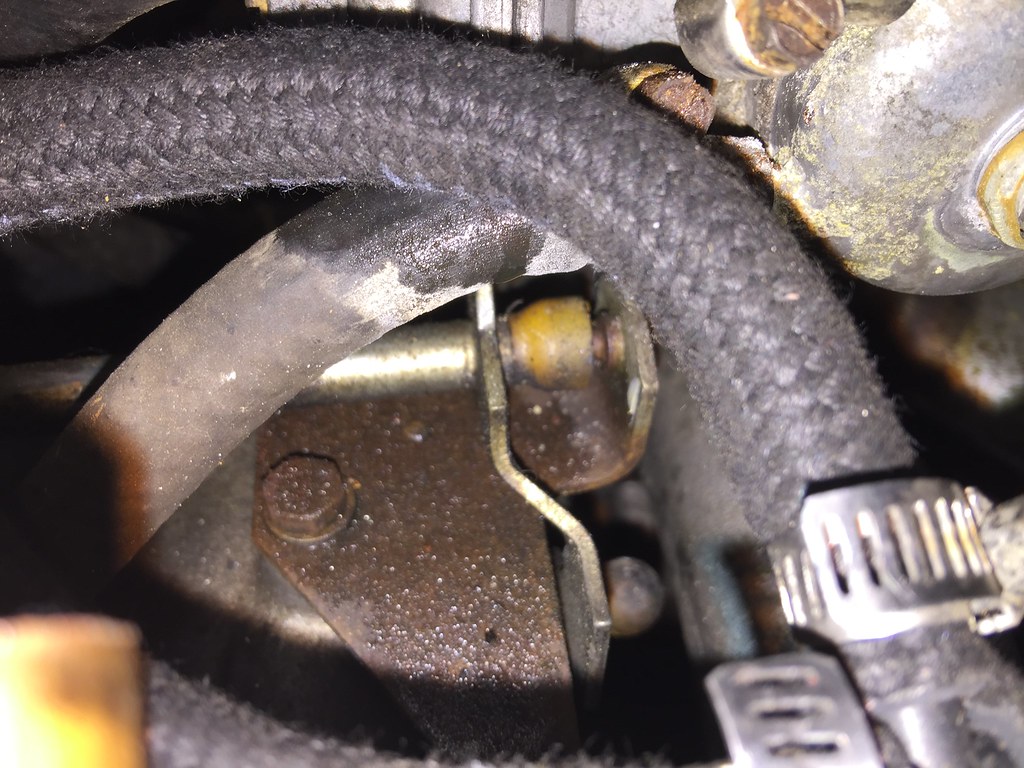
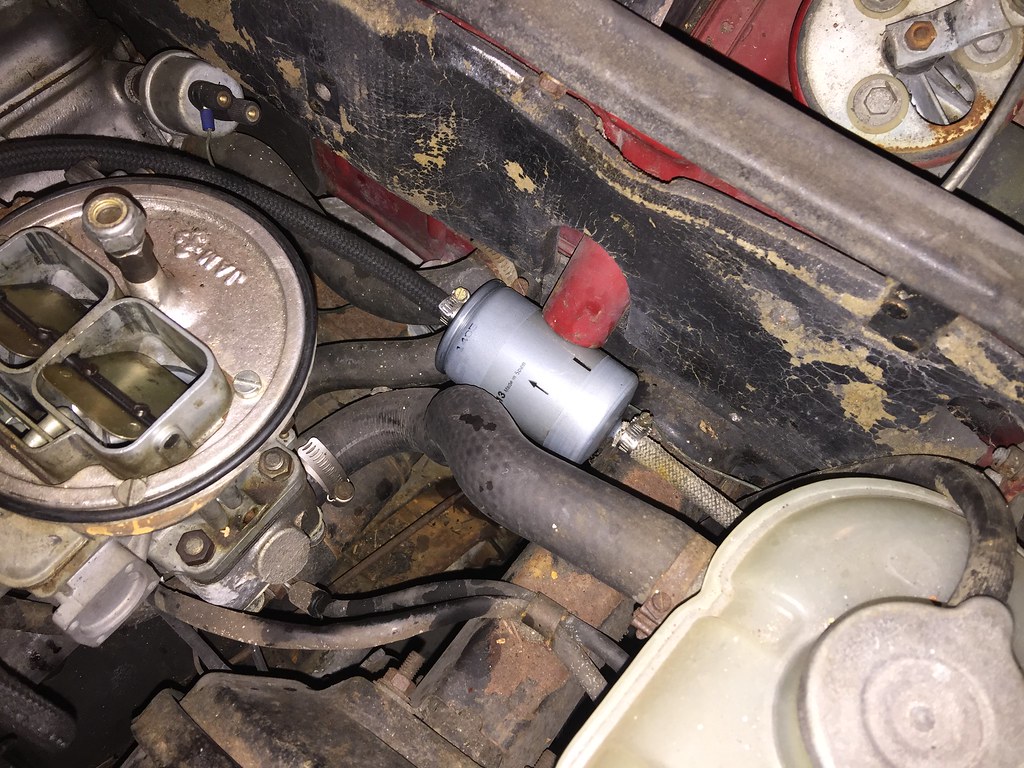
I replaced the fuel lines on the carbs with new german braided line. I also added a temporary fuel filter. I'll always run a fuel filter, but I haven't placed it in a long-term location yet. Fortunately this car will never get driven in the rain. I didn't have enough line to replace the grey hose on the input end of the filter. Also, I'm not sure how it clamps to the fuel lines under the car, I didn't see any clamps at all. Speaking of which, I need to set a reminder to get some good fuel clamps also.

21560683800_48448a1e1d_b.jpg


21749667335_88bbce7307_b.jpg


Lastly, I installed the new Mahle air filter and fired the car up. It took some time for the new fuel to make its way to the carbs, but it started right up once the fuel pressure was good.
 
Definitely replace that grey fuel line, it's about 3 feet or less from the filter down to the metal line at the bottom of the firewall. It's easier to clamp it after removing the coolant reservoir, maybe you can do it without this step.
 
Definitely replace that grey fuel line, it's about 3 feet or less from the filter down to the metal line at the bottom of the firewall. It's easier to clamp it after removing the coolant reservoir, maybe you can do it without this step.

Will do! I'm going to take Don's advice and stick with non braided hose also. it was easy, cheap, and fast to swap it out. Also, the Tee fitting by the fuel pump is plastic. I'd feel much more comfortable with a stainless or zinc plated tee, or factory plastic one versus what looks like an auto zone tee that I have in there now. I also need some real fuel line clamps, not coolant host clamps.
 
Trunk IS in really good shape

Markos, since this is a budget restoration :) and your trunk is in such good shape you may want to try some greased lightening on the plastic pieces. With the tank out you can get allot of the trunk looking new. I also lightly sanded the light covers in the trunk and sprayed them with a pretty standard gray. I started with the trunk on the Polaris coupe and it cost next to nothing and kind of pushed me to get the rest of the car clean.
 

Attachments

  • trunk4.jpg
    trunk4.jpg
    50 KB · Views: 264
  • trunk6.jpg
    trunk6.jpg
    45.5 KB · Views: 249
  • trunk done.jpg
    trunk done.jpg
    88 KB · Views: 274
Markos, since this is a budget restoration :) and your trunk is in such good shape you may want to try some greased lightening on the plastic pieces. With the tank out you can get allot of the trunk looking new. I also lightly sanded the light covers in the trunk and sprayed them with a pretty standard gray. I started with the trunk on the Polaris coupe and it cost next to nothing and kind of pushed me to get the rest of the car clean.

I'll definitely give it a go on the wheel wells. I'll probably need to ditch the skin on the inside of the fenders, but not without measuring. I'll need to buy new elephant skin for the wheel well cover. I tore it when I first looked at the car (you break it you buy it!).

I will certainly be referencing your thread when it comes time to clean. My car still smells, albeit mich better than before. BTW, greased lightning will remove anodizing. I might give it a go on the belt line trim.
 
Total Spend: $5,119

I ordered a new throttle return spring and fuel tee from La Jolla. Total with shipping is just under $16.00.
 
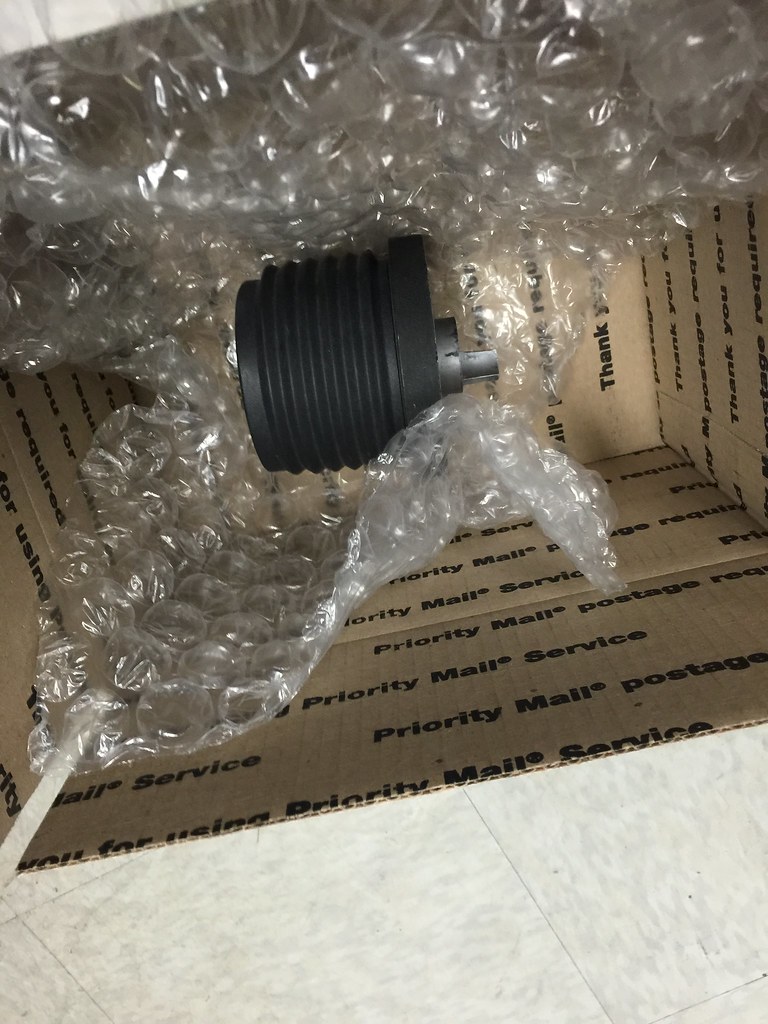
Picked up a proper steering wheel hub from CL.

Momo Hub: $43

22740522350_1a614b1d5e_b.jpg


Total Spend: $5,162


I have a used windshield on hold from a California member. I asked that he hold off on shipping for a few weeks since my garage is currently gutted.
 
Back
Top