You are using an out of date browser. It may not display this or other websites correctly.
You should upgrade or use an alternative browser.
You should upgrade or use an alternative browser.
72 CSi rotisserie restoration
- Thread starter paul
- Start date
-
- Tags
- restoration list
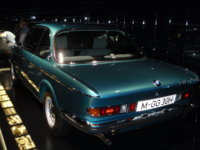
Yes Dang ....Turkis is an amazing colour....I think this car is in BMW museum in Germany...yes?................looks Fjord Blue under the lights
It is in the BMW museum I Munich yes. The colour is really more green then Fjord; I've been in the museum 6+ times, and have fjord in my garage. Turkis is really different. Really fitting the 70's era.
in the rear shot you can kinda find the match with Fjord, but in the detailed pics, it definitely shows it's greenisch hue as it appears more when in full sun.
in the rear shot you can kinda find the match with Fjord, but in the detailed pics, it definitely shows it's greenisch hue as it appears more when in full sun.
Attachments
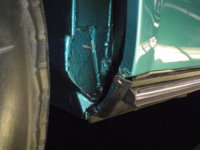
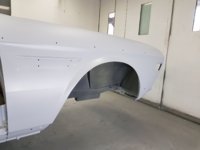
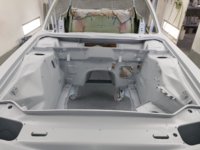
The car is undercoated....some blocking back of that.....and then the painter will move onto final colour Turkis 065 
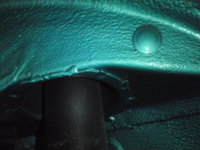
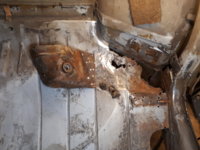
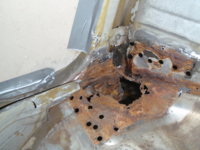
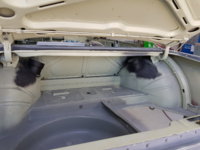
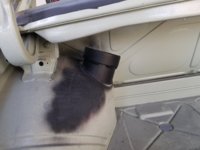
Forgot to show rear shock tower reinforcement in earlier posts.
I have lost count on how many times doors/trunk lid and bonnet have come off and on this car.
Forgot to show rear shock tower reinforcement in earlier posts.
I have lost count on how many times doors/trunk lid and bonnet have come off and on this car.
Attachments
-
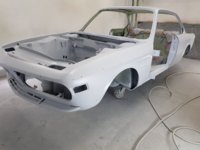 20190220_123357_resized.jpg215.5 KB · Views: 644
 -
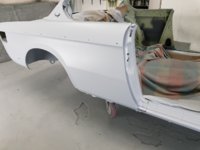 20190220_123322_resized.jpg178.2 KB · Views: 626
 -
 20190220_123328_resized.jpg142.5 KB · Views: 640
 -
 20190220_123348_resized.jpg233.5 KB · Views: 652
 -
 Shock Tower Reinforcement 1 (5).jpg252.7 KB · Views: 702
 -
 Shock Tower Reinforcement (1).jpg244.4 KB · Views: 663
Those shock towers look like they will go through a war! 
The lines of the car look beautiful - can't wait to see it start to shine in Turkis.
The lines of the car look beautiful - can't wait to see it start to shine in Turkis.
Wladek
Well-Known Member
Great job Paul!
Towers indeed look little bit hardcore, you could cut that pipe with angle, so it look more stock.
Towers indeed look little bit hardcore, you could cut that pipe with angle, so it look more stock.
This car is a real credit to Paul's persistence and dedication. I've seen it many times in person and the gapping of the panels is extraordinary. He has however made a huge blunder - he has put the steering arrangement on the wrong side. Man is he in for a horrible surprise when he goes to drive it for the first time.
Don't worry Gazz.......in the past have had LHD C2 Corvette and 65 LHD Factory GT Mustang......no probs..............also when I pull up at the lights I can talk 1 on 1 with some dude in a RHD vehicle  Stephen and Wladek thanks.............you're right about the lines of the car....because of the meticulous ways of my spray painter its amazing how its come to life..................but I am paying for it (groan) :eek: anyway next pics will be with 3 to 4 coats of Turkis and 4 coats of clear
Forgot to show rear shock tower reinforcement in earlier posts.
What did you use for shock tower reinforcement? I was at an oilfield pipe-yard recently that had a variety of casing caps that looked akin to this, and I thought it might work as a bolt/weld-on tower cap.
I used 4" sch 10 pipe which gives you about 1.5 mm gap all round (when you sit it over the shock tower) which is fine for welding. The top washer (if you want to call it that) was water cut from 3 mm plate so the inside diameter fits just outside the PCD of the 3 pins in top of shock tower. Then stitch welded to the side of the shock tower and the top of the reinforced ring on top of shock tower. I did not want to weld directly onto top of shock tower tube as that is where it seems to always give way. Hope that is clear enough......I will take a pic of the top and post up here.
I have a question for others who have done a rotisserie before...........when painter took car off the trolley and put on the rotisserie........the door gaps changed at the top of the car (about 4mm) so what he is going to do is spray the bottom of the car and engine bay first......take it off the rotisserie .....send it down to the mechanic shop.....fit all the suspension/gearbox/engine etc etc....that way the car is sitting in its natural supported position and then deliver back to spray shop for internal spraying and outside body spray..........also a good time to check if the 9" BBS wheels fit ok. That way we maintain the door gaps...........has anyone had this problem???
I have a question for others who have done a rotisserie before...........when painter took car off the trolley and put on the rotisserie........the door gaps changed at the top of the car (about 4mm) so what he is going to do is spray the bottom of the car and engine bay first......take it off the rotisserie .....send it down to the mechanic shop.....fit all the suspension/gearbox/engine etc etc....that way the car is sitting in its natural supported position and then deliver back to spray shop for internal spraying and outside body spray..........also a good time to check if the 9" BBS wheels fit ok. That way we maintain the door gaps...........has anyone had this problem???
Jay.......top of shock towers.
Lights came on with the pics! Just taking a stab at welding for the first time. As w most things, basics came quickly but learning curve steepens to do it well. I’ll never be able to do what you & @jmackro do even if I quit my job & went to welding school.
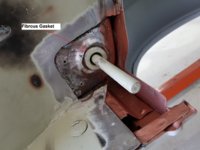
I' ve found the remains of that gasket, and it resembled more a sponge then a waterbarrier. I'm leaning towards using normal body sealer there .
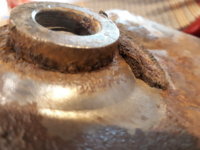
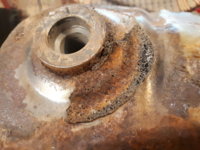
Attached the pic of what type of foam/seal was present in my car; not even half of it was left. It also shows the amount of rust that hides between these panels.
I've never seen these gaskets available anywhere, but I never really looked for them...
Attached the pic of what type of foam/seal was present in my car; not even half of it was left. It also shows the amount of rust that hides between these panels.
I've never seen these gaskets available anywhere, but I never really looked for them...
Attachments
Last edited:
yes that is exactly how mine is and my bodypainter has decided to do exactly as you were thinking.
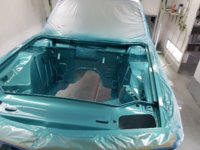
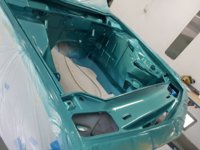
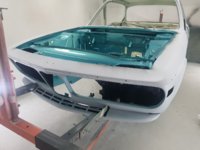
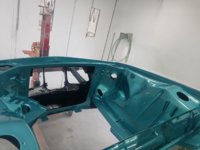
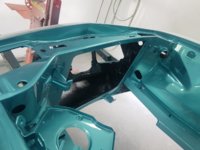
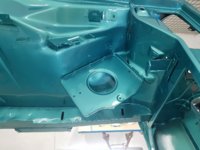
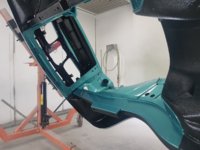
I have been away ....but my painter has been busy. Undercarriage all completed in Dominator protection ....2 coats...its rock hard. Engine bay top coated in Turkis 065 ready to go to engine guys to install engine/trans/ and suspension. Then back to painters to finish her off. Can't wait to see the M90 sitting in the engine bay with all the ceramic coated parts  BTW painter and I decided to paint front side of radiator support and behind headlights black so you when you look through the grille its all black. see in pics.
Attachments
-
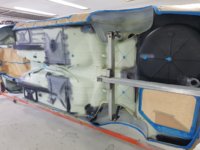 Underside preped ready for 2 coats of Dominator.jpg222.4 KB · Views: 565
 -
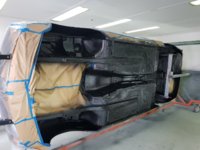 Underside coated with Dominator.jpg278.7 KB · Views: 573
 -
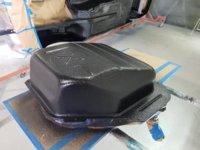 Underside of fuel tank done.jpg324.7 KB · Views: 576
 -
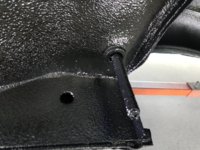 Underside 3.jpg333.5 KB · Views: 532
 -
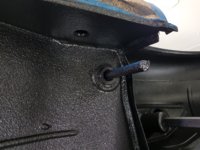 Underside 4.jpg408.6 KB · Views: 556
 -
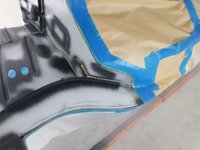 Engine bay rubbed,sealed,masked ready fro spray.jpg210.3 KB · Views: 582
 -
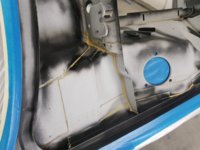 20190315_115015.jpg251.4 KB · Views: 575
 -
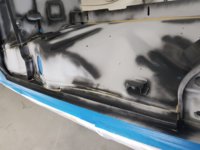 20190315_115019.jpg219 KB · Views: 539
 -
 20190316_102930.jpg286.4 KB · Views: 550
 -
 20190316_102947.jpg261.6 KB · Views: 537
 -
 20190318_090811.jpg195.5 KB · Views: 546
 -
 20190318_090820.jpg189.3 KB · Views: 554
 -
 20190318_090824.jpg210.3 KB · Views: 537
 -
 20190316_102832.jpg221.3 KB · Views: 520
 -
 20190318_091450.jpg245.5 KB · Views: 515
Aussiecsi
Well-Known Member
Glad you went with Turkis ...I'm sure you will agree that colour looks much better in "the flesh" .
yes it does especially in the sun or even in rainy conditions. These pics don't do it any justice as it's in the spray booth under fluro lights.
Looks wow Paul. Good to see him taking care with masking and not over-spraying where it "doesn't matter" in unseen areas. Going to be pretty wild with those wheels!
Gazza.............it's your shout for coffee!!

