You are using an out of date browser. It may not display this or other websites correctly.
You should upgrade or use an alternative browser.
You should upgrade or use an alternative browser.
72 Restomod clubracer build
- Thread starter bdigel
- Start date
-
- Tags
- restoration list


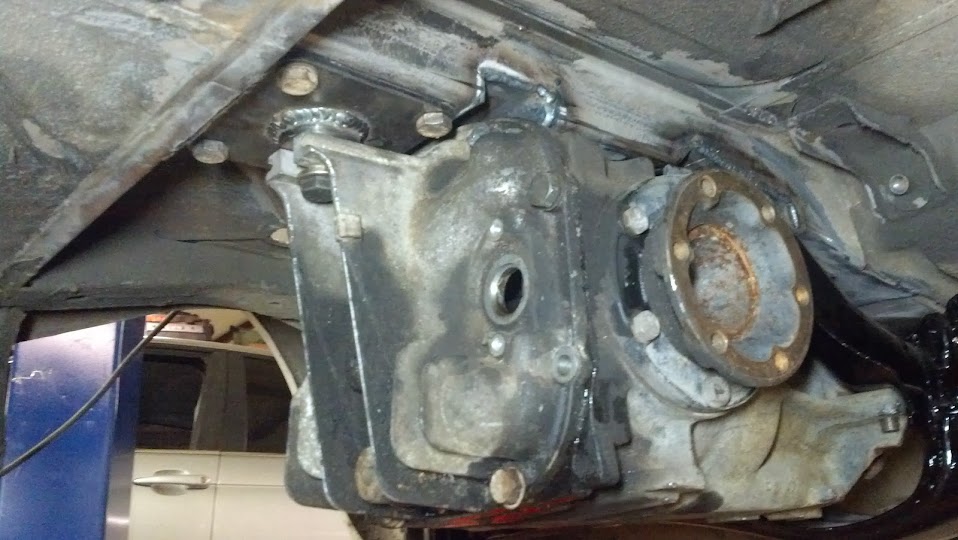
diff mount being fabbed up

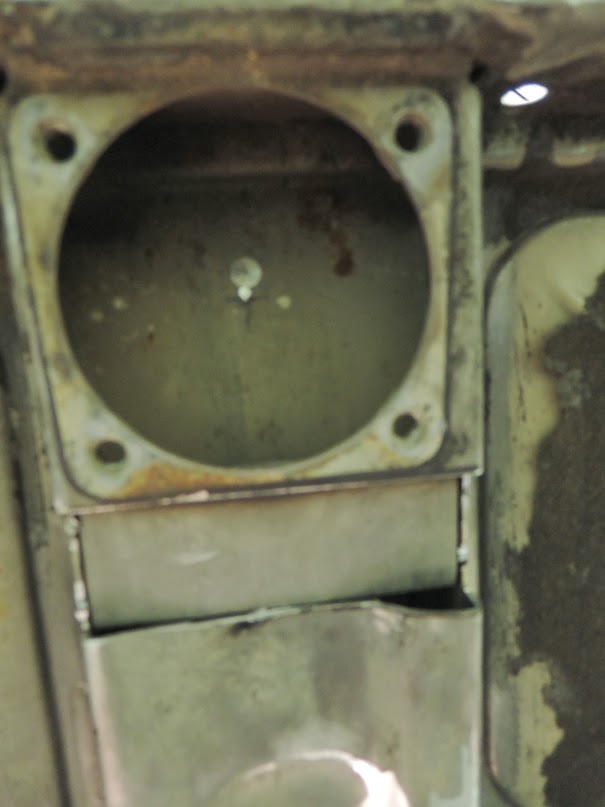
picture of the diff mount from the top,
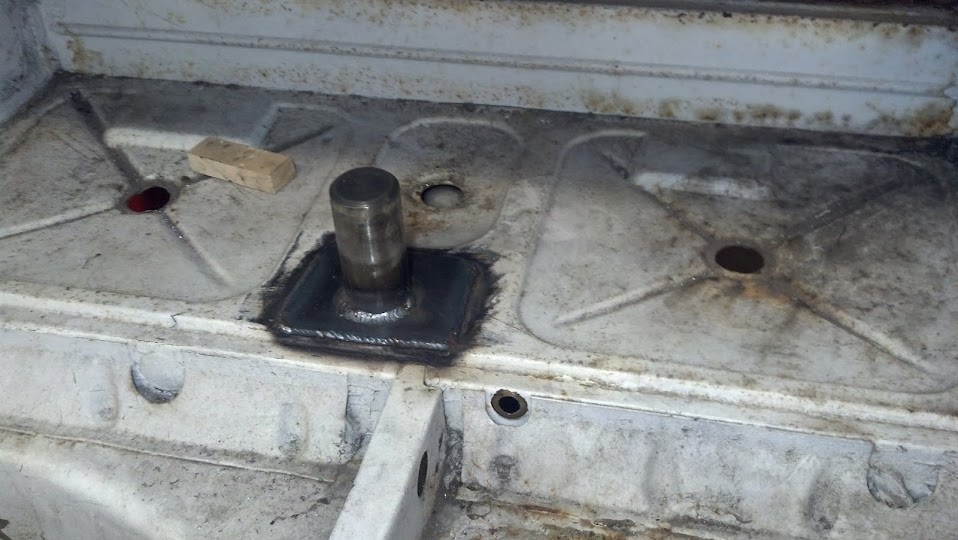
the diff mount is totally solid and goes though to the trunk floor, the tube sticking up is where the roll cage will tie into the diff mount , I think its safe to say I wont be ripping out the diff .... ever!
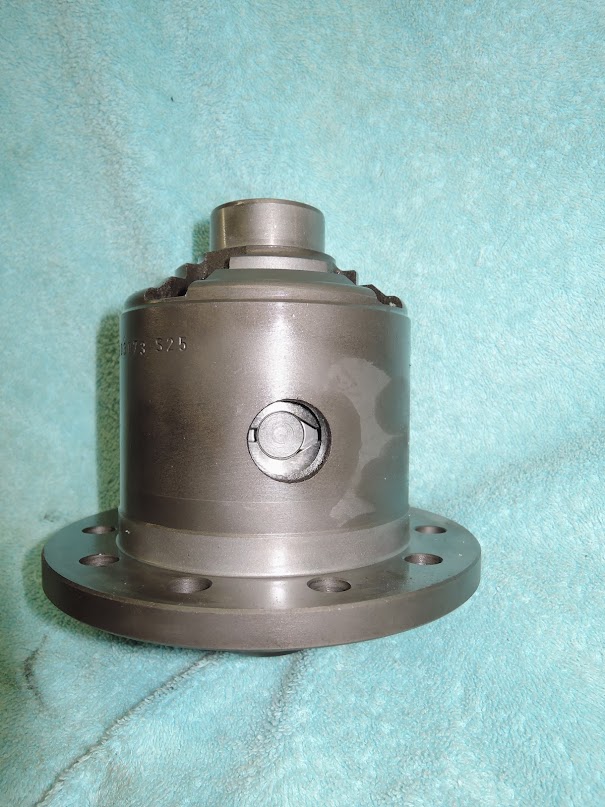
speaking of diffs, a quick pic of whats to come, I got a fully built LSD carrier from Diffs On Line, 4 clutch/ modded ramps cromo case,, etc, etc which will go into an e30 M3 med case 410 !
If your looking for some fantastic Diff work get in touch with Diffy Dan ,
http://diffsonline.com/
Last edited:
What is the measurement between the hubs (wheel mount surfaces) on the E9 and the E28.
I am keen to run a complete E28 Suspension setup on my E9 Including the hydraulic brake booster and the ABS. Cheers Warren
Warren I no longer have any of the original E9 suspension to measure what the difference is , and I am going with a tubular /rod end deal up front , sorry I couldn't help
we are getting dangerously close to finishing up with mounting the complete drive train . the diff is mounted the engine is located , just needs some bolts to the subframe,and the trans brackets and mounts are made ,
so that leaves the driveshaft, snice we moved the engine so far back, I was certain we would have to get one custom made, but after taking measurement to start that process Dave ( synro design works) remember that the measurement was the same as an E36 automatic M3 driveshaft, we located one and BAM dirveshaft done! now we just need to fab up some center suport brackets , and we are finished with mocking up the drivetrain . this is a huge step forward.

mocking in the drive shaft center suport facing towards the diff
looking towards the trans,
and from the interior
notice were we cut out all of the E-Brake and its brackets to make room for the new center support location . also the tricky work going into the pass side mount , thanks to Frank at Syncro !
so that leaves the driveshaft, snice we moved the engine so far back, I was certain we would have to get one custom made, but after taking measurement to start that process Dave ( synro design works) remember that the measurement was the same as an E36 automatic M3 driveshaft, we located one and BAM dirveshaft done! now we just need to fab up some center suport brackets , and we are finished with mocking up the drivetrain . this is a huge step forward.
mocking in the drive shaft center suport facing towards the diff
looking towards the trans,
and from the interior
notice were we cut out all of the E-Brake and its brackets to make room for the new center support location . also the tricky work going into the pass side mount , thanks to Frank at Syncro !
It's interesting and educational to see the different approaches to building a race car. Kudos to someone who takes this route rather than bolt some go-fast bits to any old car. If I had put all this work into something I would be afraid to take it on the track with some of the hot heads who turn up at meets.
Great progress and good luck with the rest of the build.
Great progress and good luck with the rest of the build.
It's interesting and educational to see the different approaches to building a race car. Kudos to someone who takes this route rather than bolt some go-fast bits to any old car. If I had put all this work into something I would be afraid to take it on the track with some of the hot heads who turn up at meets.
Great progress and good luck with the rest of the build.
the guy I need to be afraid of is me ,I am the "hot head " ! haha
FastCougar
Well-Known Member
Nice, that should free up some top end revs and push the redline north quite a bit ")
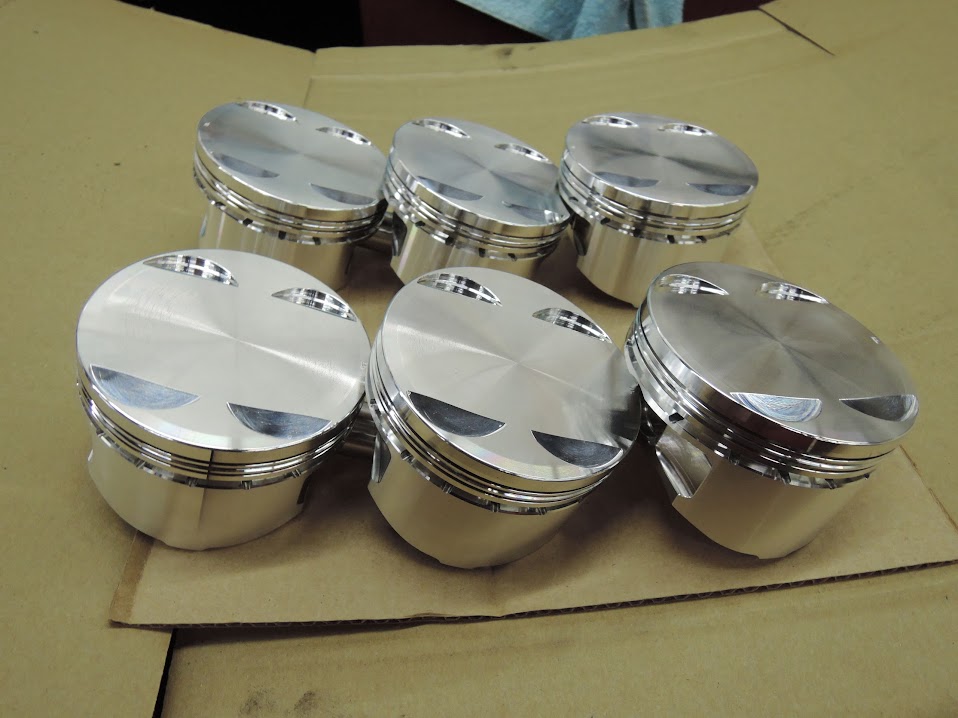
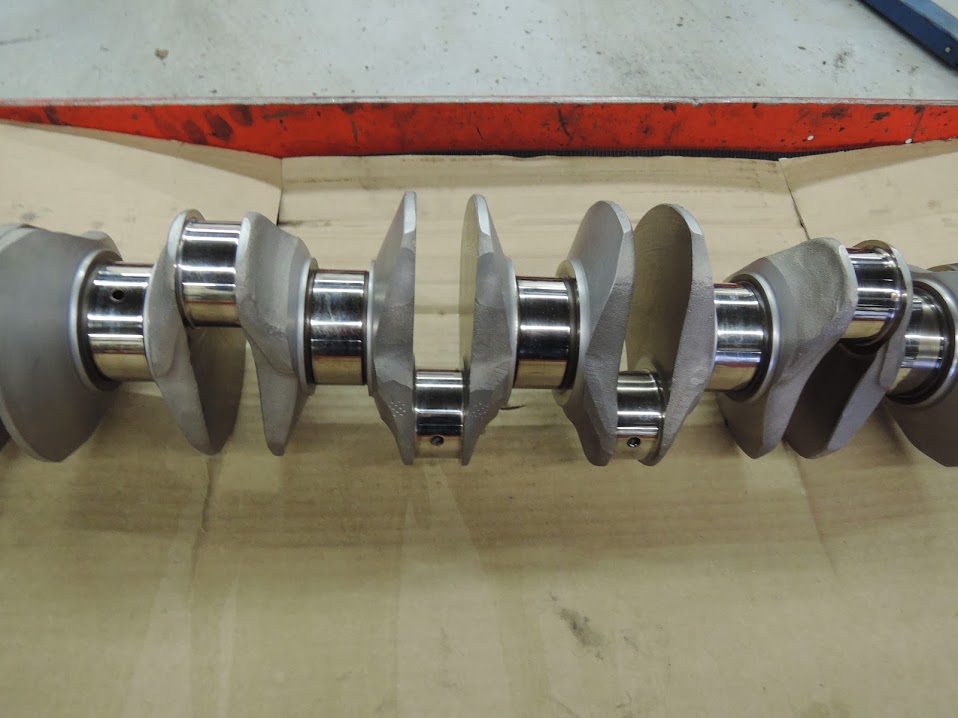
Wow nice crank and pistons.
I am waiting on a cam and pistons from Paul for my M30 3.5 rebuild.
I also own an 88 M5 S38.
My motor is right at 350 at the crank.
What are you going to do to your engine?
Paul can pack your head with a million ideas.
I am waiting on a cam and pistons from Paul for my M30 3.5 rebuild.
I also own an 88 M5 S38.
My motor is right at 350 at the crank.
What are you going to do to your engine?
Paul can pack your head with a million ideas.
Last edited:
Forged pistons?
Forged pistons?
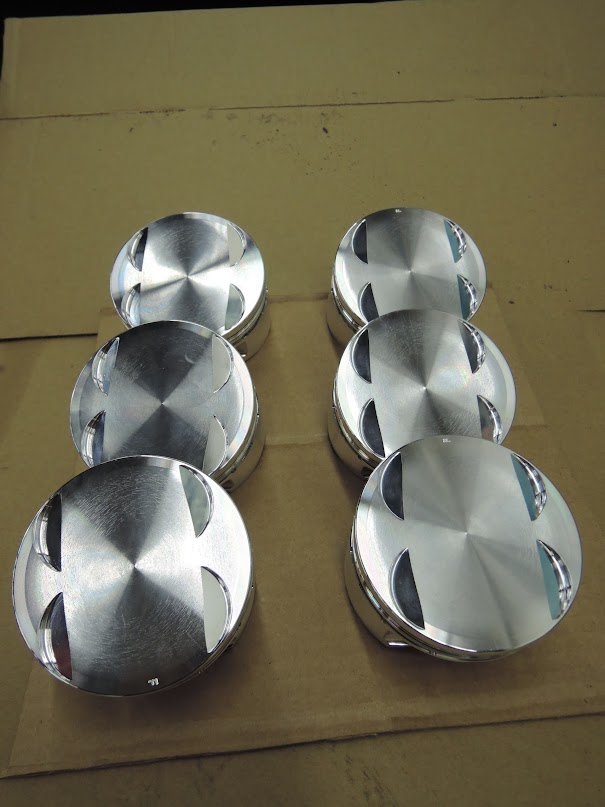
yes they are forged pistons ! another view of them.
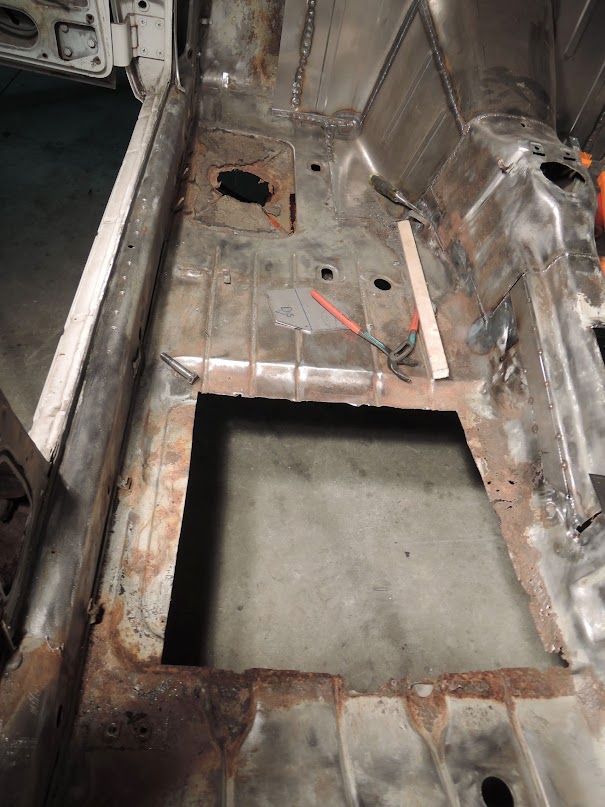
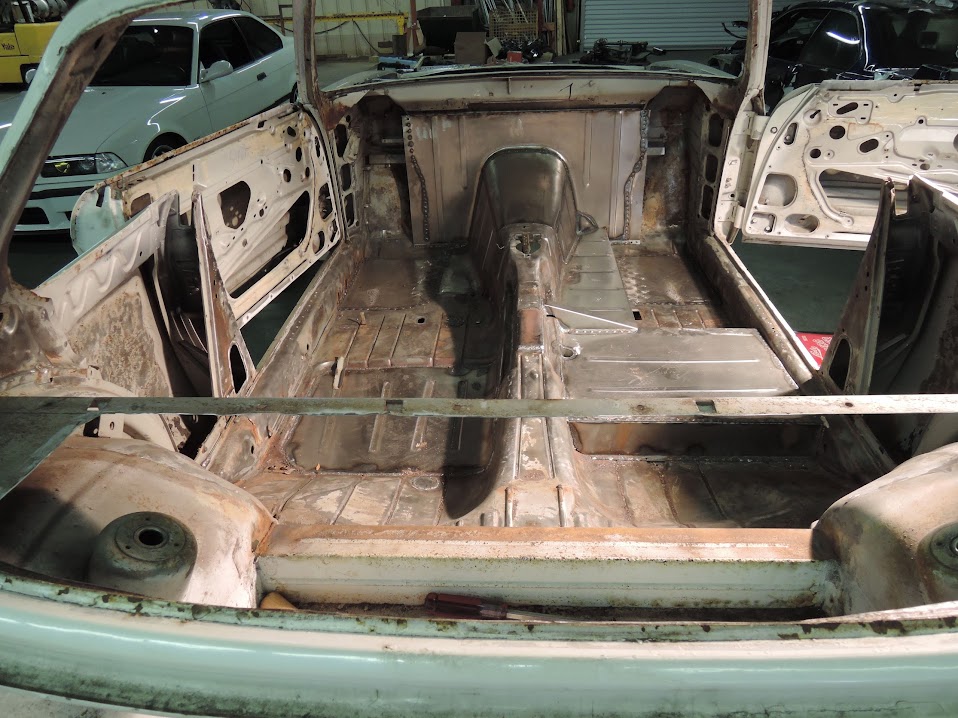
Progress on the floor boards is being made . Maybe you noticed in earlier pics that the floor had gapping holes and rot. A lot ot effort has been put in to making and repairing the floors , we used this as an opertunity to raise the floor board on the passenger side , so that the exhaust could be raised into the car for ground clearance .
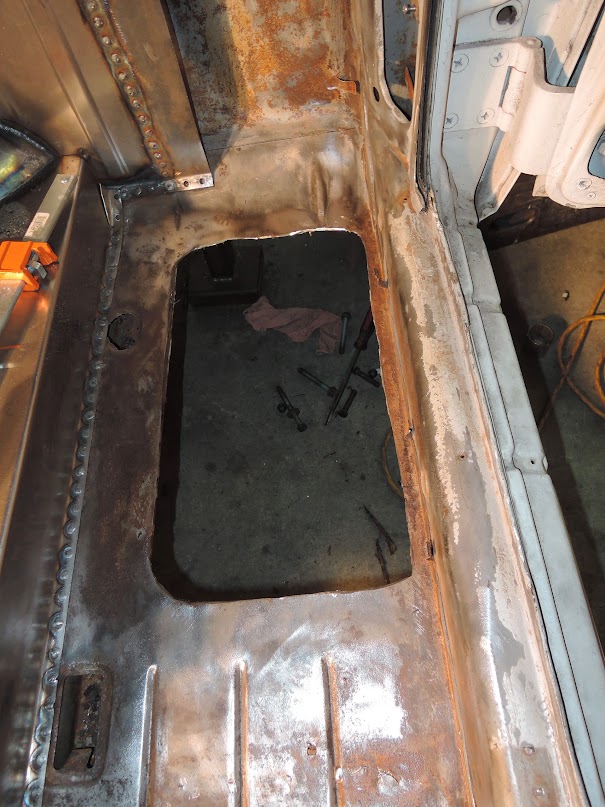
above is the pass. side floor before new panels installed, and below a before shot of the driver side .
new floor panel in construction
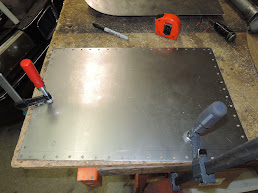
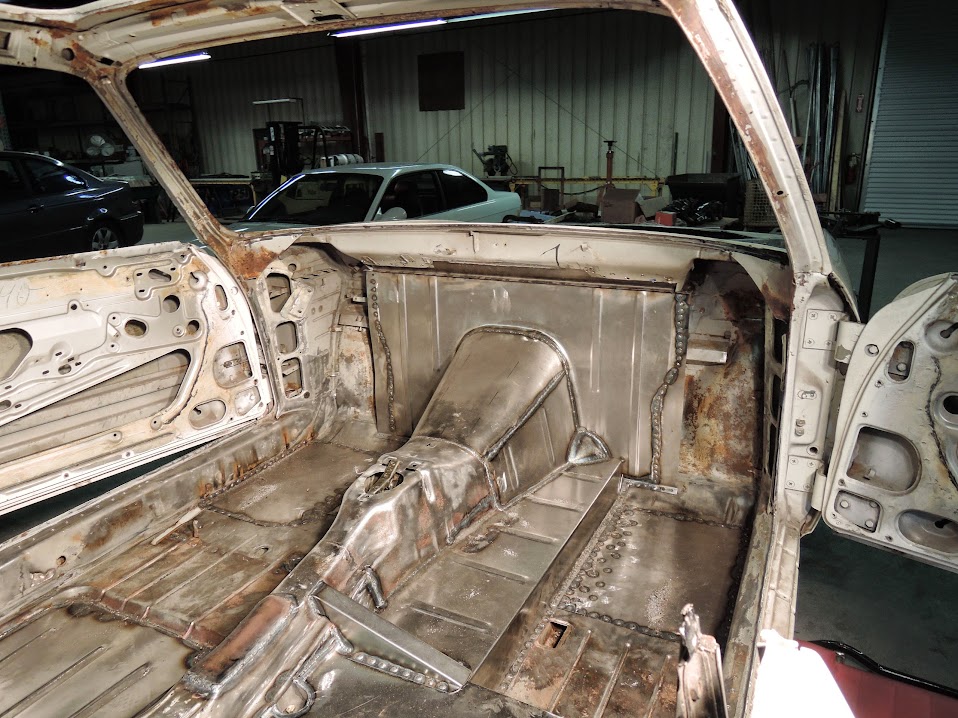
new front driver side panel installed
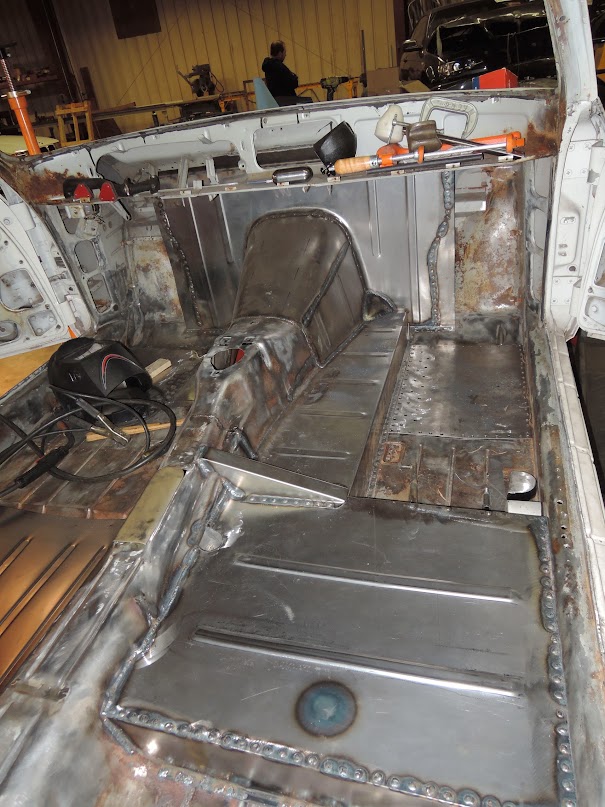
new pass side floor panel ready to be welded in, notice raised portion for the exhaust
above is the pass. side floor before new panels installed, and below a before shot of the driver side .
new floor panel in construction
new front driver side panel installed
new pass side floor panel ready to be welded in, notice raised portion for the exhaust
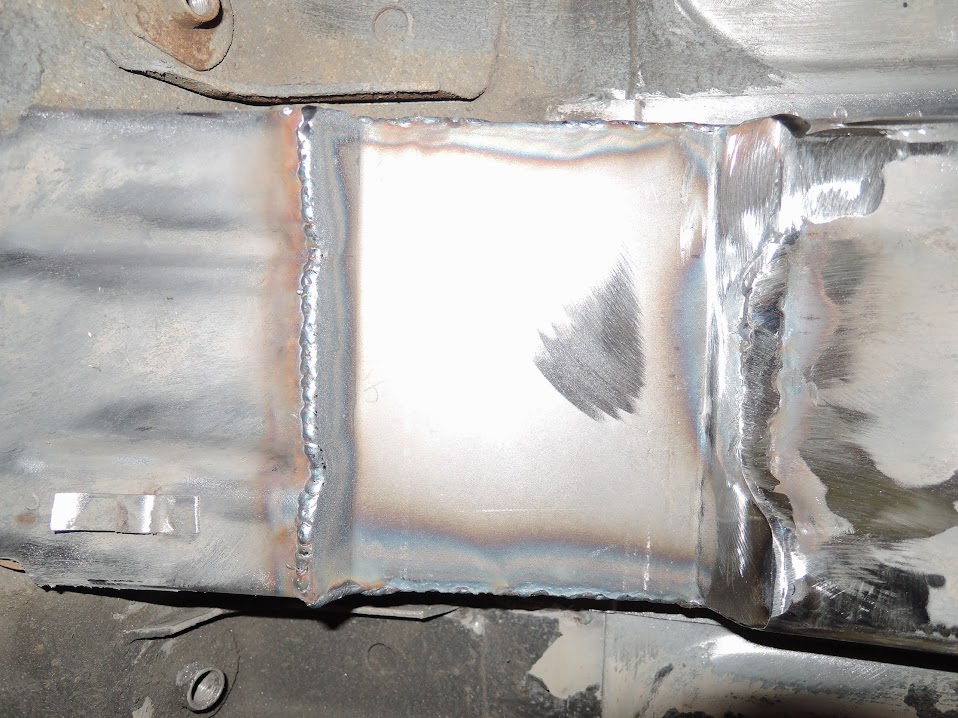
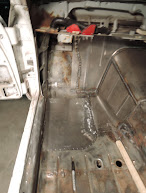
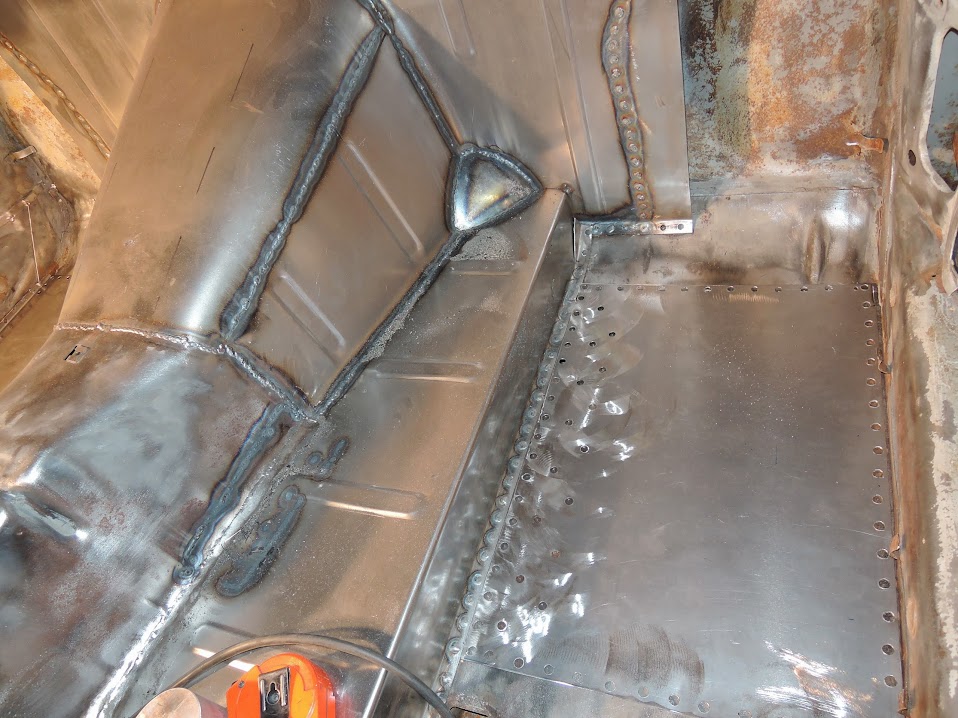
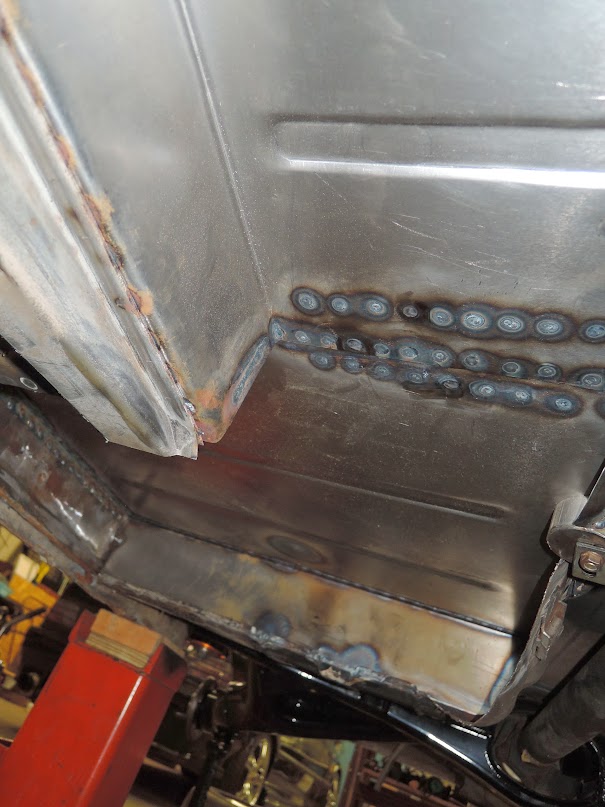
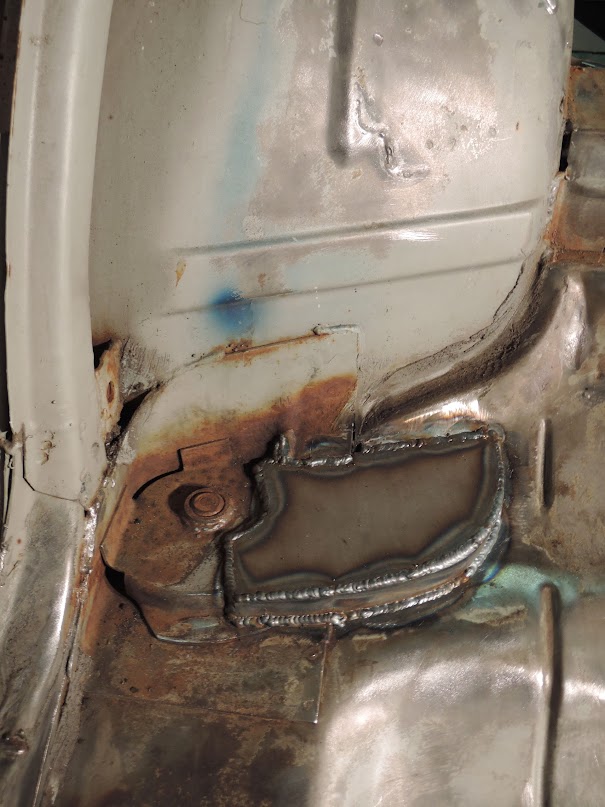
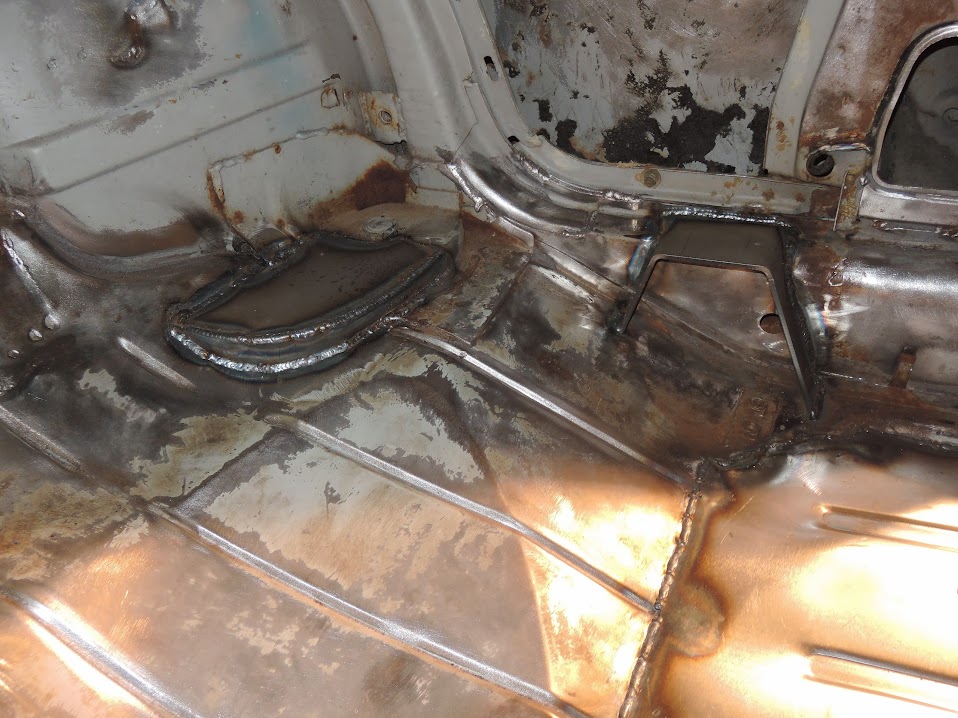
a good view of the repaired pass side floor with the new exhaust tunnel
Frank did some very nice work here
another view
Notice the brace Frank put in , to give a bit of strength , also you can see the top of the center support bracket
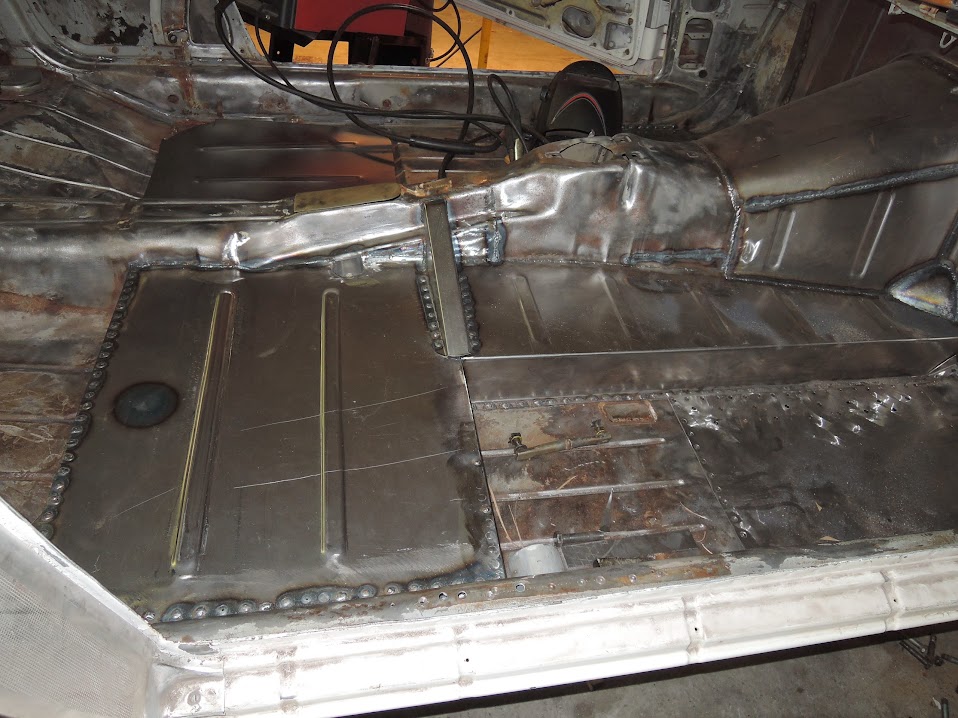
driver side panels nearing completion

a view from underneath looking from the front towards the back, eventually we will cut out a hole in the rocker panel for the exhaust to exit the side of the car , should be a nice touch !
Frank did some very nice work here
another view
Notice the brace Frank put in , to give a bit of strength , also you can see the top of the center support bracket
driver side panels nearing completion
a view from underneath looking from the front towards the back, eventually we will cut out a hole in the rocker panel for the exhaust to exit the side of the car , should be a nice touch !
threewebers
Well-Known Member
Exhaust/flare
I love this project! What type flares will you be using if any? I've made an exhaust tunnel but now that I have Grp4 Motorsport Flares on,I'm going to have to reroute the exhaust,it exits the rocker just in front of the right wheel and where the flare tapers into the car.. I'll send a pic when I can..
I love this project! What type flares will you be using if any? I've made an exhaust tunnel but now that I have Grp4 Motorsport Flares on,I'm going to have to reroute the exhaust,it exits the rocker just in front of the right wheel and where the flare tapers into the car.. I'll send a pic when I can..
fast3.0csi
Active Member
great job
I can't wait to see the results great job!
I can't wait to see the results great job!
+1
Great thread!
What do ya with unloved old rust buckets? Take liberties.
Keep the pics coming. 'TBL/IMSA car' has a similar exhaust 'box'.
Neat. Know what ya mean by draggin the exhaust. I have a header/center resonator bolt flange that 'reminds' me on occasion.
Great thread!
What do ya with unloved old rust buckets? Take liberties.
Keep the pics coming. 'TBL/IMSA car' has a similar exhaust 'box'.
Neat. Know what ya mean by draggin the exhaust. I have a header/center resonator bolt flange that 'reminds' me on occasion.
I love this project! What type flares will you be using if any? I've made an exhaust tunnel but now that I have Grp4 Motorsport Flares on,I'm going to have to reroute the exhaust,it exits the rocker just in front of the right wheel and where the flare tapers into the car.. I'll send a pic when I can..
thanks for the comments Guys ! They really help to keep me motivated !
3 webers I Have a set of early grp 2 Factory style flares I got from Zapp racing along with the matching spoiler . Hopefully we will get to hanging those with in the next couple of months .
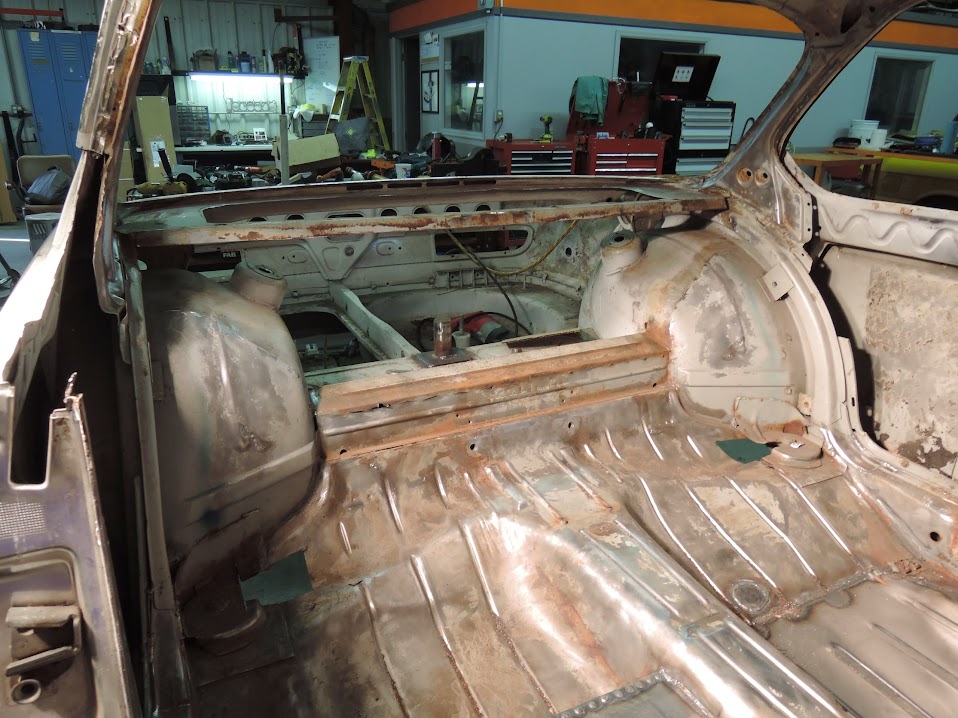
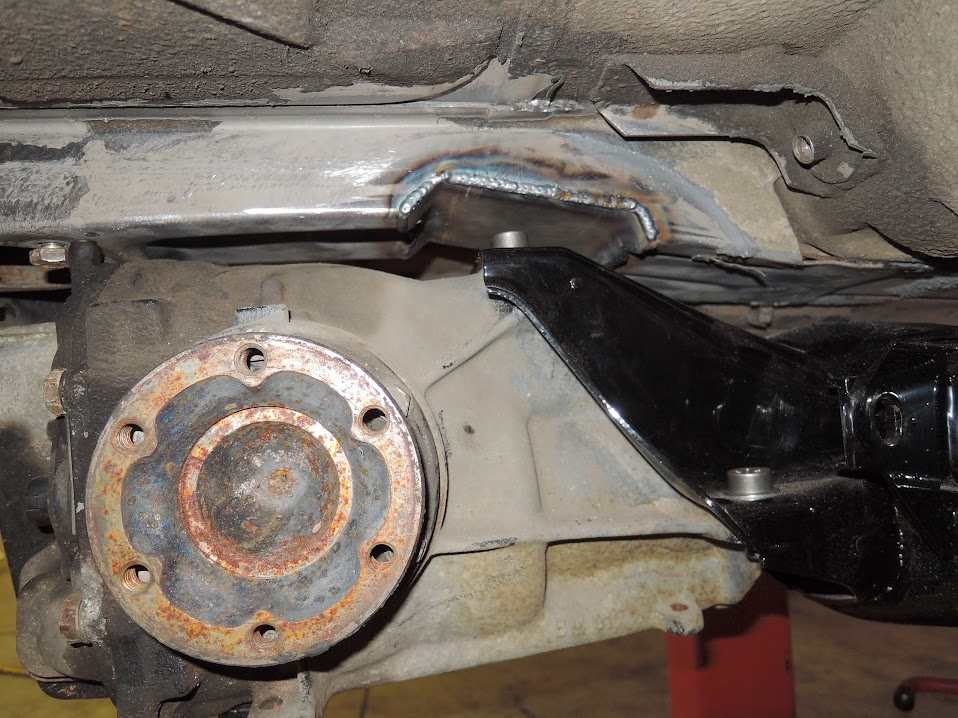
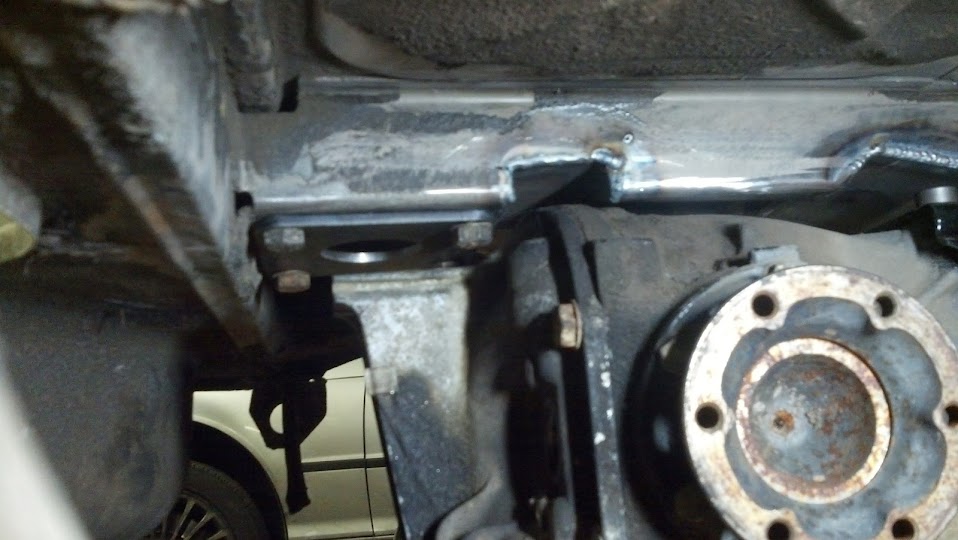
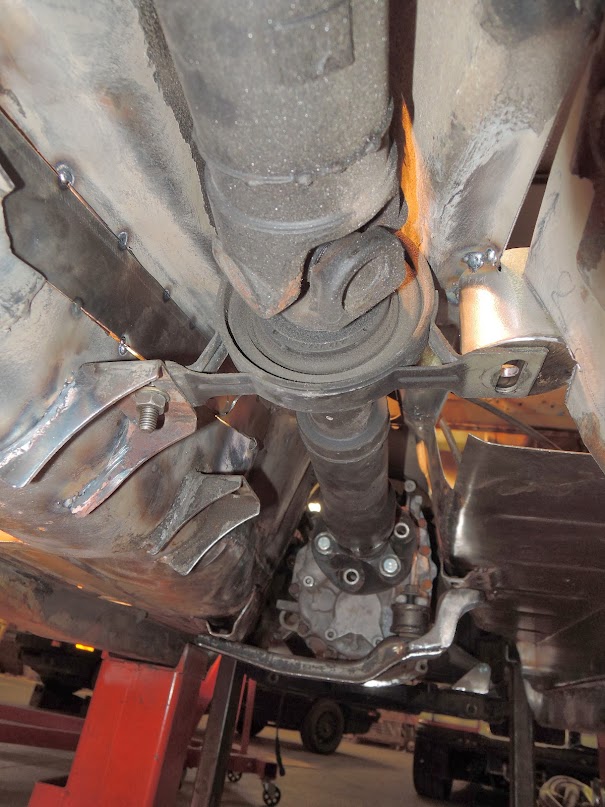
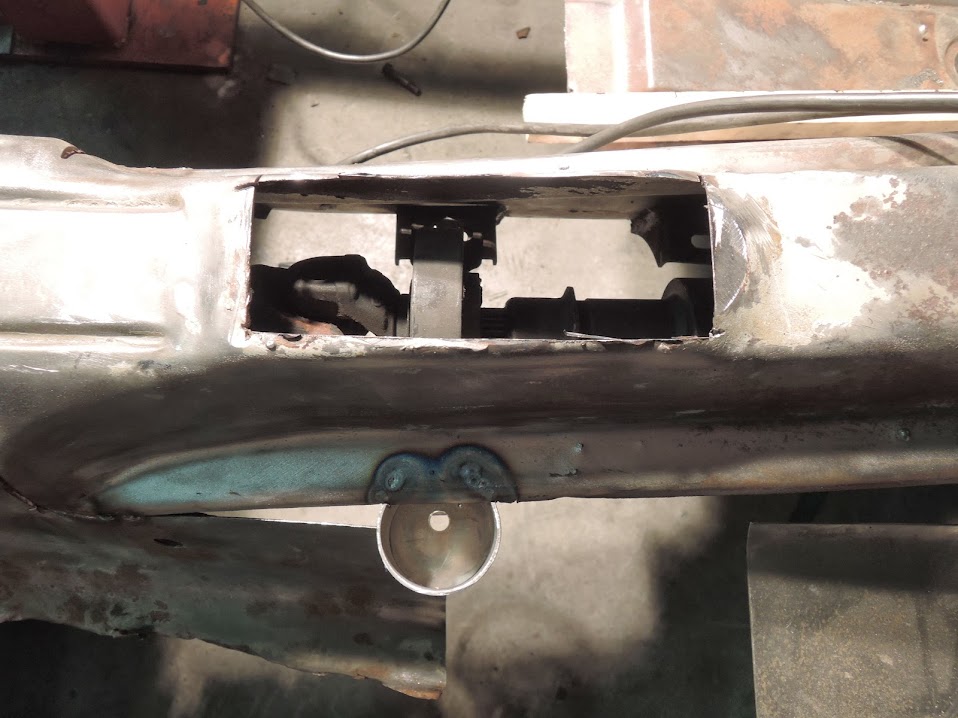
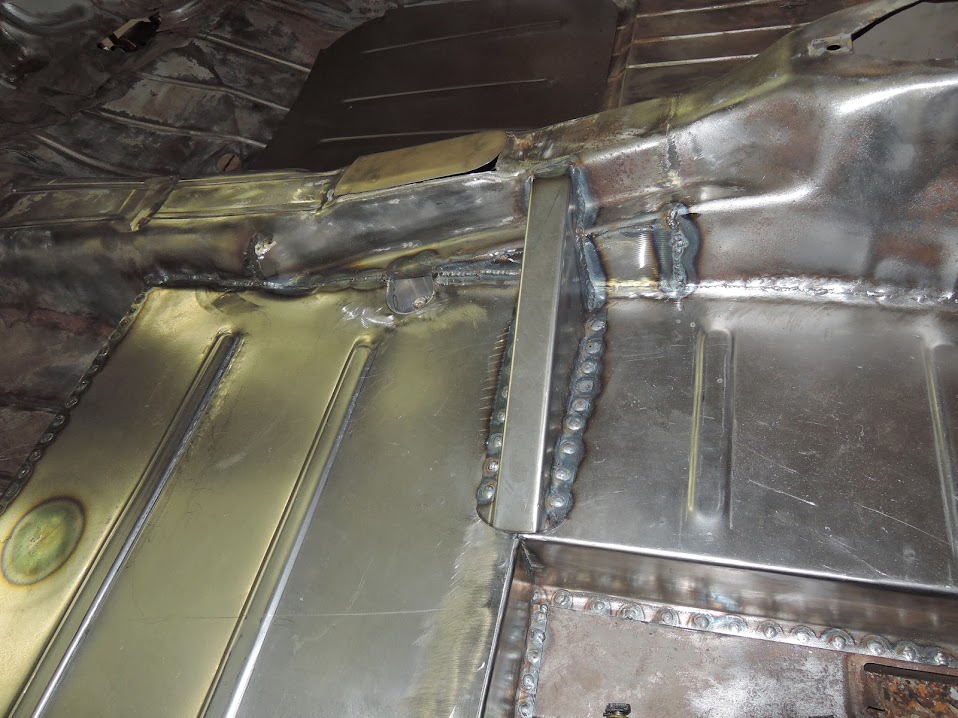
when we raised the subframe further up into the car , the modified trailing arm mounts ran out of clearance . To fix this we cut out some pockets in the sheet metal , and Frank welded in some very nice "pockets" that give able room for the trailing arms new place
below is a view of the Driver side pocket, also notice the beginning of the rollcage .
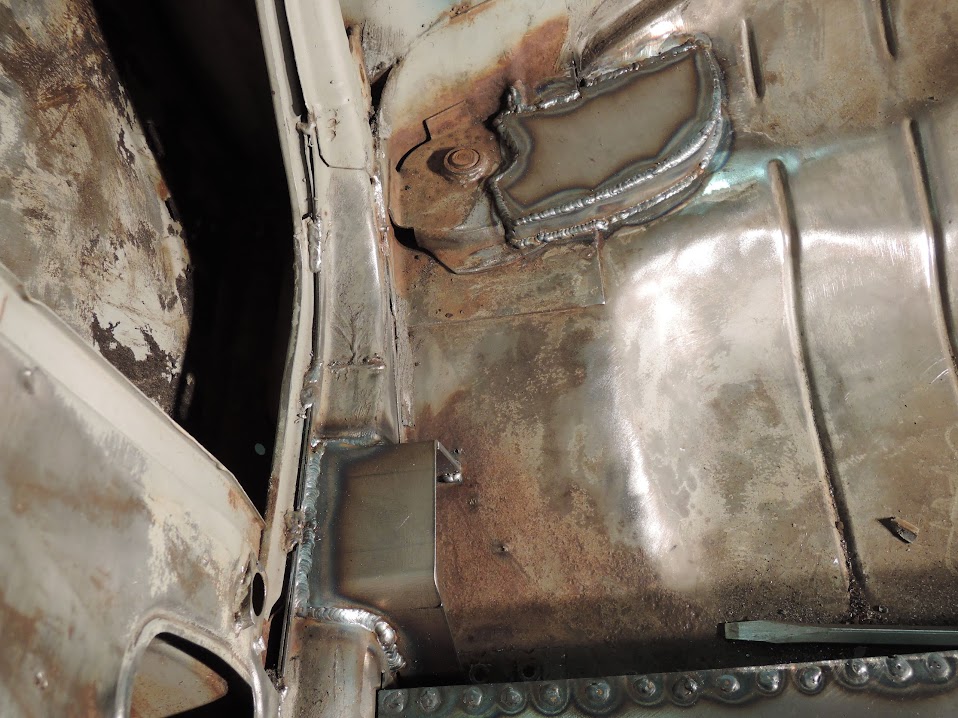
below is a view of the Driver side pocket, also notice the beginning of the rollcage .