And so the saga begins

bimmerboy73

Well-Known Member
Messages
489
Reaction score
8
Location
C0ckeysville, md
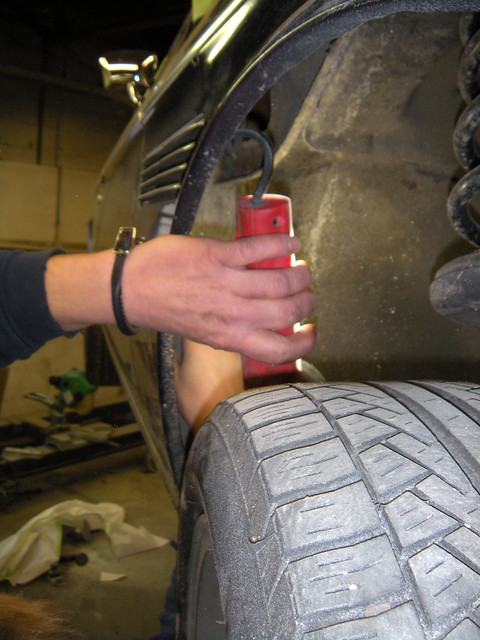
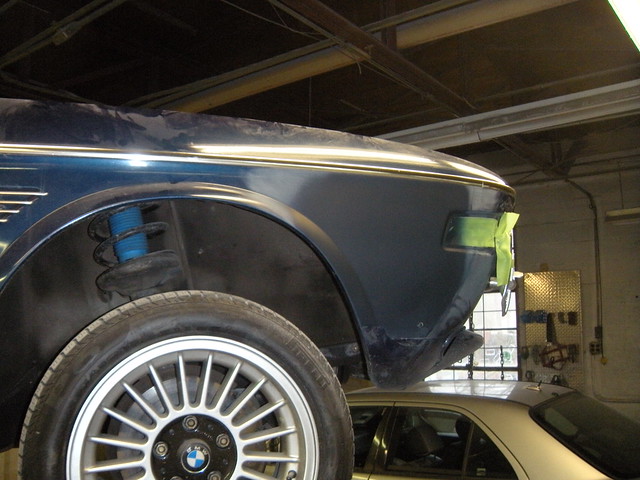
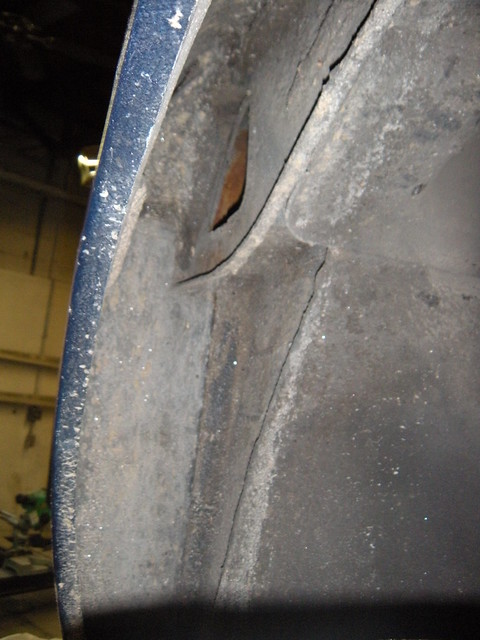
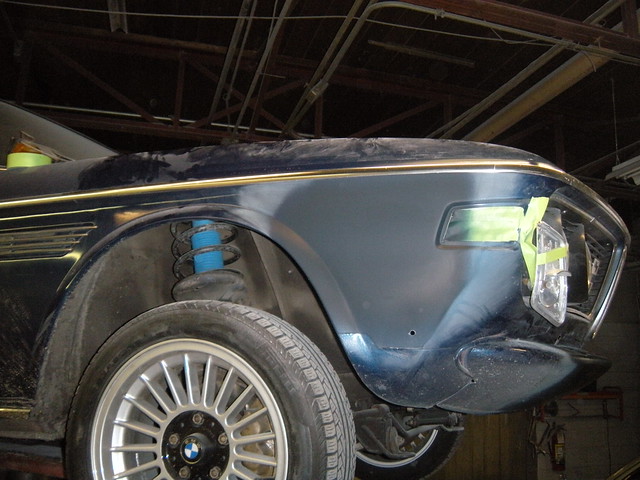
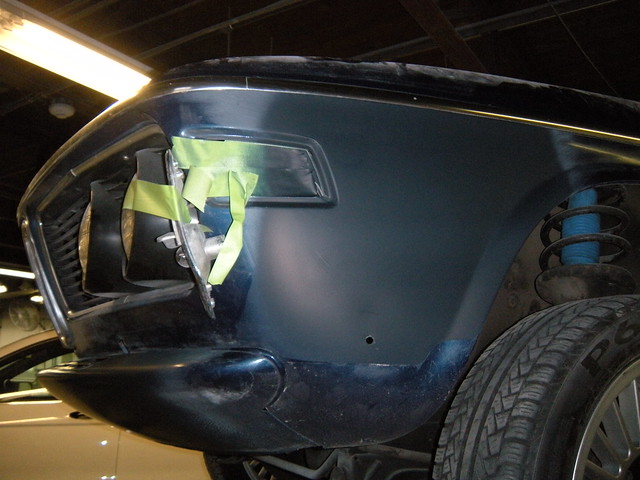
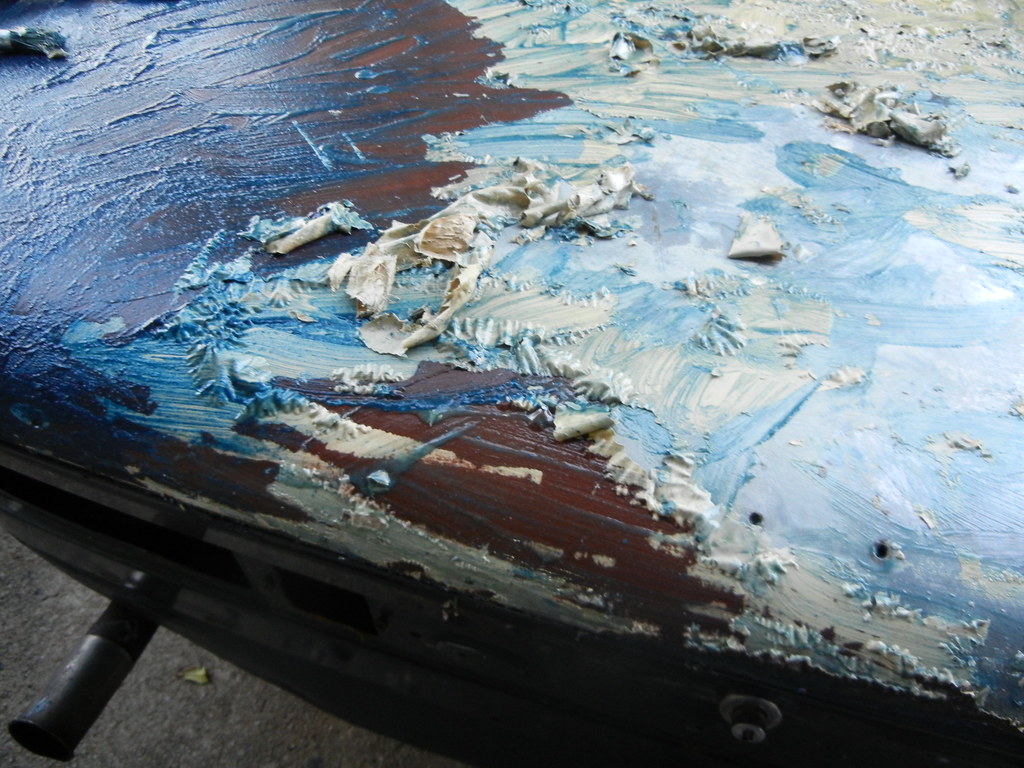
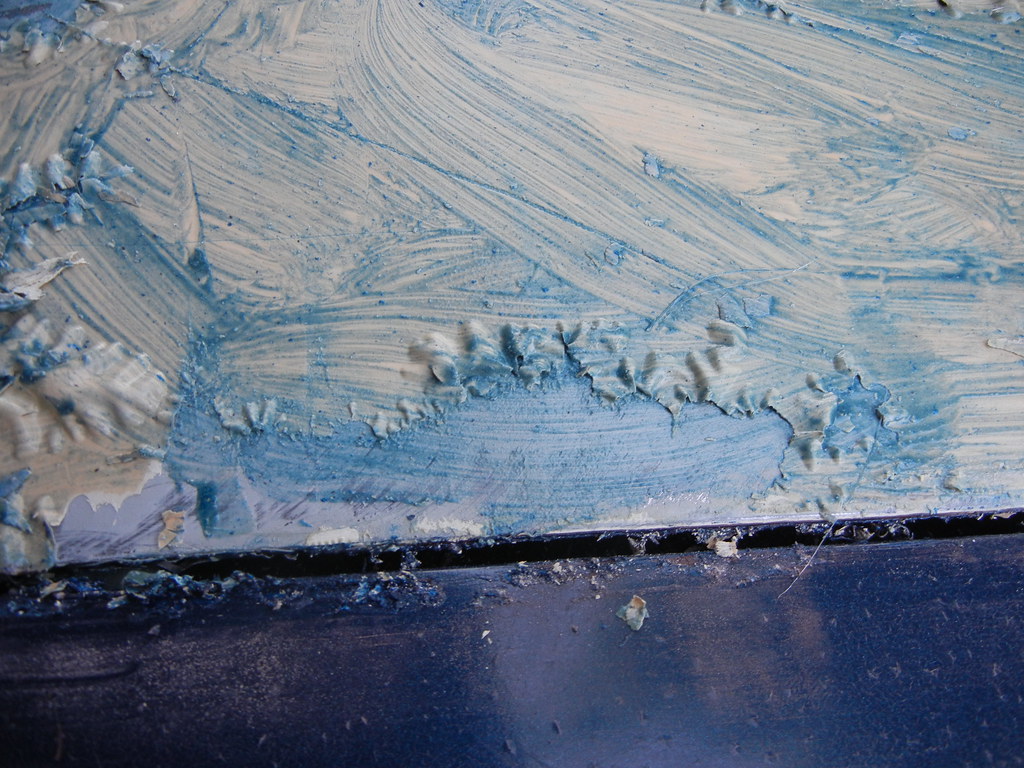
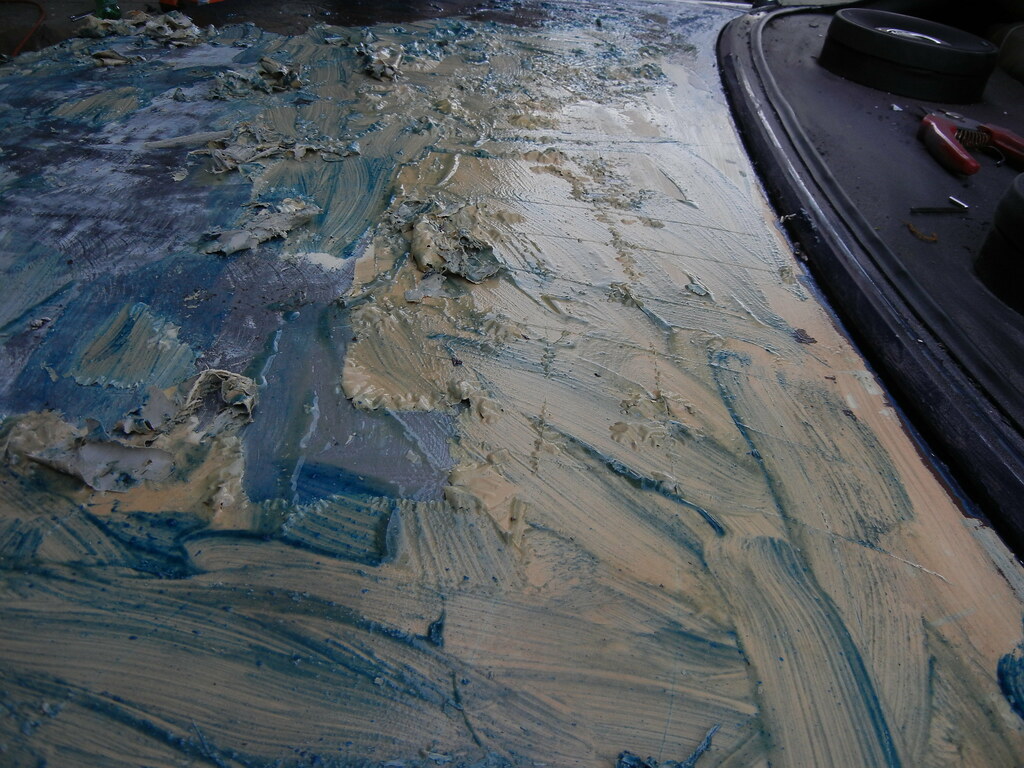
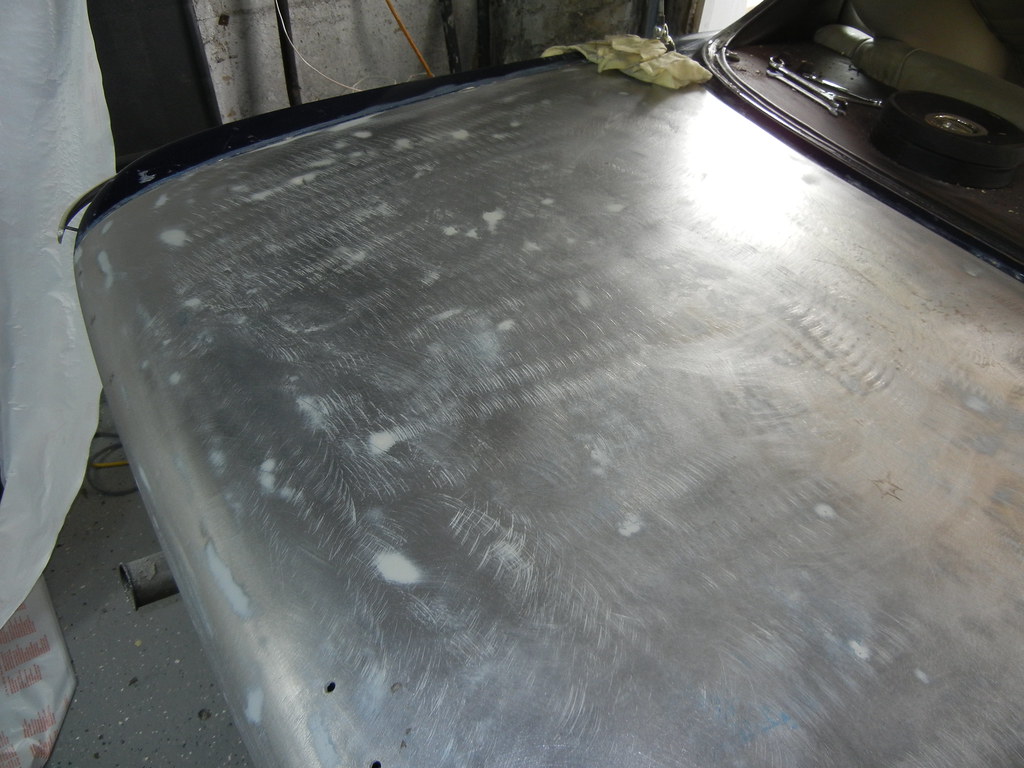
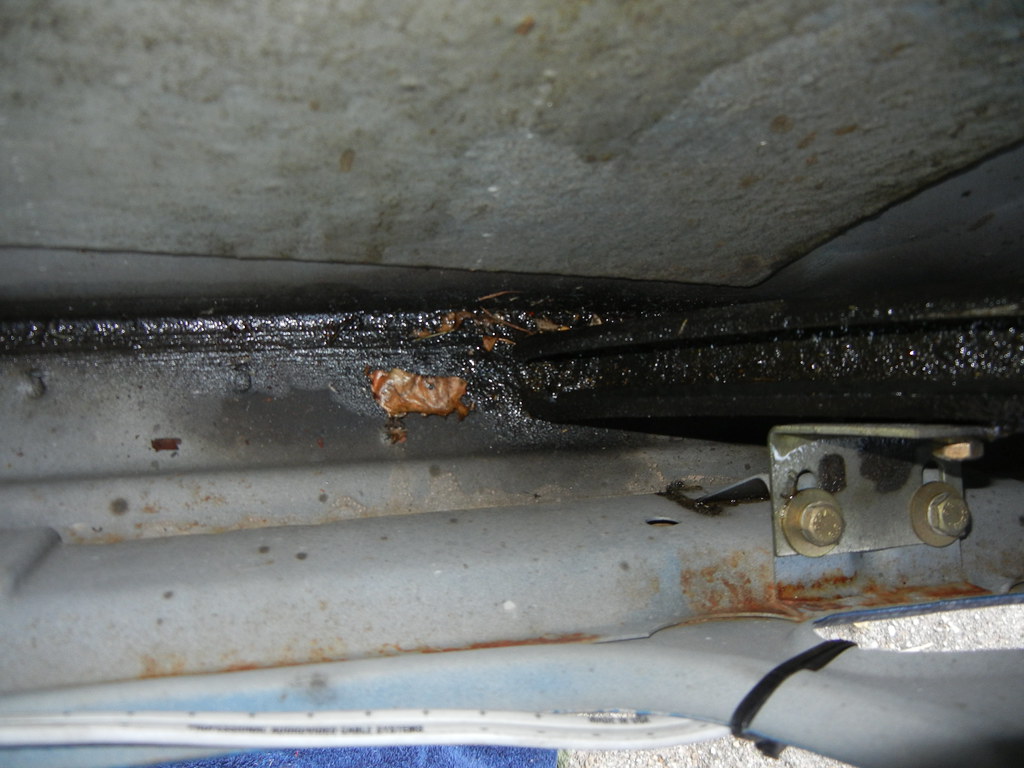
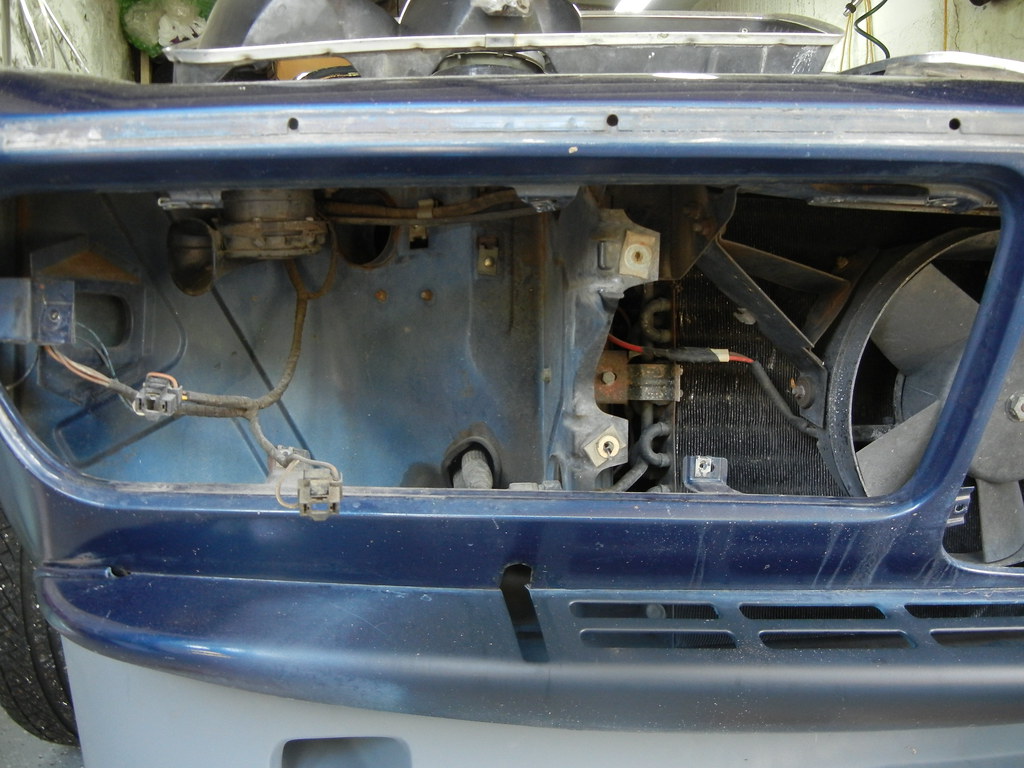
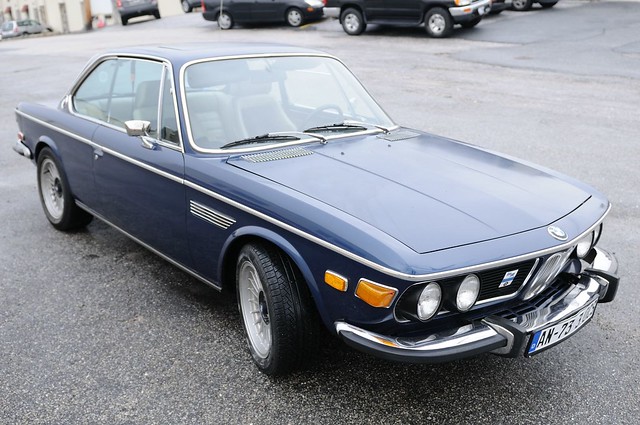
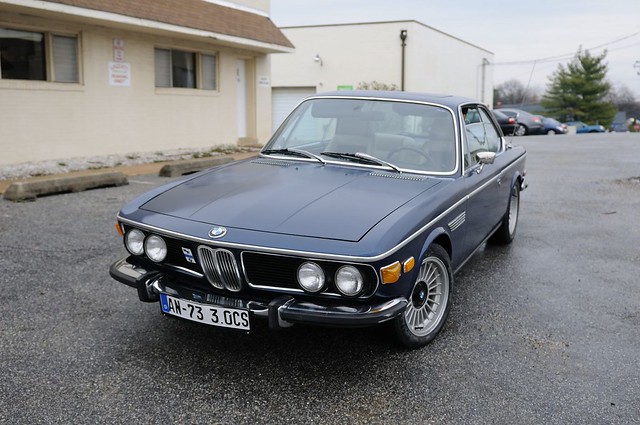
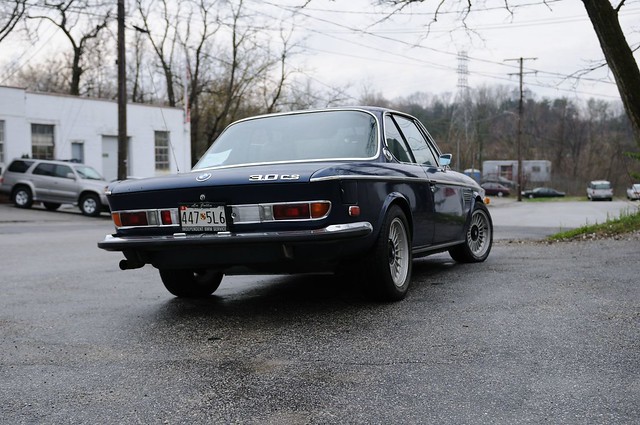
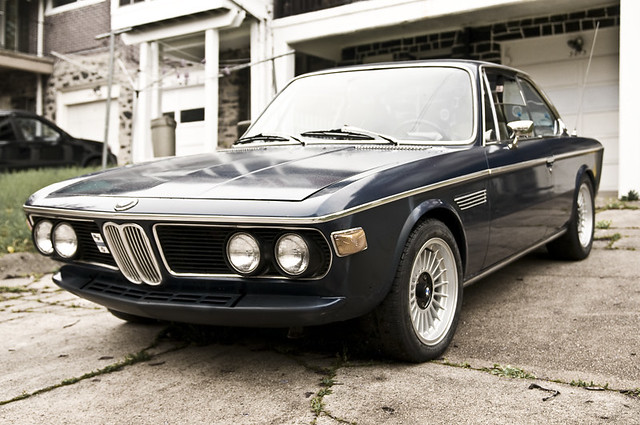
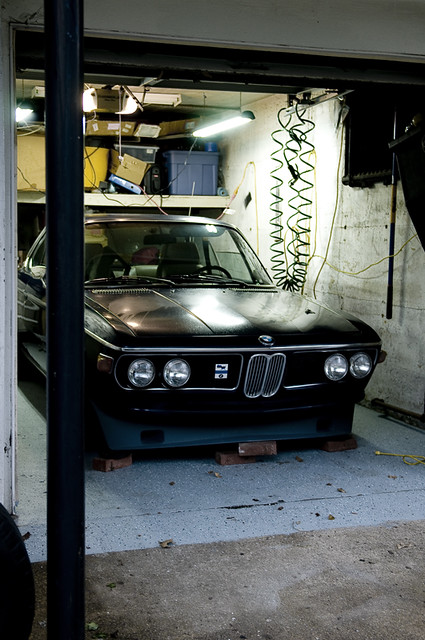
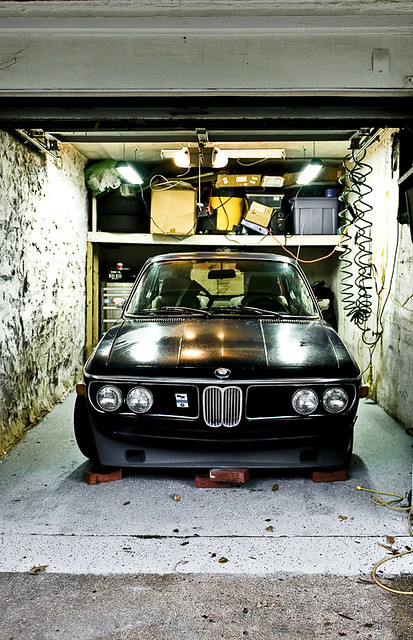
I dropped the car off today to have a dent pulled out of the front valance and the sidemarkers deleted in preparation for the new paint. The shop is going to weld in tabs to cover the holes and then seal/fill/prime the spots for me. Then its back to the garage where the REAL fun will begin. Really excited to get going, but then a little sad to see the nachtblau go - for sentimental reasons.


DSC_5837 by J_Otte, on Flickr


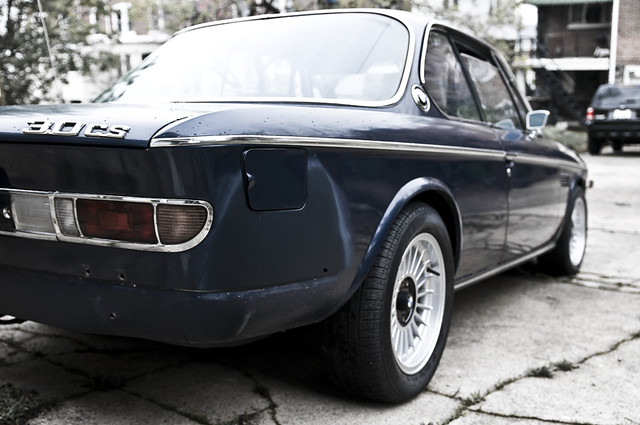
DSC_5836 by J_Otte, on Flickr


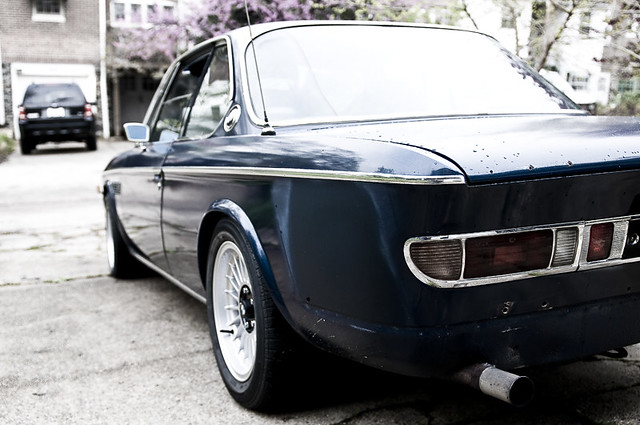
DSC_5834 by J_Otte, on Flickr


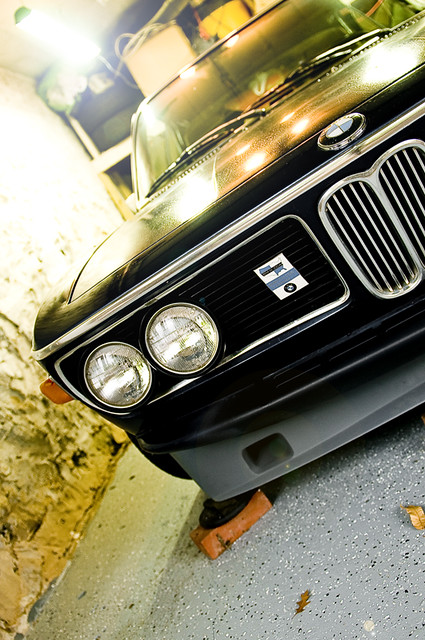
DSC_5835 by J_Otte, on Flickr
 

bimmerboy73

Well-Known Member
Messages
489
Reaction score
8
Location
C0ckeysville, md
So, will it be ready for the Vintage?


Steve

Ha. Assuming all my practice pays off (and thats a big assumption), yeah. That's the goal anyway. I had planned on taking it up yesterday so that i could get it back by the weekend but the intake manifold gasket on #6 blew and was dripping fuel all over the starter (had to be the hardest one to get to, right?). Its only about 5 miles from my house to the shop, but i didnt want to risk the thing catching fire while it was there so i drove it home, took it all apart, replaced all of the gaskets and buttoned it back up again. My hands look like i went 5 rounds with a nail gun and my back is killing me, but otherwise i'm fine considering i was standing pretty much in one spot, bent over the car for about 5 hours straight.
 

WALTER

Well-Known Member
Site Donor
Messages
603
Reaction score
162
Location
WASHINGTON, D. C.
What color are you painting it? I always thought Nachtblau or Atlantik with a red interior would be really sweet. I see from your tag you are in Md, I'm from DC; what shop are you going to use?

Walter
 

bimmerboy73

Well-Known Member
Messages
489
Reaction score
8
Location
C0ckeysville, md
What color are you painting it? I always thought Nachtblau or Atlantik with a red interior would be really sweet. I see from your tag you are in Md, I'm from DC; what shop are you going to use?

Walter

Getting the initial work at the Classic Car Shop on Falls Rd in Baltimore. Nice group of guys. Pete, the owner, knows his way around coupes having done several over the years. If you are looking for a shop, i'd recommend them.

Color is going to be space grey metallic.
 
Last edited:

bimmerboy73

Well-Known Member
Messages
489
Reaction score
8
Location
C0ckeysville, md
Last pictures before paint

And so, the door closed on the nachtblau coupe for the last time tonight. this week the stripping process begins in earnest. Got the car back today with the sidemarkers deleted, clip welded, filled and primed. The dent in the valance is gone as well. First time i've seen the car sans bumpers. Very aggressive looking. Also tossed in a pic of the Alpina air dam. Fits up pretty nicely with only about a 1/2" of tuck at the wheel wells needed to get it to match up perfectly -not sure if this is the cheap knockoff thats been mentioned, but if it is, it doesnt seem too bad. Although i have noticed after looking at Ryan's old coupe that the shape at the wheel wells isnt quite the same on this one - dont know... still contemplating the csl airdam as well.

Window seals came this week (not looking forward to that) as did replacement w/washer tubing...

here we go...


DSC_5845 by J_Otte, on Flickr


DSC_5849 by J_Otte, on Flickr


DSC_5848 by J_Otte, on Flickr


DSC_5861 by J_Otte, on Flickr


DSC_5863 by J_Otte, on Flickr

back in the batcave...

DSC_5860 by J_Otte, on Flickr

a picture of the new rear deck i built and recovered to fit the e24 seats and armrests as well as the new speakers with leather wrapped spacers (to avoid having to enlarge the holes in the deck)

DSC_5856 by J_Otte, on Flickr
 
Last edited:

WALTER

Well-Known Member
Site Donor
Messages
603
Reaction score
162
Location
WASHINGTON, D. C.
That seals it! Your pictures convinced me to go bumperless front and back; I may not even add my Alpina air dam. Hmmm, I won't be able to park it on the street though.

-Walt
 

bimmerboy73

Well-Known Member
Messages
489
Reaction score
8
Location
C0ckeysville, md
That seals it! Your pictures convinced me to go bumperless front and back; I may not even add my Alpina air dam. Hmmm, I won't be able to park it on the street though.

-Walt

You are a braver man than i going bumperless all the way 'round. I was on the verge of a breakdown on the way home, paranoid that someone would rear end me. Granted the chromies dont provide THAT much protection, but they do put something between you and the idiot behind you chatting away on his cell phone. i think i will leave the front off though - at least there i have a little more control of how close the next car is...

That is going to look kick a$$. Love the color.

Thanks! Although the nachtblau isnt coming back. The new scheme will hopefully look like this...

manipulated one of the pics of ryan's old car. Similar idea but BMW Space Grey with a tasteful balance of blacked out trim

coupe sport by J_Otte, on Flickr
 

bimmerboy73

Well-Known Member
Messages
489
Reaction score
8
Location
C0ckeysville, md
a few more shots from the stay at The Classic Car Shop in Baltimore. Had Pete do a structural inspection after they finished the bodywork. One of the few 'rust free' coupes i've seen. - His words, not mine. I did ask him what to about the small patches of surface rust that were visible and he shrugged, 'nothing', claiming that the 07 Miata in the bay next to us probably had as much rust or more under it than the coupe did. I've popped off the rockers covers and checked the cavities behind the front wheels and they are all super solid. Surface patina, yeah, but nice, solid steel all around. Trunk has also checked out. The only area on the car that looked like it ever had issues is the drivers side rear shock tower. Its obviously been welded... spoke to the PO and he stated that it wasnt rust but rather a fault in the steel and a rather large pothole.

Pete also suspects that the undercarriage is either factory or nearly as old as the car. There are spots that have peeled due to a leaky transmission seal soaking the underbody but otherwise he recommended just cleaning it and if i want, painting it black to make it look nice and fresh.

gives me the warm fuzzies:)


DSCN2282 by J_Otte, on Flickr


DSCN2270 by J_Otte, on Flickr


DSCN2280 by J_Otte, on Flickr


DSCN2264 by J_Otte, on Flickr


DSCN2273 by J_Otte, on Flickr


DSCN2266 by J_Otte, on Flickr


DSCN2274 by J_Otte, on Flickr


DSCN2265 by J_Otte, on Flickr


DSCN2269 by J_Otte, on Flickr


DSCN2283 by J_Otte, on Flickr


DSCN2276 by J_Otte, on Flickr


DSCN2268 by J_Otte, on Flickr
 

Stevehose

Well-Known Member
Site Donor $$
Messages
12,935
Reaction score
5,600
Location
Sarasota, FL
Have you considered spraying a waxoil type substance in all those cavities to coat the bare surfaces before the repaint?
 

bimmerboy73

Well-Known Member
Messages
489
Reaction score
8
Location
C0ckeysville, md
Have you considered spraying a waxoil type substance in all those cavities to coat the bare surfaces before the repaint?

i do. i plan on taking it back after the paint to have the shop recondition the undercarriage and sand and seal the surface rust areas. The cavities in the wheel wells will be done then. i'm going to clean and epoxy prime the rockers along with the rest of the car.
 

bimmerboy73

Well-Known Member
Messages
489
Reaction score
8
Location
C0ckeysville, md
Keeping the faith...

If i've learned anything over the last week its why it costs so much for a nice paint job!! I had initially planned on sanding off the old lacquer paint thats currently on the car but after giving it a go for about 30 minutes it became very obvious that mechanical methods alone werent going to cut it. So, i began with chemical paint stripper and after about 3 hours, the trunk lid was down to bare metal. 3 hours! Turns out that there were at least 2 coats of lacquer,a thick layer of red iron oxide primer, and what looks like a thin coat of filler across the entire surface OVER the original nachtblau paint and primer. The stripper works well but its not strong enough to get through all of those layers in one application. Worked out to be 4 applications... essentially one for each major layer of substrate. The end result is great. just very time consuming. I did 90% of the hood today and put down a first coat of epoxy primer on the trunk lid to avoid flash rust. i plan on sealing the hood tomorrow and then move on to the top of the car and pillars. Then its on to the doors and quarters. I hope to get away with scuffing the underside of the hood, trunk, trunk interior, engine bay and jams since the paint there is original and in surprisingly nice shape. All the rest will go down to bare metal. Ouch!

3rd application of stripper

DSCN1801 by J_Otte, on Flickr

old filler , primer/sealer?

DSCN1800 by J_Otte, on Flickr

final application

DSCN1799 by J_Otte, on Flickr
finally!

DSCN1815 by J_Otte, on Flickr

door interiors in good shape

DSCN1797 by J_Otte, on Flickr


DSCN1779 by J_Otte, on Flickr

years of dirt

DSCN1777 by J_Otte, on Flickr


DSCN1775 by J_Otte, on Flickr


DSCN1774 by J_Otte, on Flickr


DSCN1773 by J_Otte, on Flickr


DSCN1772 by J_Otte, on Flickr


DSCN1771 by J_Otte, on Flickr


DSCN1770 by J_Otte, on Flickr


DSCN1769 by J_Otte, on Flickr
 

61porsche

Well-Known Member
Messages
1,732
Reaction score
28
Location
Dallas
As a suggestion, try applying a piece of plastic over the stripper to prevent drying out of the chemicals. Abrading the surface first helps too.

Good luck! It's time consuming; just finished the last door on 61 yesterday, but have been doing the metal work as I went along.
 

bimmerboy73

Well-Known Member
Messages
489
Reaction score
8
Location
C0ckeysville, md
As a suggestion, try applying a piece of plastic over the stripper to prevent drying out of the chemicals. Abrading the surface first helps too.

Good luck! It's time consuming; just finished the last door on 61 yesterday, but have been doing the metal work as I went along.


Excellent suggestion (the plastic). I did figure out the abrading part and have been doing that to pretty good effect.I'd been constantly working the surface with a brush to keep the panels saturated because otherwise they tend to try out in the thin areas. The plastic sounds like great idea. I'll give it a go tonight.
 

71-2800 CS

Member
Messages
37
Reaction score
0
huge job?

Maybe I am crazy, but 3 hours doesn't sound to bad considering it is all down to the bare metal. I know you had to reapply but was there much labor involved or was it more the time it took for the chemicals to do their job. Also, do these chemicals have an effect on the rubber trim, bondo, etc.?
 

bimmerboy73

Well-Known Member
Messages
489
Reaction score
8
Location
C0ckeysville, md
Maybe I am crazy, but 3 hours doesn't sound to bad considering it is all down to the bare metal. I know you had to reapply but was there much labor involved or was it more the time it took for the chemicals to do their job. Also, do these chemicals have an effect on the rubber trim, bondo, etc.?

maybe you are right. My only point of reference is stripping the paint from the hood of a 94 toyota 4 runner to bare metal and that took all of about 40 minutes with a da sander. 2 discs and it was done, no problem. But in that case i was dealing with oem paint (bc/cc).

The labor was in the actual removal of the paint. It penetrates fairly well but with the multiple primer layers it struggles a bit (and the primer on my car is exceptionaly thick). So its a combination of abrading the surface, working the chemical in to the abrasions so that it can lift the primer and then scraping it away and moving the chemical back over the area you just uncovered. I'm 100% positive that it would go 2x faster on a more traditional surface. For example. I had a few spots where the chemcal had dripped through the mounting holes for the deck emblems and landed on the rear trunk sill. In a matter of about 2 minutes the single drop had eaten its was all the way down to the metal. All i had to do was wipe it with a cloth. The attached video link will give you an example of how quickly it can work.

http://www.youtube.com/watch?v=Qb0wb57Seug

I'm not sure how the chemical stripper reacts with rubber and i have yet to come across filler. I was told that it will not penetrate bondo but cant confirm that yet. It is some poweful stuff though. Gloves and a mask/goggles are a must, as is adequate ventilation. I can tell you that if gets on your sking you WILL feel it.
 
Last edited:

61porsche

Well-Known Member
Messages
1,732
Reaction score
28
Location
Dallas
If you run across old work, i.e. bondo, using stripper.... you must take it off. The chemicals soak in and won't hold paint/ primer etc. It will lift.

Watch out for lead using a DA. Go slow around all the seams, edges, etc. In fact, the preferred method for me is to tape off seams, edges, etc. I sand those areas. Hand sand if there's a question.

I've had success using a 3M scrubby pad on an angle grinder.

But it all boils down to time and prep. It ain't easy.

I wouldn't think about using stripper around trim and mouldings. Remnants of stripper will reek havoc on a new ( expensive by any measurement) paint job.Take it off or otherwise protect it CAREFULLY.

Be safe.:-D
 

bimmerboy73

Well-Known Member
Messages
489
Reaction score
8
Location
C0ckeysville, md
As a suggestion, try applying a piece of plastic over the stripper to prevent drying out of the chemicals. Abrading the surface first helps too.

Good luck! It's time consuming; just finished the last door on 61 yesterday, but have been doing the metal work as I went along.

Big thanks for the tip on the plastic. I used it tonight and it worked wonders. One application lifted almost all the paint and primer on the roof down to bare metal. I laid it on, left it to eat dinner and came back after about 35 minutes. There are still some patches here and there but 85% of the paint is gone. That tip is going to save me a ton of time and material!
 
Top