I know Bela and others do terrific work but there is a great satisfaction in doing the wood over yourself. I re-veneered my wood with Carpathian Elm burl (inspired by @paul cain ) and deleted the center speaker the same way.On this one, I wanted to do a speaker delete.
Then lots more repairs on various smaller areas that had either water or age damage.
View attachment 40992 View attachment 40991 View attachment 40990 View attachment 40996
You are using an out of date browser. It may not display this or other websites correctly.
You should upgrade or use an alternative browser.
You should upgrade or use an alternative browser.
Bringing a '74 back up to her intended glory.
- Thread starter Bmachine
- Start date
-
- Tags
- restoration list
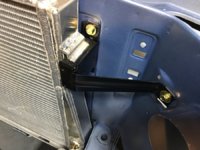
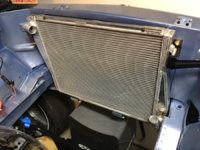
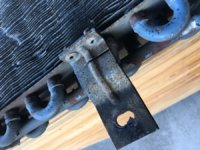
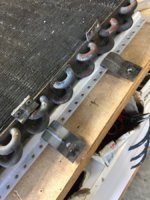
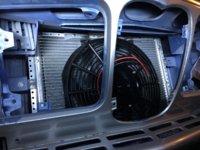
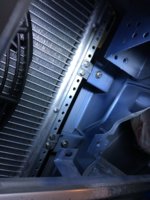
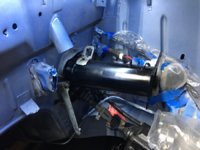
I really wanted to finish installing that AC condenser and fan. To attach to the body I thought I’d be smart and cut off the tabs from the old one and rework them to fit on the new one.
I’m not sure it was such a smart idea because it took a lot of work to make them fit with this wider condenser. And then cleaning them up and removing all the grime and rust was extra time consuming.
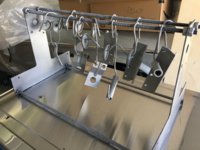
Once they were cleaned I powder coated them as well as the brackets to attach the fan (along with some sway bar parts) and finally installed them with stainless bolts.
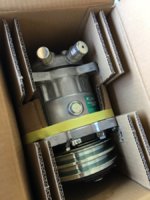
And with an impeccable sense of timing, the UPS man brought over a shiny new baby in a cardboard manger.


Last edited:
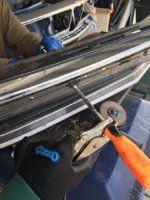
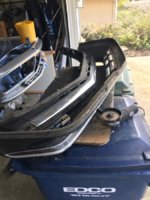
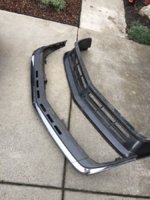
Weekend report. First, Gavin and I spent a stupid amount of time trying to figure out how to separate a rusty euro 635 bumper from its spoiler. There is no delicate way to do this other than using cutting wheels, hammer and sacrificial parts. This is so I can modify the spoiler for my car as demonstrated by Paul Cain. This is not an easy prospect so it will be for sometime in the future.


Last edited:
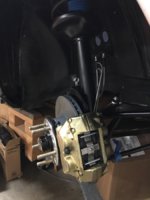
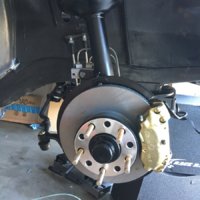
Second was re-installing the brakes. As always, once you start on a section, you have all the major parts ready and then you find out the little parts are either nowhere to be found or really old and crappy looking so you end up spending a ton of time cleaning or restoring. And if you can't find them you have to order them which sets everything back a week. So I powder coated the clips and had enough to put most of the system back in place. Rebuilt calipers, new disks, fresh pads, steel braided hoses. I also sanded and repainted the brake booster extension going into the firewall.
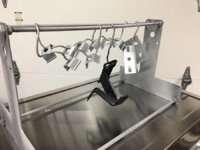


Since I had the powder coating system all set up, I decided to try Eastwood's "Extreme chrome". As the name implies, this is their powder that approximate chrome. I have to say it comes out pretty decent for a non pro system.
One thing I learned is that with a high gloss finish like chrome, preparation is FAR more critical than on a hidden satin black part. So even though I had sandblasted those headlight rings and cleaned them with acetone afterwards, I should have baked them in the oven for 15 or 20 minutes in order to get rid of any outgassing. Live and learn...
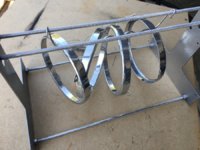
One thing I learned is that with a high gloss finish like chrome, preparation is FAR more critical than on a hidden satin black part. So even though I had sandblasted those headlight rings and cleaned them with acetone afterwards, I should have baked them in the oven for 15 or 20 minutes in order to get rid of any outgassing. Live and learn...

Another crazy busy weekend with non car related stuff. All I could find time for was lots of parts refurbishing, and small rebuilding steps.
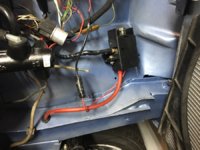
I recycled and cut up one of the auto tranny parts to make a bracket to hold the e36 power block I wanted to use since my battery was moved under the rear seat. I reused an existing hole to secure it in place. I also cleaned the wiring harness and started to install small bits like brake fluid reservoir, etc..
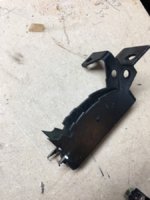
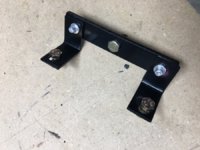
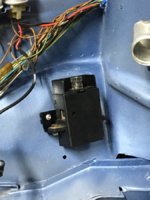
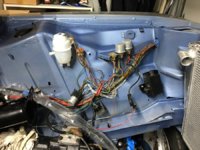
I recycled and cut up one of the auto tranny parts to make a bracket to hold the e36 power block I wanted to use since my battery was moved under the rear seat. I reused an existing hole to secure it in place. I also cleaned the wiring harness and started to install small bits like brake fluid reservoir, etc..


Last edited:
Lots of smaller steps next:
- Re-wrapping the wiring loom
- Refinishing the plate around the inlet and outlet for the heater water and cutting a new foam gasket
- Installing the transmission tunnel heat shield (thank you Gavin!)
- Installing new engine heat insulation
- Brake lines
- Brake fluid reservoir
- Brake booster
- New brake master cylinder
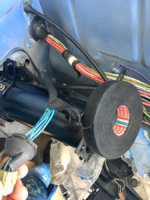
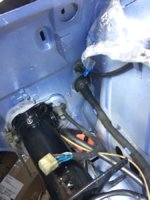
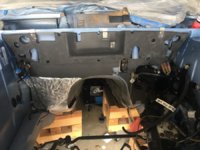
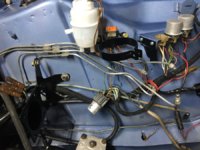
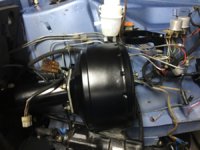
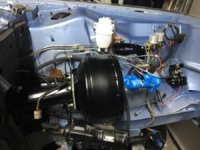


Last edited:
I always like moving the battery under the rear seat. Ive done it on all my Tii's and my first coupe. More room in the front, no room lost in the trunk, and with the newer smaller batteries like the Odyssey it works perfect on the coupe.
- Cut some 4AWG wire and run it through the frame cross member. Crimp new lugs on it.
- Cut a steel band that will be used to secure the battery.
- Using an old e30 brake boot, I cut a rubber protective strip to protect the top of the battery.
- Finally install a kill switch.
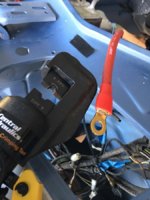
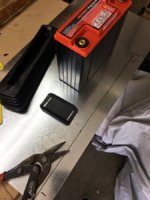
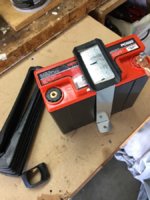
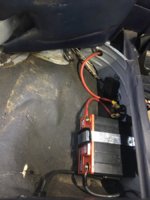
- Cut some 4AWG wire and run it through the frame cross member. Crimp new lugs on it.
- Cut a steel band that will be used to secure the battery.
- Using an old e30 brake boot, I cut a rubber protective strip to protect the top of the battery.
- Finally install a kill switch.


Last edited:
Making great progress Bo!
As Chris said, nice progress! It looks great!
Keep up the good work. Looks terrific!
Philippe db
Well-Known Member
Getting along nicely Bo. Hang in there.
Your thread keeps getting better. More pics and detail the “chrome” please!
Thank you Chris, Robert, Stan, Philippe and Markos!Making great progress Bo!
Last edited:
I think I speak for most who are deep into restoring when I say that the support shown by you guys for those who are going through it is an outstanding motivator! Especially when you feel like every little step is fraught with unexpected problems, new questions, missing parts/tools and never ending budget and schedule overruns.
Thank you!
Thank you!
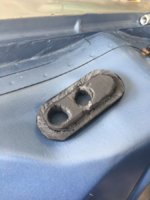
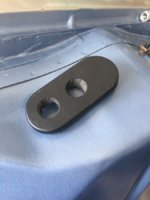
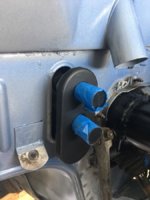
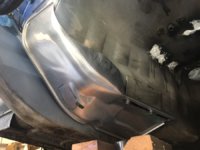
Two more pics of the battery relocation. One interesting thing is that I found a "grommet" that perfectly fits the opening in the driver side floor. The weird thing is that I have no idea where it came from! I still have to find a way to make it stay there (right now it just drops in there) but I can't believe how well it fits. One of those rare strokes of luck where you need a very specific item and it magically appears on your work bench....
EDIT: Asking my buddy Gavin, it appears that it might have been something "we created using a plug and a round grommet I had" a year or more ago.
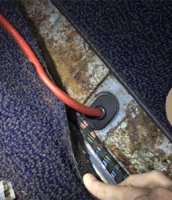
EDIT: Asking my buddy Gavin, it appears that it might have been something "we created using a plug and a round grommet I had" a year or more ago.


Last edited:
Ok, I've been put out of commission for more than a month due to a small accident while working in the engine bay. Details elsewhere.
But just to update this thread, I was fortunate enough to have been pretty close to done with my part of the job when this most unpleasant mishap occurred. With the help of my buddy John and neighbor Ron, we re-installed the front bumper and for the first time in nearly two years, the coupe was back on its four feet.
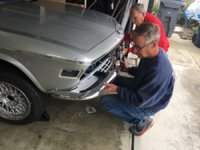
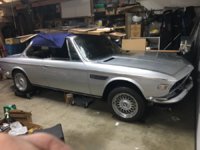
But just to update this thread, I was fortunate enough to have been pretty close to done with my part of the job when this most unpleasant mishap occurred. With the help of my buddy John and neighbor Ron, we re-installed the front bumper and for the first time in nearly two years, the coupe was back on its four feet.


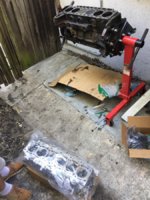
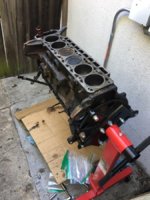
I had always decided that, while I would do most of the non critical stuff myself, rebuilding and installing the motor and tranny would be something I would have my buddy Carl at La Jolla take care of. These are the things I wanted to have done right the first time. With that also comes the peace of mind that the beating heart of the car will be trustworthy for years to come.
So the following week, this was the scene in front of our house... San Diego bound!
So the following week, this was the scene in front of our house... San Diego bound!
Last edited:

