Bringing a '74 back up to her intended glory.

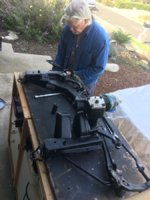
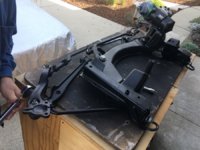
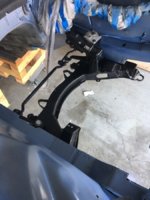
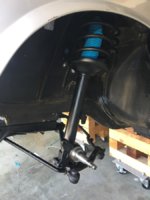
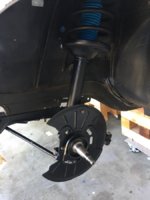
Next, my buddy Gavin came over to help. We started with the second new lower control arm. The first one was done almost a year ago now...
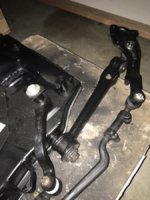
CE9AB5C0-5598-4687-A6DF-5B2359DEABFA.jpeg

Then we moved on to installing new front subframe bushings. Those really threw us for a loop. The basic method is simple enough. Get something sturdy in the back through which you slide a threaded rod and pass that through the bushing in the front using the large washer to help you tighten a nut. With that, you try and squeeze that fat piece of rubber in that hole. After many attempts using what seemed like ungodly amounts of force, we had to send a call for help. OC/PGCoupe Mike came to the rescue and with a few tips from him and moral support from HBChris, we finally managed to persuade the damn things to go in.

No one single magic trick did the trick but here is what we did:
- Put the bushing in hot water for 20 minutes to soften it
- Lubricate it with appropriate chemical
- smooth out the opening of the subframe as much as possible. Sanding rough edges without damaging the paint.
- Use a bearing driver (or anything else) to hold a long bolt to in the back of the opening and then tighten the nut in front until the bulging front lip of the bushing starts going in.
- In our case, they would not go in straight and soon start slipping off center to one side or the other. We would squeeze them in until about half of the front lip was in the hole. Then we used a large flathead screwdriver to work the rest of it in, little by little. Start on the outer ends and push it in progressively towards the middle until the whole front lip is finally squeeze it. Both the tightening of the bolt and the pushing the lip with a screwdriver required a considerable amount of force. This operation should not be done within hearing distance of a church or a school.
- When the front lip is finally in, use a mallet to finish the job.
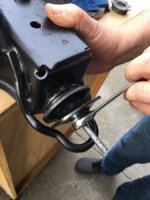
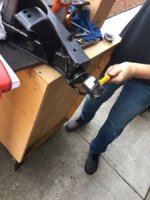
8AB725A4-E96B-4C00-8D35-B209180ECA85.jpeg DFF38954-501E-41EA-90C9-6A637197F910.jpeg 93E3B0CC-9677-4B2B-9D61-96B0A3AE4E08.jpeg
 
Last edited:
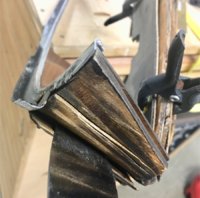
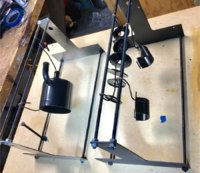
Finally I built a second rack for the powder coating system. This allows one set of parts to be coated while the previous one is in the oven or cooling off.

E121DCE8-2766-49EF-B232-DB5A0C665FCC.jpeg 92B436E9-FF76-479F-973D-FD5293EB9C53.jpeg 6D387E5F-F9C3-4C1E-ABB1-0AD9DA48FE93.jpeg
 
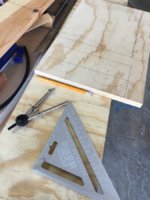
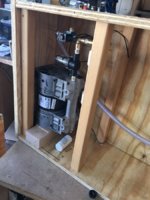
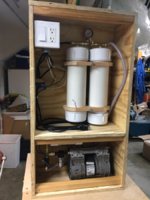
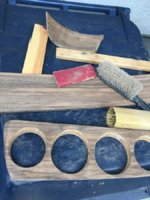
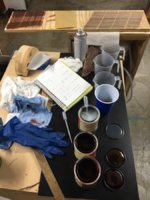
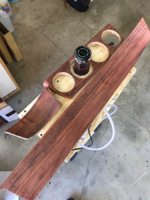
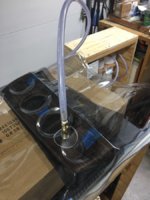
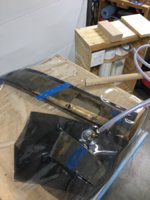
Had to switch gears a bit this weekend. I am redoing the wood for a friend's 2000cs and I finally decided to put together a decent auto cycling vacuum bagging system.
As is often the case, this took way longer than I had planned but at least the auto cycling part of the system works.

9CF5E596-020C-408D-84C4-0835F19A471B.jpeg 7D8728EA-E87C-40D6-9FC3-3E911197AA4D.jpeg FD5DA961-DDE3-406C-B9FB-4E3DFE81F858.jpeg
 
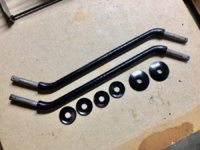
Is there any marking on the stabilizer bars to identify them as the longer 74 model type ?

No there are no markings, at least on mine. Below is a photo with the size in case that helps.

4D5285F4-649A-4712-A5EA-214A0C328396.jpeg

Edit: Hmm, really should have moved the thing just above the measuring tape... 8-0
 
Last edited:
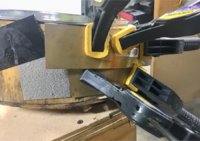
Good grief. Life sure can get in the way of one's project. Crazy busy times both at work and at home, with preparation for a possible move up north in the next few months.
So I am way behind schedule in updating this thread. Let's try and catch up a little.

After many months of working on separate seemingly small but time consuming items, I finally had all the parts ready to put the front subframe back together. This required some heavy lifting so my buddy Gavin came over to lend a hand. It is so incredibly helpful to have a willing and talented friend nearby!

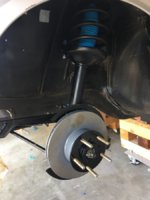
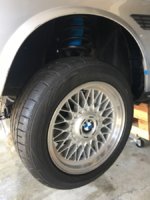
We also installed Carl's camber plates as well as new disks and everything freshened up. The car finally is back to a proper four wheel vehicle

.6B02EA8B-027B-416C-BBB4-806C9F06F6C8.jpeg 289A5B81-C1AD-4152-8EB8-C18F37D3163E.jpeg 9F4174C6-BE7A-4E09-A725-2723E92EE123.jpeg 6A732CBA-473E-4B6F-A847-156325187139.jpeg D828BC57-8224-4970-9435-EB06E6647597.jpeg 0911AC71-20B3-4C74-83A4-42AA538EF50C.jpeg 66BCA886-B76C-4C04-B87C-15E5400305FA.jpeg
 
Last edited:
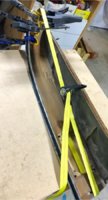
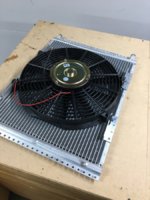
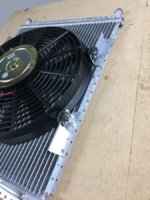
Then I worked on the AC condenser install. After reading many threads on the subject, I went for a 16x20 parallel flow unit from Global Air and a 14 inch curved blade fan.
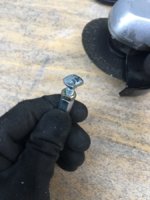
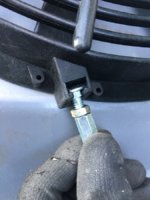
Inspired by Layne's idea I decided to make some aluminium brackets to replace the ABS frame mounting that came with the fan. I cut some stainless carriage bolts to fit in the existing locations and used thick rubber grommets to lessen the vibrations transmitted to the condenser. Here is a mockup assembly before cleaning and trimming the brackets.


D957EF56-F699-4352-BCFA-D7FBD9F47716.jpeg 21BCAD58-7503-49E4-A46F-33D12C2C7E03.jpeg C4B58D2B-B767-428C-A353-4D4C360D842B.jpeg 2E48B74B-9161-44C6-8B58-1804AA78A22C.jpeg
 
Last edited:
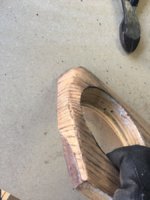
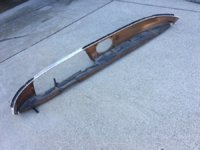
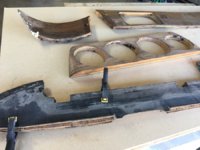
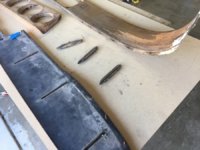
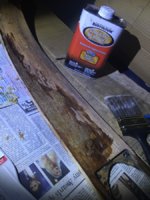
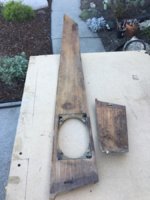
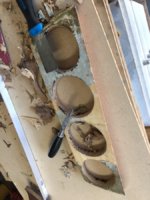
I've also been working on rebuilding a dashboard. This one came from another car and was pretty messed up to say the least. Delamination on the edges, a horrible re-veneer attempt years ago, etc.

First order of business was to repair with epoxy and urethane glue. Then remove the old ugly bits and cracked finishes.

DA28C553-BCC6-49B8-84D0-320B4C99F53F.jpeg AA01288E-5FCC-4395-B4E5-5F2756EE8546.jpeg 1888E44A-146F-4DF6-95FE-64FE368C5801.jpeg D808658E-02AD-4FD1-99C1-45DF5B8C7E24.jpeg 1F77001F-607F-4E57-9332-3431F19B59CA.jpeg C5FD0DBA-3D72-4C33-8A8F-064131BF60EB.jpeg 5CDDFEE5-76A0-44BA-AB42-9005E5DB0D81.jpeg 27644077-BD4B-4082-A06D-F3D19BE0ED16.jpeg 1238F349-7DE5-419A-A485-B85FE5F96002.jpeg 9575BE4D-D5E5-4535-9B83-3AC4D71703A3.jpeg 7A696923-E125-4BB2-9981-8ED6CB63013E.jpeg 6F214156-C99E-4E5F-9634-ED5DF97418F0.jpeg961C05A2-0100-4154-B4C5-002A7DE42499.jpeg 992C7726-80EF-434D-994E-7EE3DEB9CBD4.jpeg
 
Last edited:
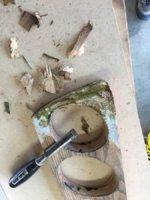
On this one, I wanted to do a speaker delete.

Then lots more repairs on various smaller areas that had either water or age damage.

E85F7D7A-E5B8-481A-9CCB-9148E5CCB959.jpeg 095EA216-5A42-4CCF-8656-1C81C359CE56.jpeg E5A1AC3E-5E1F-40D1-A996-1E8573D98E08.jpeg C5B51BD1-CD4F-42C8-A4F0-0EAA871D1414.jpeg
 
Last edited:
Thank you very much guys!
It is really satisfactory when I have the chance to escape to the garage for a few hours.
I may have to outsource some of the work soon because we may need to move at some point and I will need to have the car "self sufficient". But we'll cross that bridge when we get there.
 
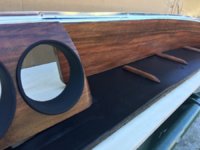
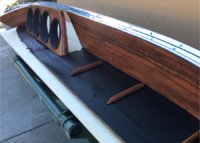
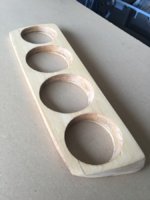
I finished the dashboard I am using to test my system. I’m fairly happy with the results. This is using Claro walnut with a bit of reddish dye to take it away from the greenish feel of the walnut.

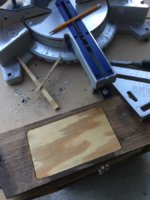
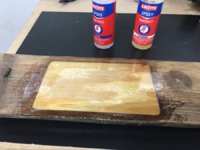
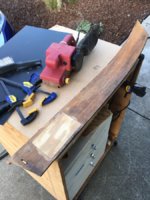
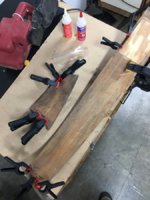
Next step will be to rebuild the bottom horizontal board. This dash was completely delaminated by lots of water leaks.

3F7A38F4-1652-4642-8FF2-0527D650F761.jpeg 44F3C60C-E368-4D18-B9EE-4924B0CF45E3.jpeg F401DDB2-9FB9-498D-AF10-EBF261D8C9FA.jpeg 900DDCD9-3AF9-4D5E-8D5A-A59E43816E33.jpeg C3CD23D1-B368-4994-A6BF-5503DBF4B209.jpeg 61C97DA2-DA71-4A82-A92C-2A45CCE76836.jpeg 08211DAB-0421-41E1-921D-294EA90AA16F.jpeg 32C49D09-6C82-4776-9F57-753EFB7EA5A8.jpeg
 
Last edited:
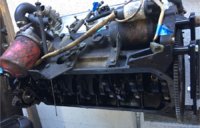
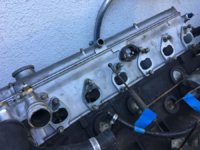
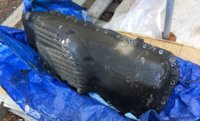
My buddy Carl is building my B35 motor in San Diego. He asked me to send the pan and oil pump bottom from my M30. Gavin was over to help. What a mess it is to disassemble an old motor! Even when you think you’ve drained all the fluids, as soon as you turn it around a bit, gallons of oil or coolant or both come rushing out of nowhere. I really should have thought about this operation a little more and done a much better job of preparation. Because I had to waste almost an hour cleaning up the mess afterwards.

On the good news side, the head was rebuilt by La Jolla just before installation by the previous owner and it is pretty much brand new. It probably has less than 200 miles on it. I should be able to get some money for it to offset all the other costs.

1C12C535-BA32-41A7-900F-7EEF4064ECFC.jpeg 1ABBAC58-C24E-406A-989B-B6DE42AF2688.jpeg 5B4F0FF8-6F50-4174-8DC5-FE2CBC2B3EA2.jpeg 686E9ECF-8FA0-4EDC-B42A-14B28EA59131.jpeg B793F01D-2AA1-4742-8184-BC8BB8279CEC.jpeg
 
Last edited:
Back
Top