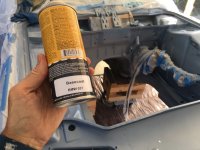
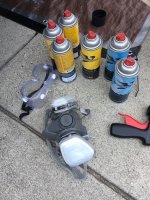
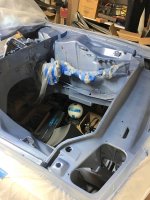
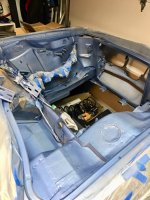
Bo,
Awesome, you are doing it the right way and will appreciate all of your hard work later when it is all done. I also hate the cleaning part when it is that dirty.
Thanks very much Chris!
Bo,
Awesome, you are doing it the right way and will appreciate all of your hard work later when it is all done. I also hate the cleaning part when it is that dirty.
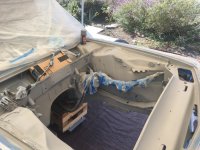
Very nice progress, Bo!
Are you removing the hood hinges before painting? If you do, drill two small holes through the hinge and the metal behind it (where it is bolted to the car), to easily get it back into the correct position again later.
This is also a good trick to do on the hood-side of the hinge, drill two small holes through hinge + hood before removing the hood, so you can put some small drill bits in those holes later when installing the hood.
This is of course only if the hood is aligned and sits perfect before you remove it, I did this in the bodywork stage of my car, aligned the hood, drilled, removed the hood and hinges for paint. It helped tremendously when we installed it later, took us about 10 minutes to install, no alignment required.
Yes, it's a bit late for that in this stage with the hood already removed... But I just came to think of it, might be useful later down the road!
Keep it up!
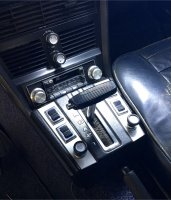
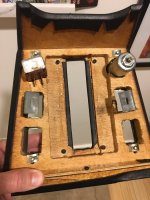
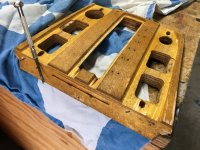
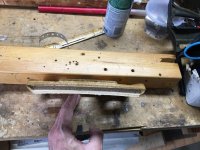
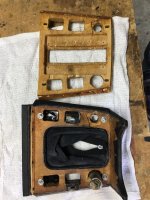
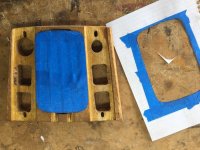
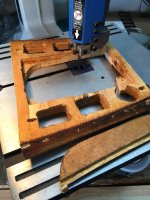
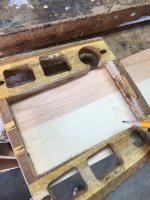
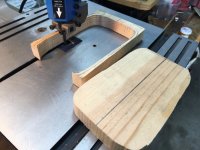
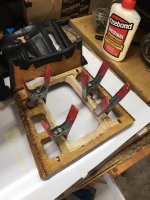
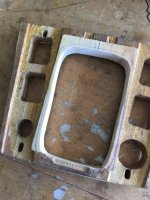
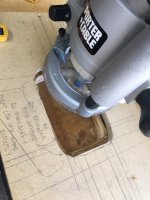
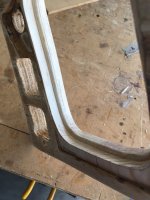
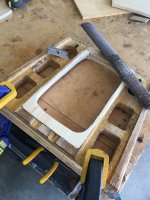
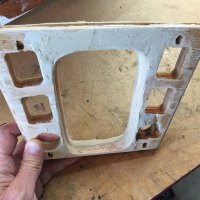
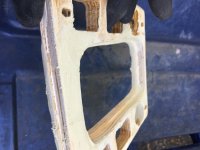
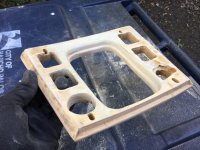
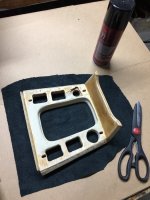
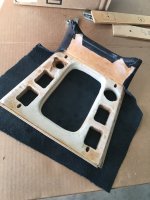
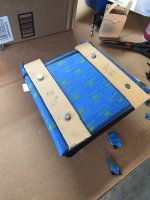
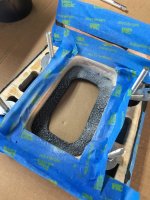
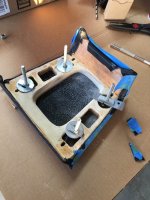
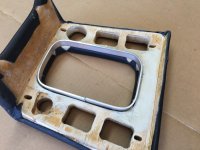
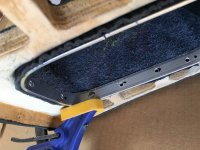
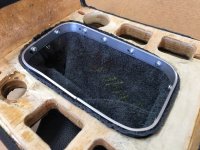
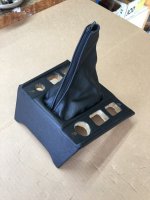
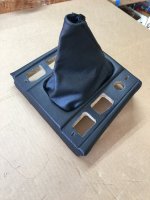
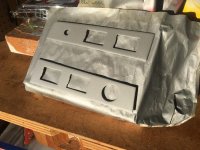
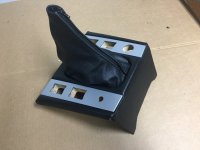
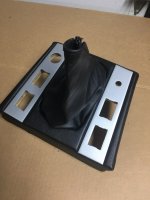
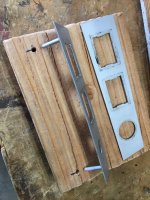
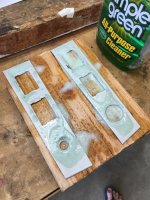
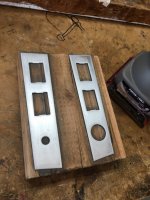
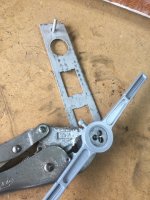
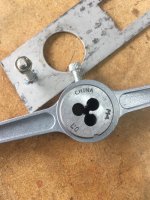
Thank you. As I mentioned at the beginning much of these ideas came from Señor DeQuincey.Well Done! Wish I had your pictures when in did my conversion 6 years ago. Mine looks good but I re-used my vinyl and even though I filled in the groves in the wood with filler I could not get the old vinyl to lay completely flat at the very top on the shifter opening. Hard to see, but I know its there. Threading the post on the trim pieces is a great idea.
