CSL Restoration

Marc-M

Well-Known Member
Messages
377
Reaction score
311
Location
Preston - Lancashire-UK
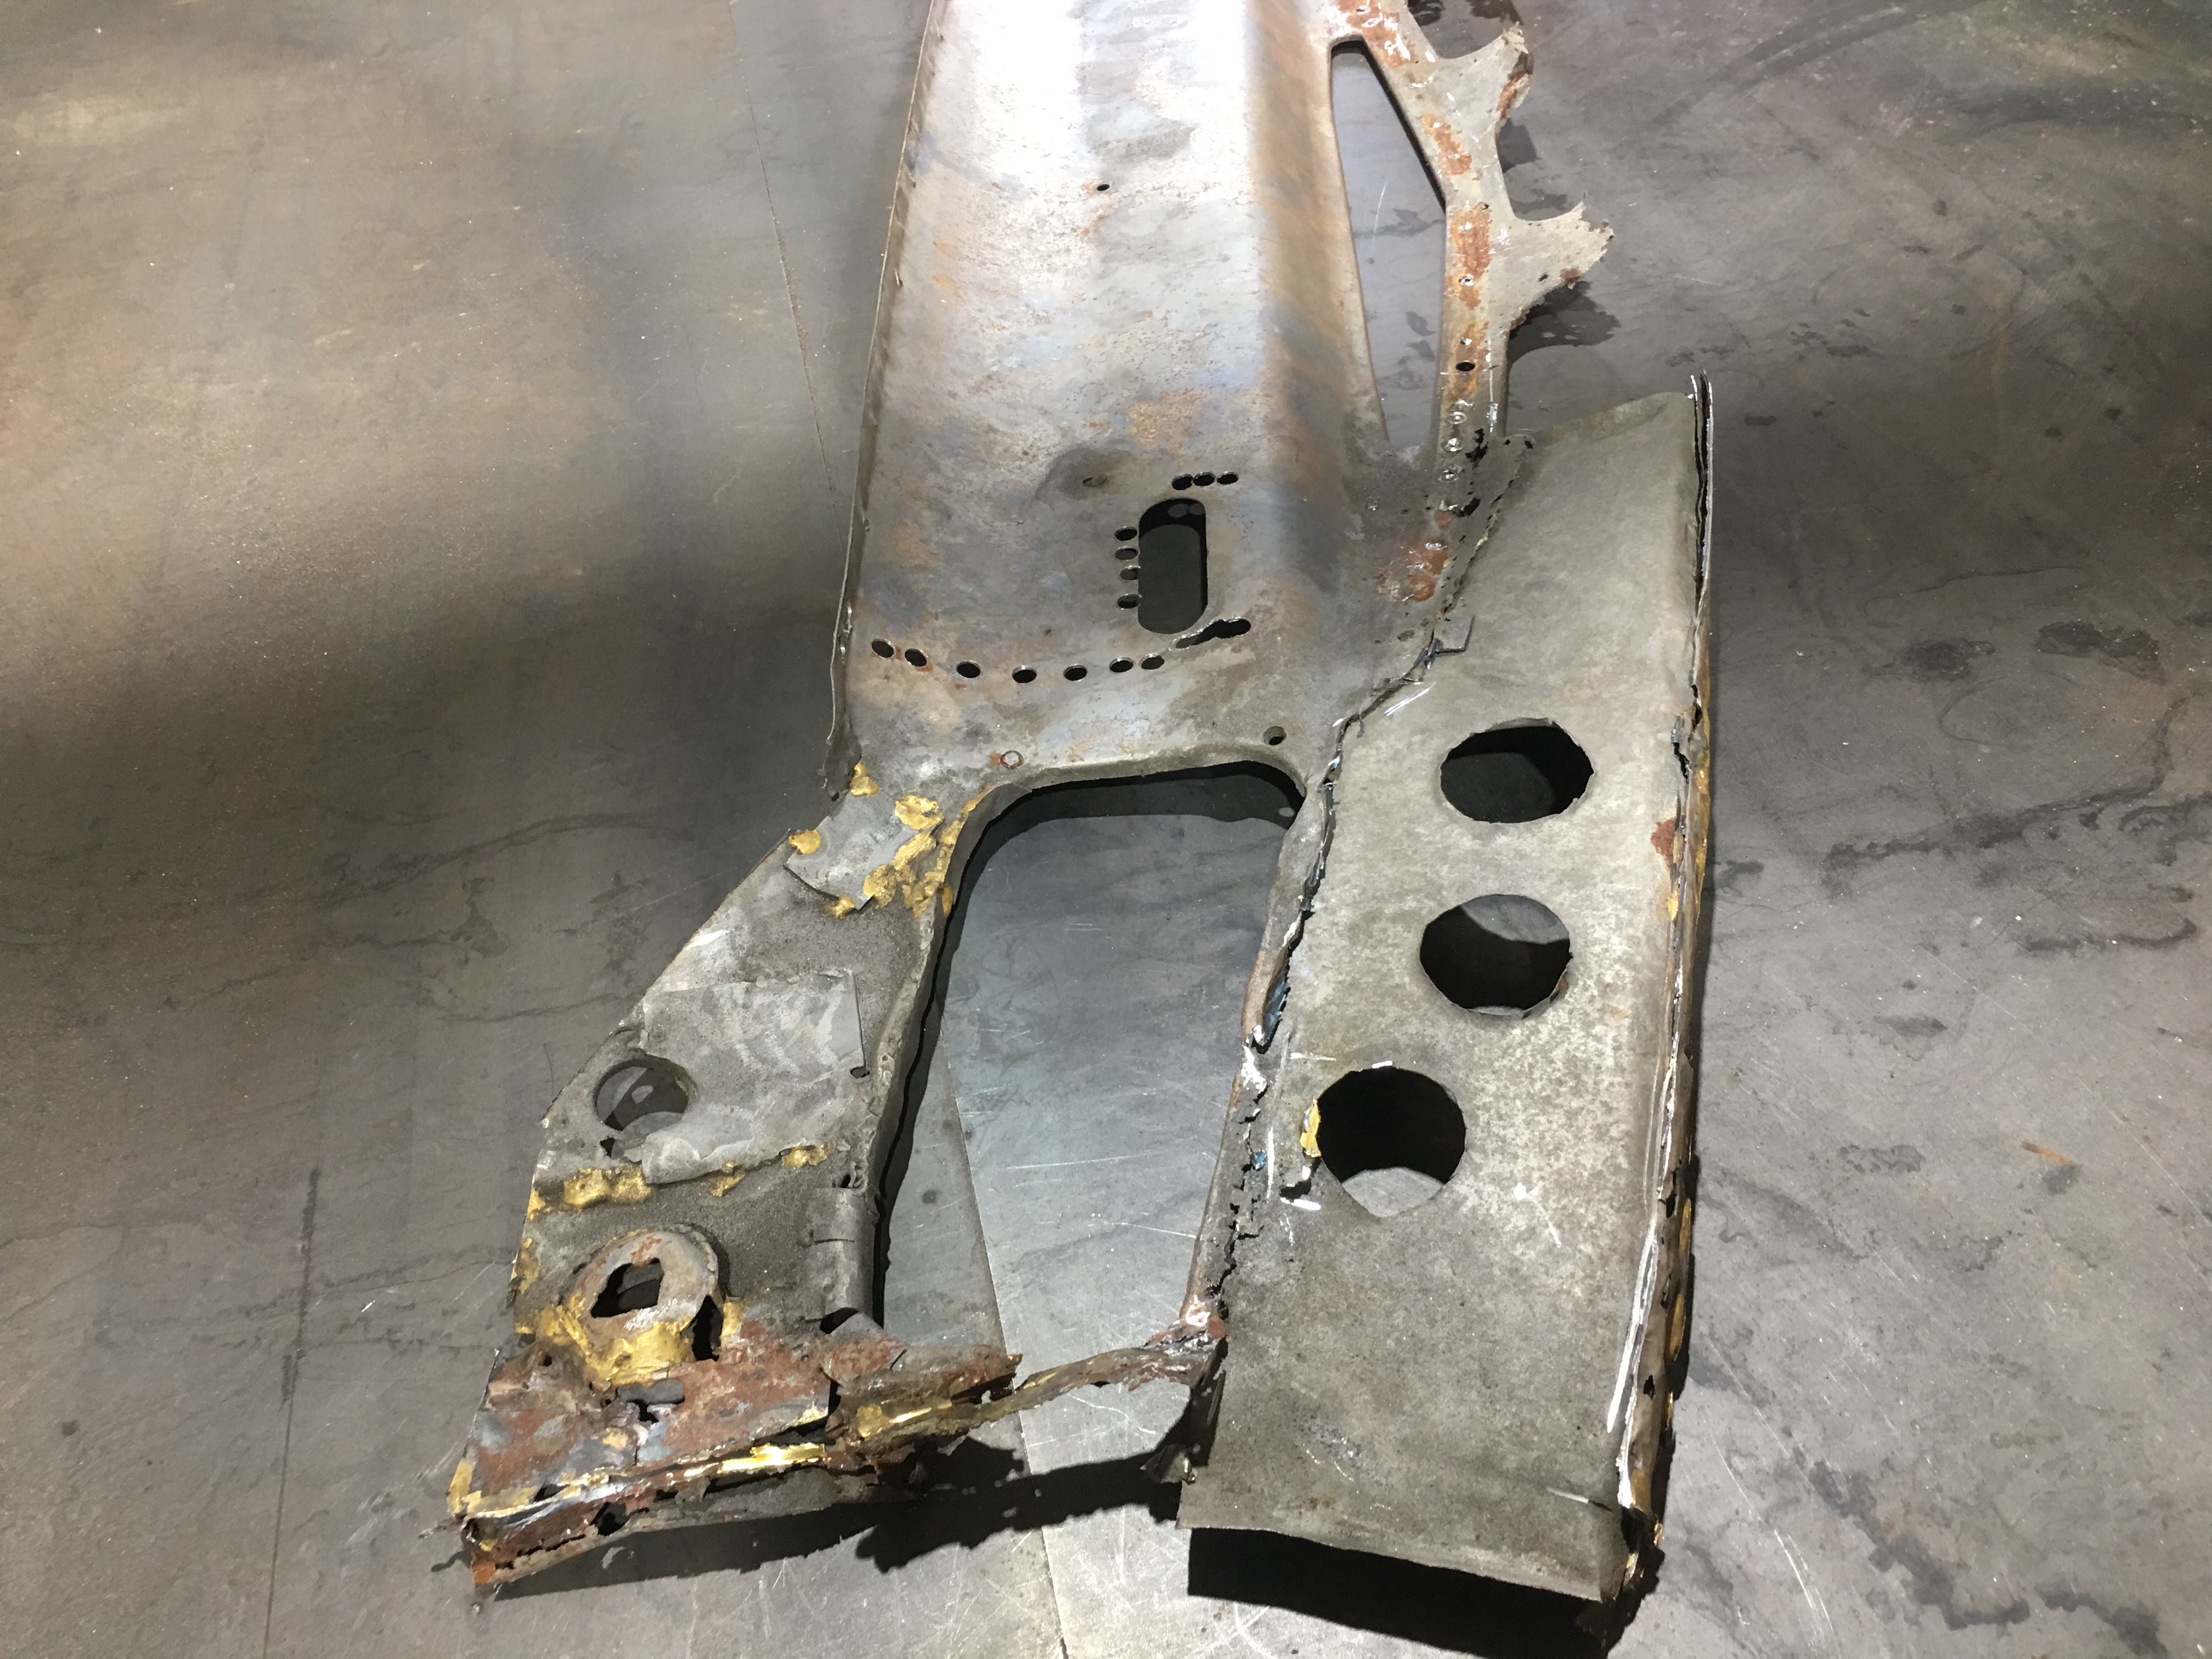
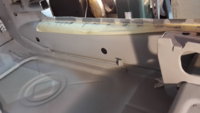
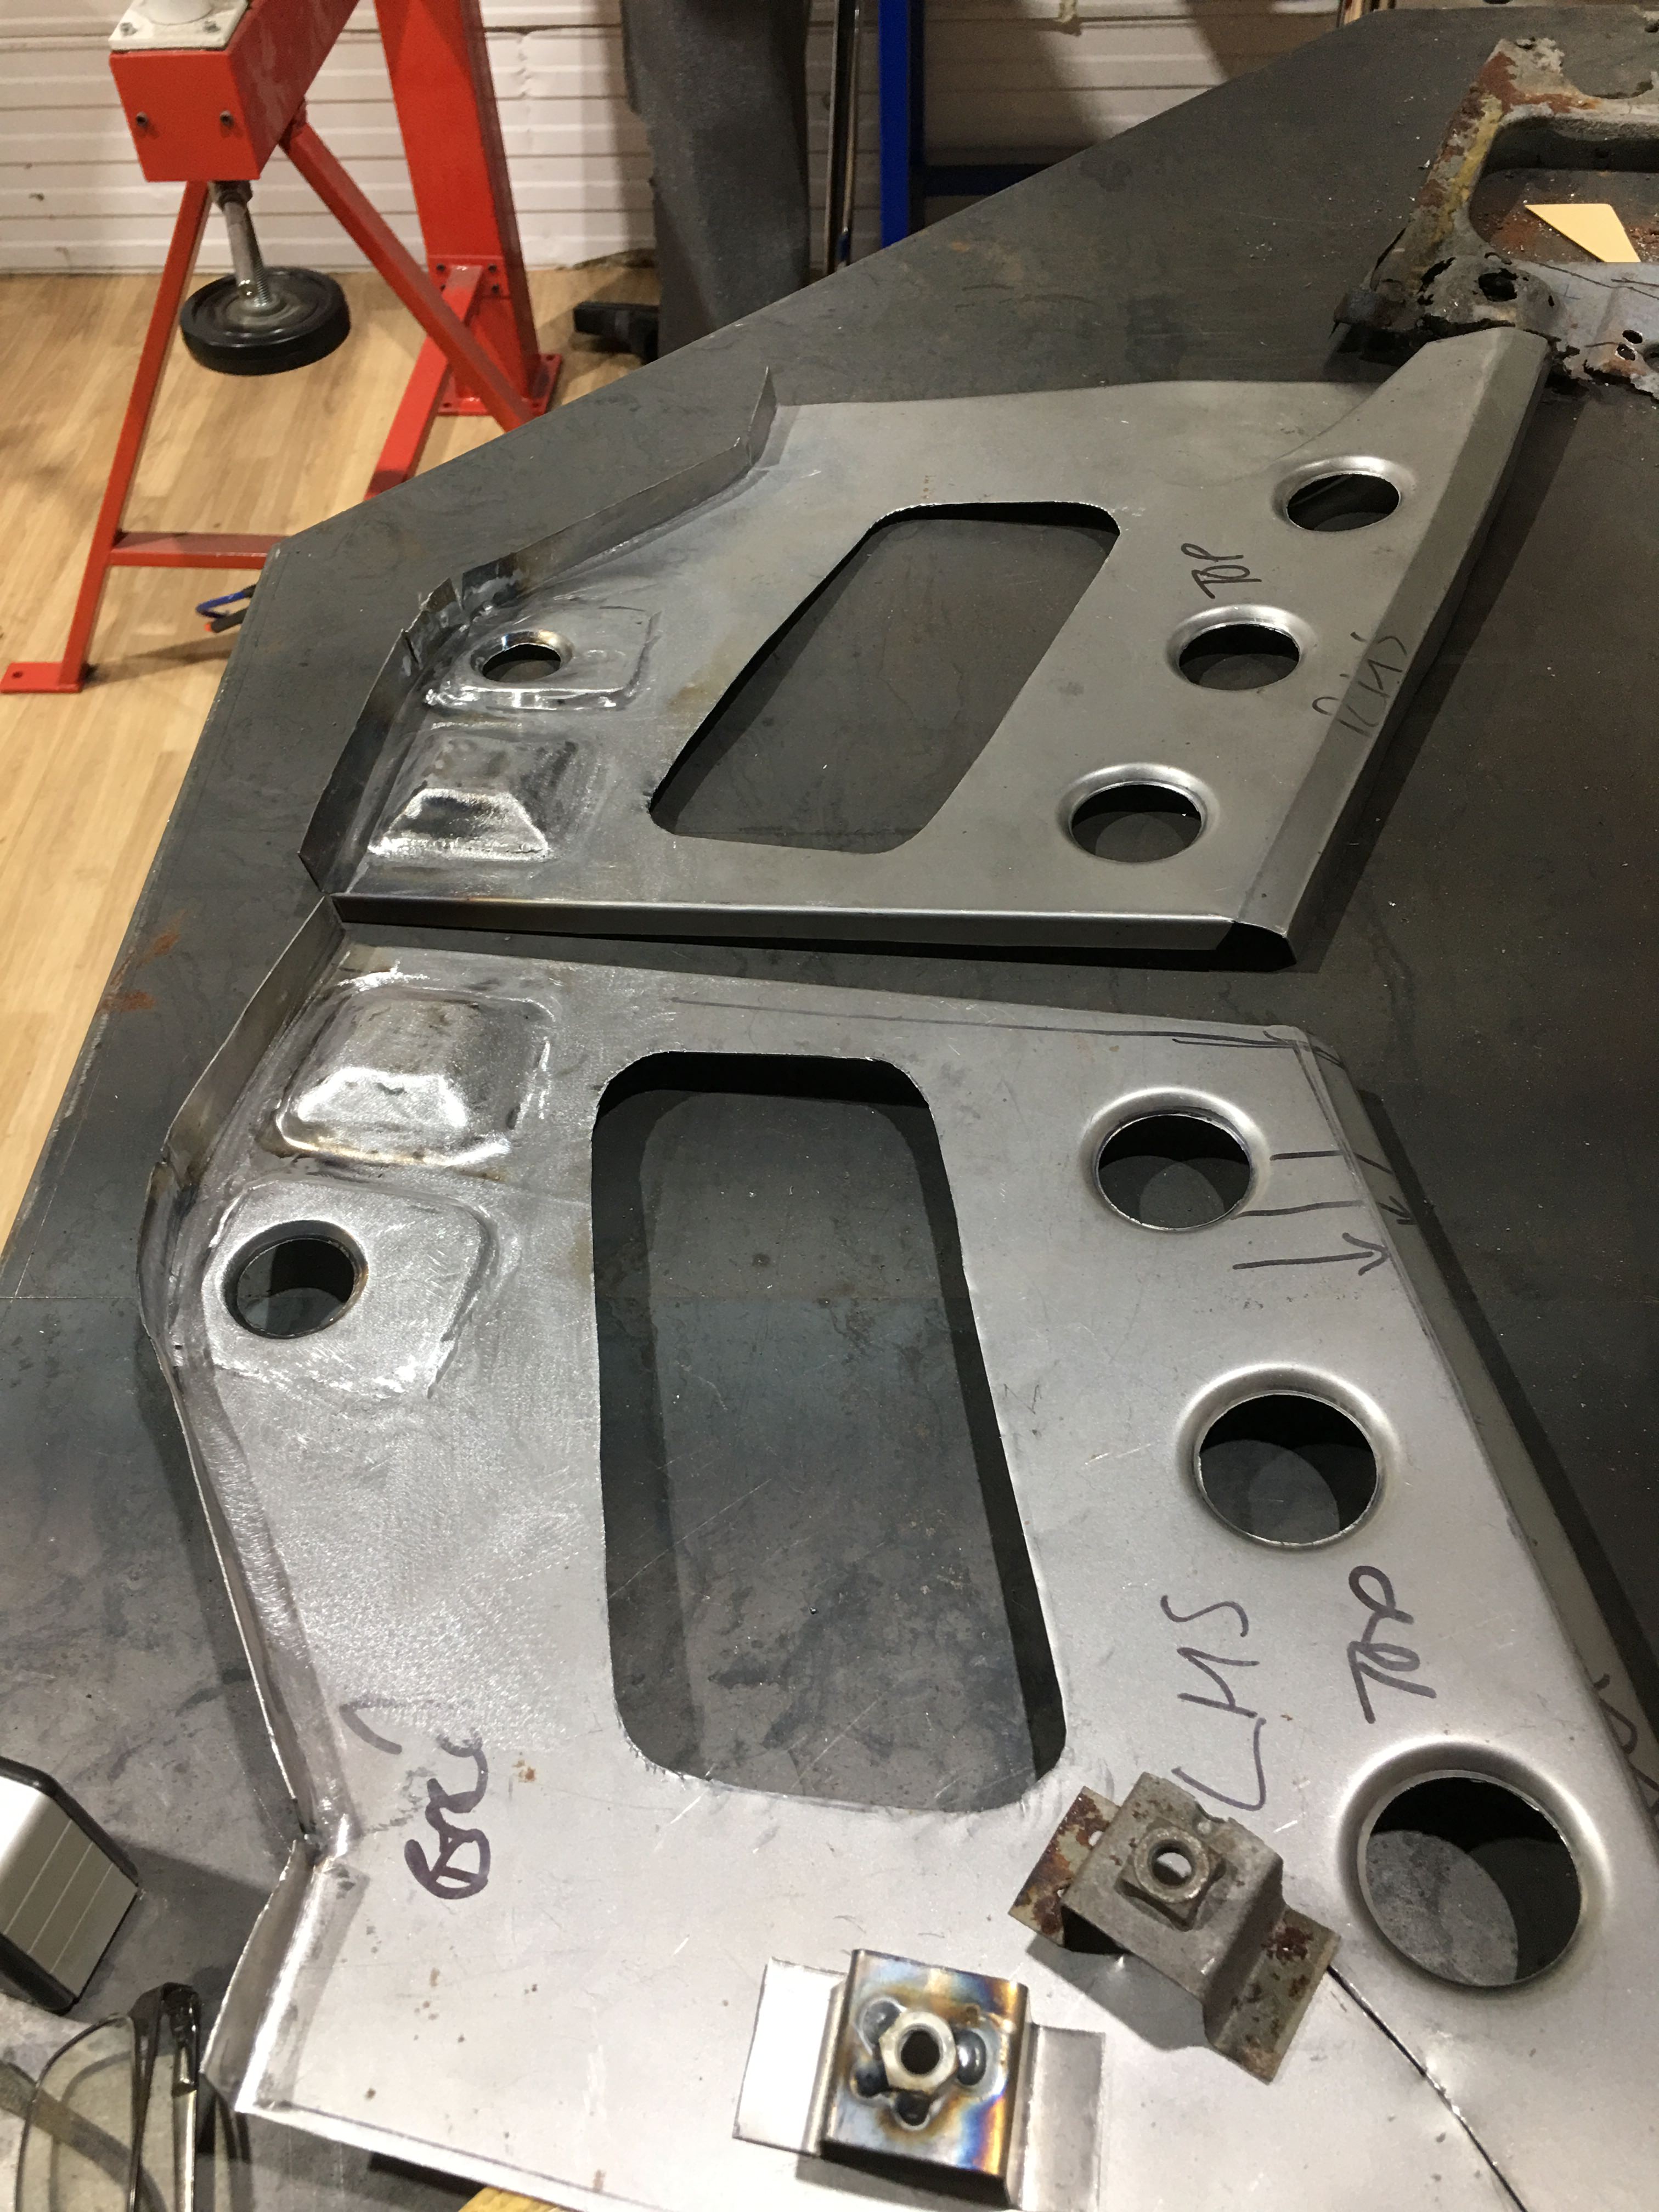
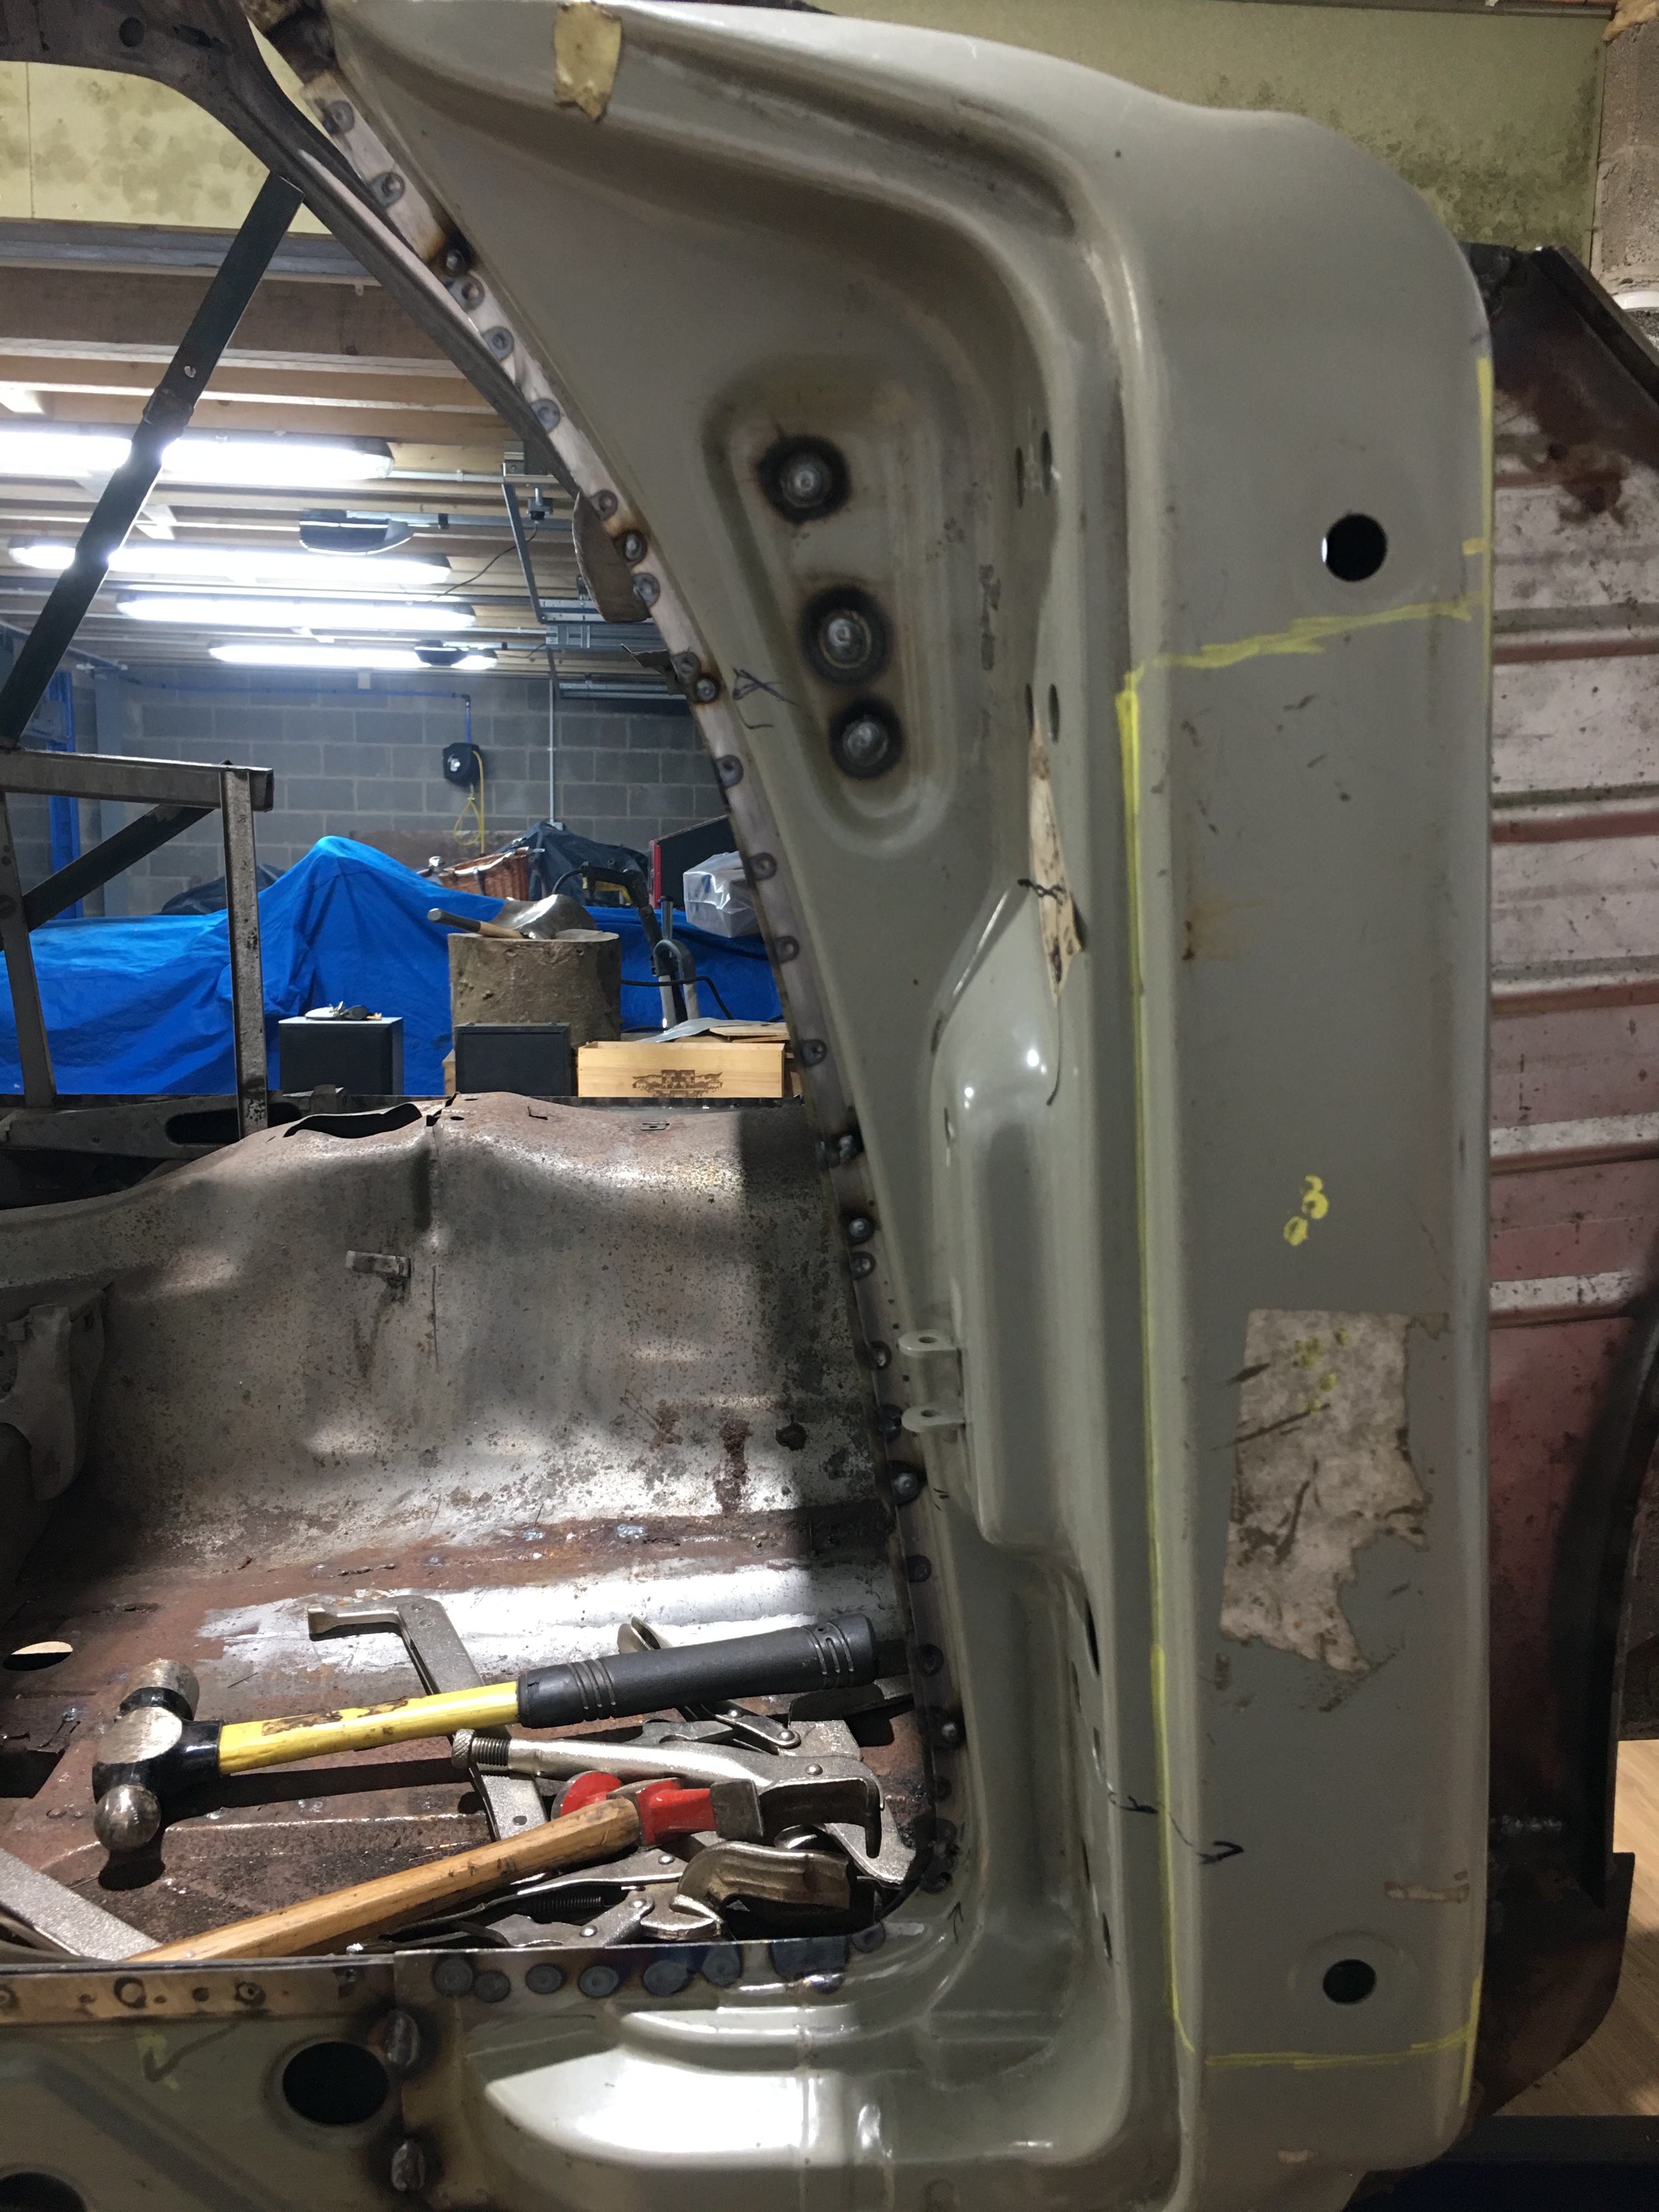
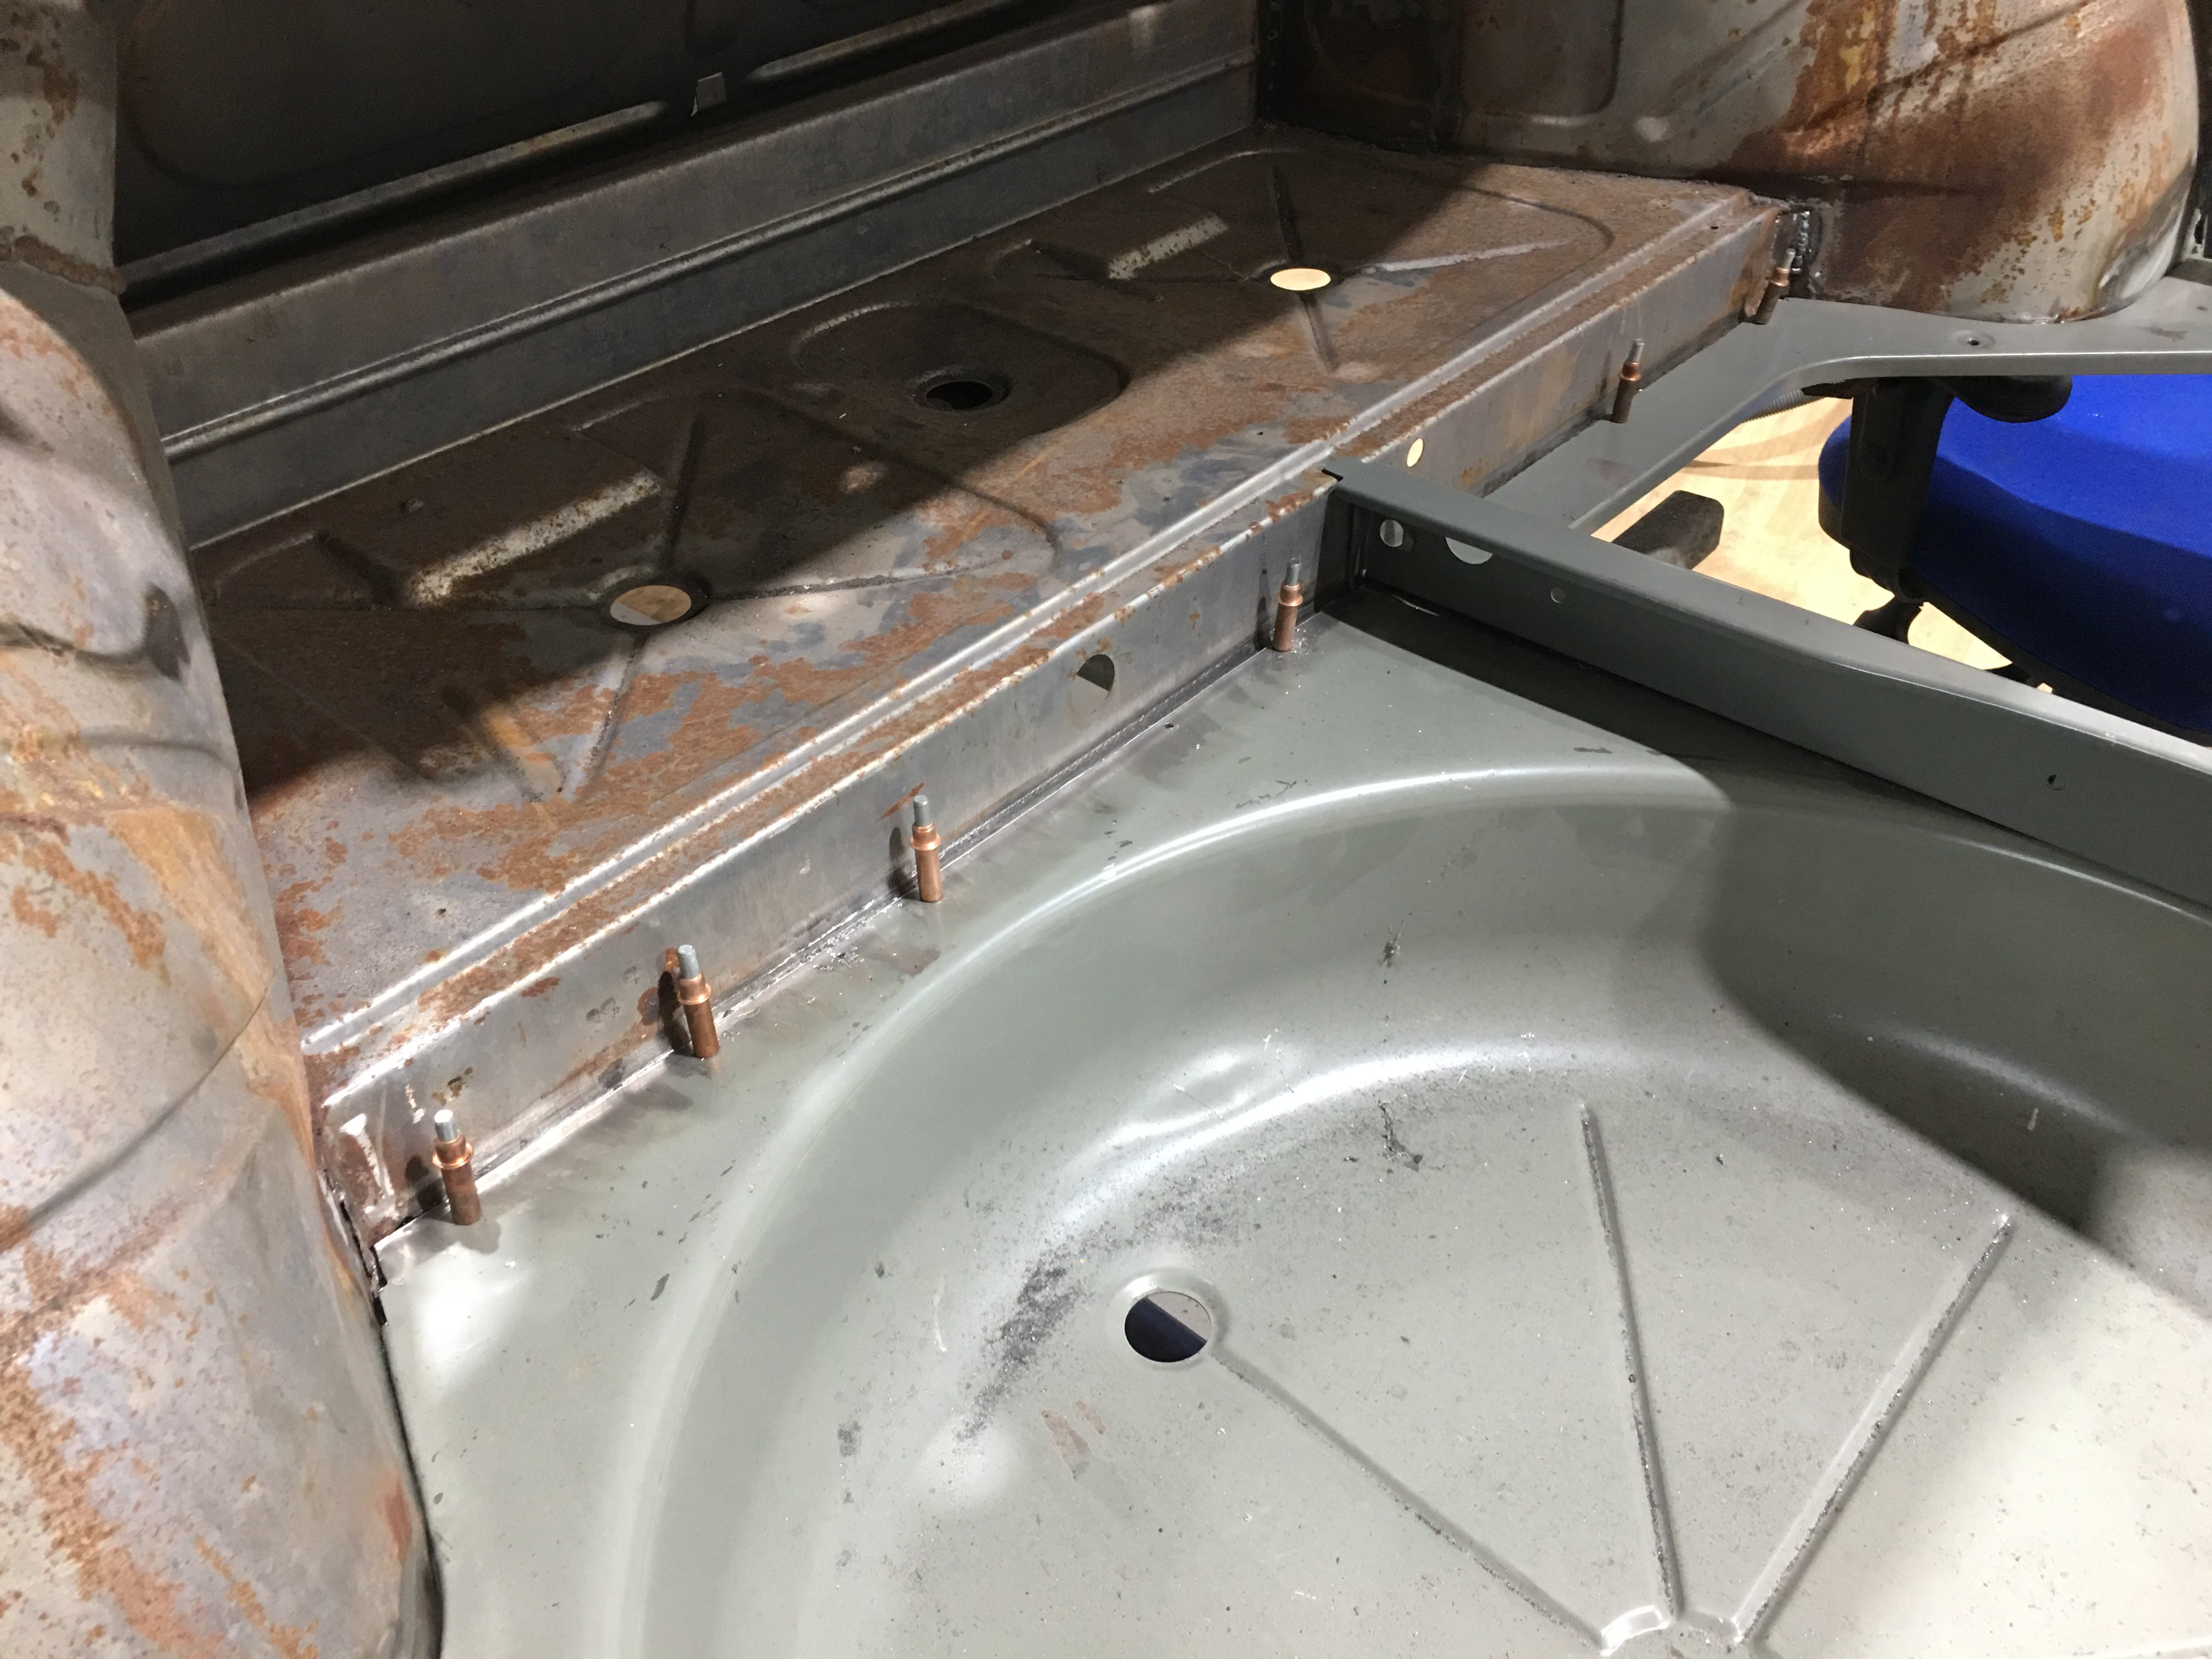
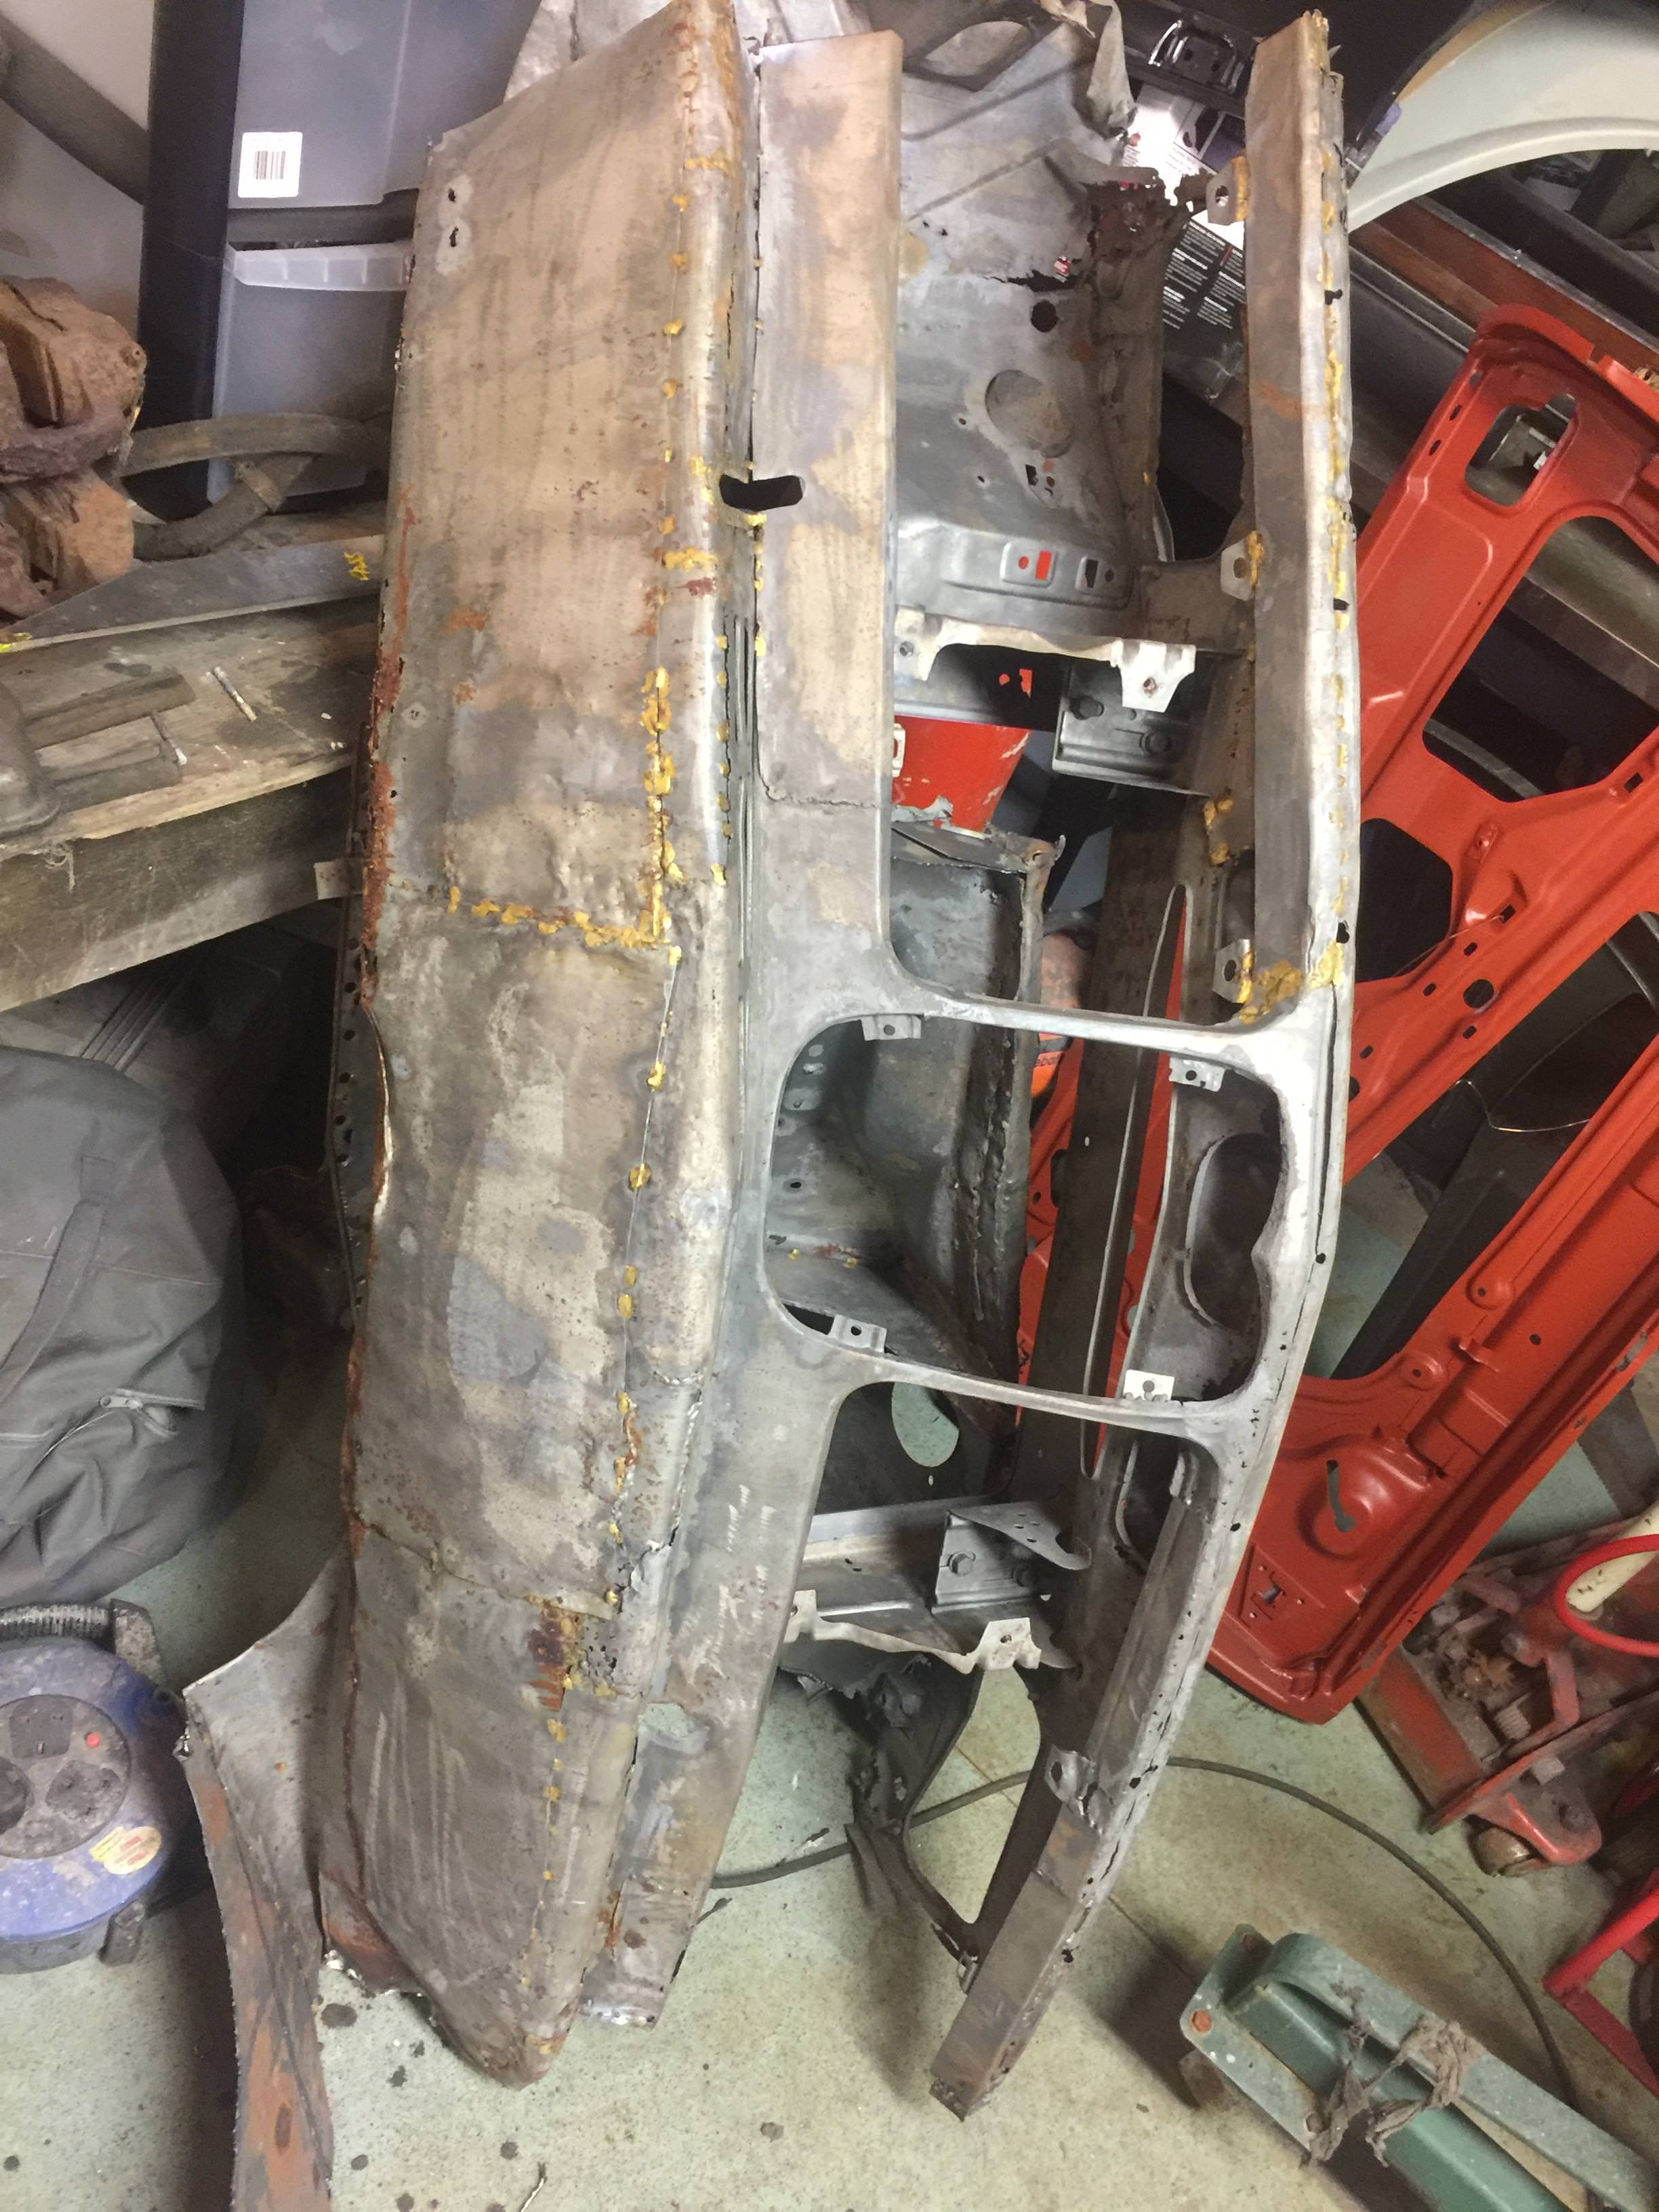
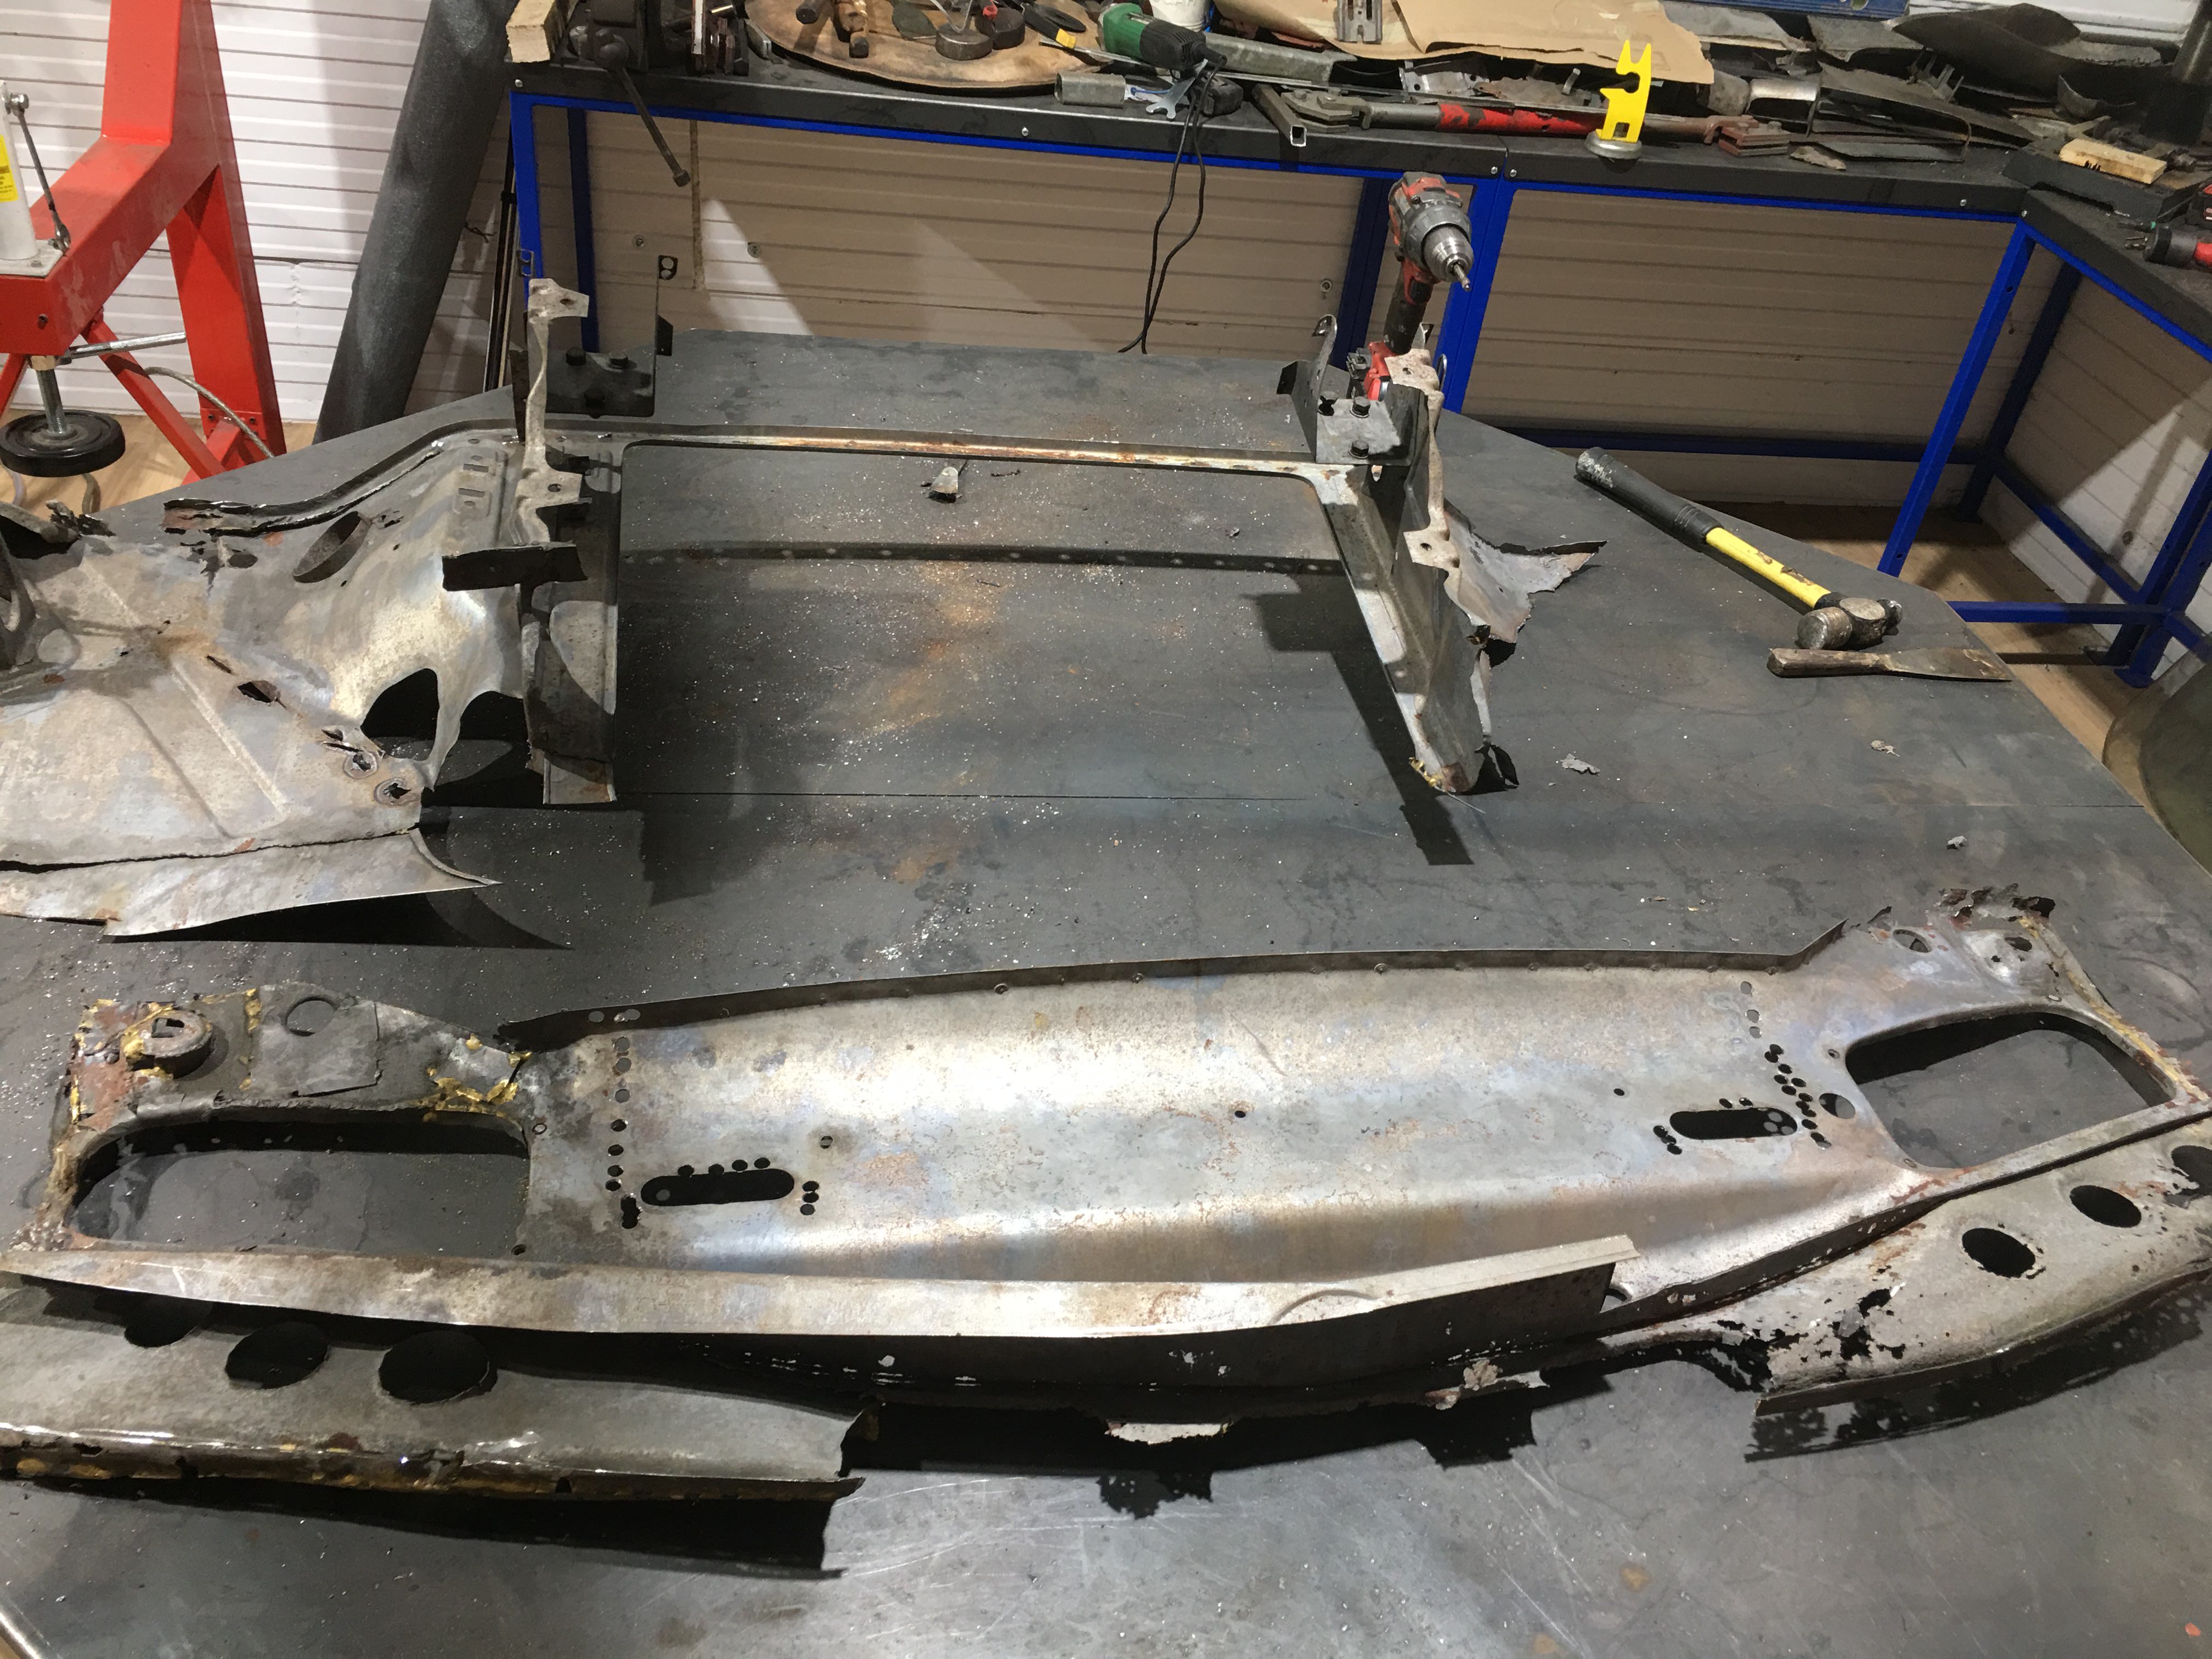
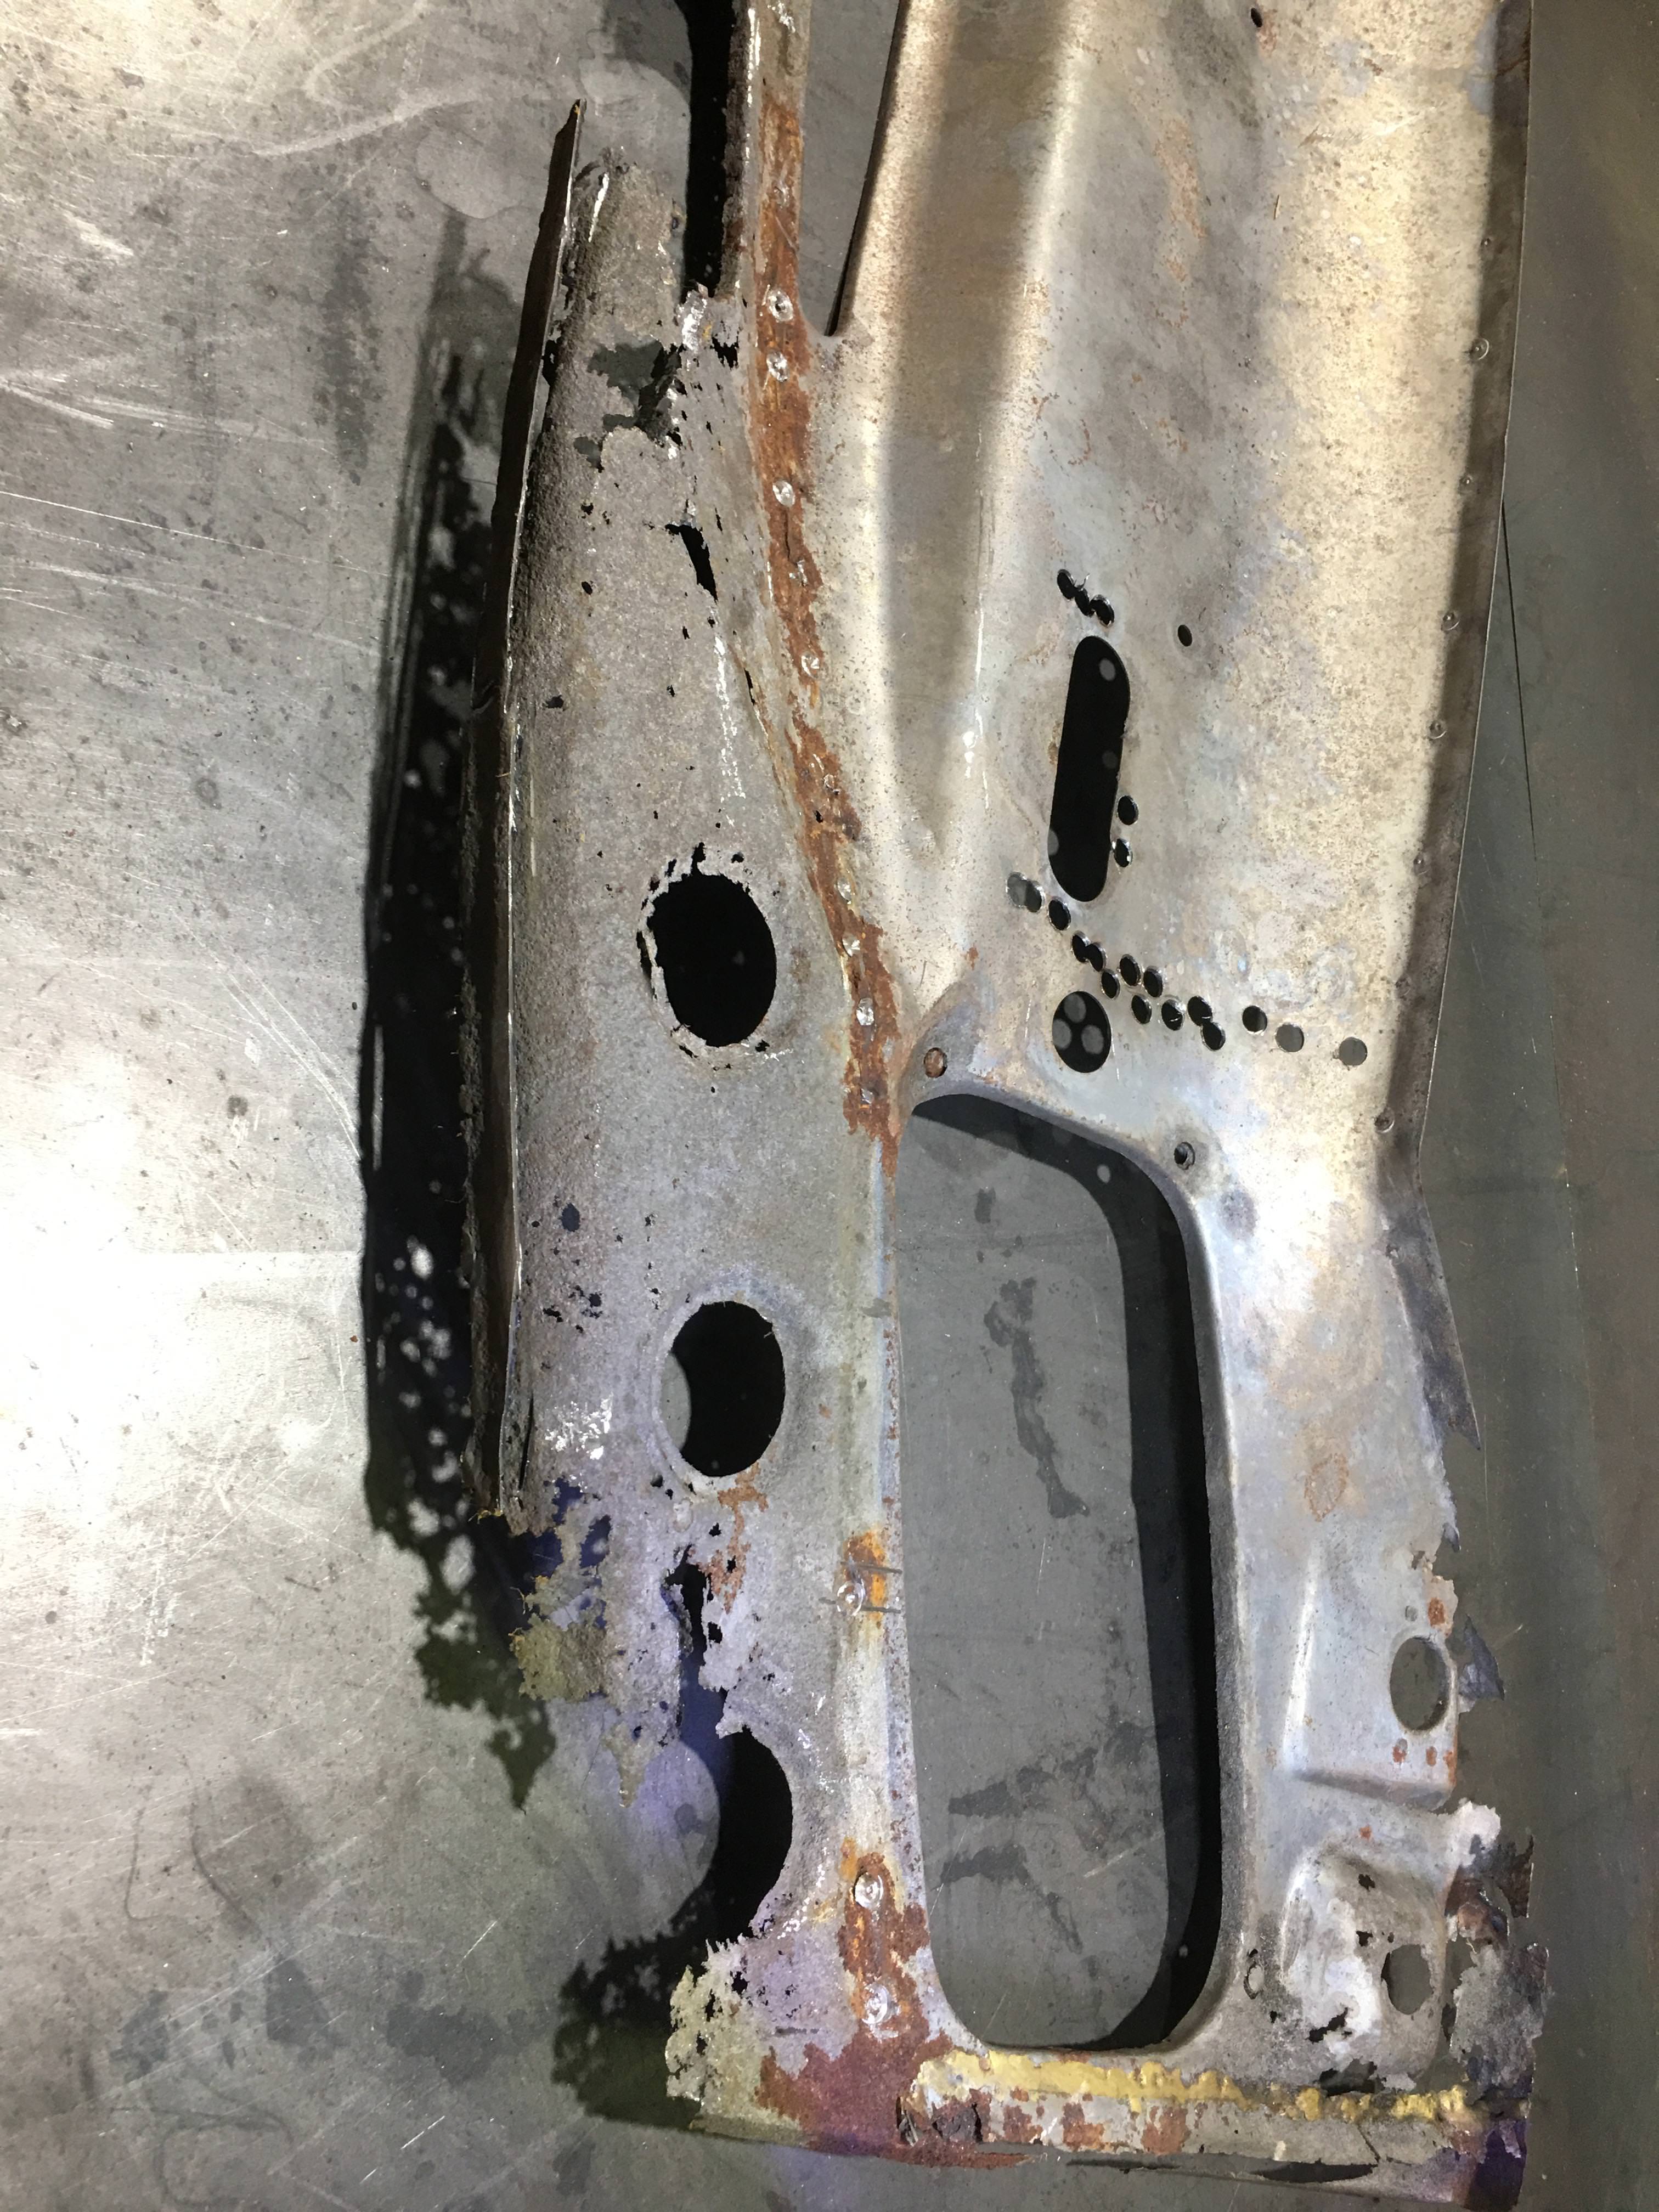
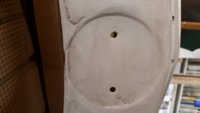
When the car was dipped the A post on the RHS was so bad I had to cut it out completely.

I braced the car up as best I could to stop it moving when chopping out such a large bit of structure.

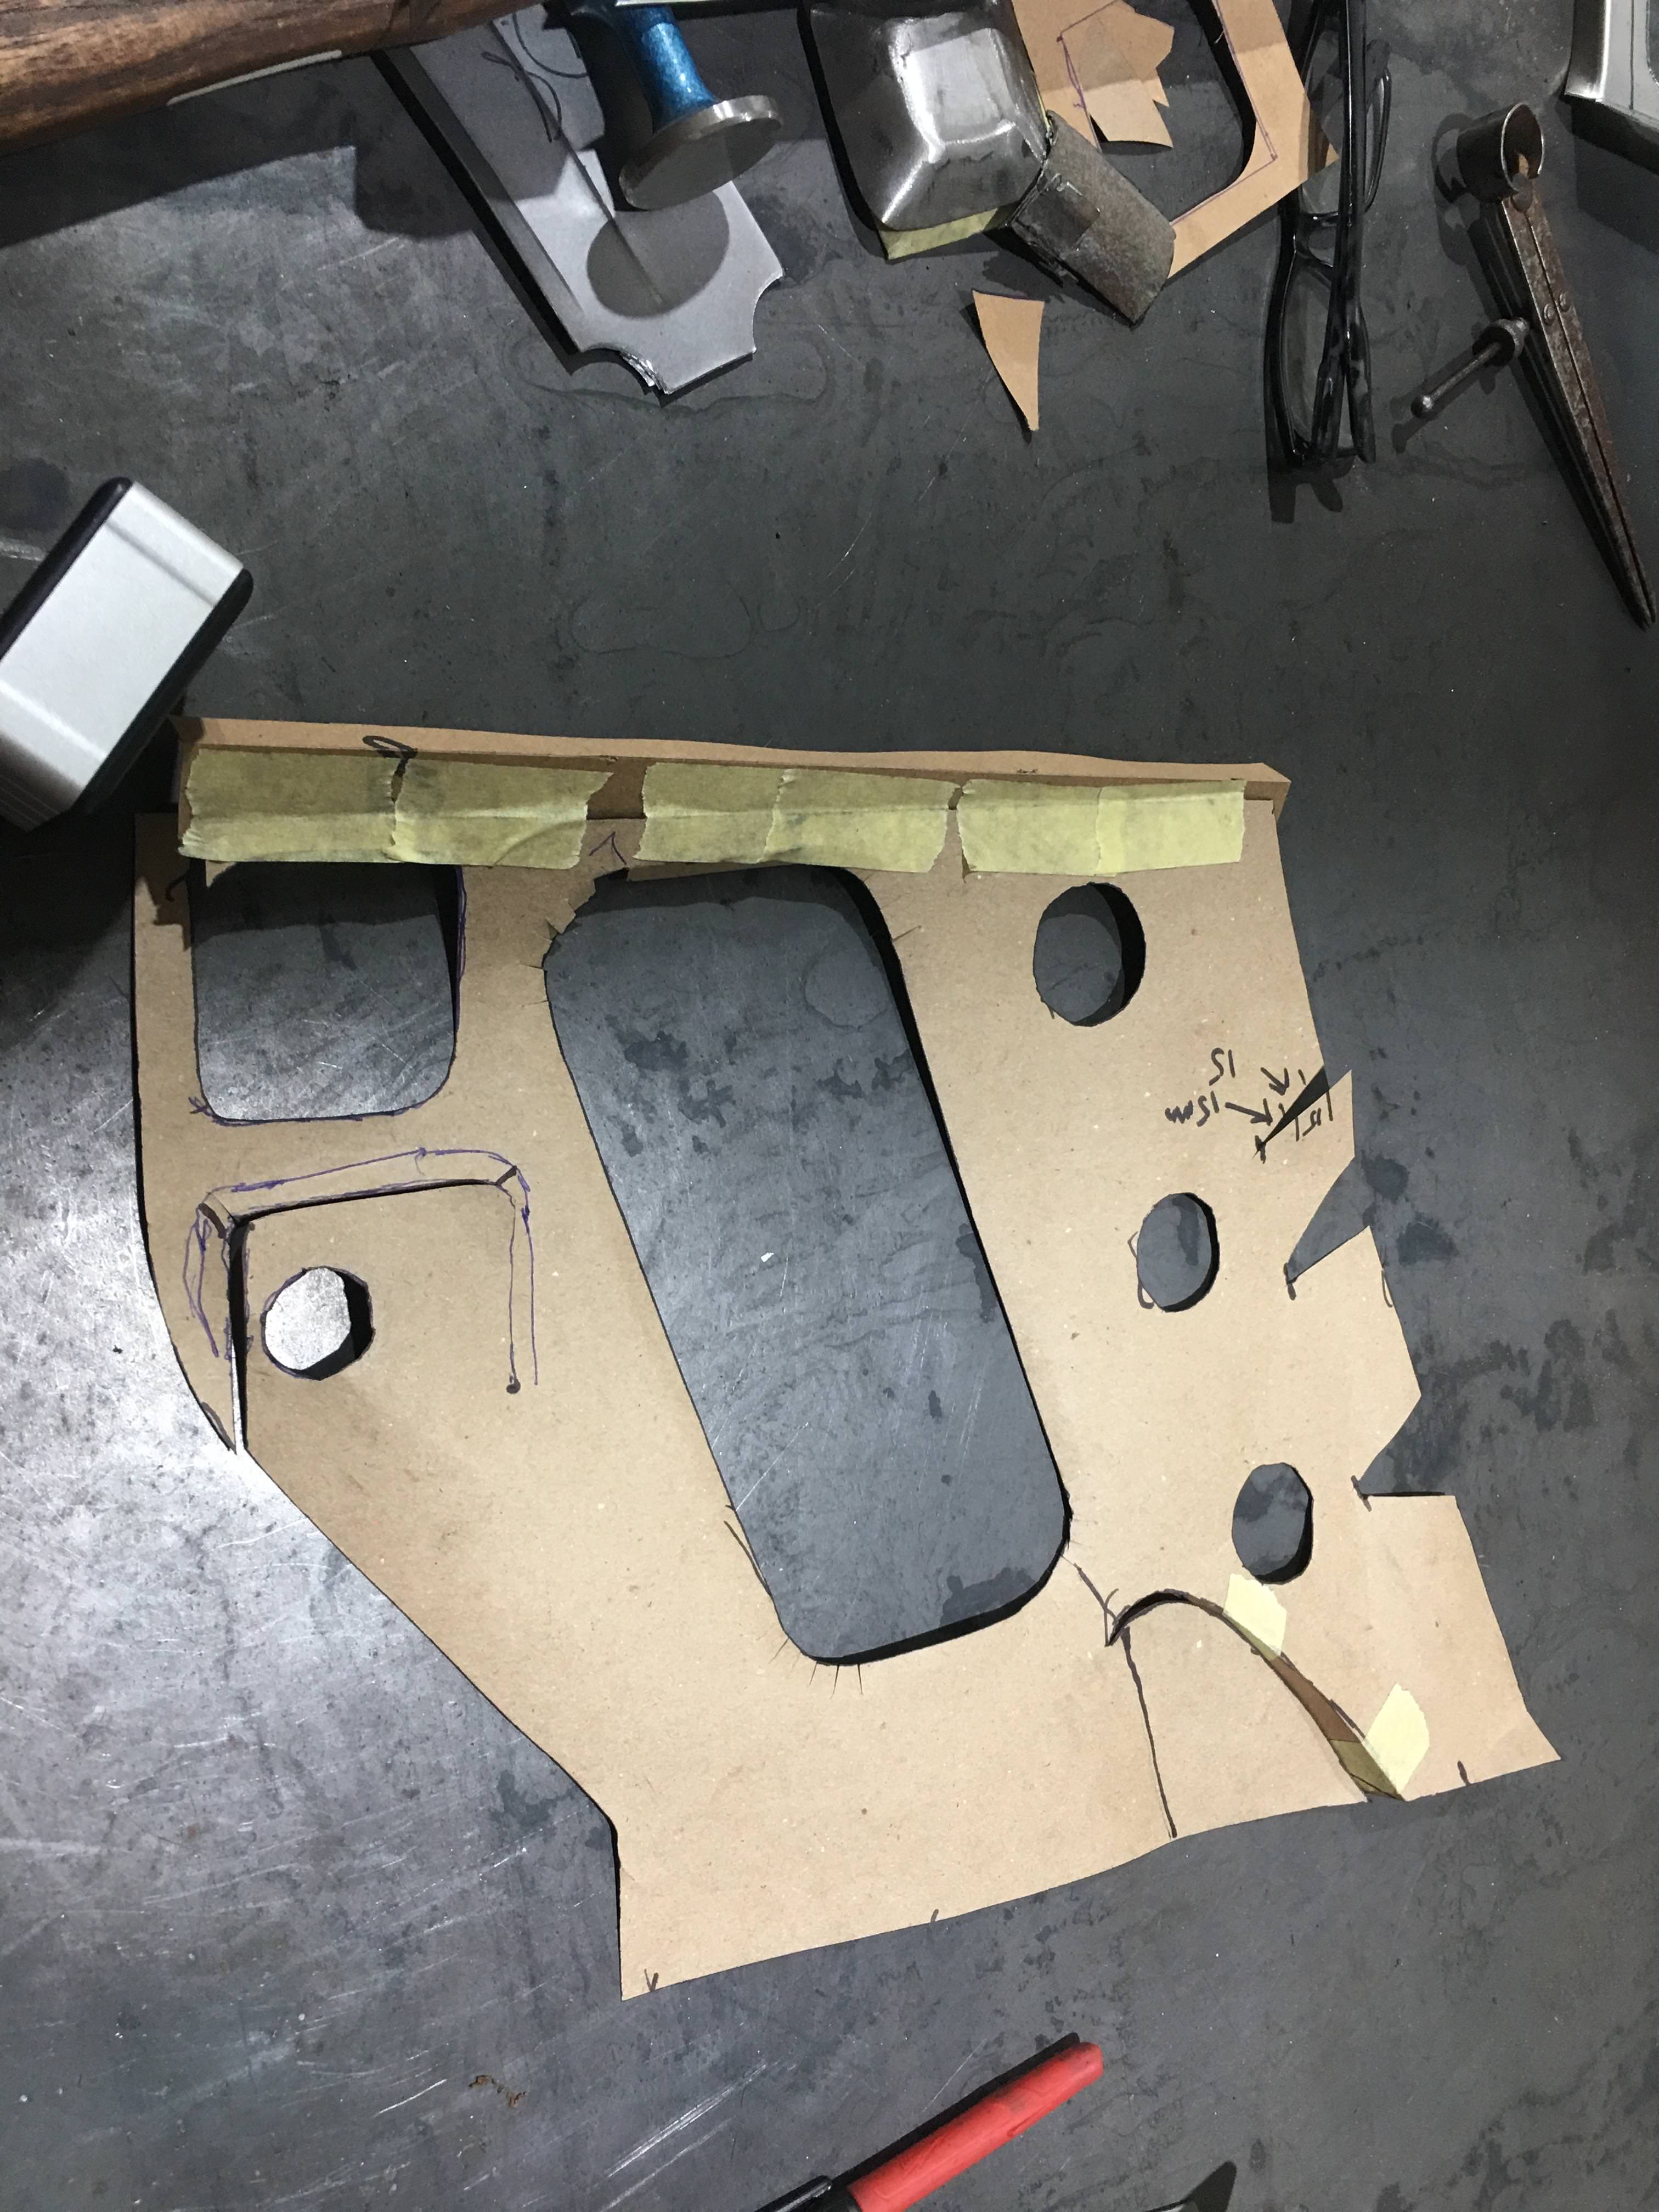
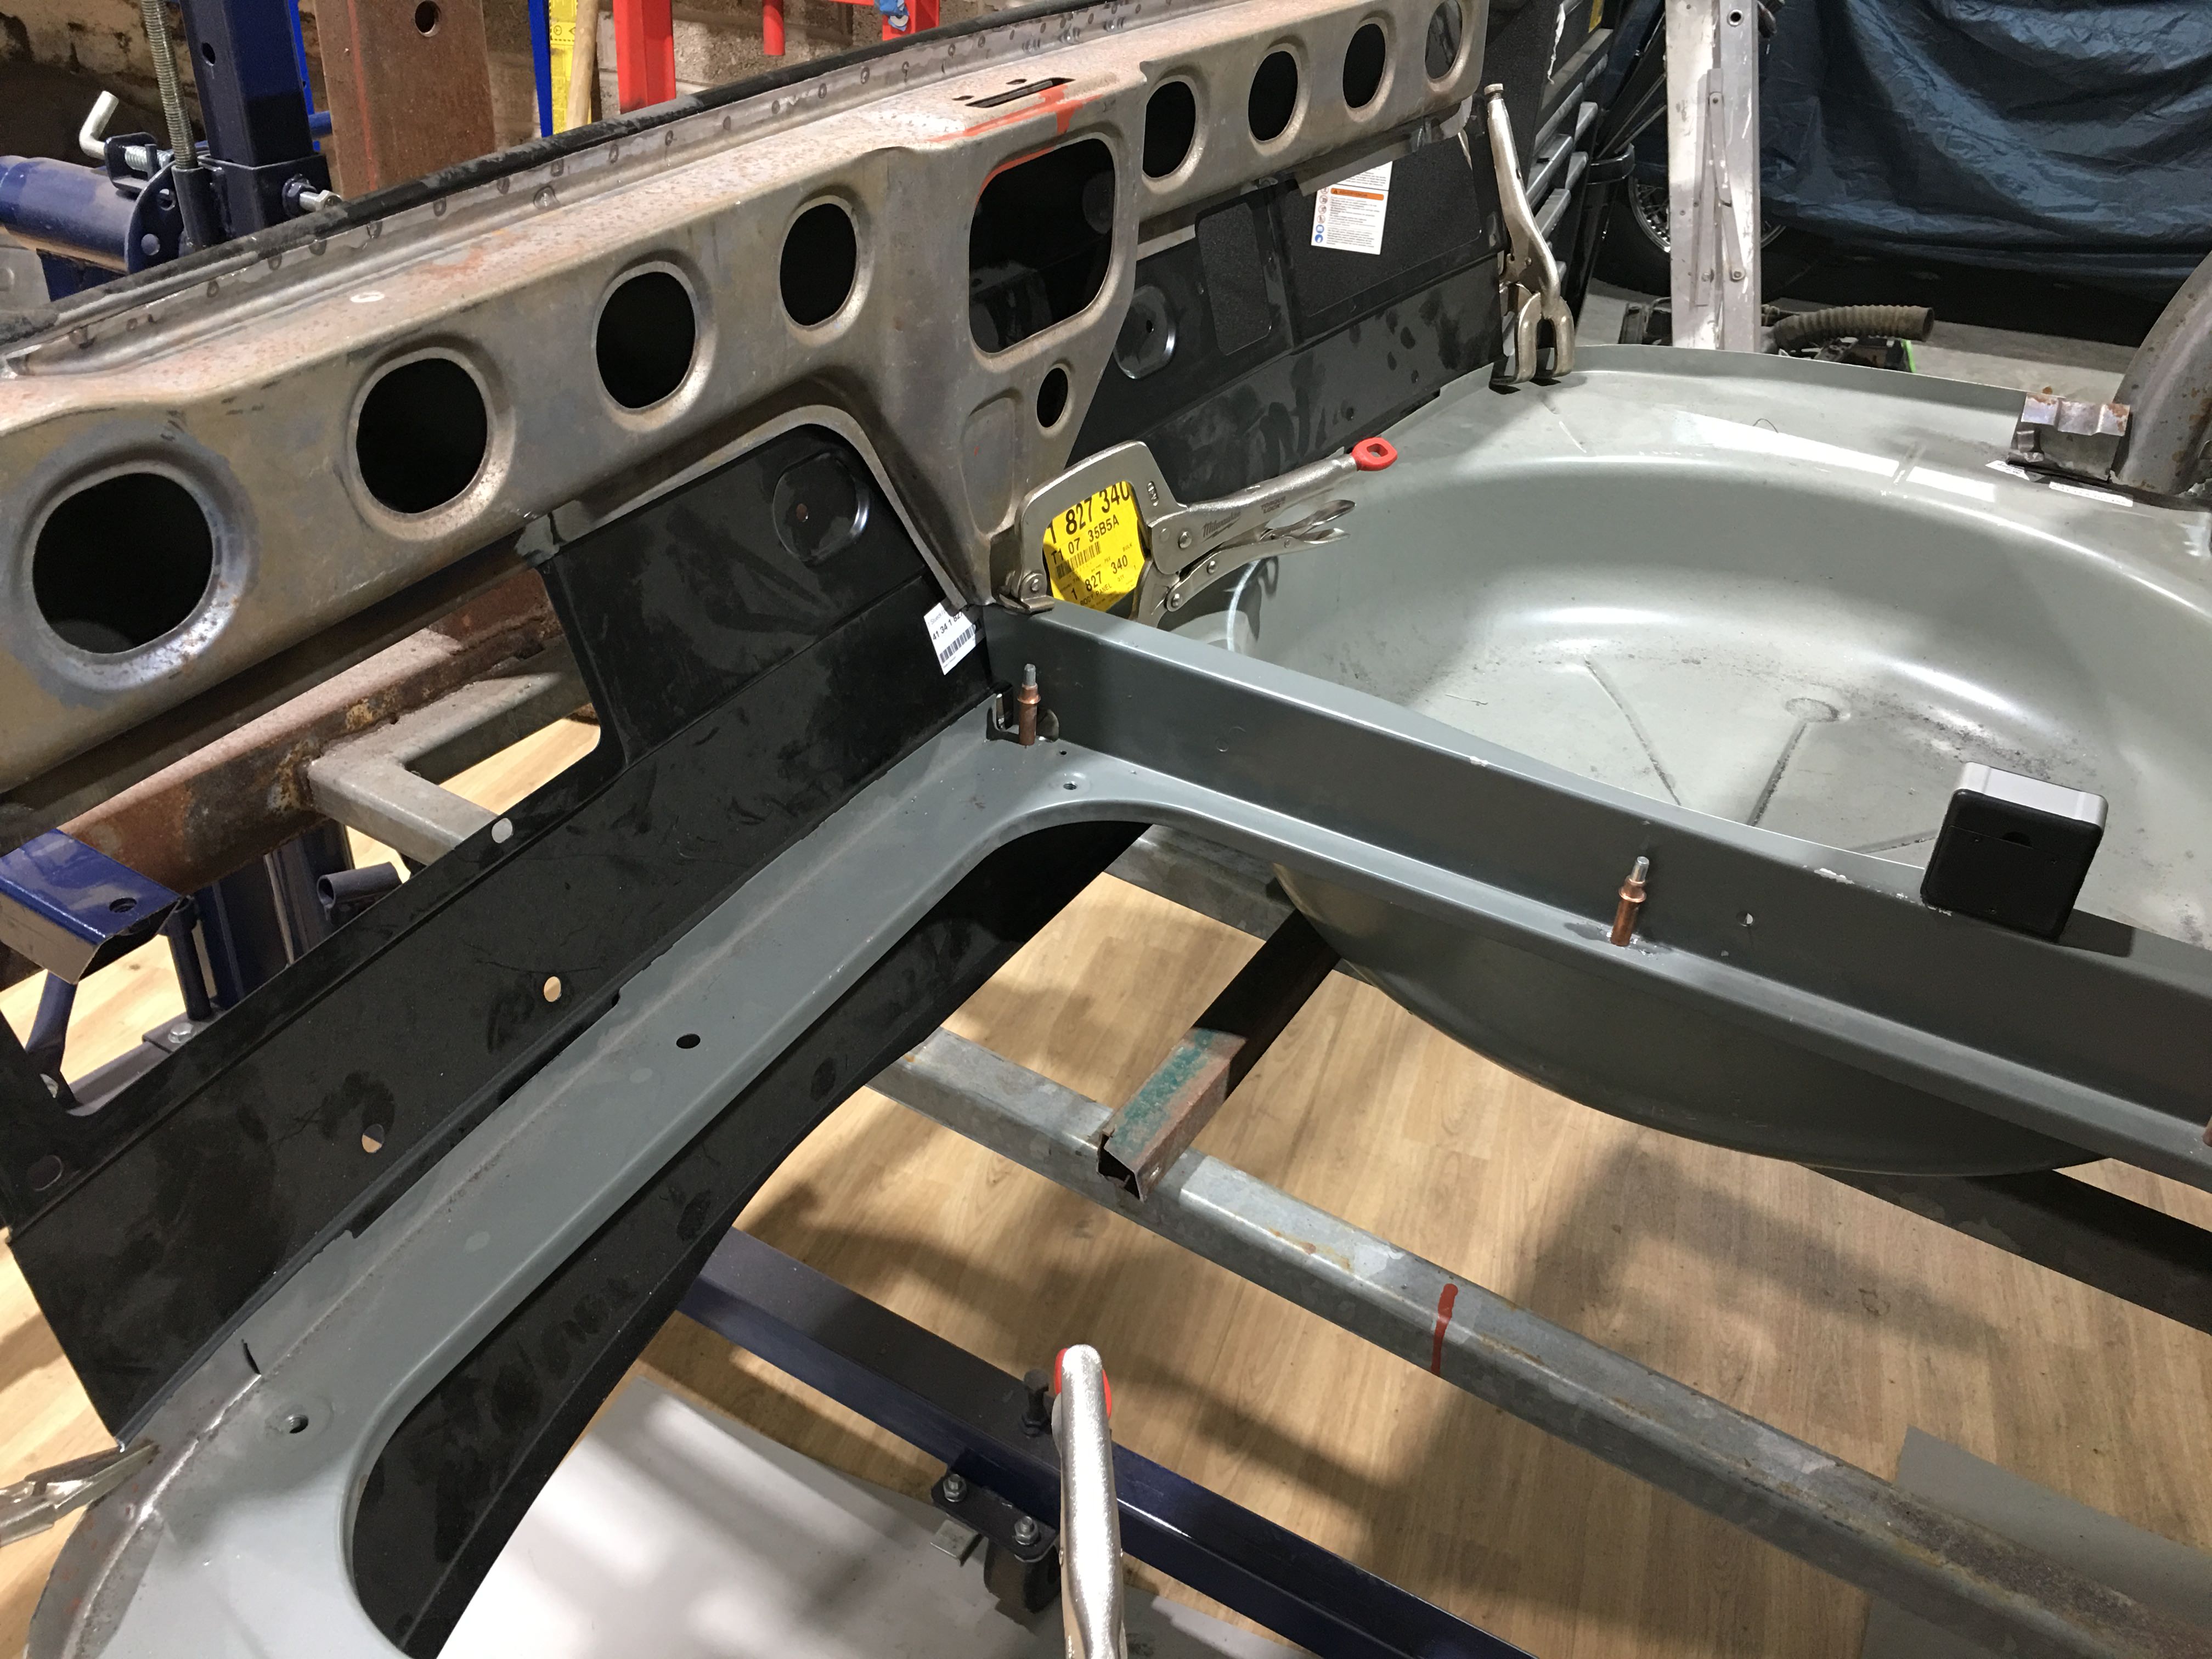
It is now time to put the section back in, not an easy task to get spot on….

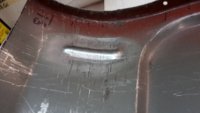
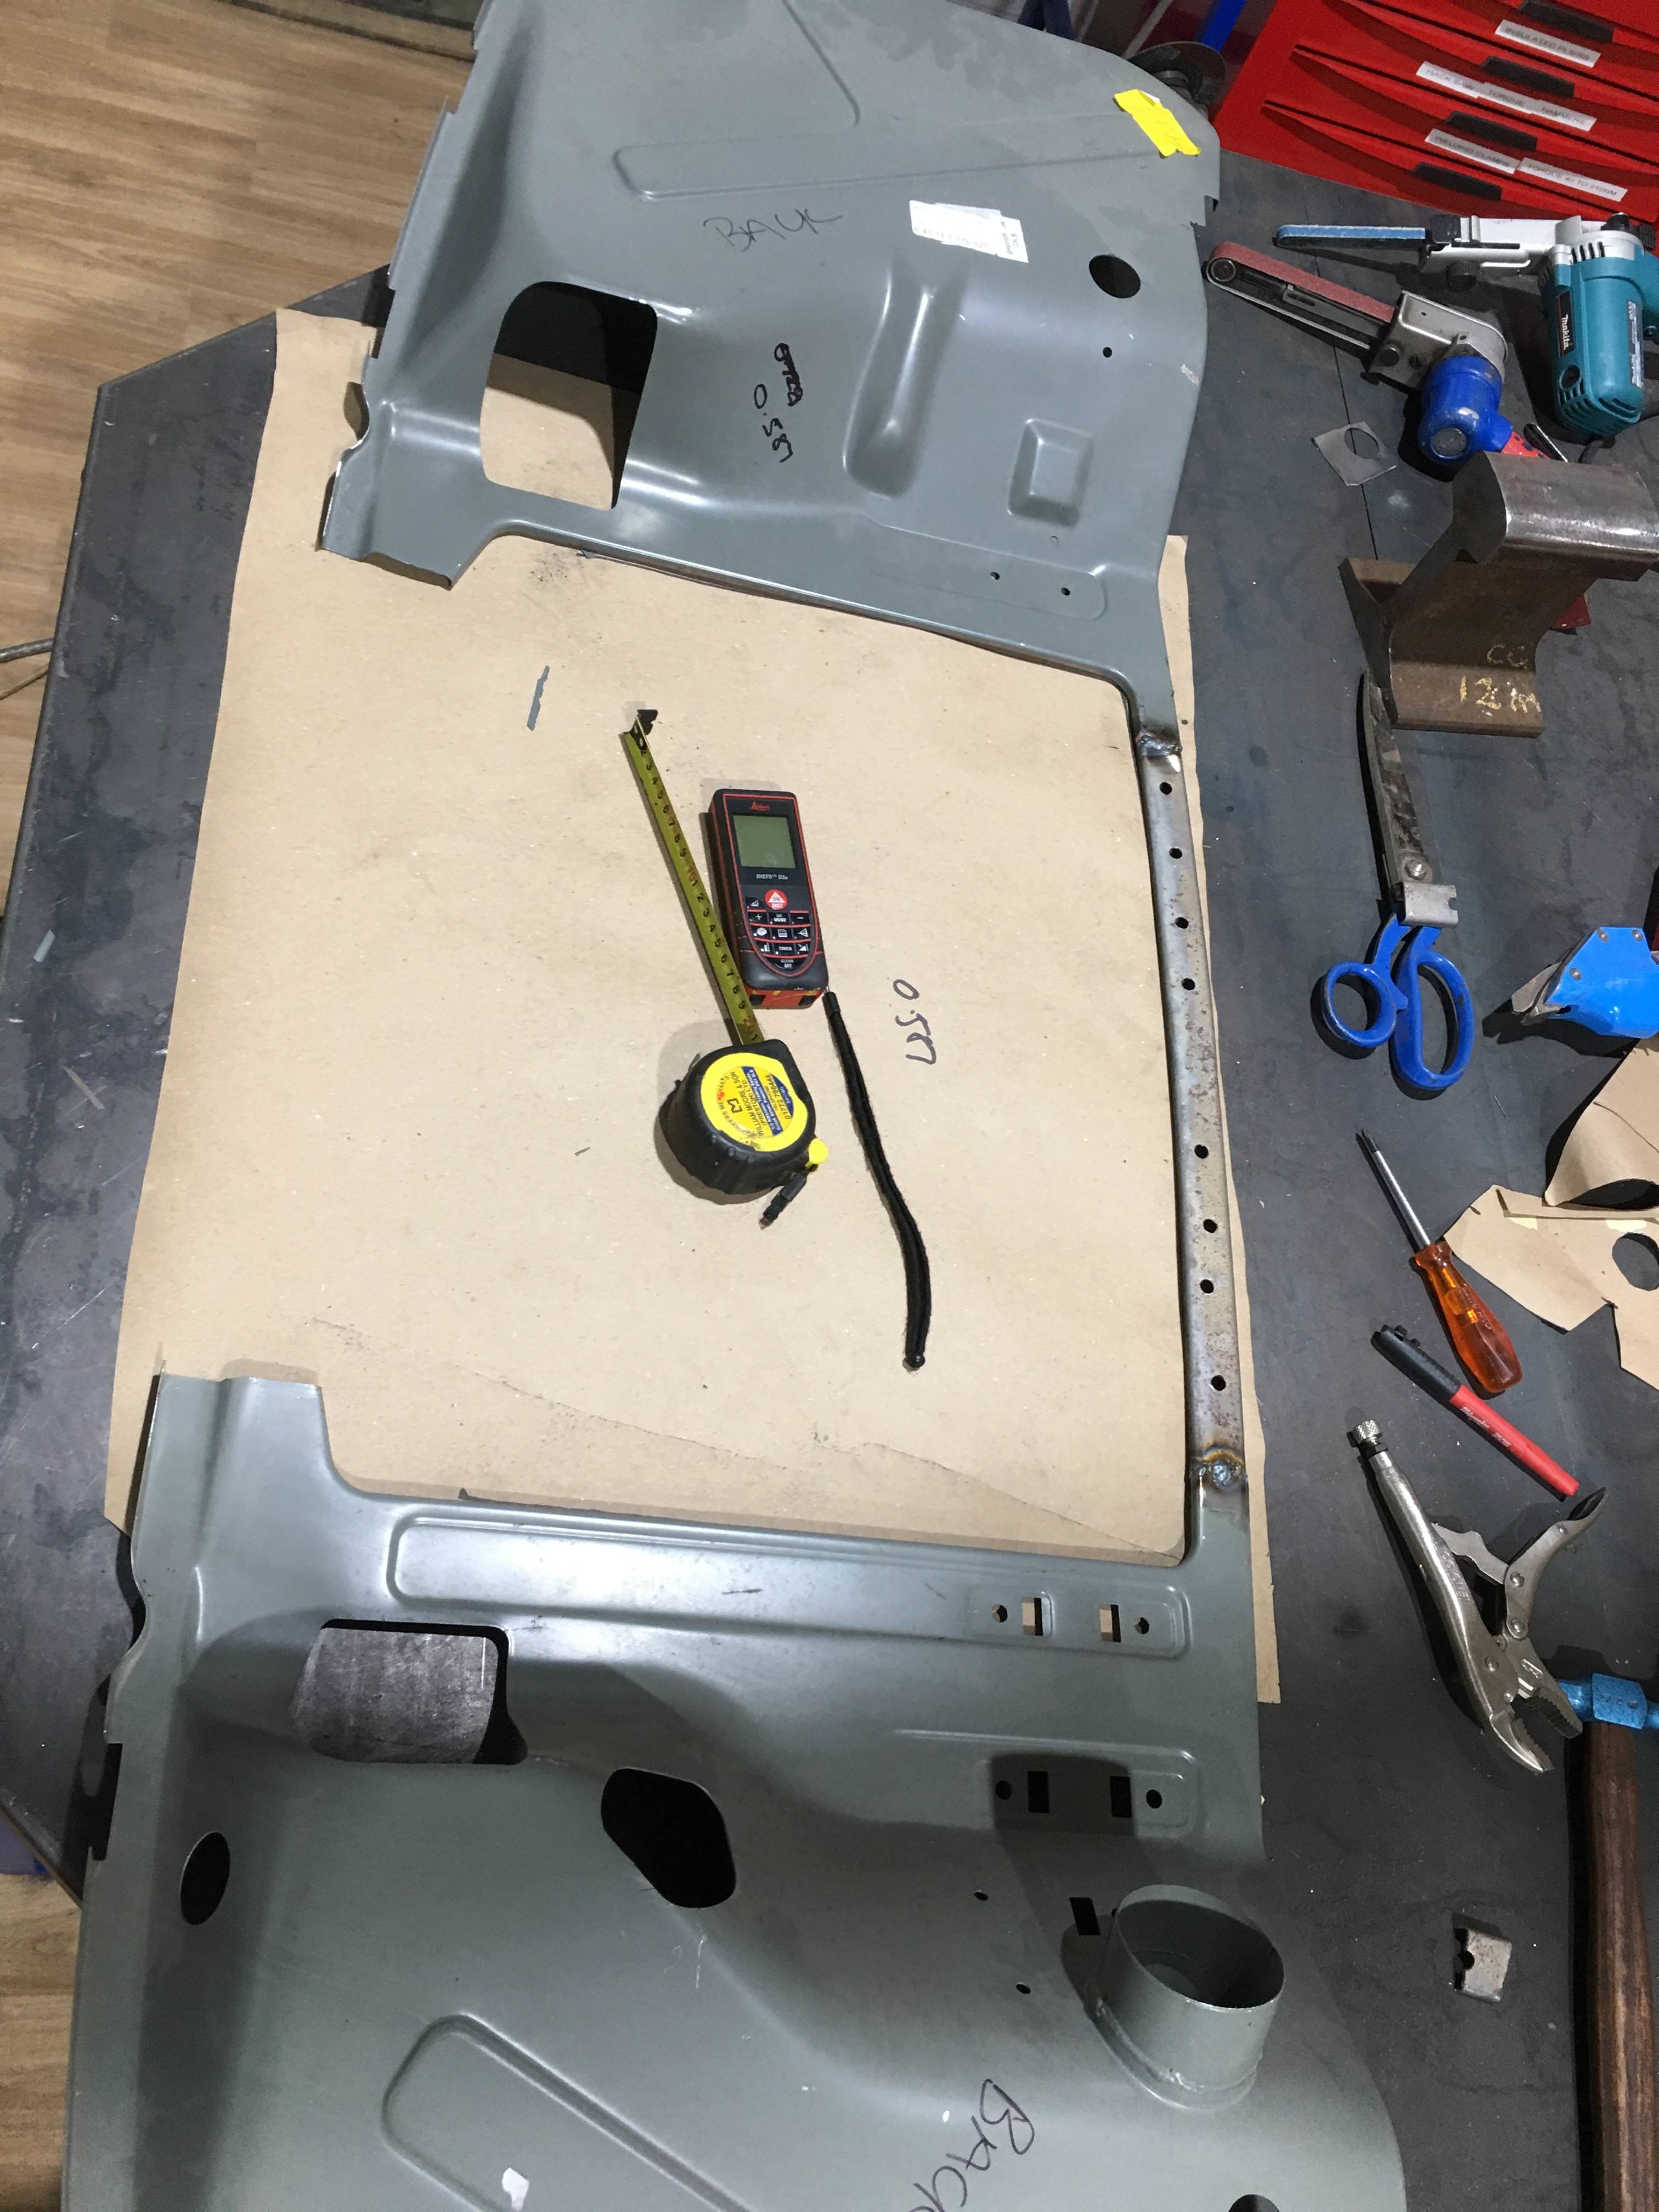
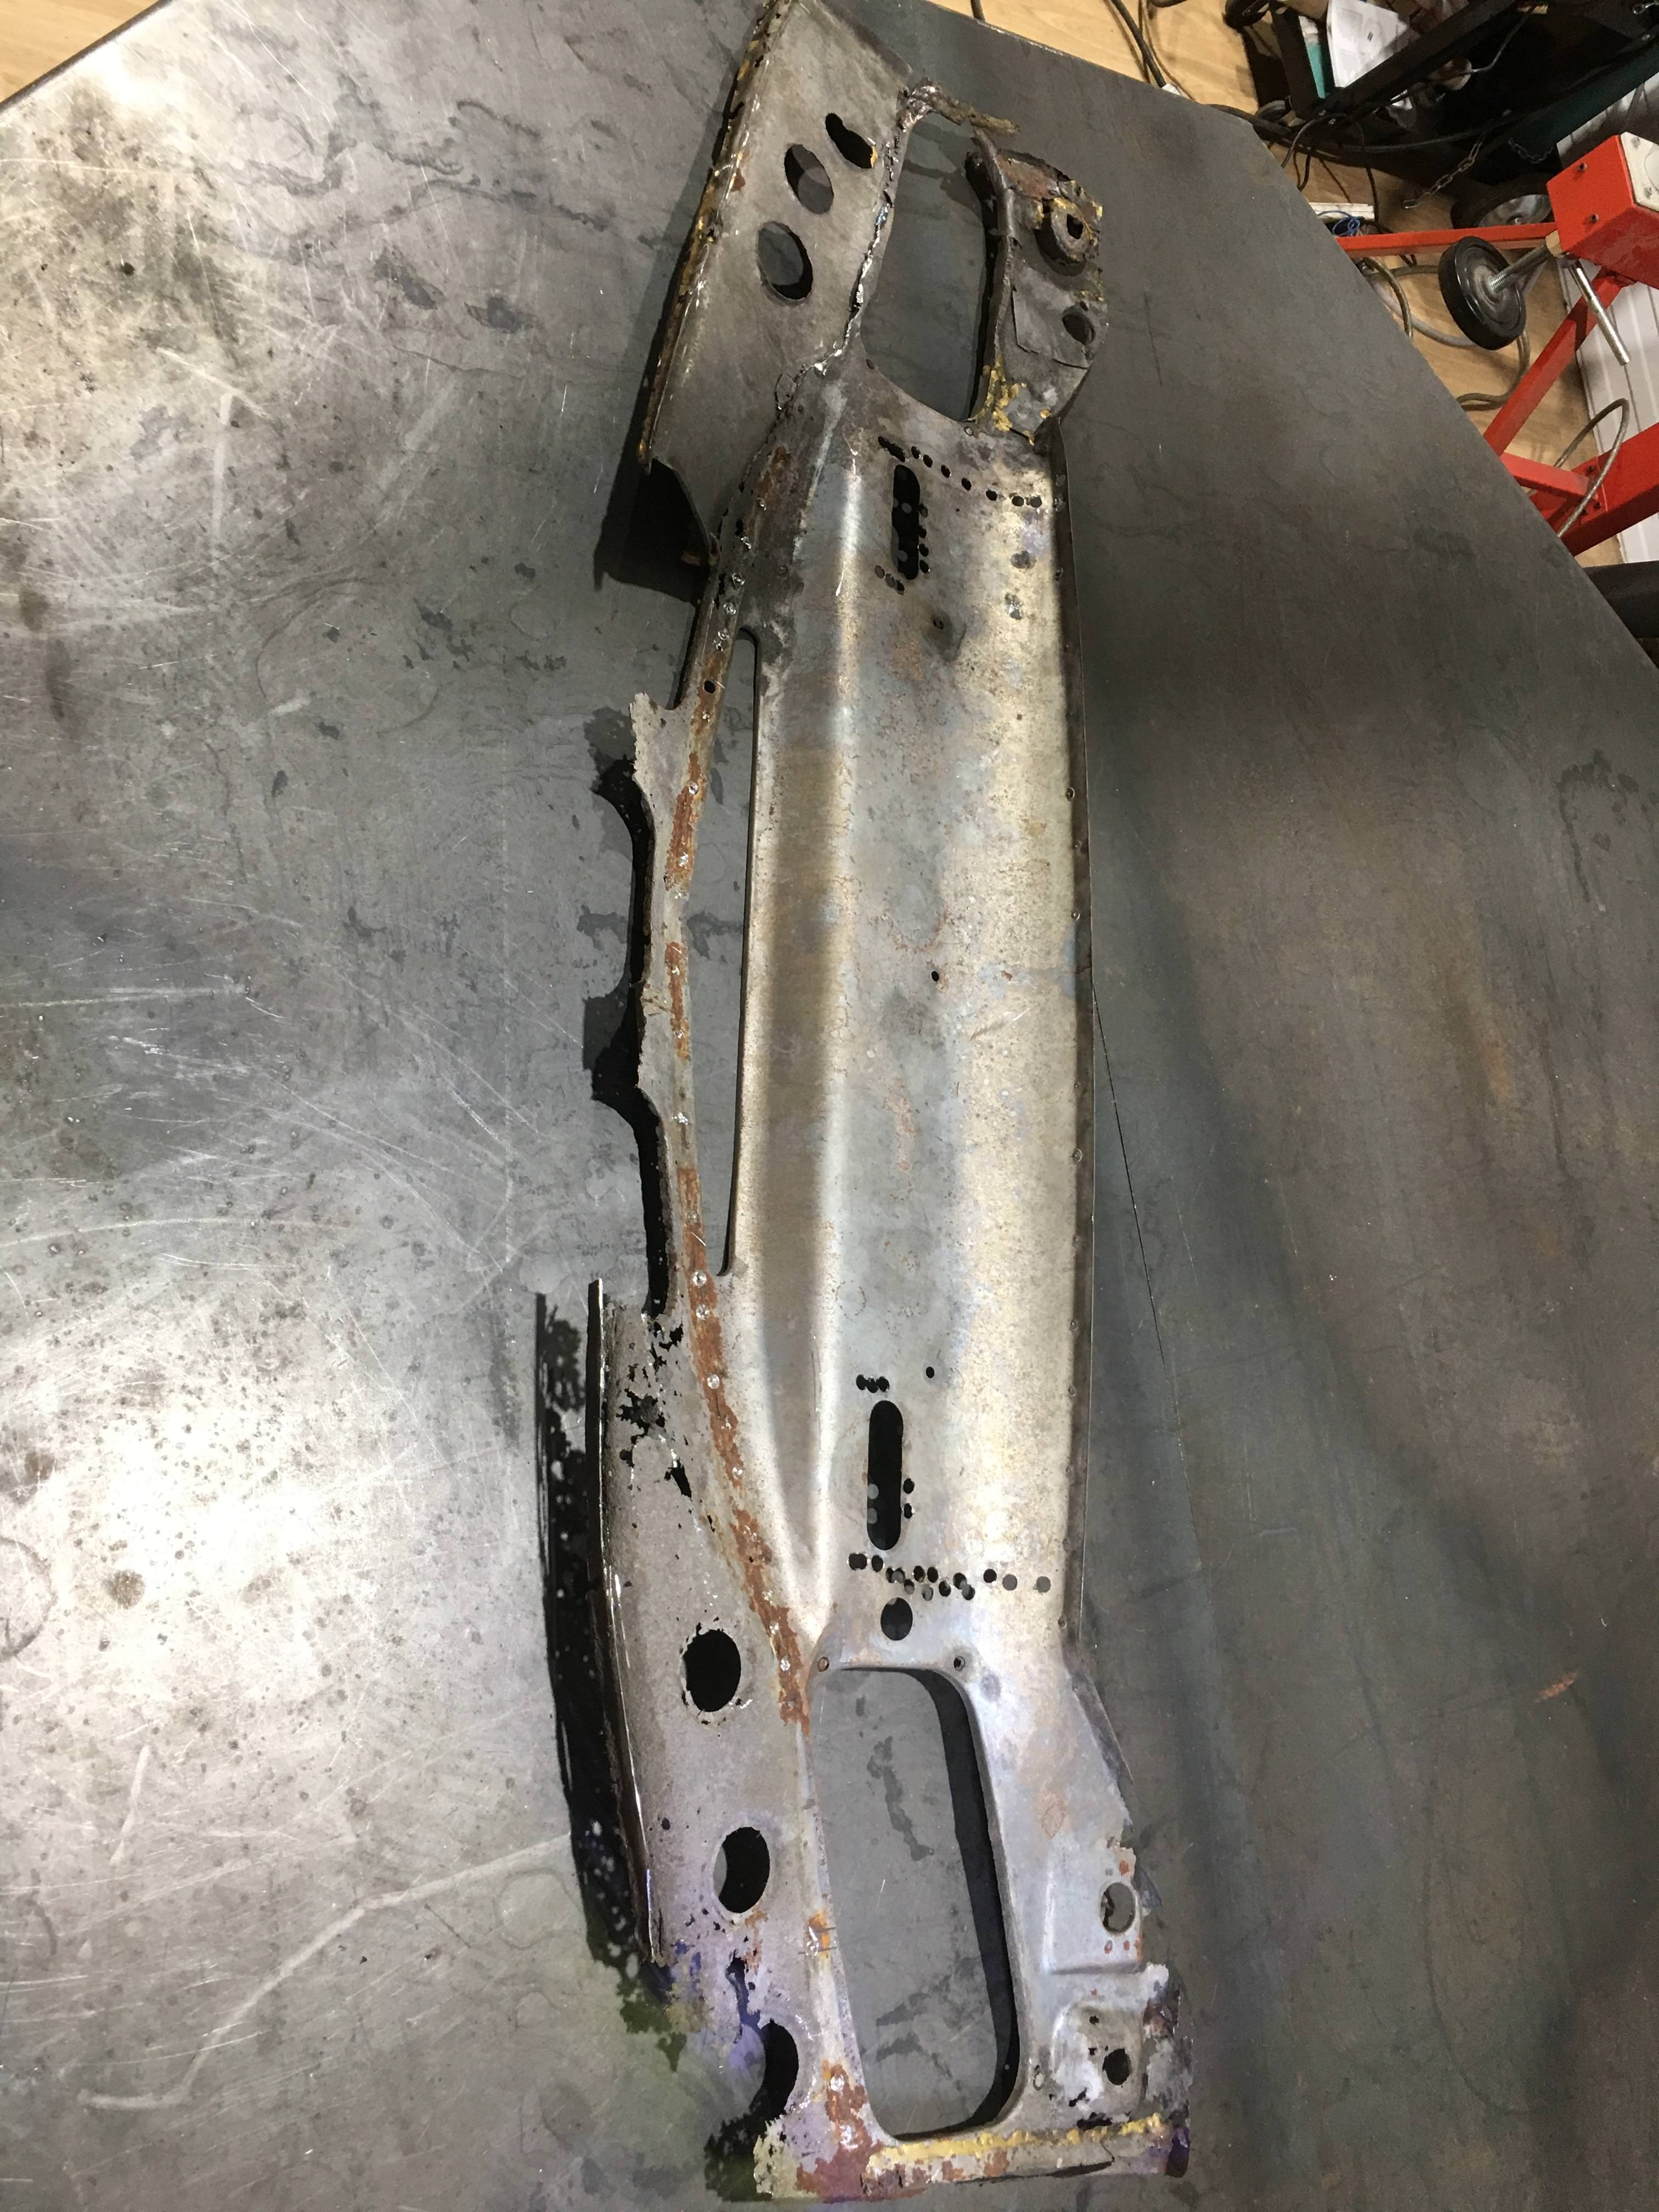
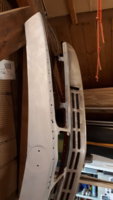
I started by getting my laser measure out and taking precise measurements from the LHS A post to the LHS B Post…

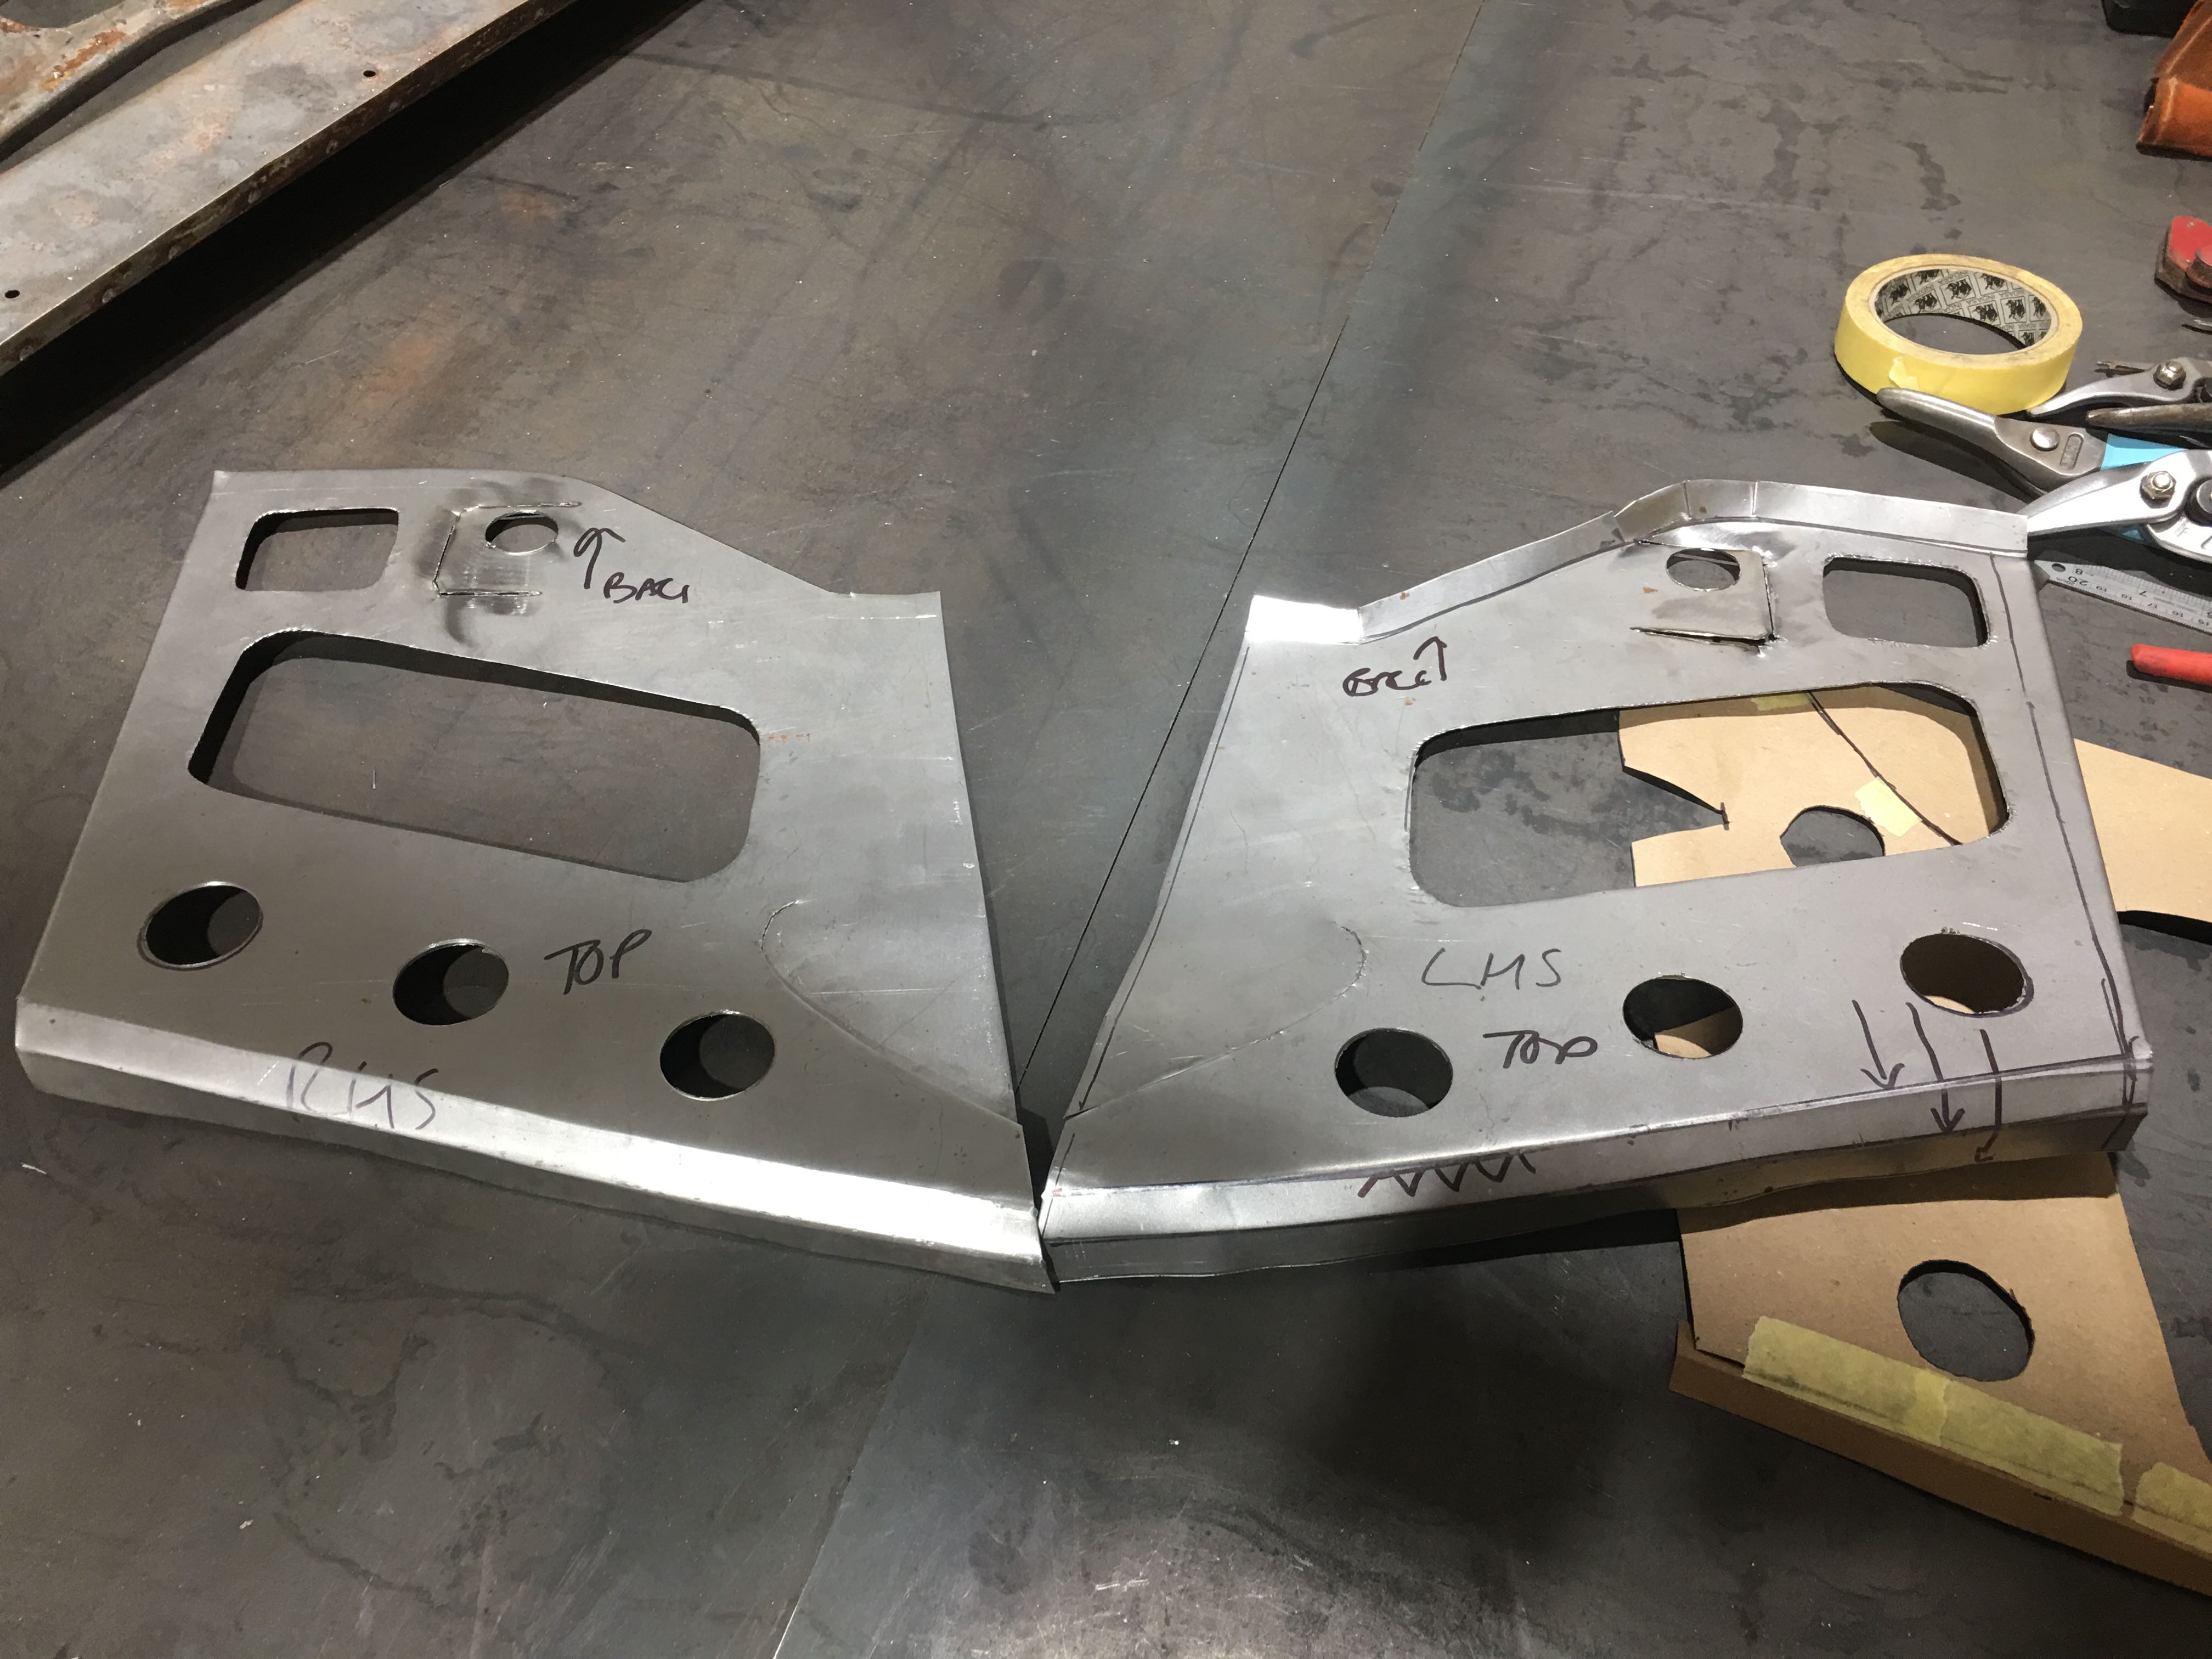
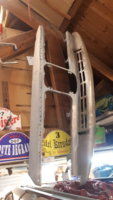
Put in the new A post and adjusted it to the same sizes as the other side…

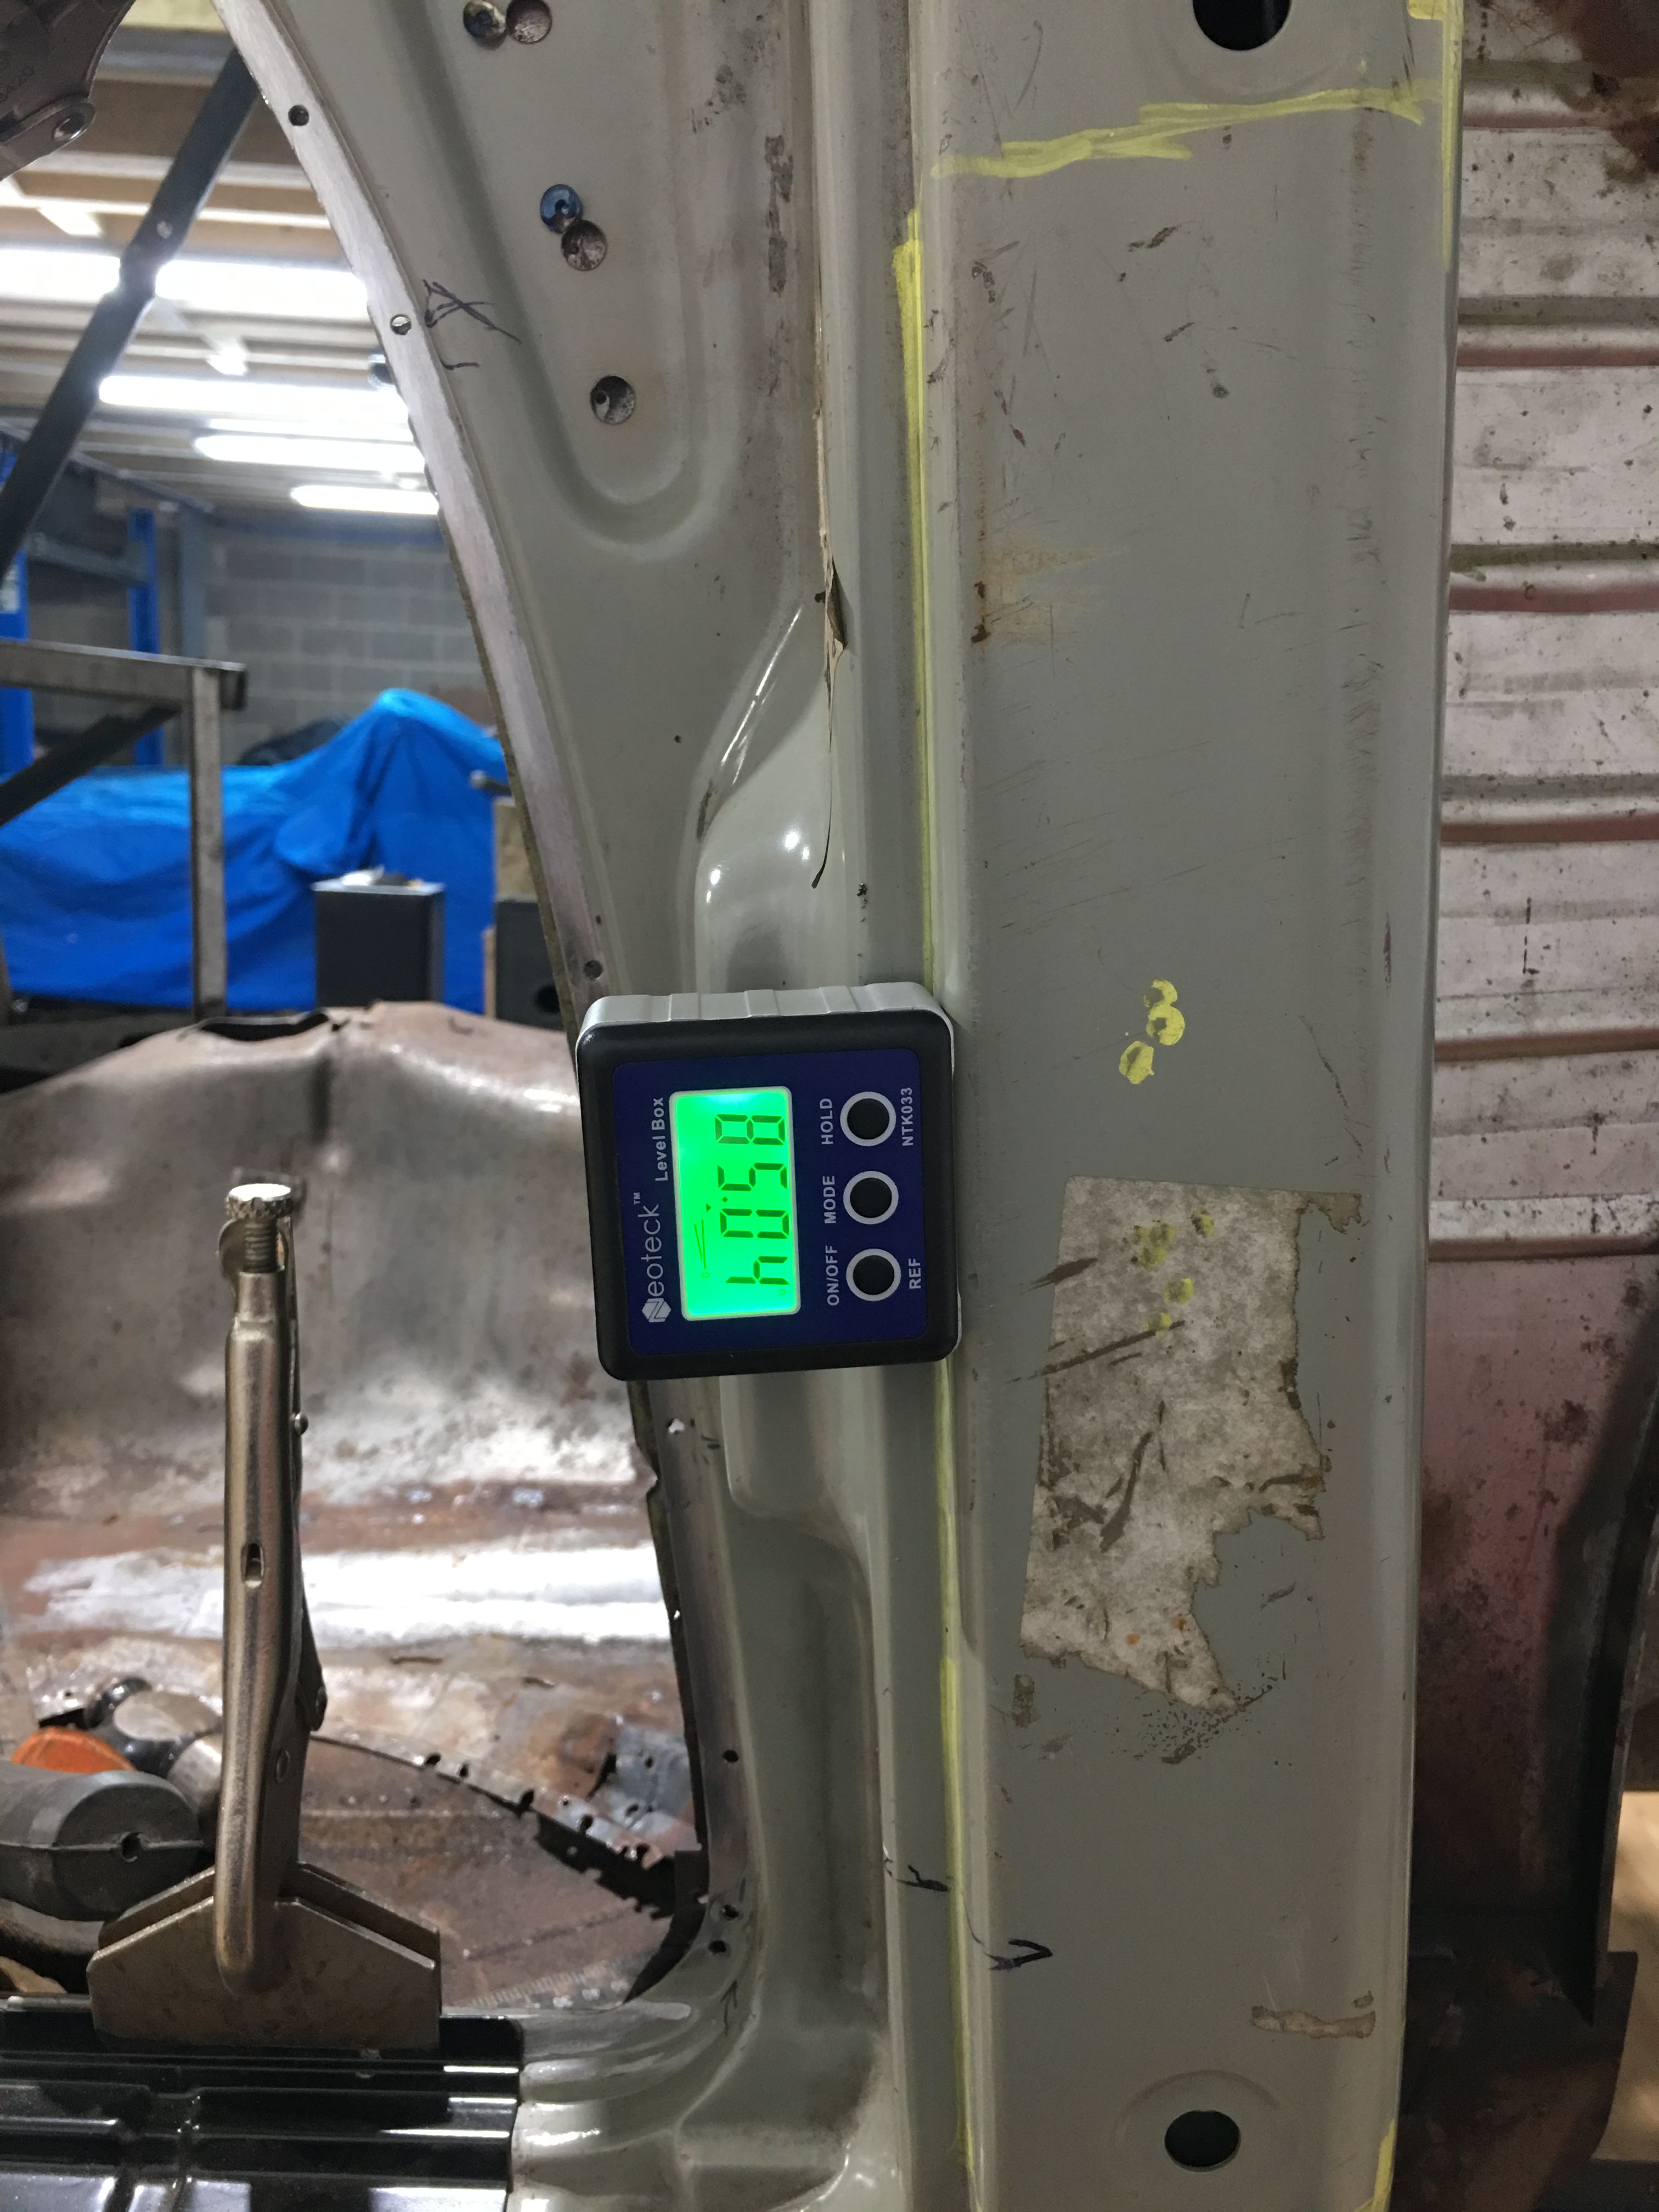
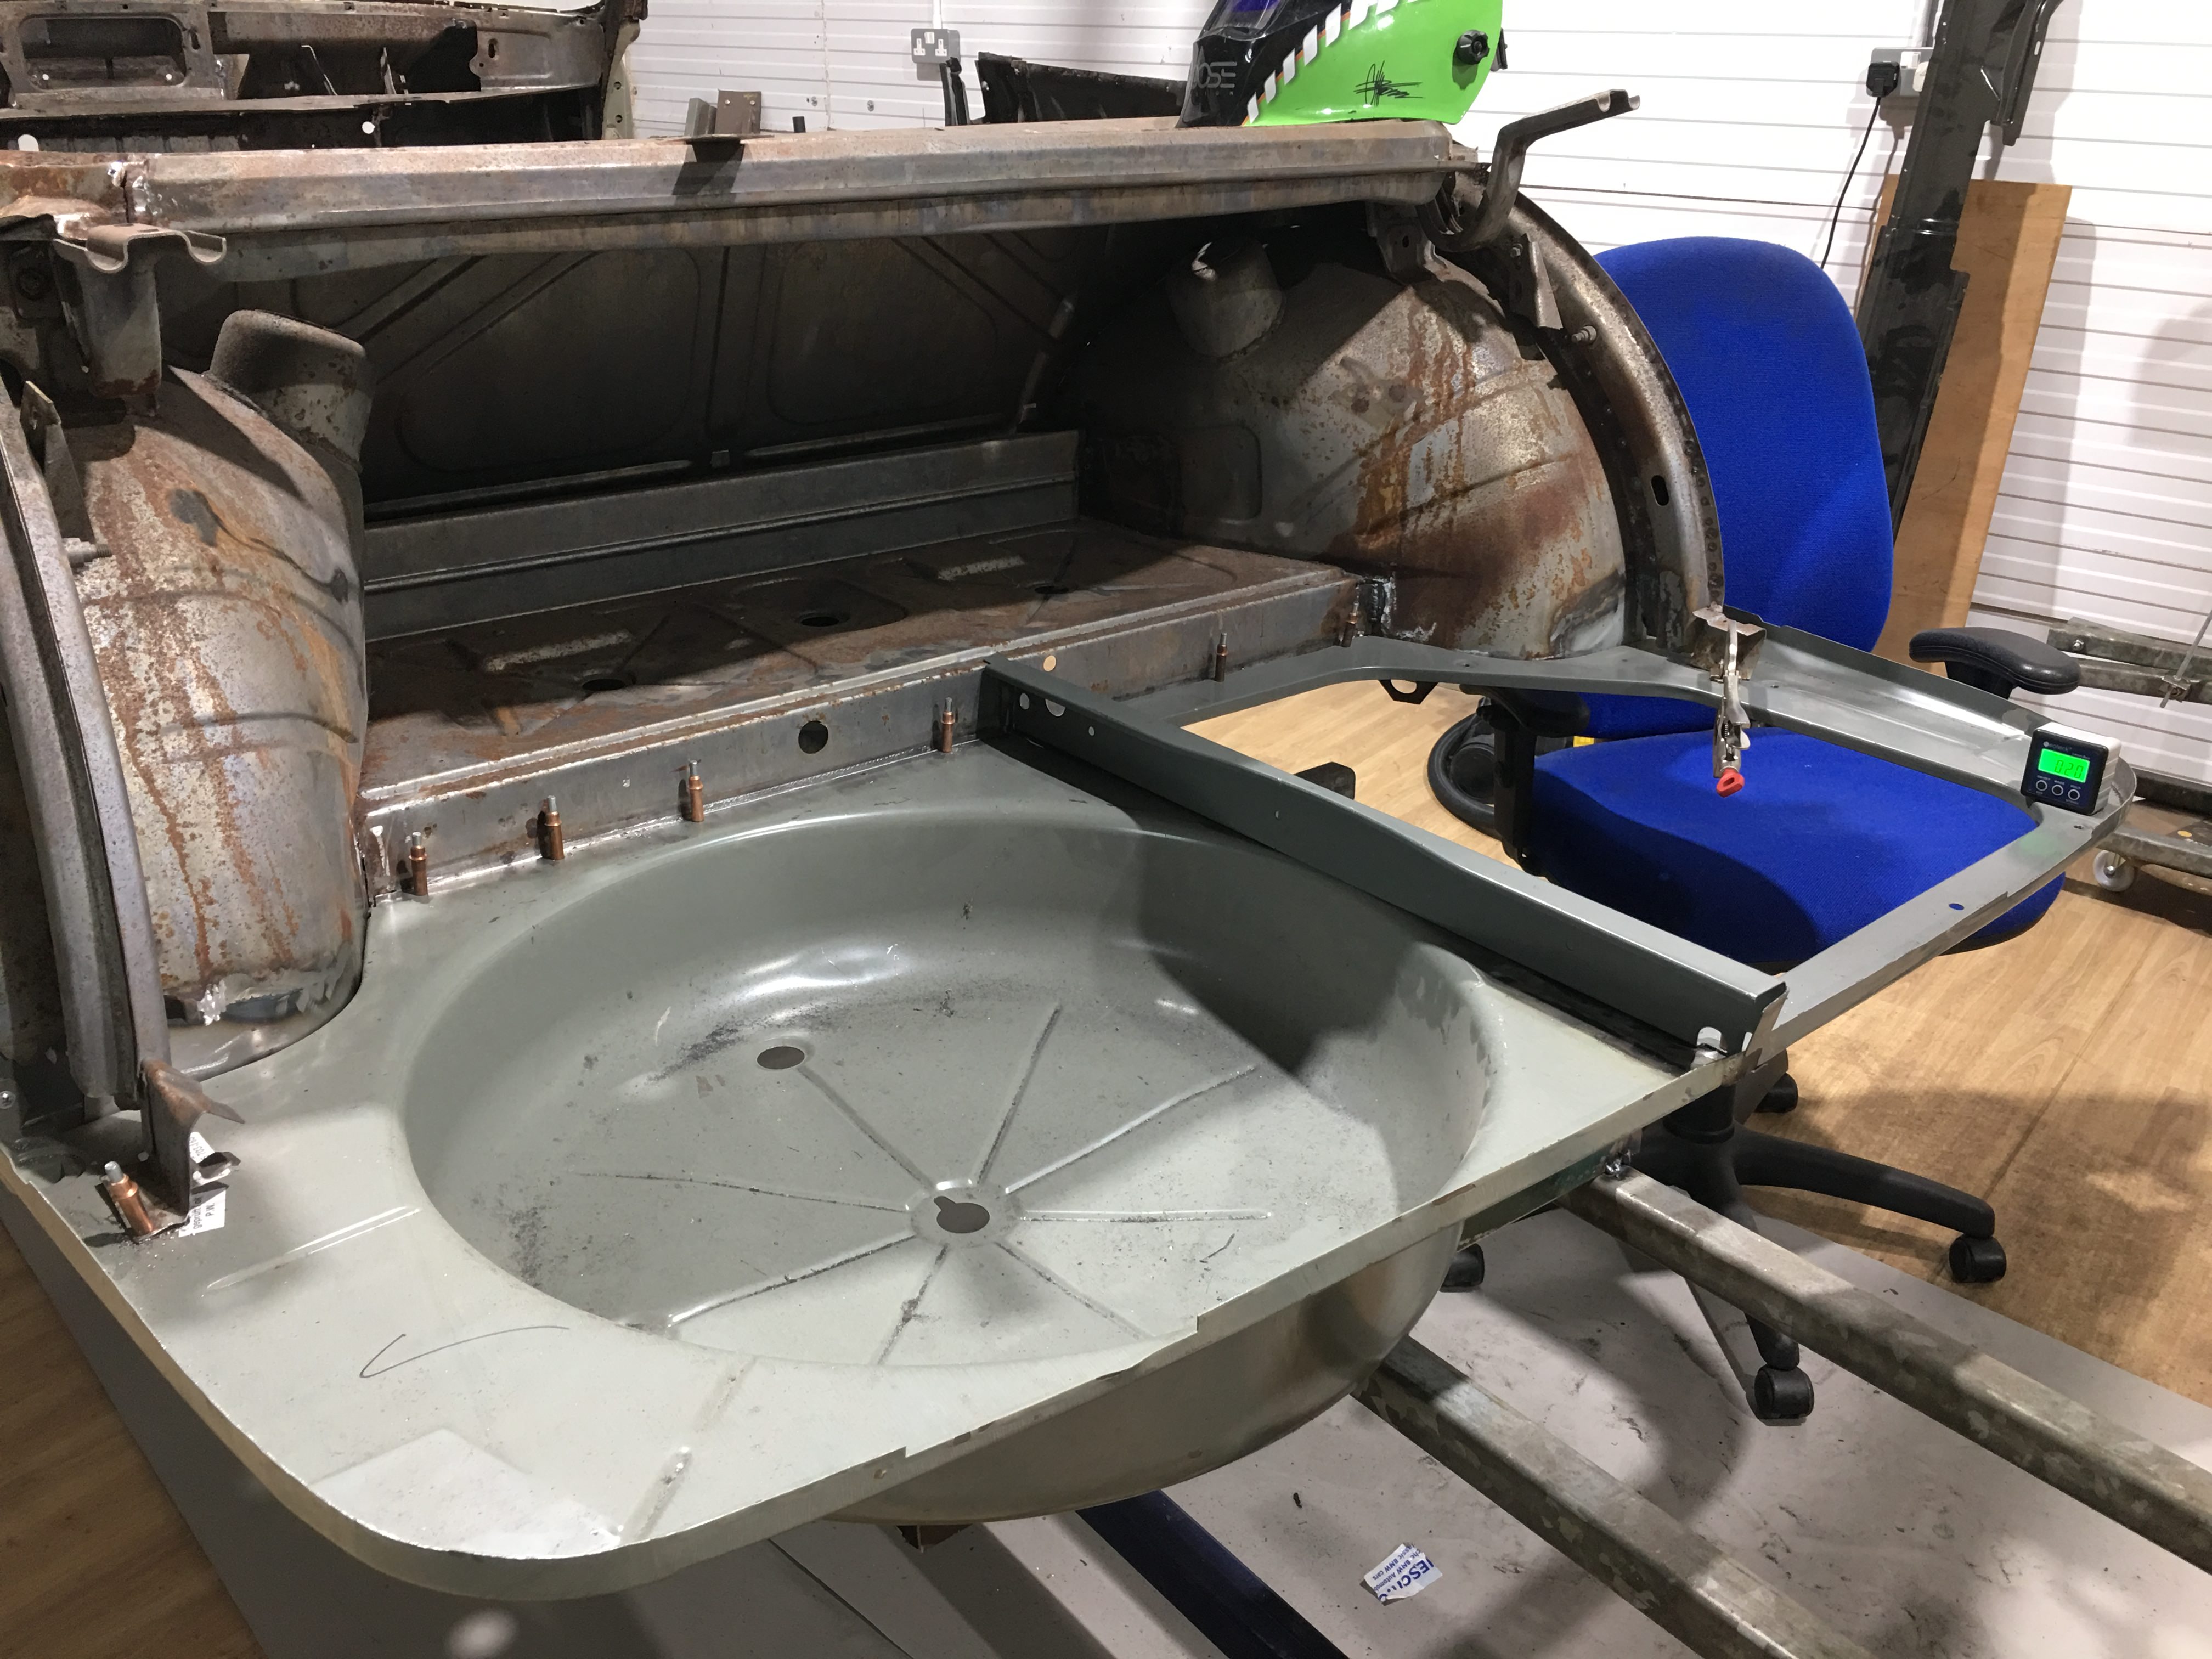
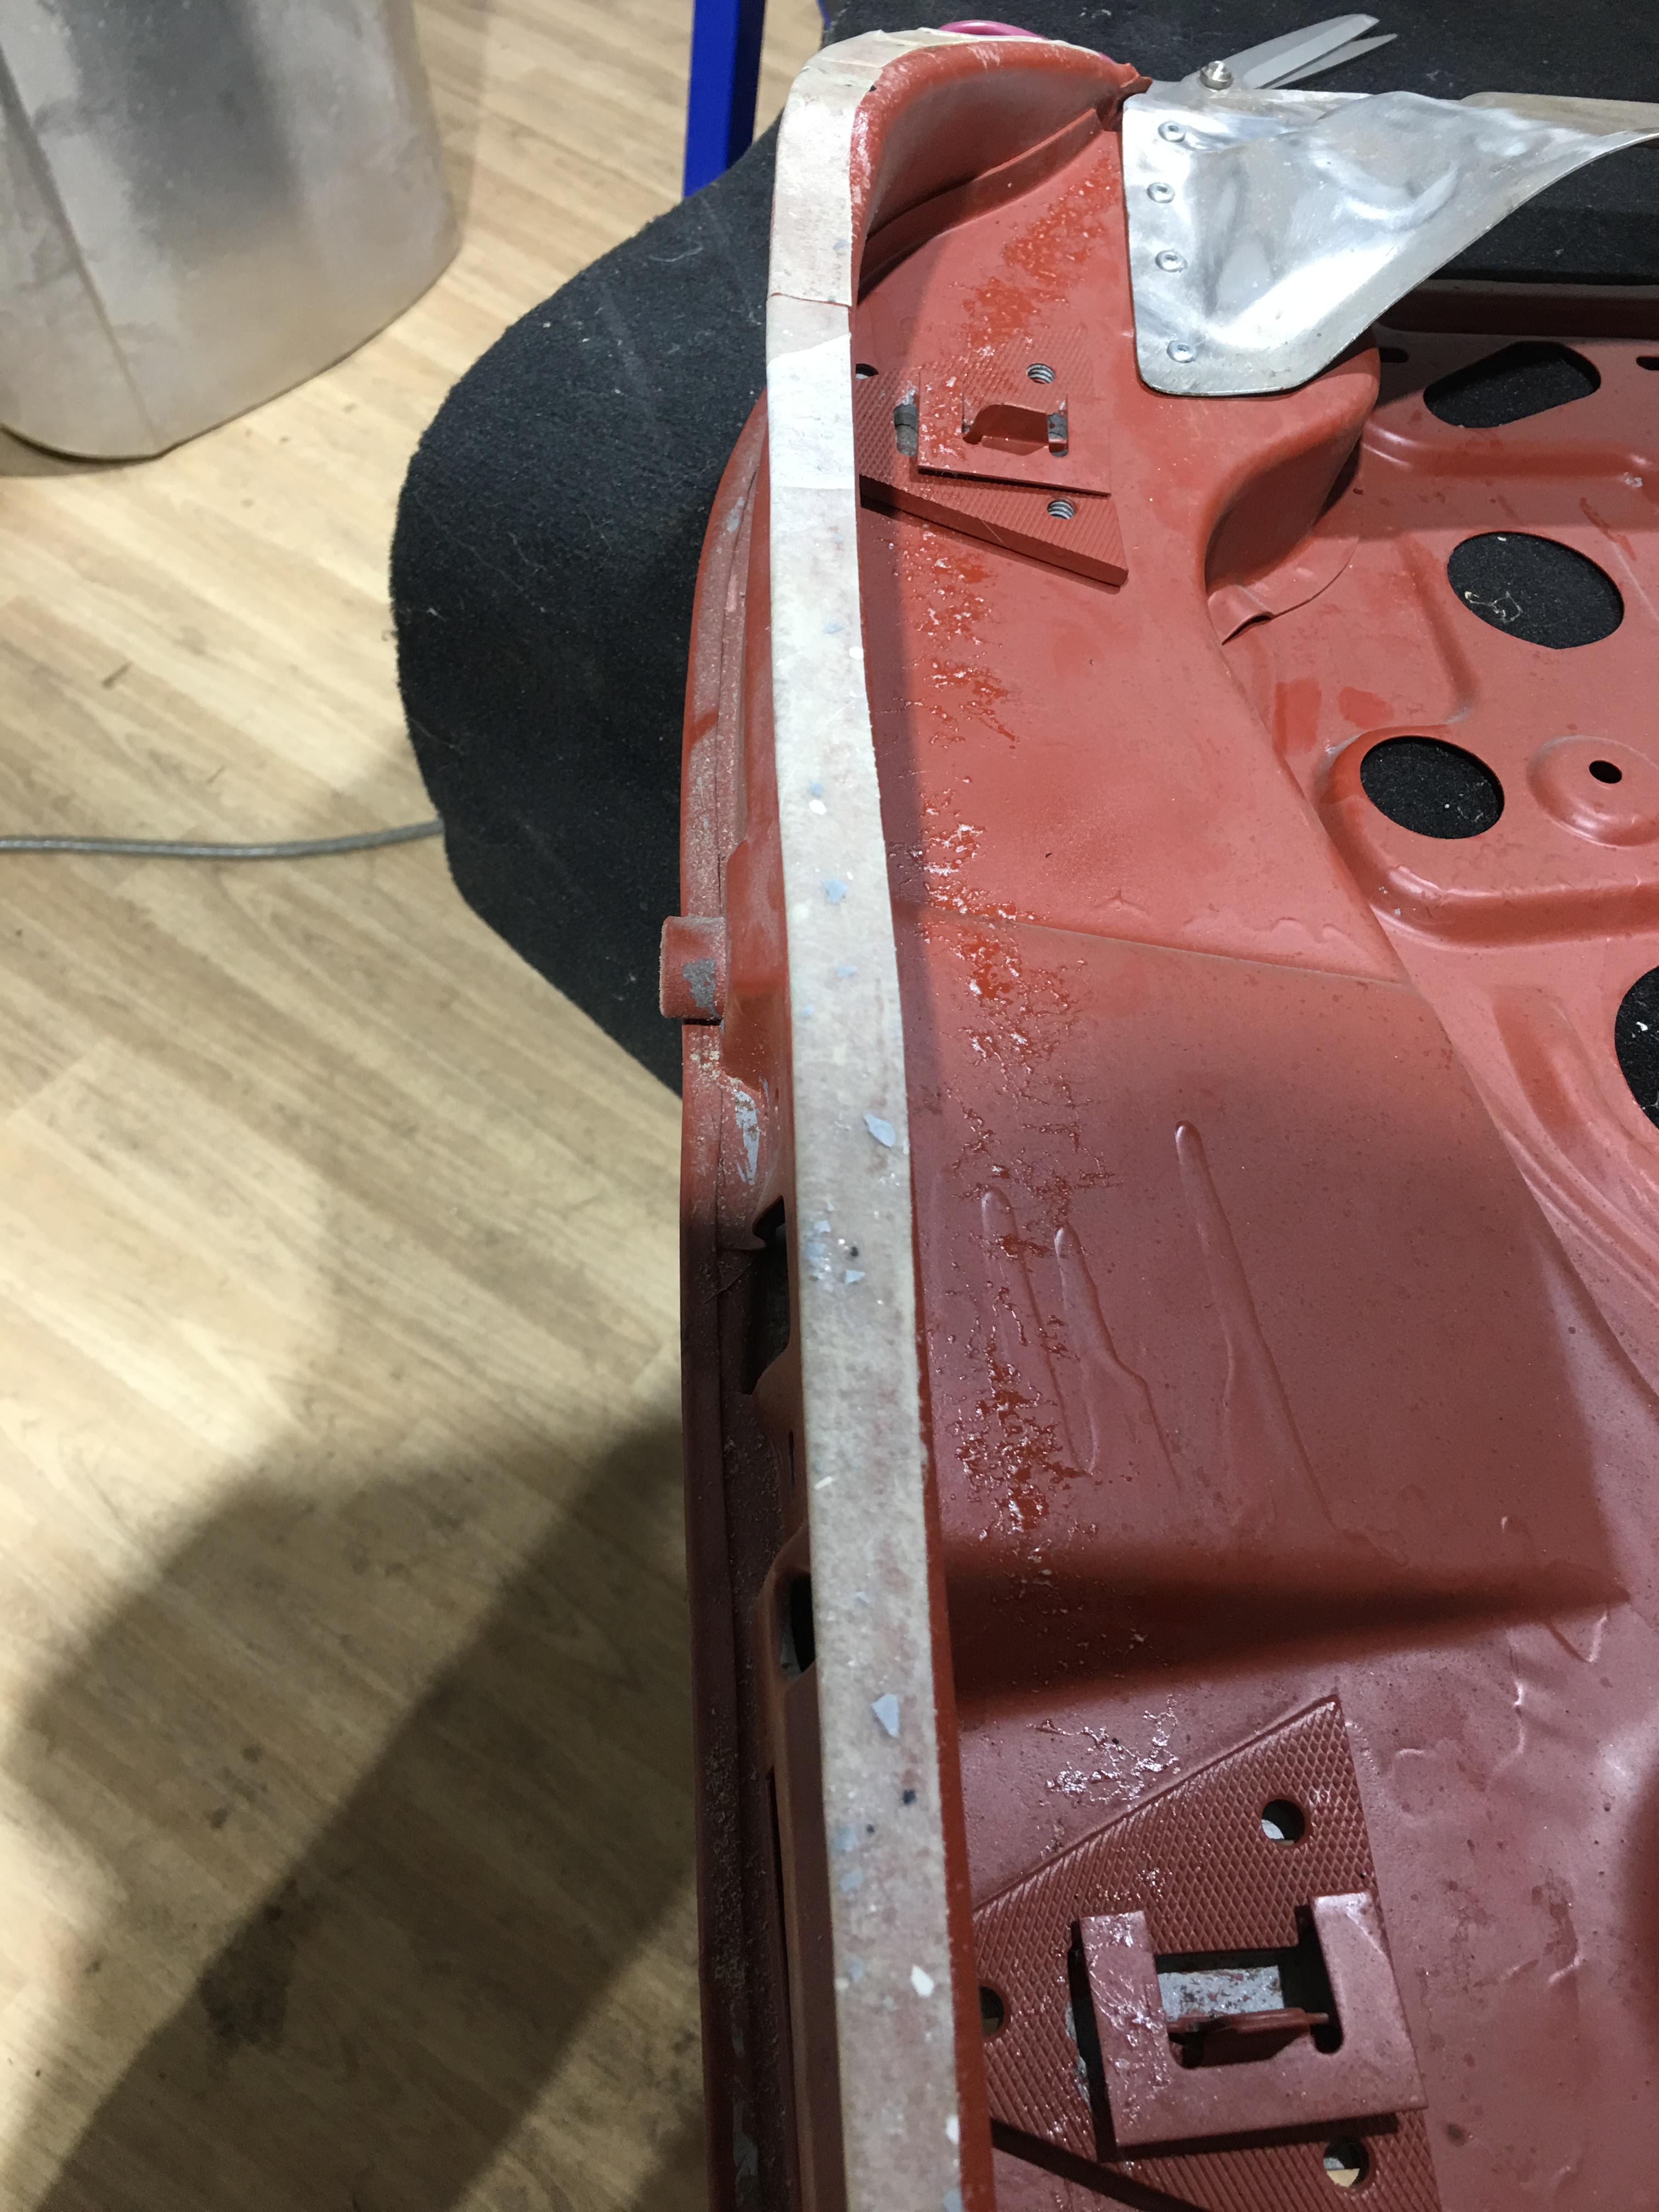
But then I started worrying about the angles of the A post and had no way to check that they were right, as a spirt level is to vague.

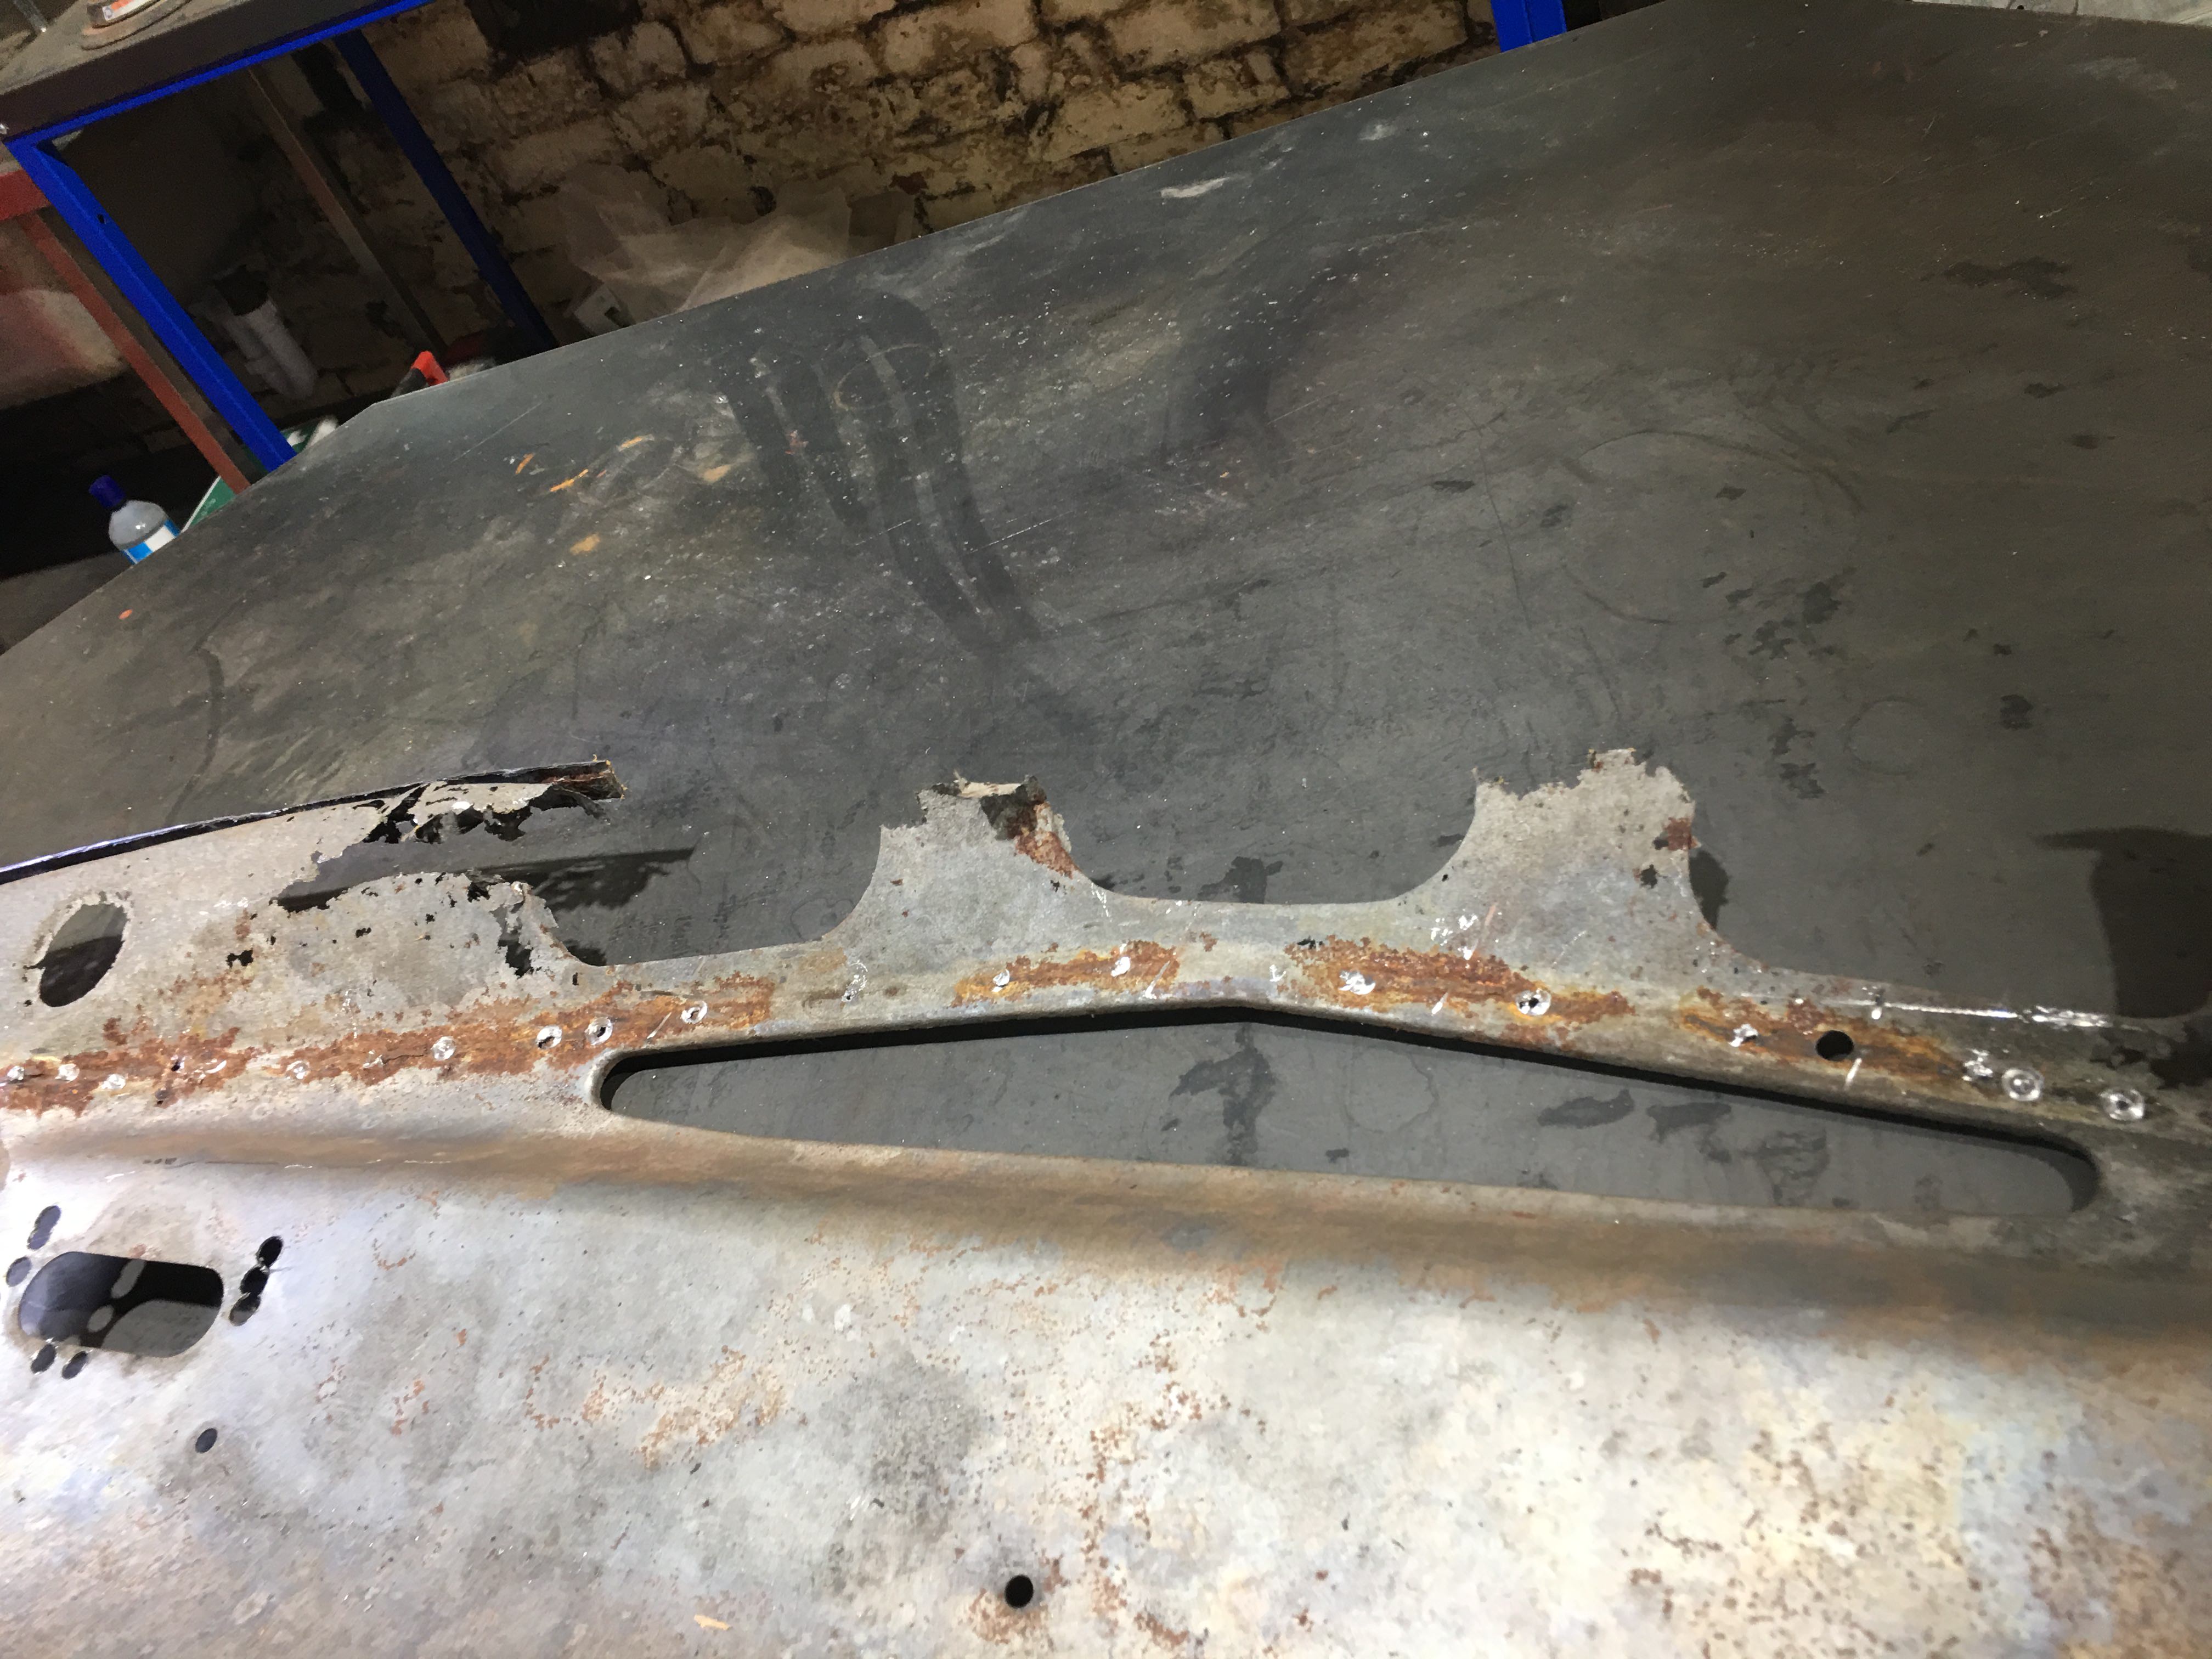
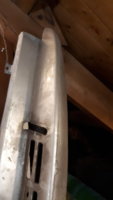
So, a quick look at eBay and I found a cheap “Digital Box Gauge Angle Protractor Level Inclinometer with a Magnetic base”

Set to, taking angle measurements (after getting the car level) from the untouched side and then adjusting the new side to the same angles.

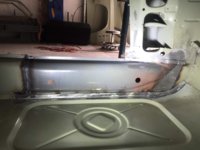
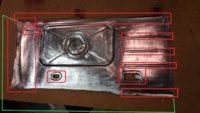
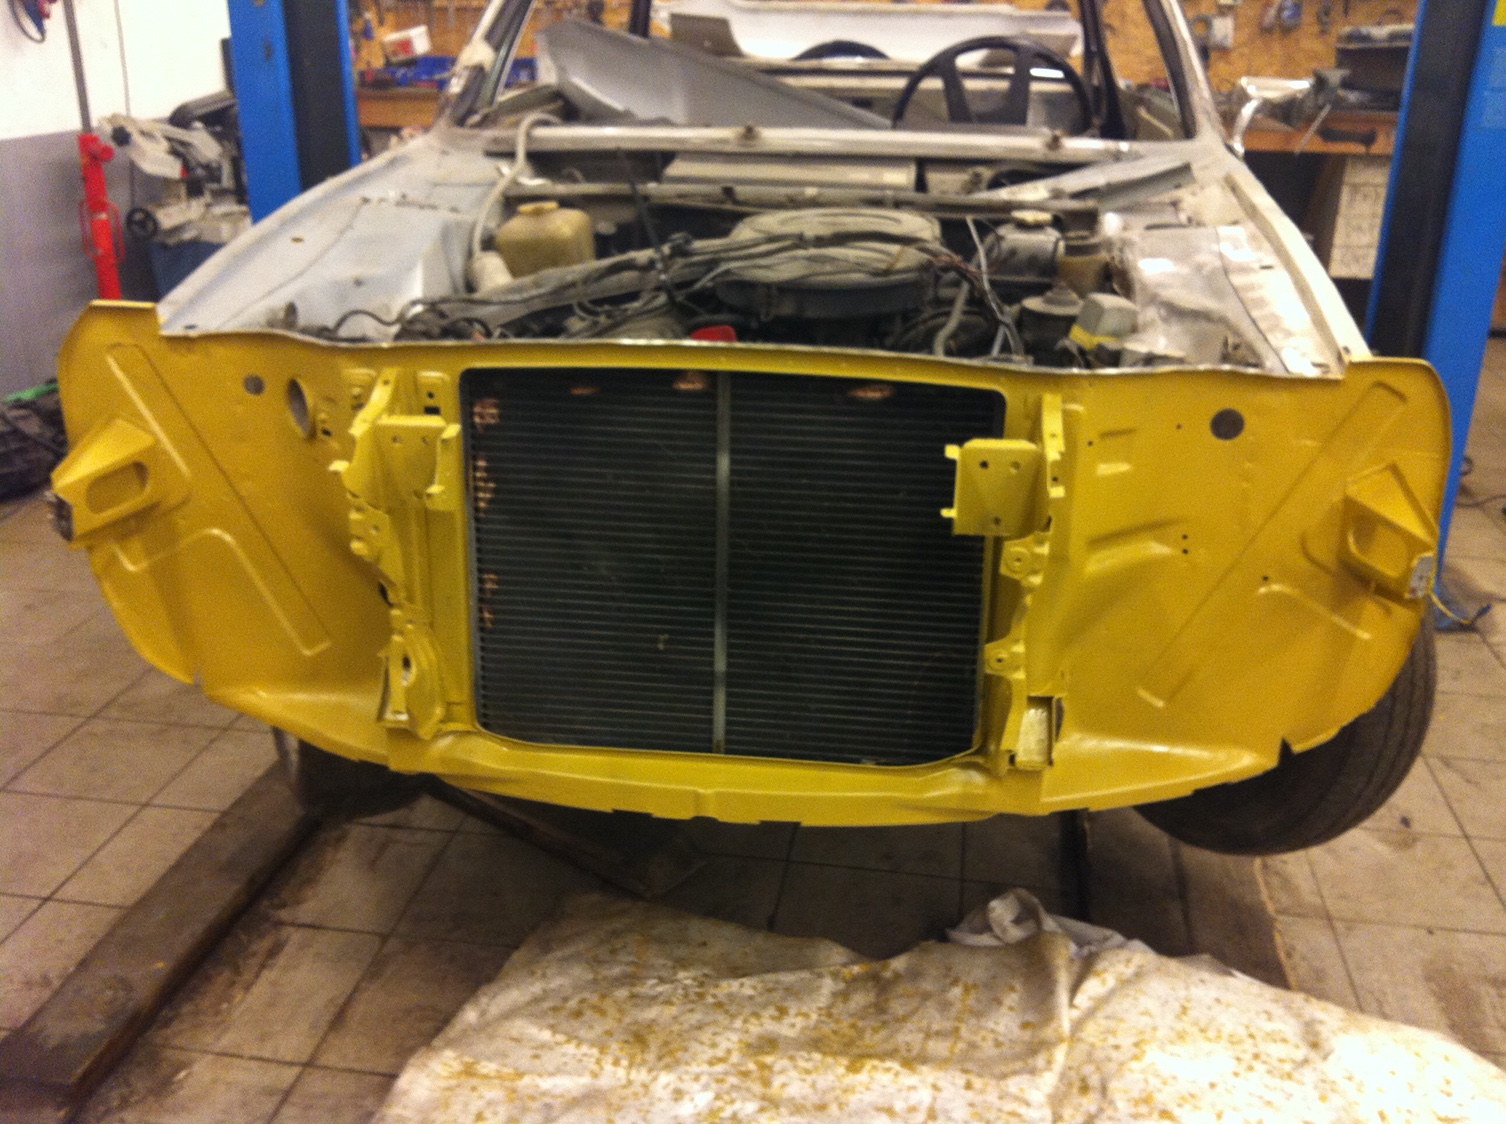
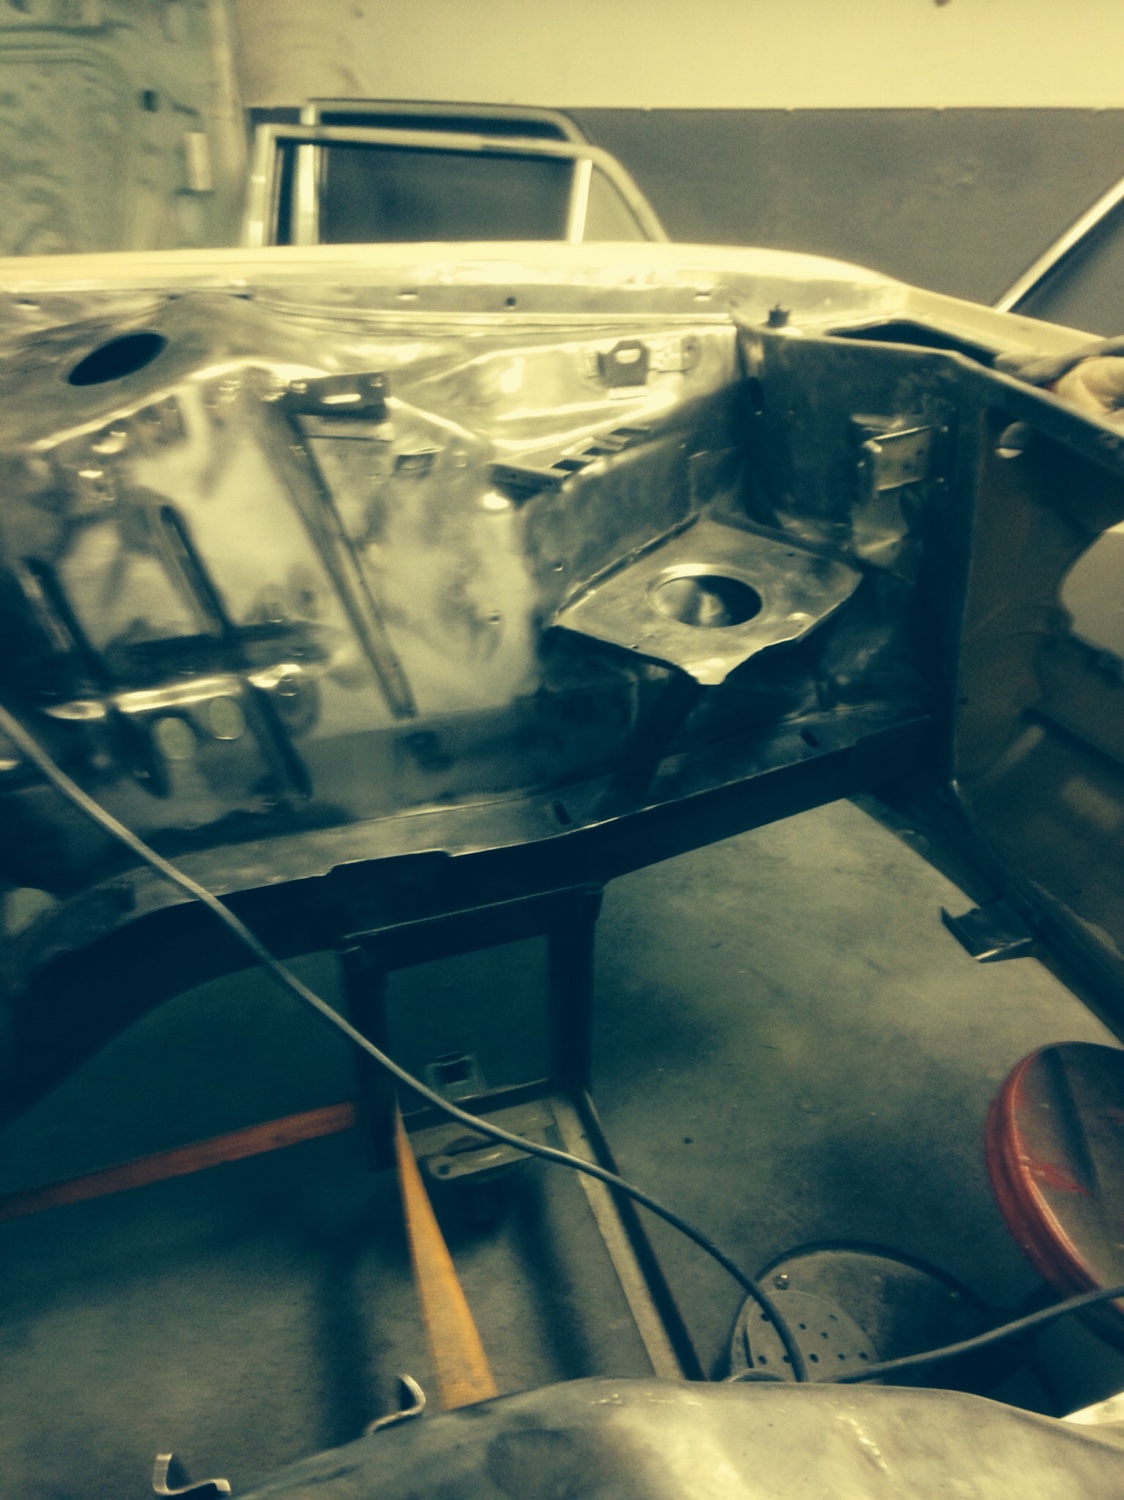
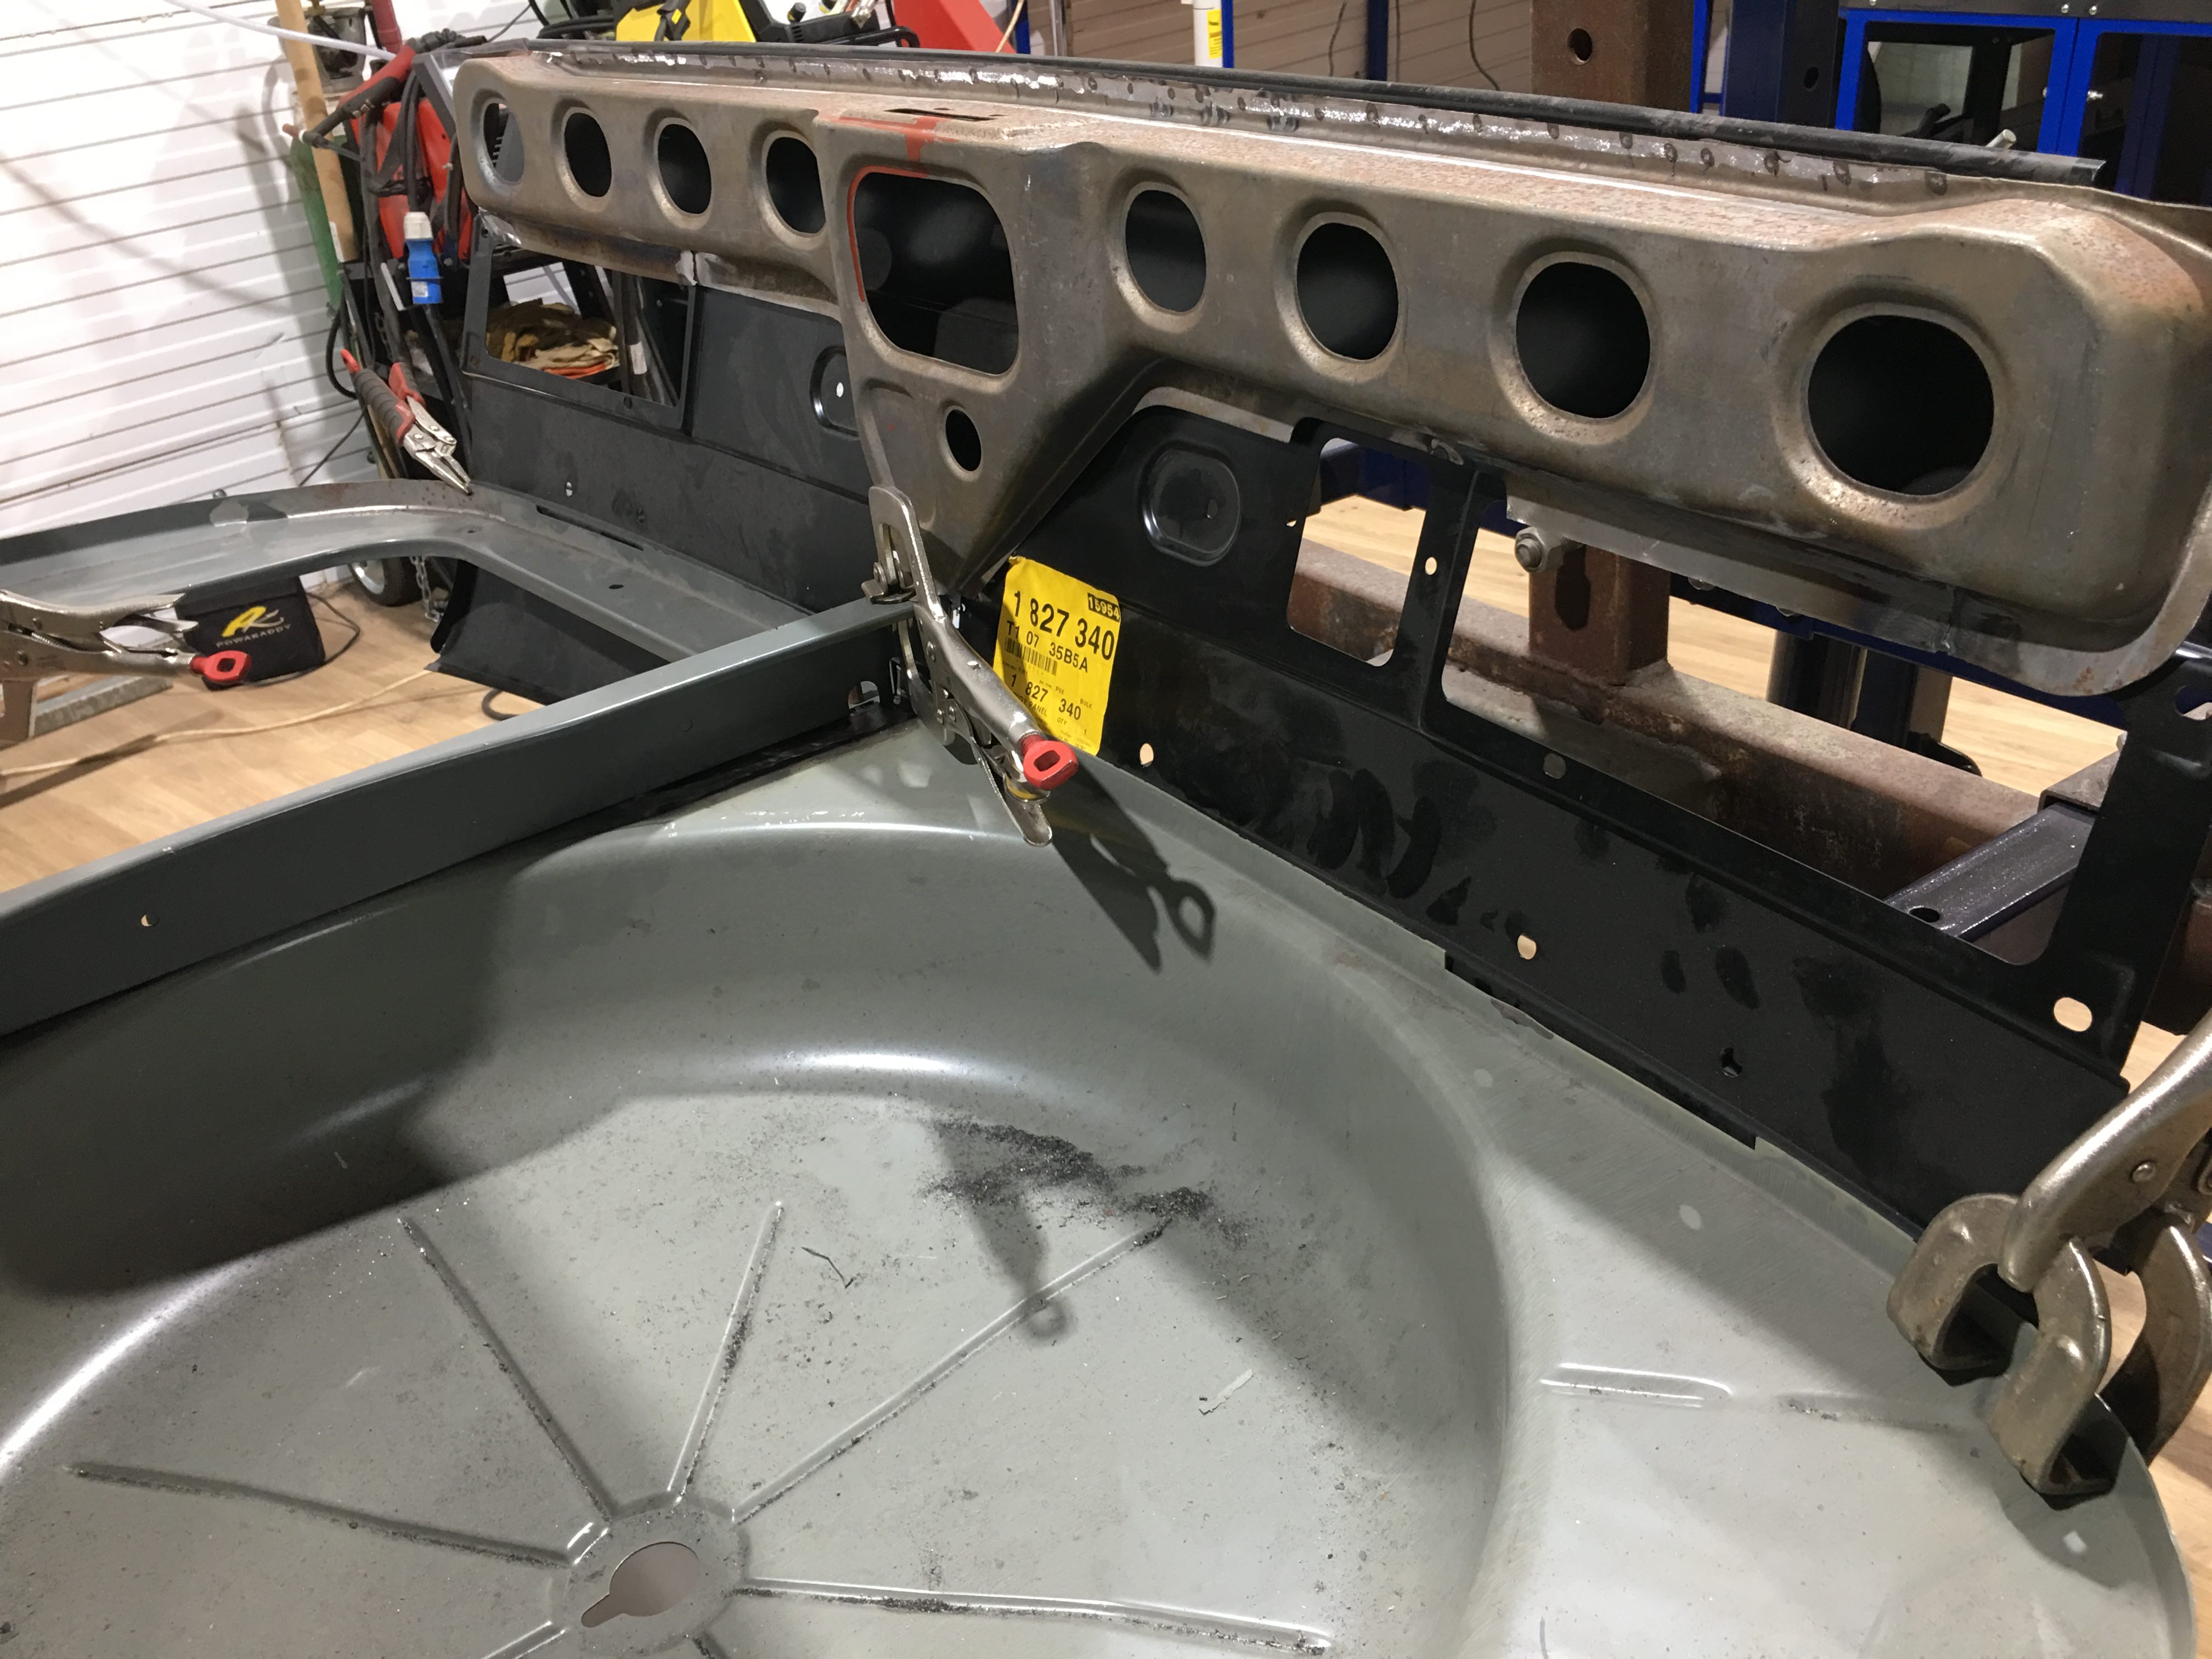
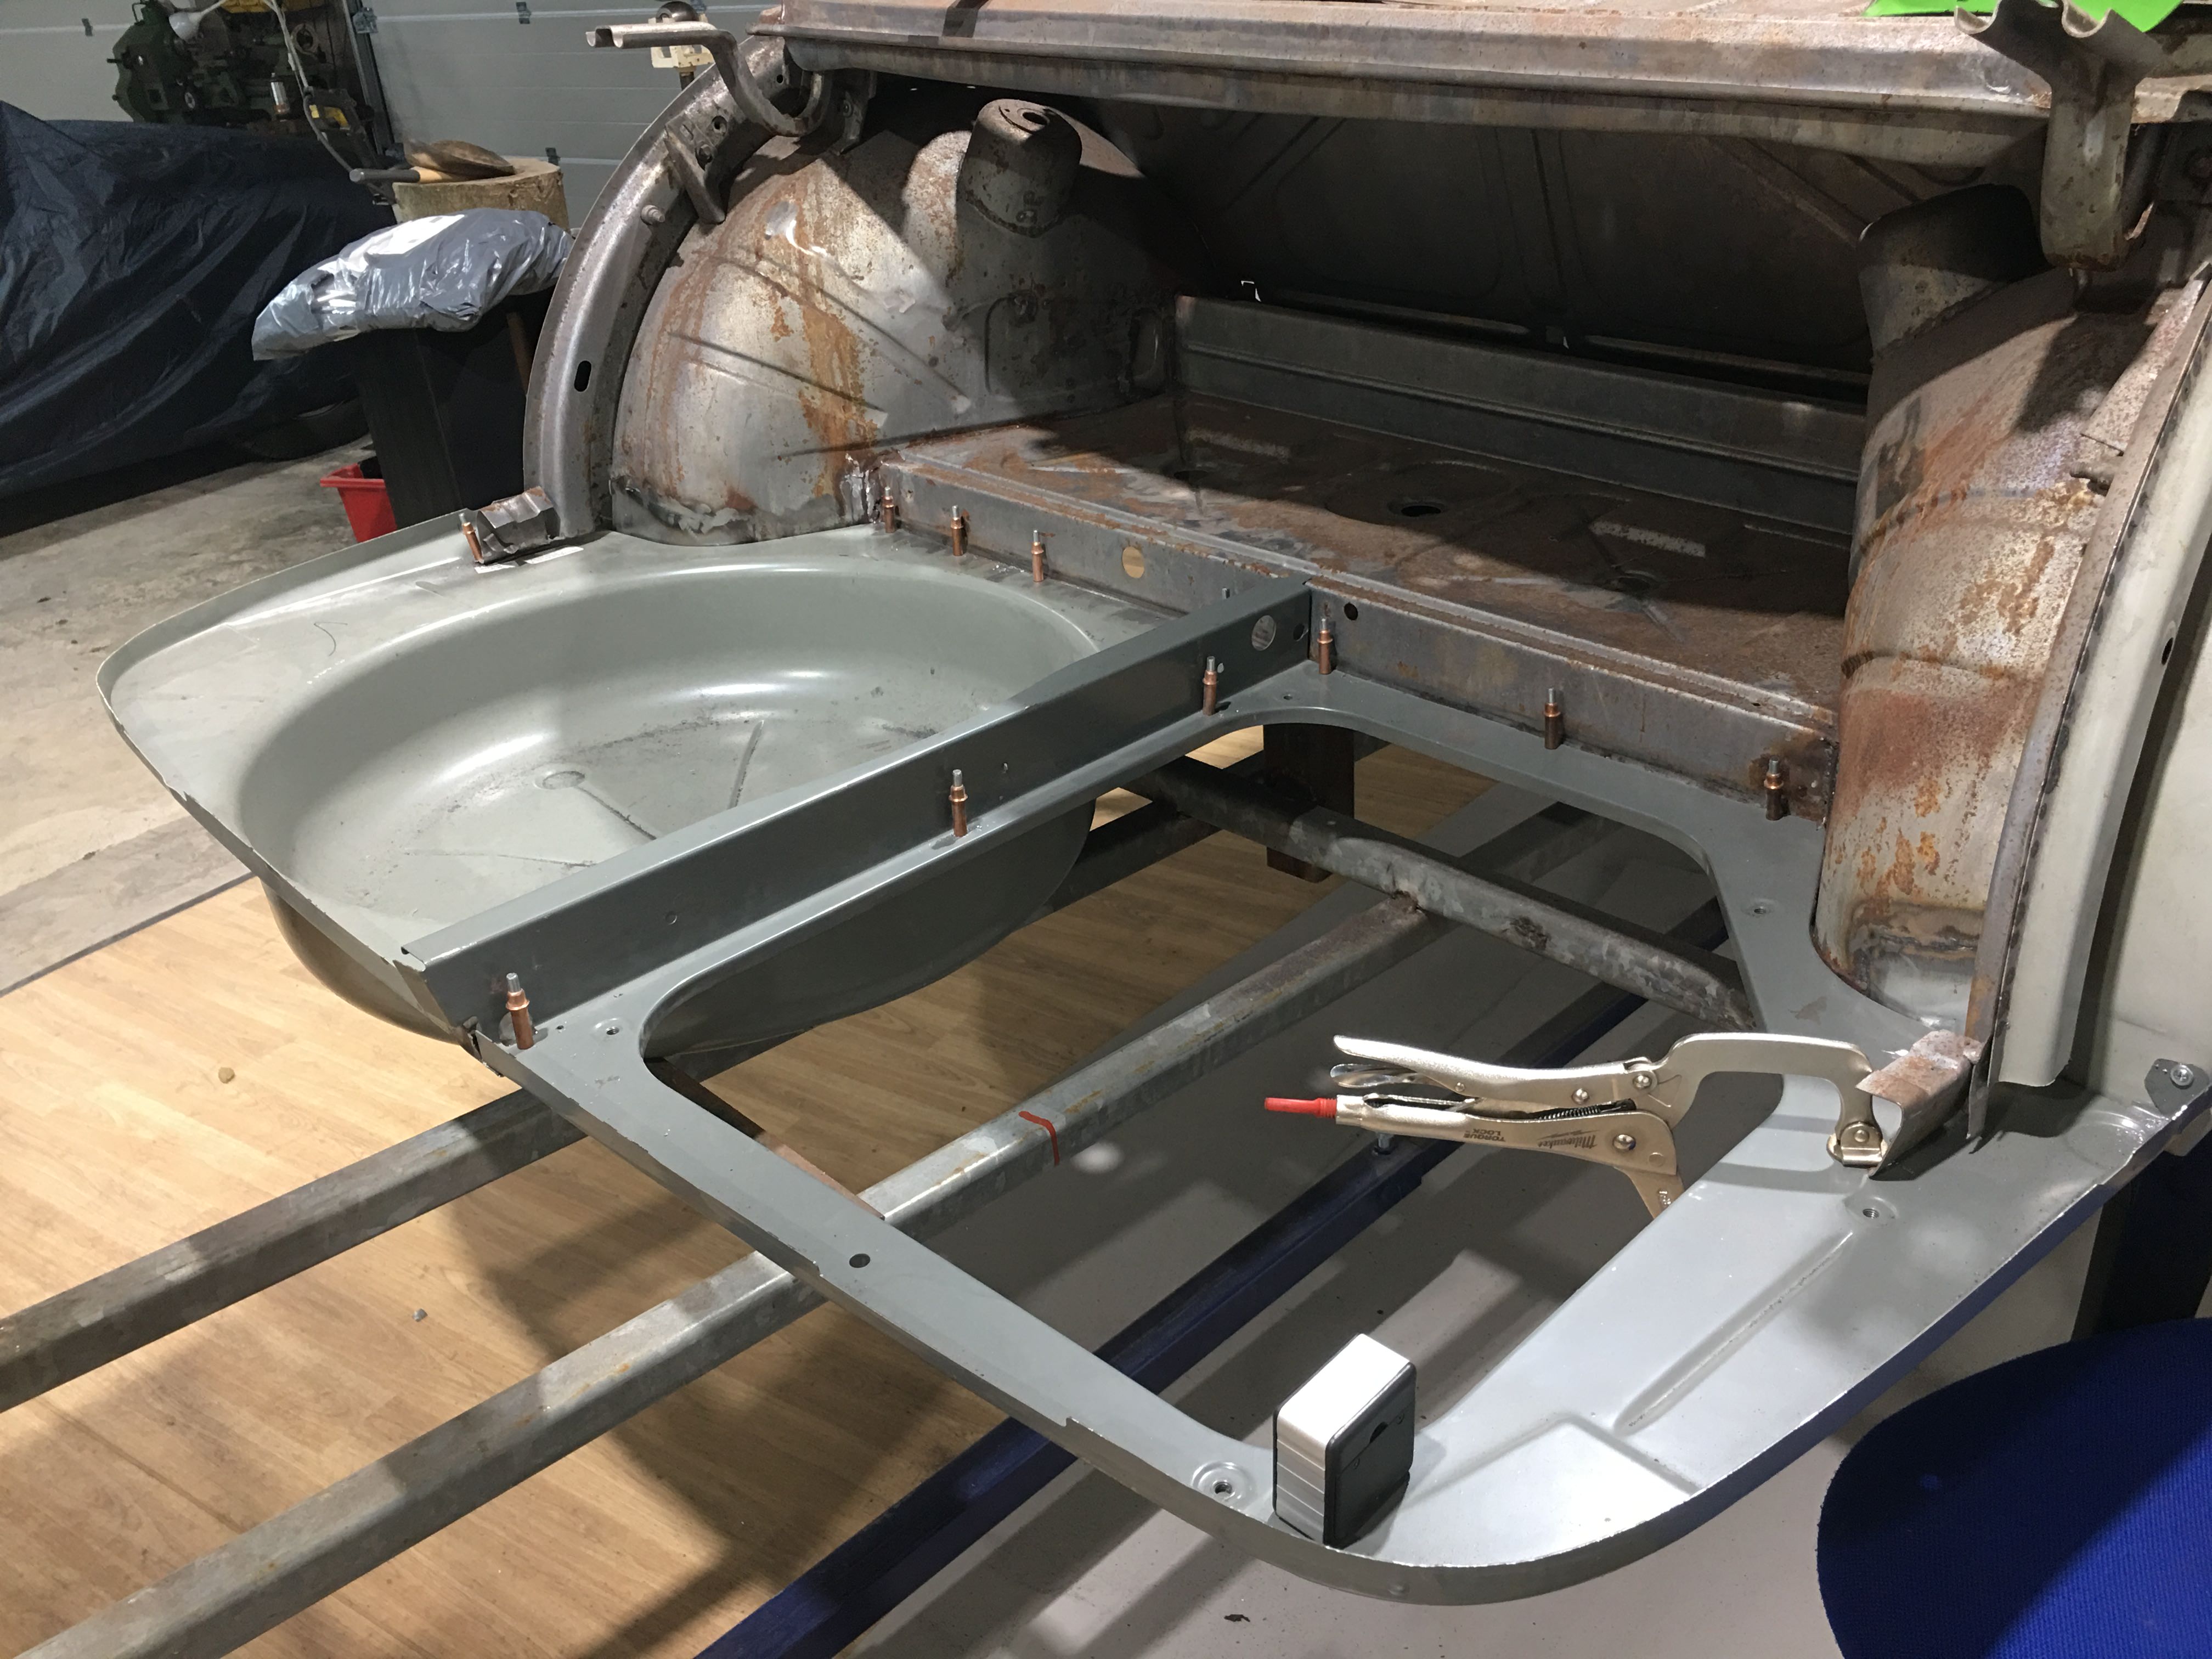
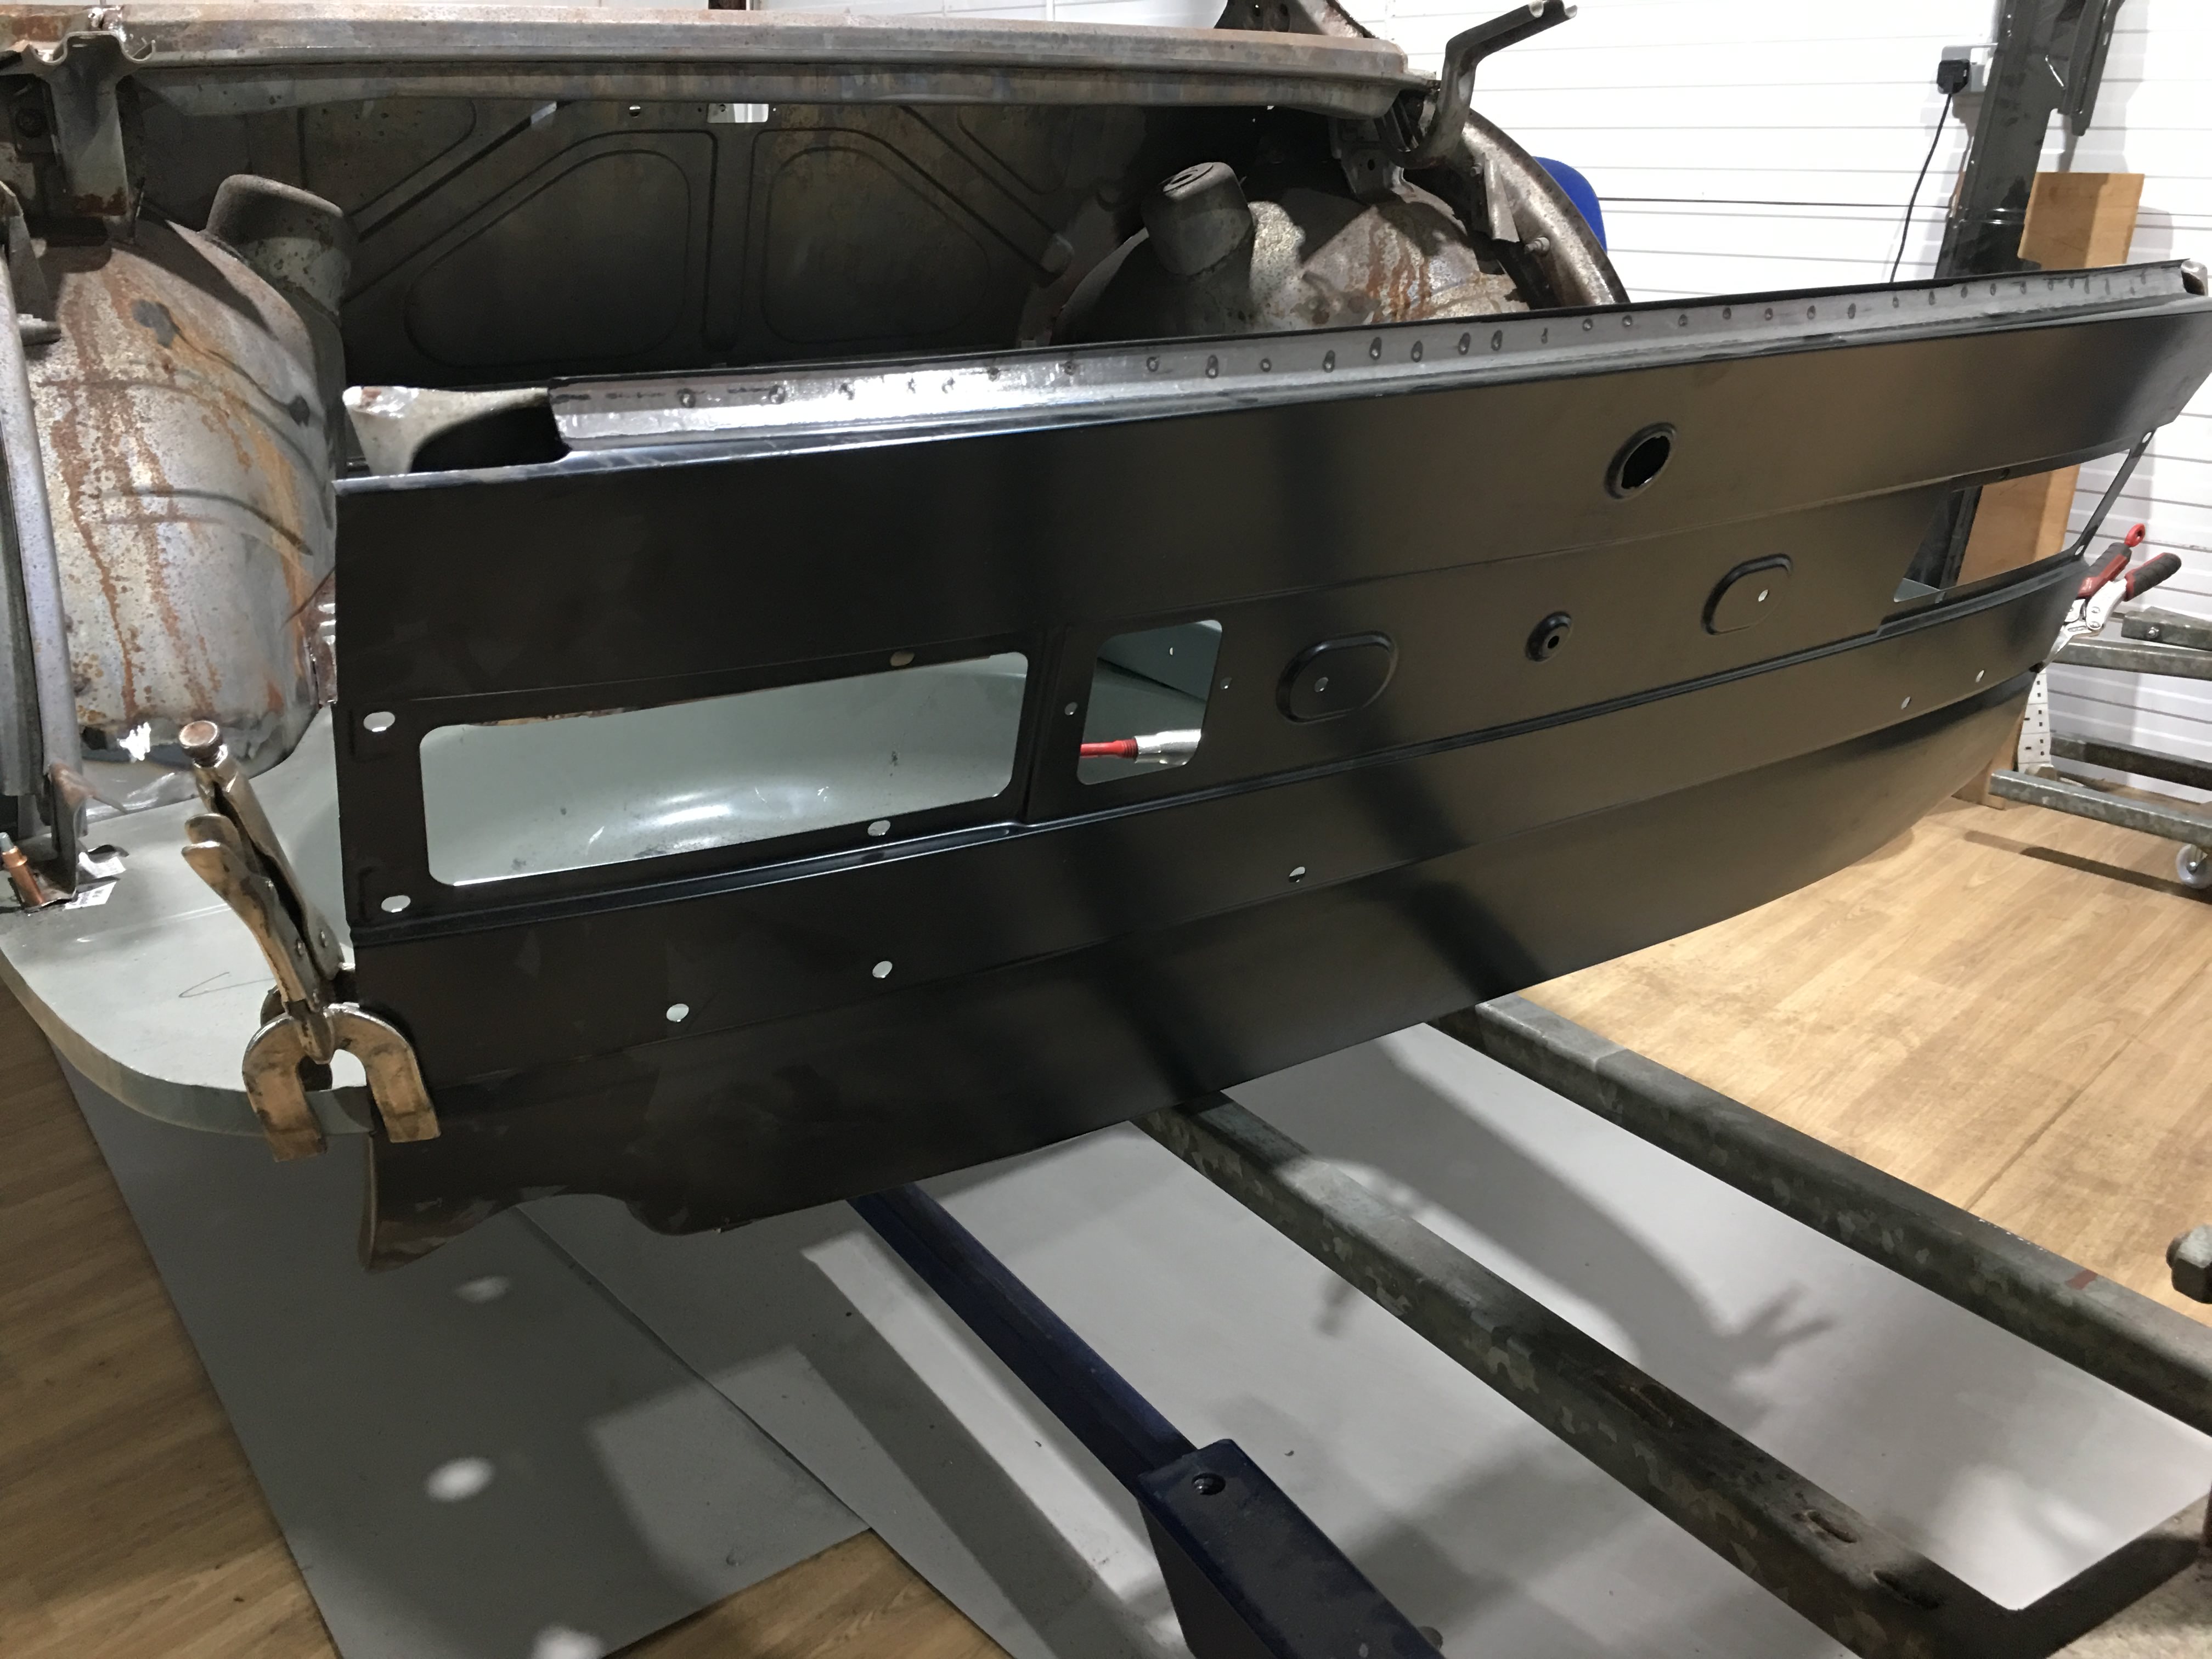
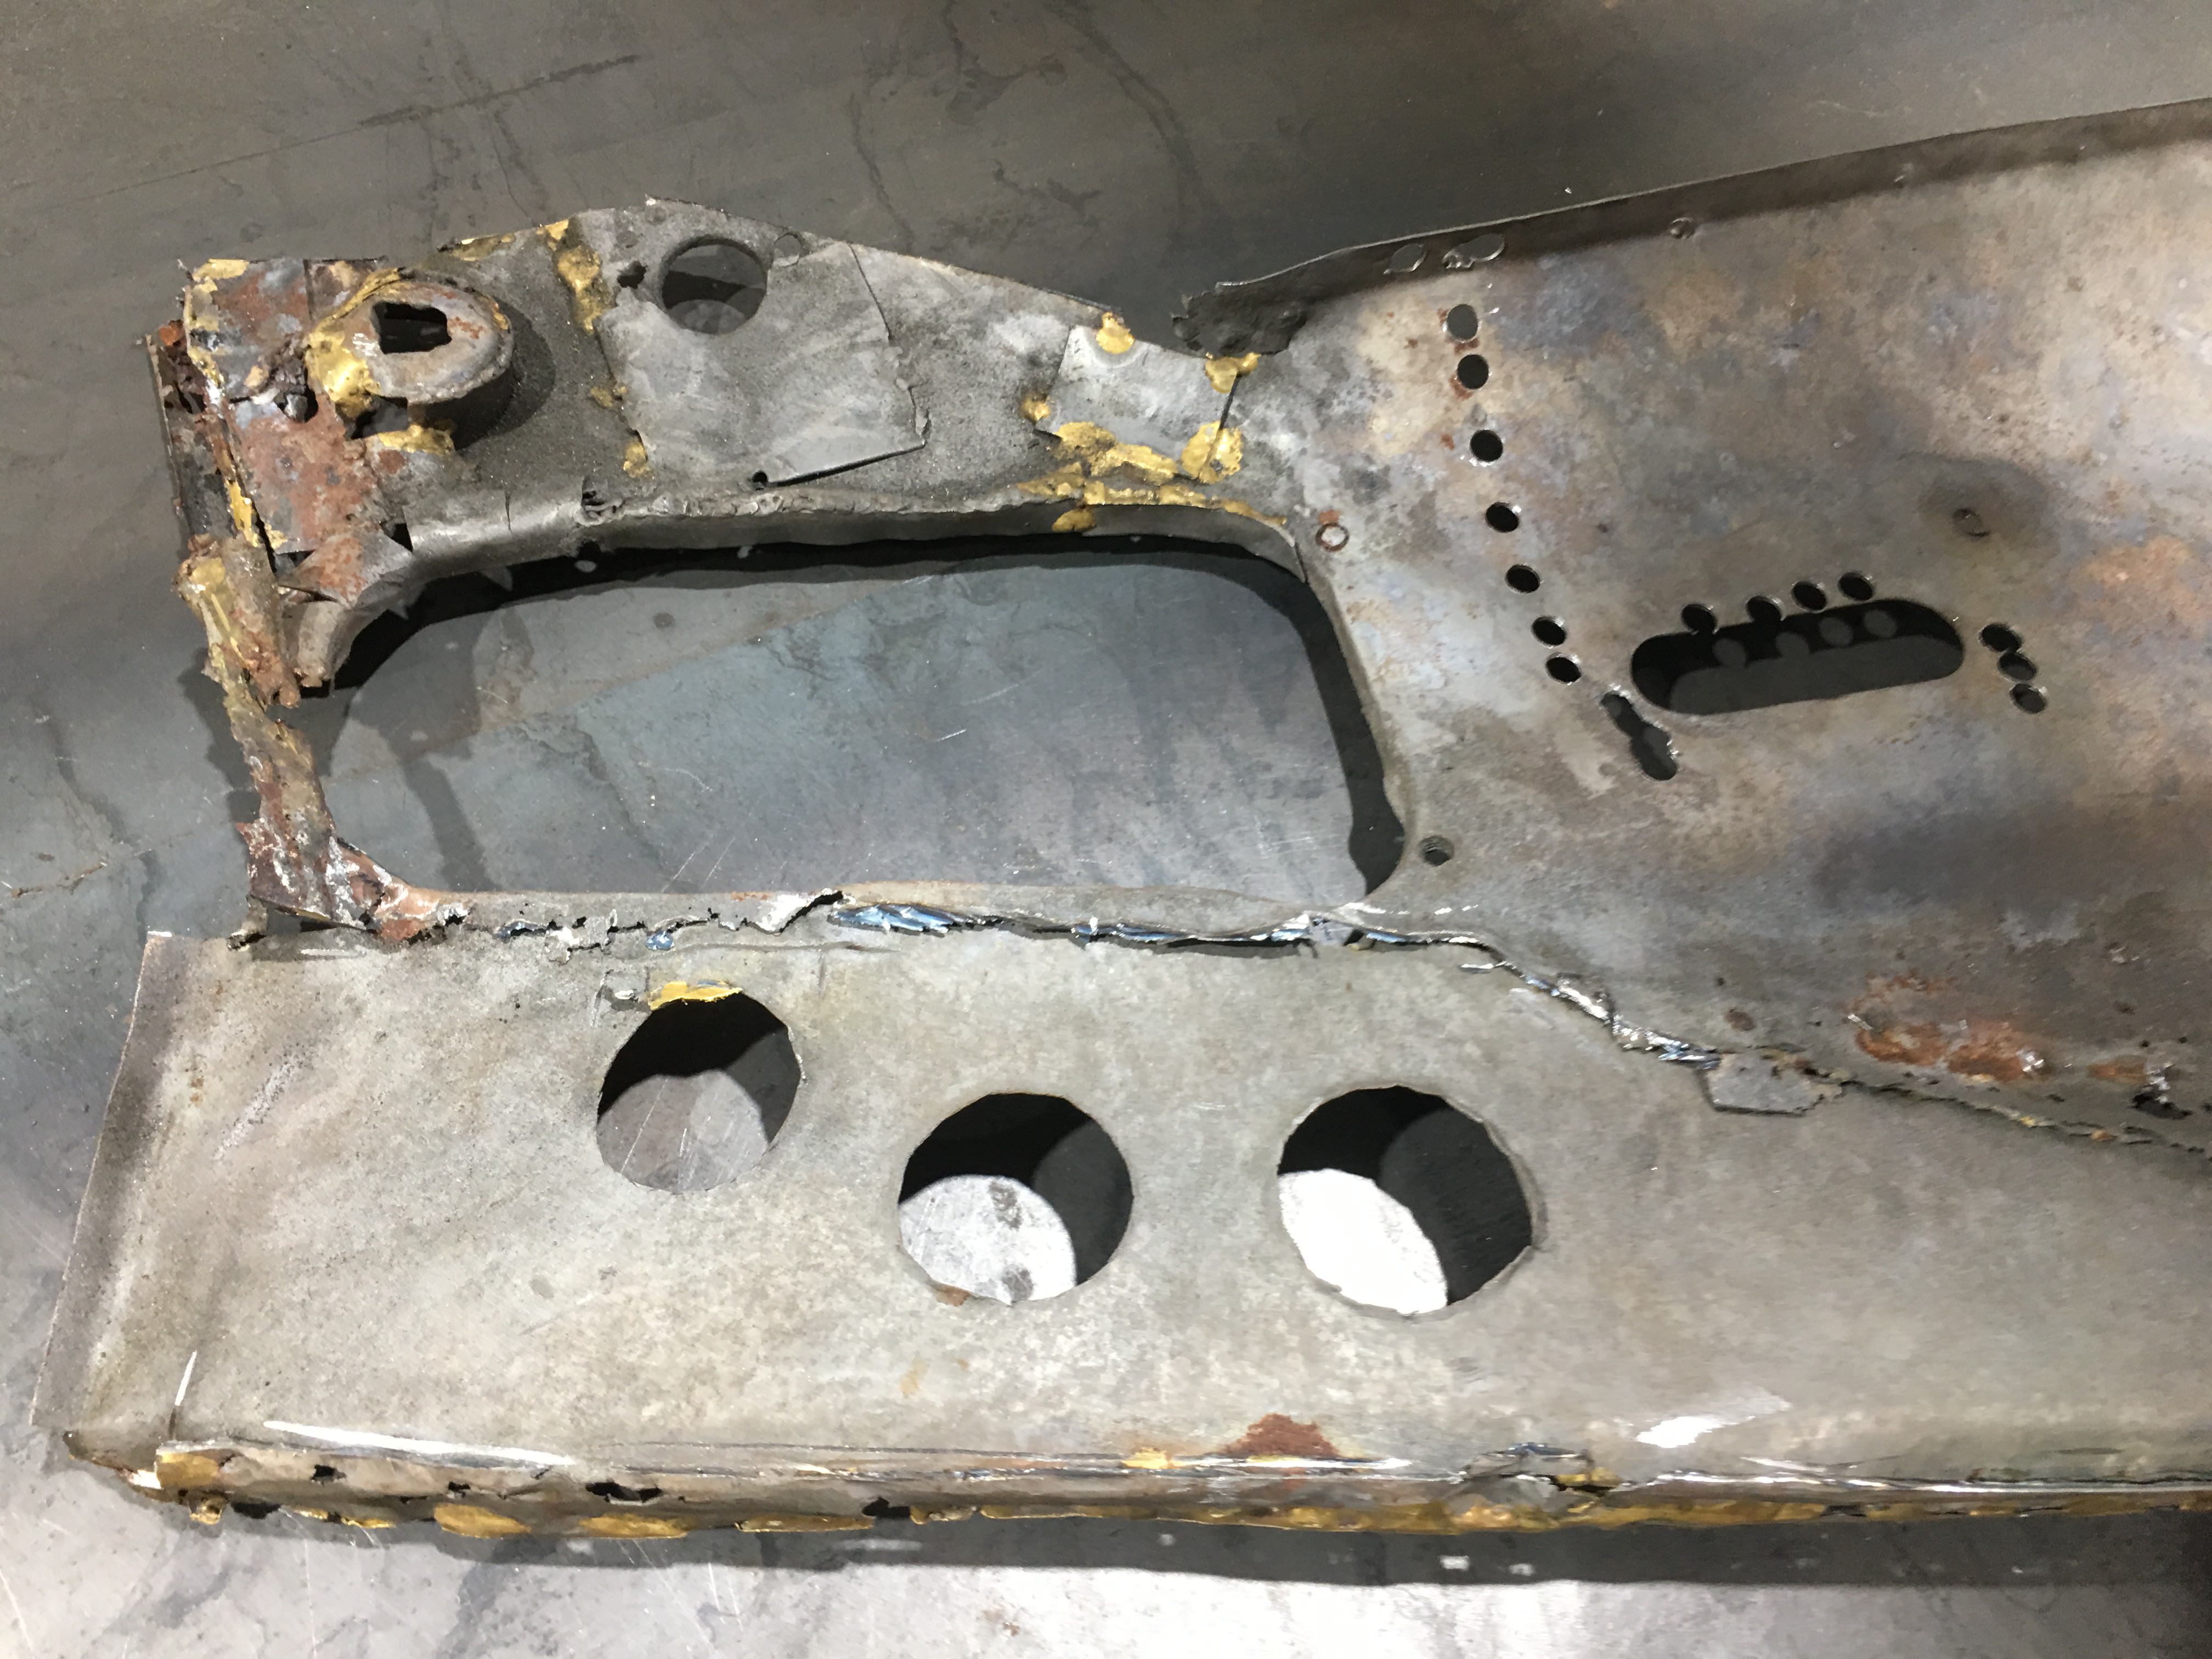
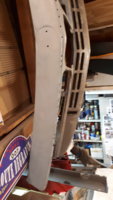
After a good few hours of small adjustments, checking, more checking I managed to get the New A post in the position…. But could not get every location totally spot on….

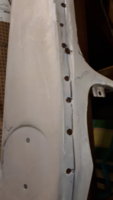
Every time you moved one spot all the other measurements and angles change… its out by 2mm out at the worst spot and within 0.5mm in its best spot – the angles are 0.5 degrees at its worst, but perfect at the best spots.


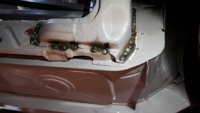
Welded it in – only when I put the wings and door on will I know its correct….

UQ9BoNr.jpg

vMWCTzx.jpg

NFRTw6l.jpg

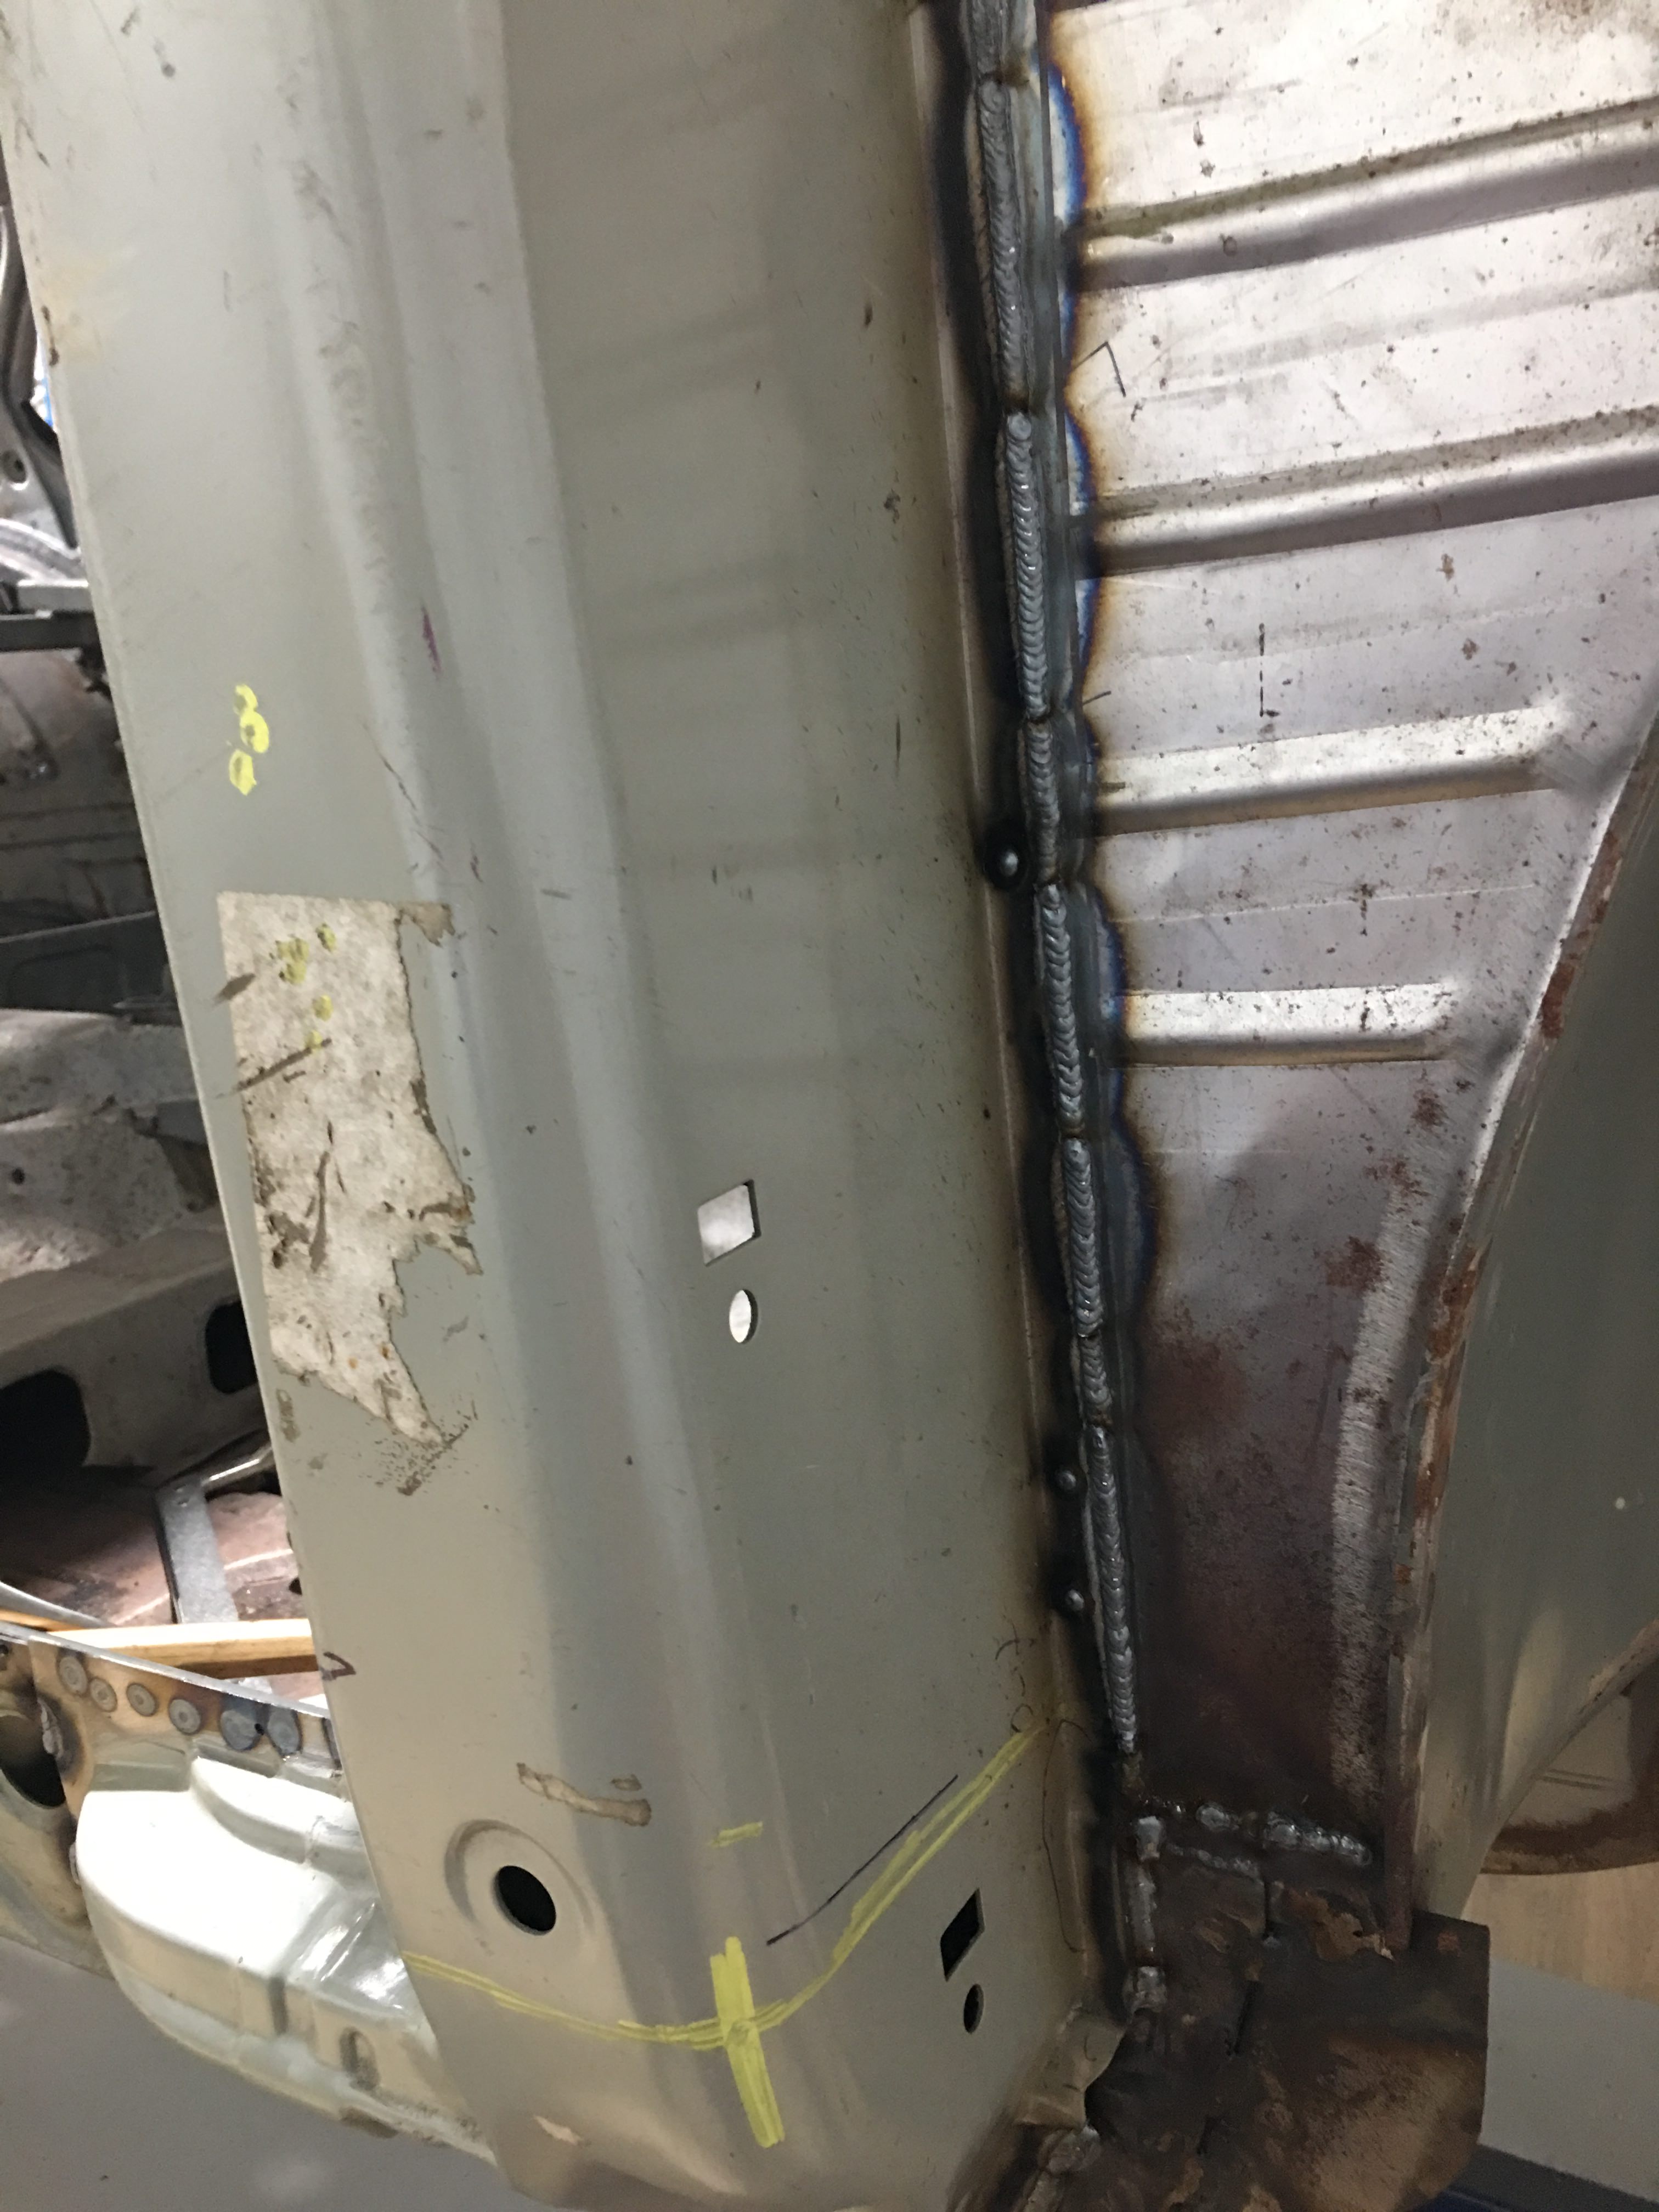
I don't fancy taking it out now its all welded in!
 

pat cooks

Well-Known Member
Messages
220
Reaction score
92
Location
essex
Did I see a white headliner in the first pictures? if so is it the same as the black without the separate panel across the sun visor area? I have heard that some CSl's came with white but have never seen one, re the rust in the roof, I would have looked at an E24 or E30 roof to see if they were a similar profile in that area, very useful discussion on the roof repair as I have to rebuild the bottom of my 2002 touring tailgate..........
 

Marc-M

Well-Known Member
Messages
377
Reaction score
311
Location
Preston - Lancashire-UK
Did I see a white headliner in the first pictures? if so is it the same as the black without the separate panel across the sun visor area? I have heard that some CSl's came with white but have never seen one, re the rust in the roof, I would have looked at an E24 or E30 roof to see if they were a similar profile in that area, very useful discussion on the roof repair as I have to rebuild the bottom of my 2002 touring tailgate..........
Hi - Had a look at my pictures and the head line and the sun visors are black -
xdax7X0.jpg
 

Marc-M

Well-Known Member
Messages
377
Reaction score
311
Location
Preston - Lancashire-UK
Had a few hours spare this weekend, set to with getting the back-end temporary fitted.

This next stage is going to be quite a hard one because everything I do now will have to be either Tec screws in or fitted in place with clicos.

You just can’t weld in the boot floor and then hope that the rear valance and wings all fit nicely and give correct panel gaps to the boot (trunk) lid, it’s one big Jigsaw puzzle that has to fit… and will need loads of adjustment.

The same goes for the front…


It all must start with the doors, then sills, then the inner rear and front inner panels – then the wings then the bonnet and boot – and when they are all fitting was well as I can get them then I will weld them all in place – lots of taking off and jigging to be done.


0eAe4z9.jpg

JFnuXly.jpg

ocZx294.jpg

GxIYAK3.jpg

GAPbWmu.jpg

5pGg5LY.jpg
 

Marc-M

Well-Known Member
Messages
377
Reaction score
311
Location
Preston - Lancashire-UK
Skinned the other door last night, but nearly forgot to put the protective layer between the steel and the aluminium to stop the cross corrosion.

Being aluminium, skinning the door was easy.
wcMLbYj.jpg


Next was to start on the nose cone, this is by far the worst rusted and patched up part of the car.
vDZ8BvX.jpg


In fact, its scrap really.

I have managed to get a new old stock bottom valance, and new repro parts form the German suppliers, that will sort out most of the rust , however the steel section that the bonnet hinges attach to, is in a real mess and will take me weeks to sort out.

I will post some pictures when I have taken all the panels off – but there is little left of the front section… if anyone has the upper panel that the hinges attach to for sale I would be interested......
 

eriknetherlands

Moderator
Site Donor
Messages
2,699
Reaction score
1,930
Location
Netherlands, Eindhoven area
I have a front that I'm willing to sell that is better then yours, but it has some dents from storage and rough use but little rust. I think quite manageable for someone with your skill set. I'll pm you with some pics.

Not sure if it has short or long ventilation slits on the sides however... (link to Nico's post)
 

eriknetherlands

Moderator
Site Donor
Messages
2,699
Reaction score
1,930
Location
Netherlands, Eindhoven area
(edited to correct the build dates of the part post/pre 1973)
Here's a pic of what I have. It can be yours for what you think it's worth...and I just learned that there is a difference in the length of the vents / slots in the chin.
This nose has long slits (Post -> pre mid 1973).

some explanations to the pictures: there's plenty of filler on it. 2-3 mm thick in some places. The roughest area is the top panel where the logo sits. kidney panel has little rust, but does has quite a few bends and dents.
the chin is the better part of the front end. with a straight plate I tried to show one of the dents; shallow (~5 mm's) and about 15 cm across.
 

Attachments

  • 20181011_224215.jpg
    20181011_224215.jpg
    221.4 KB · Views: 490
  • 20181011_224231.jpg
    20181011_224231.jpg
    207.3 KB · Views: 472
  • 20181011_224247.jpg
    20181011_224247.jpg
    116 KB · Views: 465
  • 20181011_224326.jpg
    20181011_224326.jpg
    132.8 KB · Views: 453
  • 20181011_224237.jpg
    20181011_224237.jpg
    177.9 KB · Views: 453
  • 20181011_224339.jpg
    20181011_224339.jpg
    138.2 KB · Views: 431
  • 20181011_224350.jpg
    20181011_224350.jpg
    217.7 KB · Views: 456
  • 20181011_224453.jpg
    20181011_224453.jpg
    302 KB · Views: 458
Last edited:

autokunst

Well-Known Member
Site Donor $$
Messages
3,606
Reaction score
2,619
Location
Milwaukee, WI
This nose has long slits (post mid 1973)
Hi Erik, I think this should read "pre" mid 1973 +/-, Correct? I think both his and your cars are '73's,(?) so depending on what month it was built and which bin the factory pulled the chin from, it could be correct for Marc's car. :) At least that is my take-away on the "slot conspiracy". That they were the outcome of the forthcoming 1974 US bumper design, and apparently the slots were edited on all of the cars (even euro delivery).?.
 

Marc-M

Well-Known Member
Messages
377
Reaction score
311
Location
Preston - Lancashire-UK
Hi Guys - I have new old stock of valance and front section - its this bit I need -

but thanks for the help.... looks like im doing t be doing some fabrication work - but its all good fun....

regards

marc


ugUmXvF.jpg
 

Marc-M

Well-Known Member
Messages
377
Reaction score
311
Location
Preston - Lancashire-UK
Well im well on my way to making the 2 ends to the bonnet shut panel.
Its hard work as the original ends are so badly corroded , I cant use them as templates , well I can but bits are missing and I have had to work out a few things.
Made a card template and started making the ends out of steel - about 1/2 way through and lots to do but here is what ive got to so far, it its ruff state...
l4YMf7M.jpg

RiXxYQB.jpg
 

mr bump

Well-Known Member
Messages
604
Reaction score
107
Location
nottingham, UK
Hi Mark, your doing an amazing job, a lot braver than a lot of people!
If you have a spare minute, could you post up a couple of pics of your RHD-uk drivers side A pillar bottom section where it meets the floor and cill/rocker? I've discovers a certain amount of rot and I'm struggling to get a mental picture of how it should look. Really appreciate it.
 

eriknetherlands

Moderator
Site Donor
Messages
2,699
Reaction score
1,930
Location
Netherlands, Eindhoven area
allow me to share some things, as I have them easily available.
For all I know, cars are quite identical in these areas. here's a pic showing the essential lay out of the various parts, easy to recognise due to different colours.
first pic is of left side of car. thanks to forum member Paul.
second pic shows my car after fixing. Note the little ridge that is present (also in pic 3) , it's strange as it seems to have no function, running from nothing to nowehere.
forth pic shows the walloth and Neesch part, with changes made as it is missing some details.
fifth pic shows what's outside of the inner sill. that is likely toast as well.
 

Attachments

  • 000 Left front floor reference from E9 forum member Paul.JPG
    000 Left front floor reference from E9 forum member Paul.JPG
    224.8 KB · Views: 268
  • 20171222_223740.jpg
    20171222_223740.jpg
    112.8 KB · Views: 440
  • 20160412_221311.jpg
    20160412_221311.jpg
    184.1 KB · Views: 444
  • 20160831_214854WandNeesch front floor with missing details.jpg
    20160831_214854WandNeesch front floor with missing details.jpg
    209.2 KB · Views: 261
  • A pillar  bottom welded back in.jpg
    A pillar bottom welded back in.jpg
    149.6 KB · Views: 435

RogerW

Member
Messages
35
Reaction score
5
Marc - your work is amazing. It reminds me of when I was an exchange officer with the Royal Navy in Gosport. A retired engineer lived across the street from us, and had his own small shop in the back. He could make anything. Truly outstanding work.
 

Marc-M

Well-Known Member
Messages
377
Reaction score
311
Location
Preston - Lancashire-UK
Things are starting to come together regarding the front-end side panels.

The ends are now only needing a little bit of work and then they will be ready to splice into the old panel.

I now need to make the front leading edge and I have had some 5mm steel cut to help me press out the shapes – so a few more hours there!

The front bulkhead that holds the radiator is taking shape ( only because it required a small section left over from the old rusted out bulkhead), but my big problem is that the bottom section I have was so badly rotted away, and the repair section that was made in the 80s is so bad I have no pattern to follow, so I need to have a good look on the net to try and find some photos to get an idea of the pattern.

5DwheUT.jpg

6GgPTCm.jpg
 

Rob F

Member
Site Donor
Messages
40
Reaction score
41
Location
Berkshire, UK
lower radiator panel 1.jpeg lower radiator panel 2.jpeg lower radiator panel 3.jpeg lower radiator panel 4.jpeg
Hi Marc,
I had the same issue. The lower radiator panel is made up of 2 panels. The 1st is the lower radiator panel which has the radiator brackets welded on. The 2nd is a cross member which is spot welded over the top of the 1st panel and the top outer flanges should be welded to the front lower edge of the front chassis rails. hope the pics help.
By the way, your doing a great job. Just got mine out of storage and starting the long process of restoration
Regards
Rob
 

Marc-M

Well-Known Member
Messages
377
Reaction score
311
Location
Preston - Lancashire-UK
Thanks guys for the photos...
I have manage to get a CSL to come to my home on Sat and I then can make a few templates....
looking forward to seeing it and being taken out for a drive - never been out in a CSL I hope im impressed, if not all this work for nothing!
 
Top