1974 BMW CSE

Unfortunately, 5-10k does not get you very far any longer in CA. At $100 labor per hour ( 50-60% discount over well regarded shops) that's 100 hours. Good prep can eat double that in a blink. I've found the hotrod shops are the most reasonable but a high quality job is still an expensive proposition...
 
True. And materials are insanely expensive here also. We knew that going in but this guy had done some great resprays for Paul in the past and has low overhead (single man shop in an inexpensive area) so we were hopeful. The economics are interesting though. If one must pay $20k for a paint job then that makes a LOT of cars not worth restoring. Not necessarily e9s but a lot of more pedestrian cars. If a decent e9 is worth, say $60-70k then there's not a lot of room for your W&N trim budget, let alone an @sfdon megasquirt B35 w/ a 5 speed, or, heaven forbid, rust repair. How could one afford to restore a 2002?
 
True. And materials are insanely expensive here also. We knew that going in but this guy had done some great resprays for Paul in the past and has low overhead (single man shop in an inexpensive area) so we were hopeful. The economics are interesting though. If one must pay $20k for a paint job then that makes a LOT of cars not worth restoring. Not necessarily e9s but a lot of more pedestrian cars. If a decent e9 is worth, say $60-70k then there's not a lot of room for your W&N trim budget, let alone an @sfdon megasquirt B35 w/ a 5 speed, or, heaven forbid, rust repair. How could one afford to restore a 2002?
How could one afford to restore a 2002?
Sometimes it isn't just an investment.
 
And materials are insanely expensive here also.
But it doesn't need to be.

$230 5 liters of Pro Spray clear coat. (good stuff, it's what I'm familiar with. Will last the life of a classic car since it doesn't see much UV)
$500 1 Gallon of base color (a guess, it depends on the color but most of the time is less than this)
$120 1 Gallon of high-build primer/sealer
$50 1 Gallon of reducer
$50 1 Gallon of body filler
$200 Sandpaper, glaze, compounds, etc.

When you're done you have extra clear, primer, reducer and body filler left over for the next project. I painted my E3 in single-stage Chamonix for less than $700 material cost. If you use "decent" materials the only time it doesn't look good is because of the prep work.
 
Car is at a new painter's shop now. Lots of new small body work/blocking/prep. Hopes are high. We'll see in 6-8 weeks.

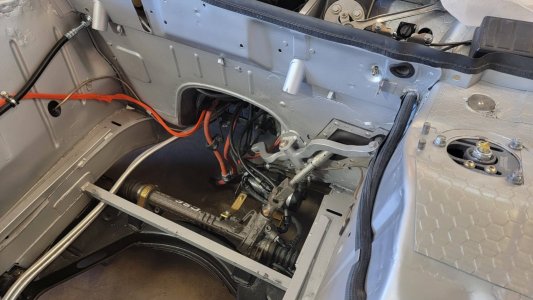
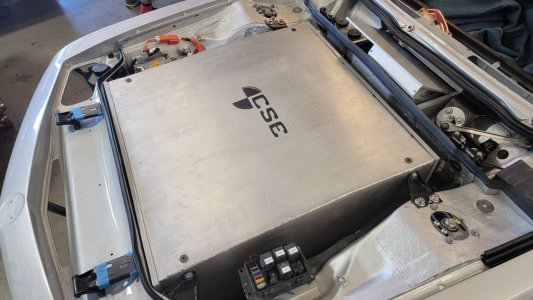
Welded in a new rear spring perch to replace the rusted one, re-assembled the suspension, brakes, drive unit, etc. to get the car on the ground again. Lots of powder coat, gold zinc plating, etc. so all pretty. Left the front battery box out for now (new painter was fine as a roller) but already ran new coolant lines to batteries and drive unit/charger/dc-dc converter, cleaned up wiring etc. so making it a runner again after paint should be straight forward.

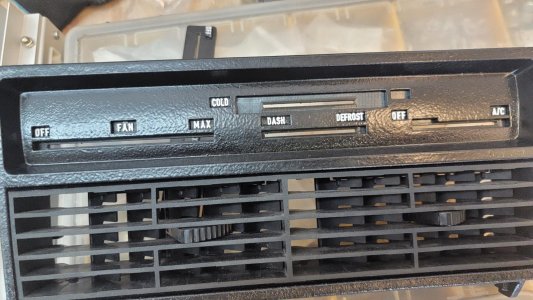
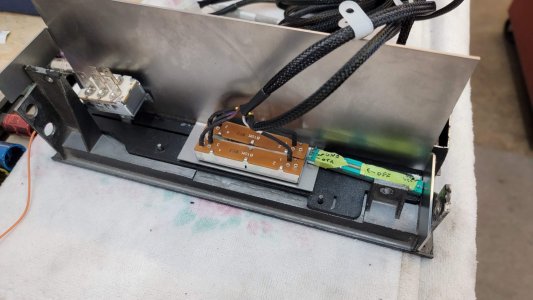
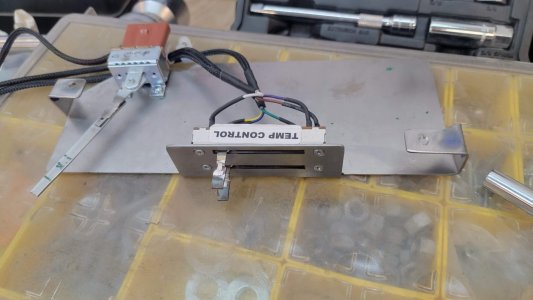
HVAC is another story. The condensor is mounted but having some difficulty finding room for A/C hoses/fittings off the compressor -- will require some new fab. This car was not originally an A/C car so we are using an aftermarket HVAC unit. Working on integrating new, digital HAVC controls to original heater cable controls. Tesla HV compressor is multi-speed, controlled via PWM so need to integrate that also. We only need fan speed, temp control, and diverter so the plan is to repurpose the "Vent" slider for A/C compressor speed control.

To that end, I've modeled the heater control lettering in CAD and can 3D print replacements in any language, with any labels desired. Still working on perfect fitment and illumination. I've tried printing in white and painting opaque black everywhere but on the letters, hoping the light would leak through the white but the results aren't great so I'll be printing in clear next and painting a translucent white on the lettering.

HeaterLabels.jpg
HeaterLabelsinCAD.jpg
HeaterLabelsInWhite.jpg


CornerLeftFront.jpg
 

Attachments

  • LeftRearSpringPerch.jpg
    LeftRearSpringPerch.jpg
    283.4 KB · Views: 197
  • CornerRightFront.jpg
    CornerRightFront.jpg
    157.8 KB · Views: 192
  • CornerRightRear.jpg
    CornerRightRear.jpg
    198.9 KB · Views: 181
  • FrontSubFrame.jpg
    FrontSubFrame.jpg
    254.1 KB · Views: 185
  • SteeringRack.jpg
    SteeringRack.jpg
    176.8 KB · Views: 190
  • CornerLeftRear.jpg
    CornerLeftRear.jpg
    234.2 KB · Views: 185
  • HeaterLabelsTestFit.jpg
    HeaterLabelsTestFit.jpg
    184.4 KB · Views: 189
3d painting the light guides and getting them to shed some light in the darkness will be a tough chore.
As you found out, these things are always made in clear (PMMA or PC) type of plastic.

However during 3d printing you normally get a part that is made of lumpy, grainy fused together bits or strands. Light will diffuse on each boundary instead of passing clean through.

3d milling it from a sold pmma or pc block could be an option, or possibly a solvent treatment to fuse the 3d muck all together.

Anyway, tremendous work. Amazed.
The above tips are just peanuts seeing what you've done already.
 
Looking great Jeff! So hard to see this come to live knowing I won't be the one driving it every day. But it is so great to see you take over the passion that I brought to it in the development stage. Looking forward to more updates here!
 
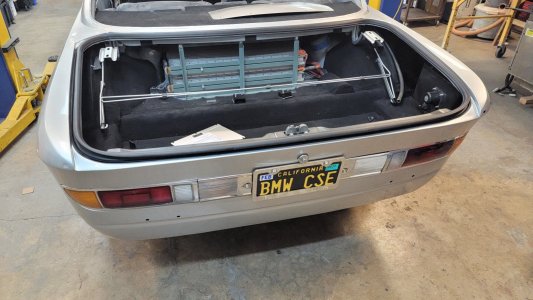
Making good progress getting this car put back together, working just one day per week. We had a lot of things to do, such as hooking up brakes and power steering and making A/C hoses and battery cooling lines before we could reinstall the battery box.

HVAC is really the long pole in the tent because @JetDexter had the car on the road for a year with everything working except HVAC and battery cooling so those areas needed new problem solving.

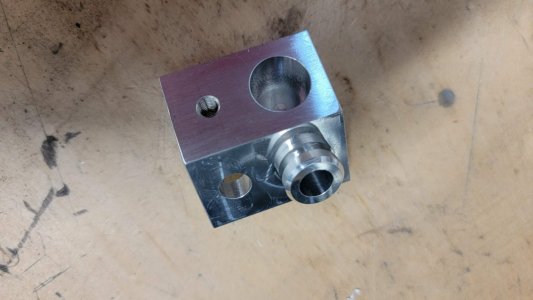
For example, the direction of the port on the Tesla electric A/C compressor pointed in an impossible direction so we had to mill up an adapter to redirect the hose. And the BMS had been sitting under the dash right where the HVAC unit will now live so it had to be relocated to a waterproof enclosure where the stock heater blower normally lives. And it took a lot of work to adapt the stock Bowden cable actuated HVAC controls to all electronic control, including compressor speed.

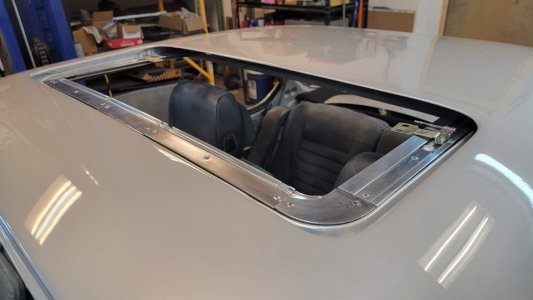
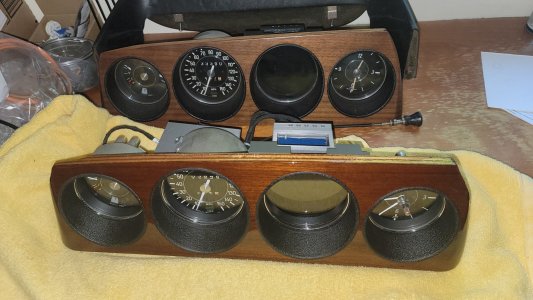
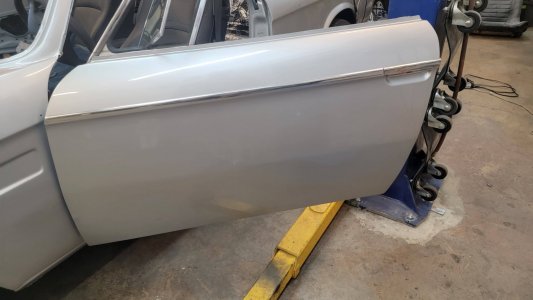
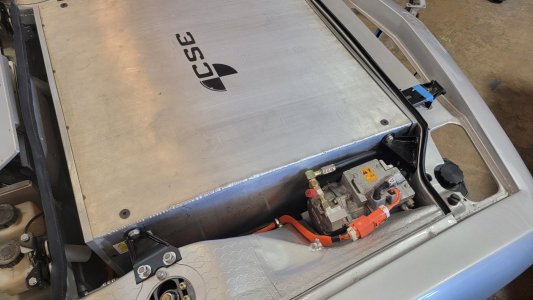
But that's mostly all done now so the battery box is back in the car and we've moved on to weatherstrip, door assembly, and all the other "normal" restoration tasks. Had to replace a wind wing with a broken pivot, service door latches, reassemble gauges with refinished wood, install sunroof, etc., etc.

The funny things is, when this project started, electrifying an old car like this was a ground breaking idea. Nowadays it is more and more common. But the EV conversion isn't what took the time -- it was the rust repair, body work, paint, and now reassembly that is actually much more time consuming.
 

Attachments

  • doorTrim.jpg
    doorTrim.jpg
    164.7 KB · Views: 165
  • batteryBox.jpg
    batteryBox.jpg
    245.7 KB · Views: 156
  • batteryBox2.jpg
    batteryBox2.jpg
    256.5 KB · Views: 156
  • EngineCompartment.jpg
    EngineCompartment.jpg
    252.2 KB · Views: 150
  • HVACLabels.jpg
    HVACLabels.jpg
    318.6 KB · Views: 159
  • HVACSwitches.jpg
    HVACSwitches.jpg
    215.3 KB · Views: 151
  • HVACSwitches2.jpg
    HVACSwitches2.jpg
    168.3 KB · Views: 157
  • trunk.jpg
    trunk.jpg
    286.1 KB · Views: 163
  • sunroof.jpg
    sunroof.jpg
    158 KB · Views: 155
  • ACAdapter.jpg
    ACAdapter.jpg
    168.8 KB · Views: 151
  • gauges.jpg
    gauges.jpg
    314.3 KB · Views: 175
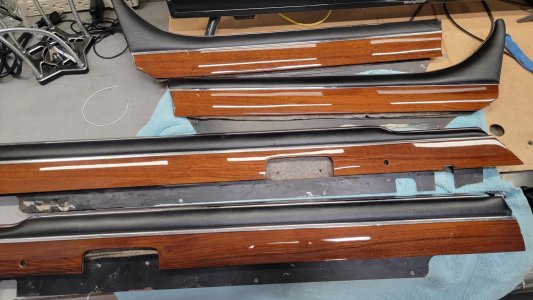
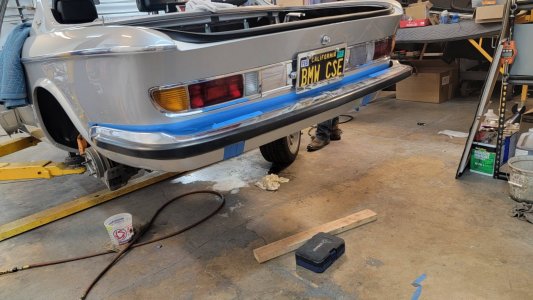
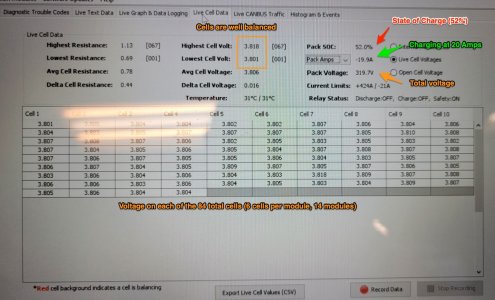
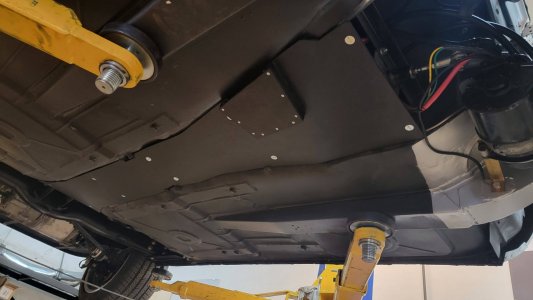
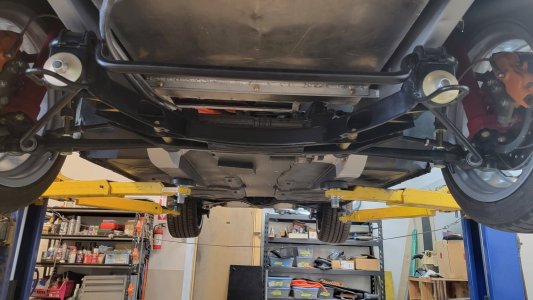
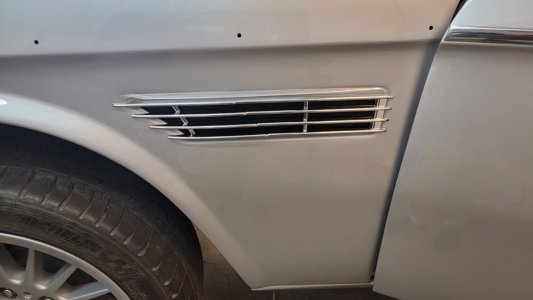
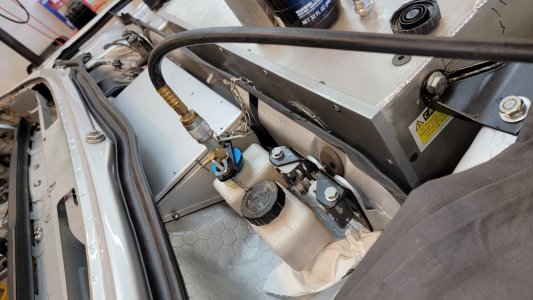
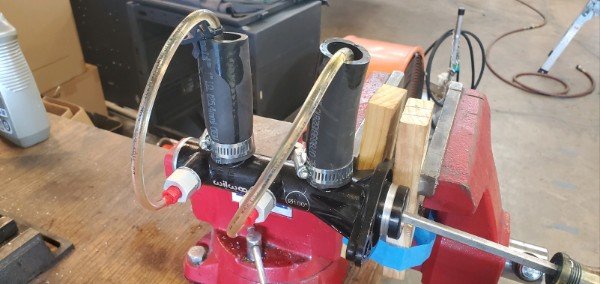
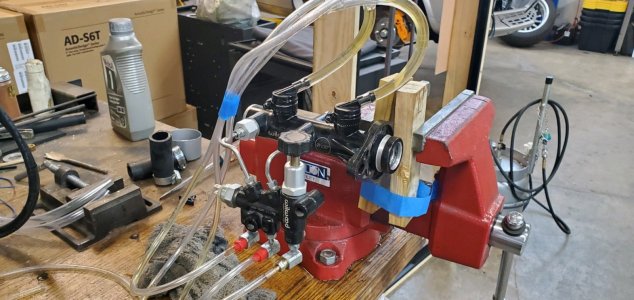
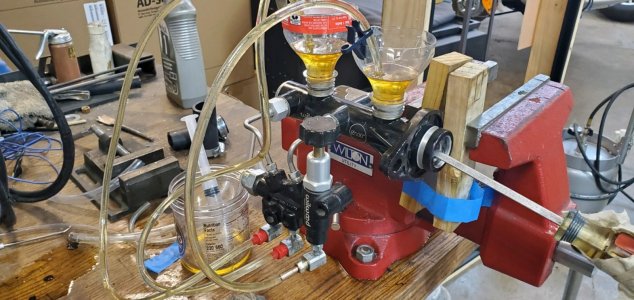
Like @paul cain I am trying to mix dessert with eating my vegetables. Some trim, some bumper fitment (fabricated new brackets to pull USA bumper in tight), buttoning up the underside, along with fixing a charging problem and a lot of fighting the brakes to bleed. Trim looks good, bumper fits well, underside is clean. Charging problem fixed. Rears bled. Fronts refuse to cooperate. Another bench bleed of the master in process now....
 

Attachments

  • doorWoodTrim.jpg
    doorWoodTrim.jpg
    328.2 KB · Views: 150
  • rearBumperFit.jpg
    rearBumperFit.jpg
    278 KB · Views: 151
  • BMSLiveCellData.jpg
    BMSLiveCellData.jpg
    177.2 KB · Views: 153
  • underTray2.jpg
    underTray2.jpg
    156.8 KB · Views: 152
  • underTray.jpg
    underTray.jpg
    234.2 KB · Views: 149
  • sideTrim.jpg
    sideTrim.jpg
    137.9 KB · Views: 160
  • powerBleed.jpg
    powerBleed.jpg
    263.3 KB · Views: 159
  • masterBleed.jpeg
    masterBleed.jpeg
    49.9 KB · Views: 160
  • masterBleed2.jpeg
    masterBleed2.jpeg
    234.9 KB · Views: 159
  • masterBleed3.jpeg
    masterBleed3.jpeg
    257.2 KB · Views: 153
All of the fabricating and design engineering on this project is extremely impressive. There are so many skill sets at work - way beyond most restoration shops. Bravo!
 
Took it out for a drive the other day for some photos. Everyone who passed by loved it and a few asked if they'd be seeing it on BAT soon. No, I'm not selling it. Of course, no one knew that it was all Tesla under the covers. I have a punch list 50 items long of things to fix and finish. I lost gumption for a couple of weeks and I hate to tear the dash apart again to finish the instrumentation and HVAC but will dig in again soon. In the meantime...

1.jpg
2.jpg
3.jpg
5.jpg
6.jpg
7.jpg
8.jpg
 
Back
Top