Ivo Dutchman
Member
Thanks for sharing your experience I am more or less at the same stage and looking for a good paint shop
Hope it turns out well!
Hope it turns out well!
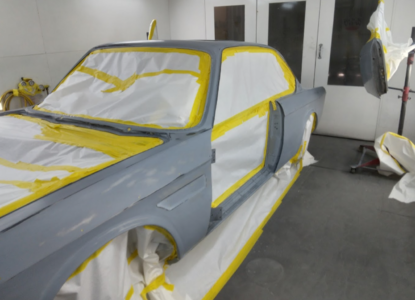
True. And materials are insanely expensive here also. We knew that going in but this guy had done some great resprays for Paul in the past and has low overhead (single man shop in an inexpensive area) so we were hopeful. The economics are interesting though. If one must pay $20k for a paint job then that makes a LOT of cars not worth restoring. Not necessarily e9s but a lot of more pedestrian cars. If a decent e9 is worth, say $60-70k then there's not a lot of room for your W&N trim budget, let alone an @sfdon megasquirt B35 w/ a 5 speed, or, heaven forbid, rust repair. How could one afford to restore a 2002?
Sometimes it isn't just an investment.How could one afford to restore a 2002?
But it doesn't need to be.And materials are insanely expensive here also.
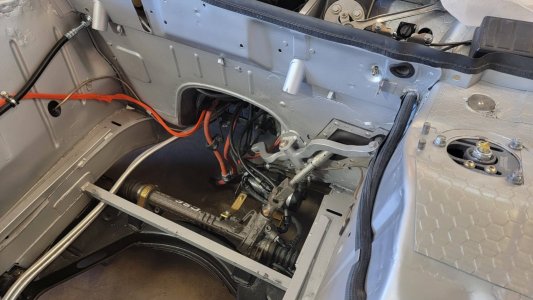

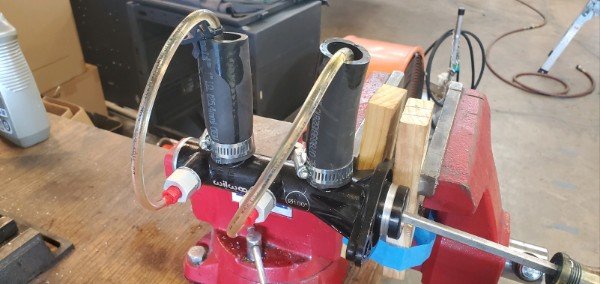
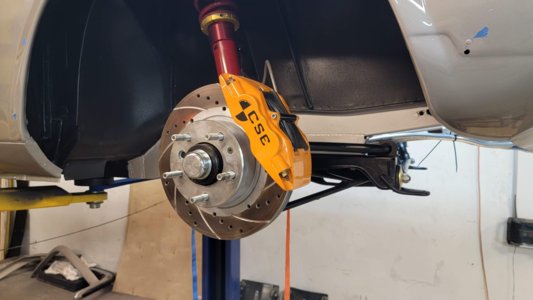
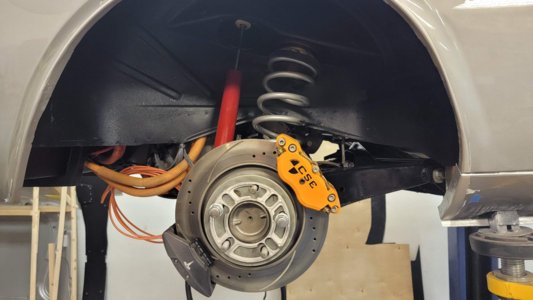
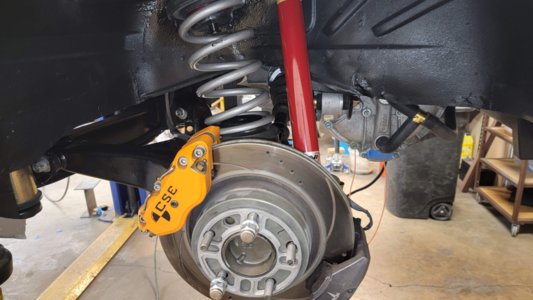
I didn't think Tesla's needed brakes.... and a lot of fighting the brakes to bleed
")
")