His guys,
You may remember that I am keeping a blog of this build
(BMWCSE.com) and I paste those posts here. I have already posted much of this in this tread, but for anyone staring their rusted sunroof in the face, this post might be of interest.
Once again this blog is written to the average Joe, so please excuse the talking below most of you.
HERE COMES THE SUNROOF
You might remember that one of my requirements for the coupe was that it have a sunroof. Of the 60 or so cars I have owned, a majority of them have been convertibles - I simply crave the open air. While this car was not going to be a convertible, it was most certainly going to have a sunroof.
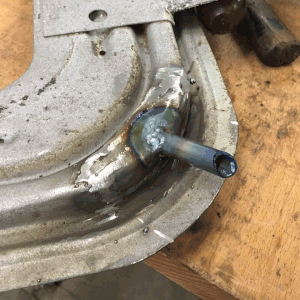
But our story takes a turn with the little tube shown in this photo. The photo shows a
new tube, but imagine one just like it that was plugged inside like a clogged drain. This tube, along with 3 comrades, takes the portion of rain water that makes its way through the sunroof seal, and passes it into hoses that run to the bottom of the car. This is a great plan so long as the tubes aren’t clogged, and in our case, the tubes had become very clogged, very long ago. Water would come in and take up permanent residence - turning our roof and the sunroof frame mechanism to rust.
We were unaware of this rust until the car came back from the media blaster. We were then faced with three options:
1, we simply fill in the roof. This is the course that any sane person might take. But since a sunroof was an early requirement, this was not an option.
2, we could fill it in, then install a very nice modern OEM electric sunroof. Our car is a “resto mod” after all, so a blend of modern elements is not out of the question. However, another goal is to retain the classic styling of the car, and the original steel sunroof is an important part of that. So our
3rd option was to painstakingly rebuild the roof and frame. This took a few good weeks to do, and here is the story:
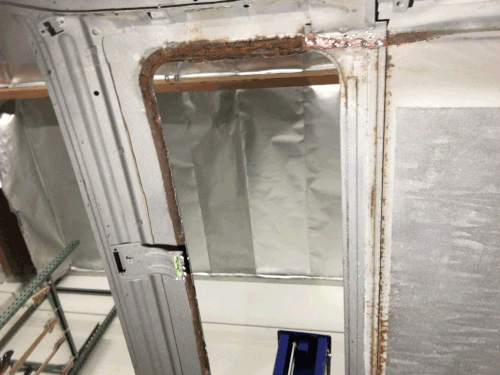
Here is the roof and frame from inside the car. Rust on all four sides.
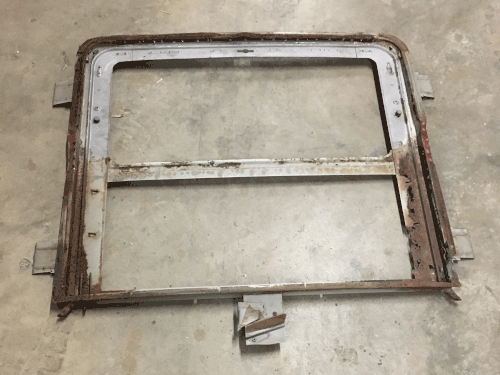
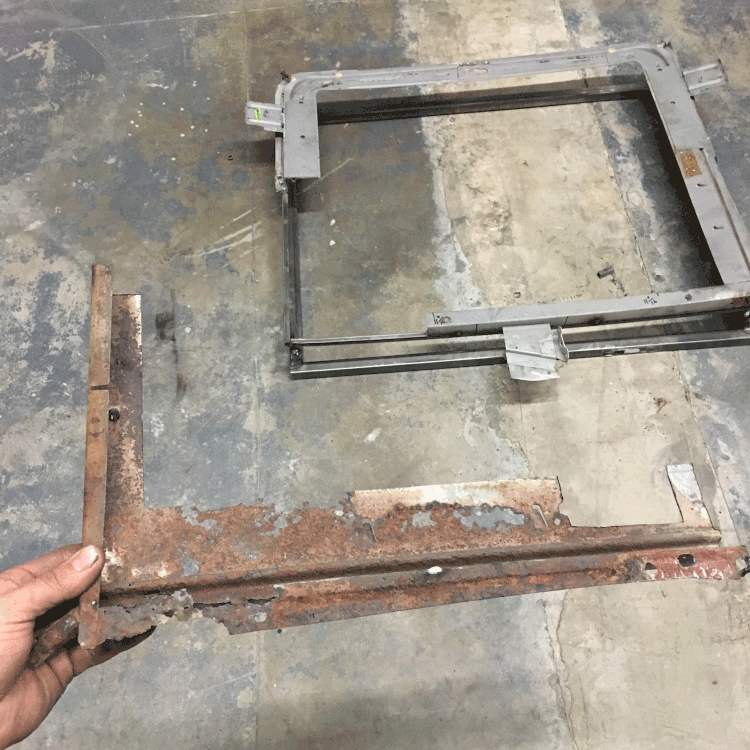
The damage to the frame (the sunroof track) was even worse than the roof itself.
Let’s make a new roof:
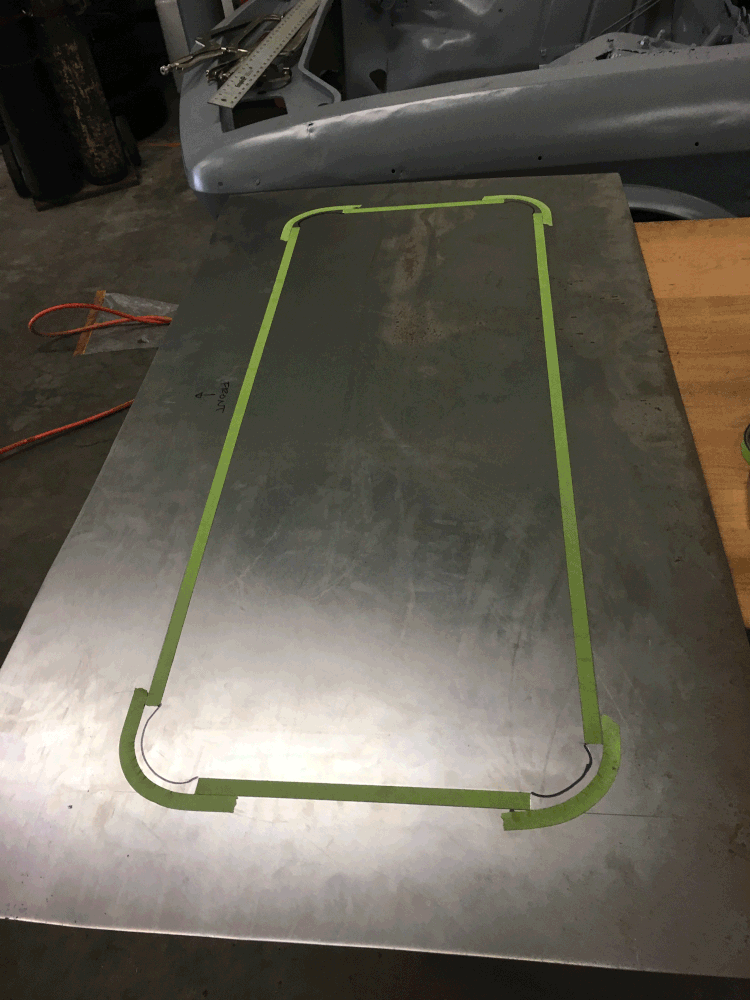
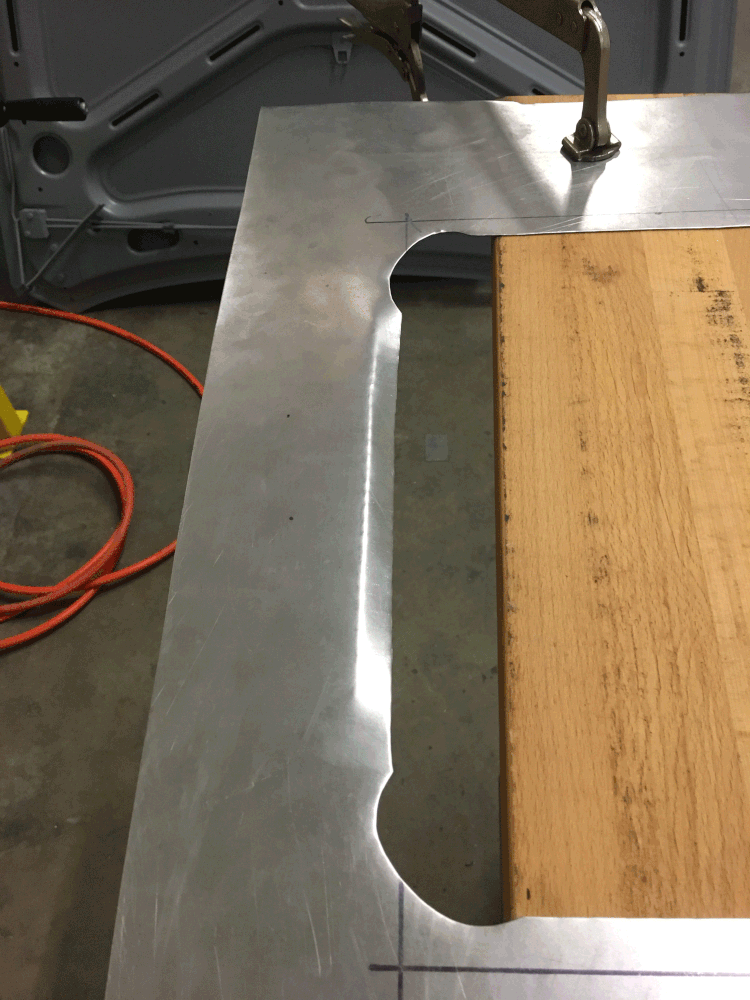
Trace the sunroof hole and prep it for cutting.
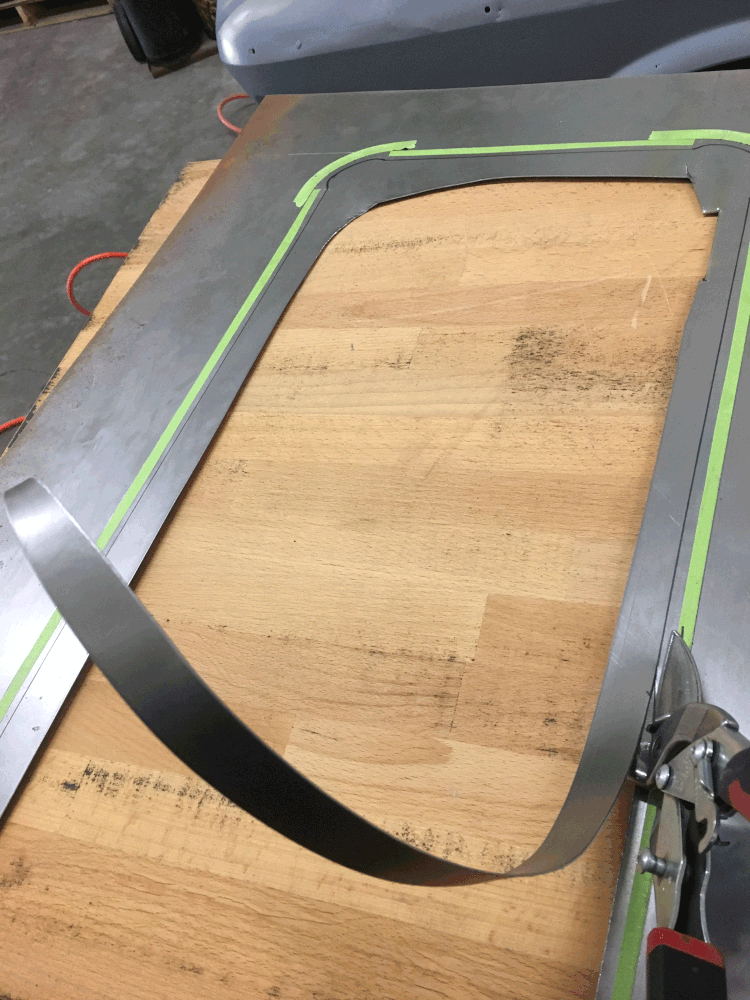
Cut along the line- this part seems a lot like elementary school art class but with steel.
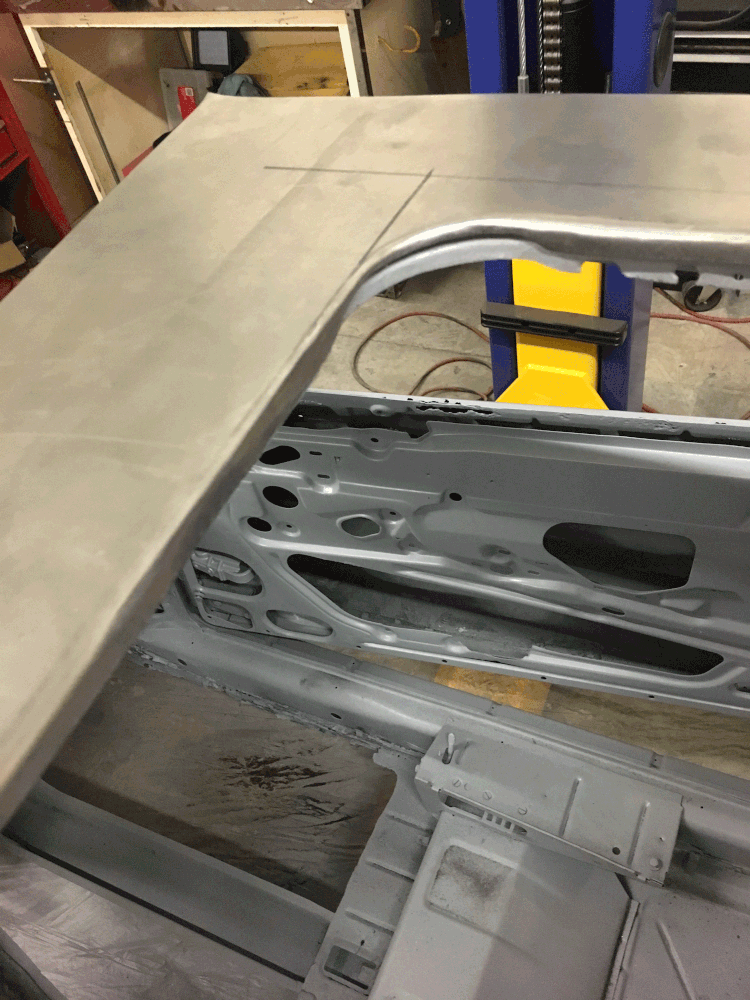
Begin the process of bending the edges to form our thick and smooth final edge.
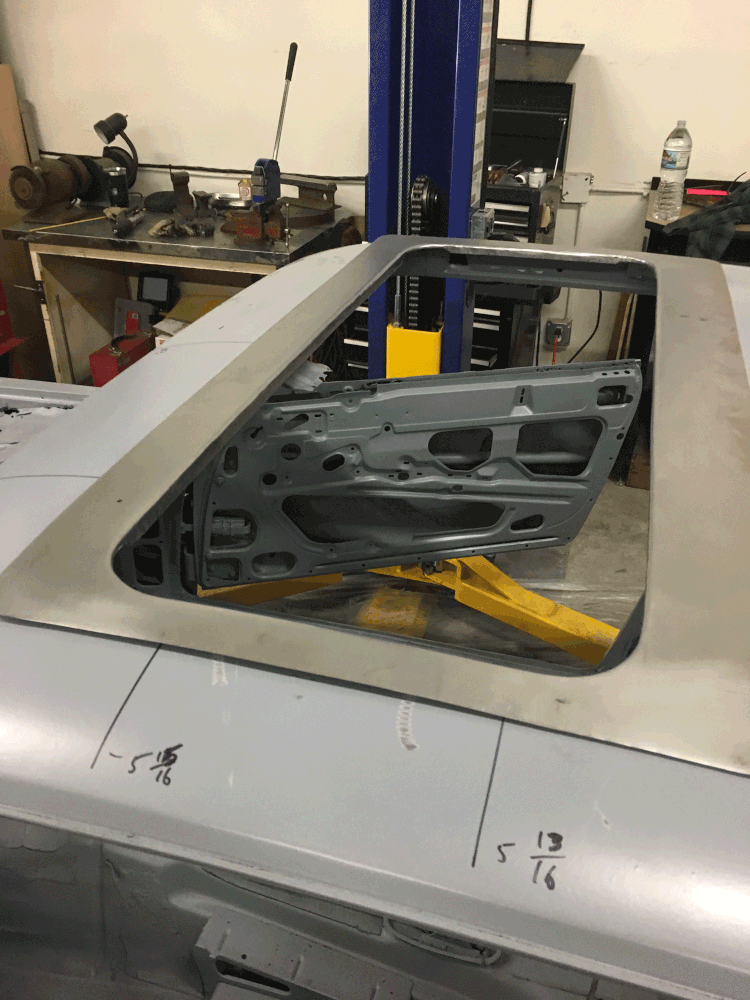
Continue the bending and shaping process with the panel setting on the car.
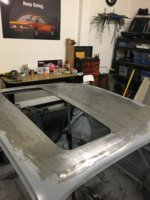
Finally we have a panel which is looking like a final product.
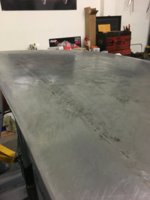
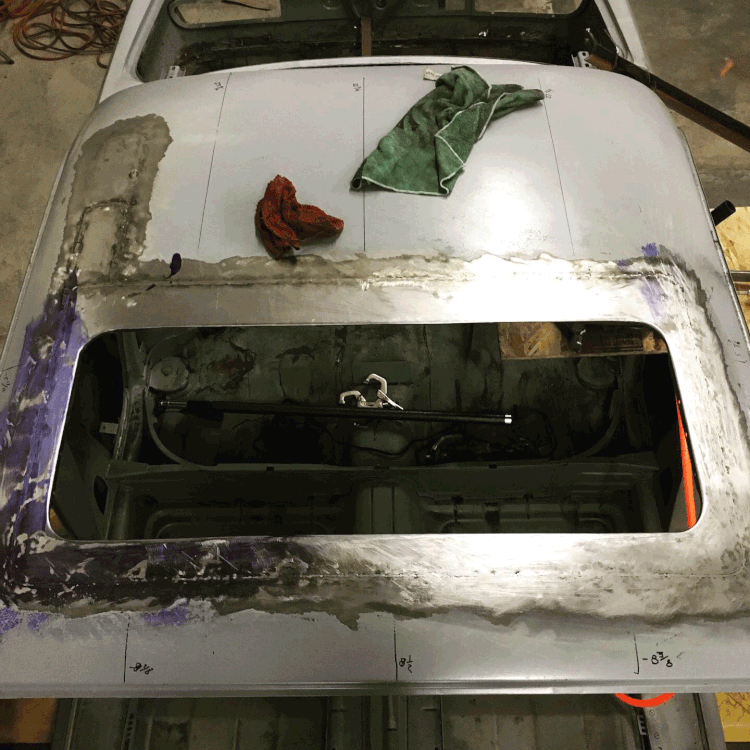
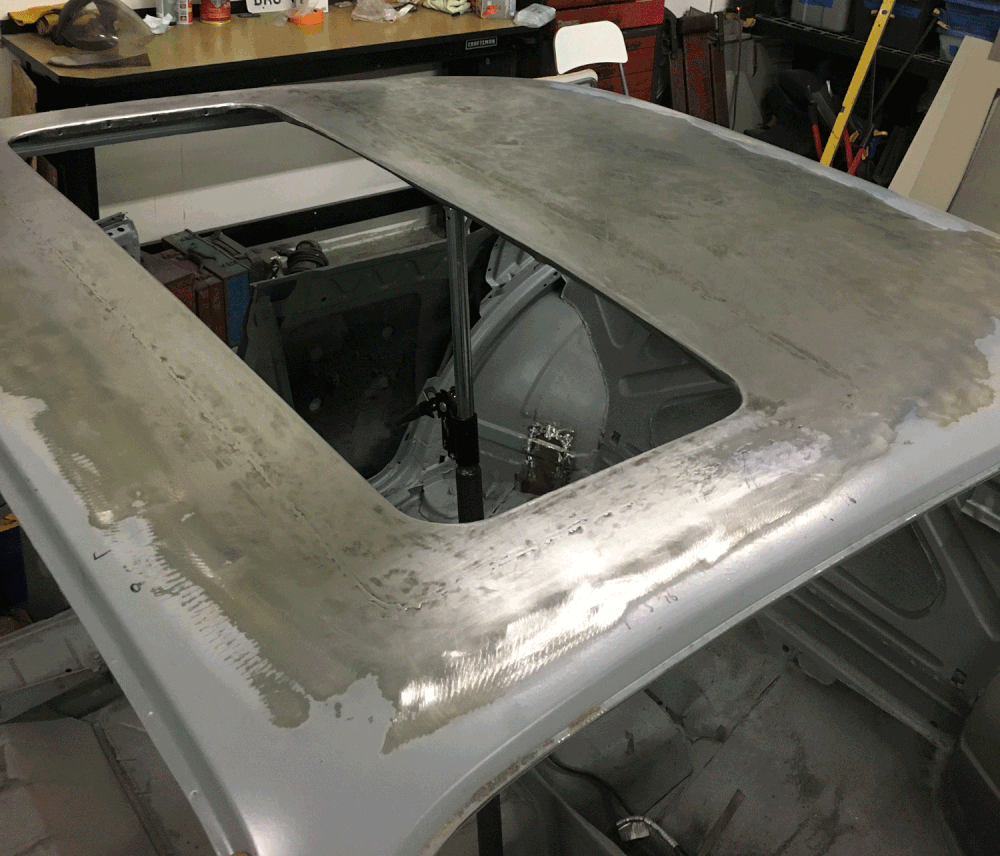
Weld the piece in, then smoothing, smoothing, smoothing.
We also found that we had to strengthen the sagging steel behind the sunroof as well. We then smoothed and smoothed and smoothed some more.
In the end we now have an entire roof that is better than new.
Repairing the Sunroof Frame
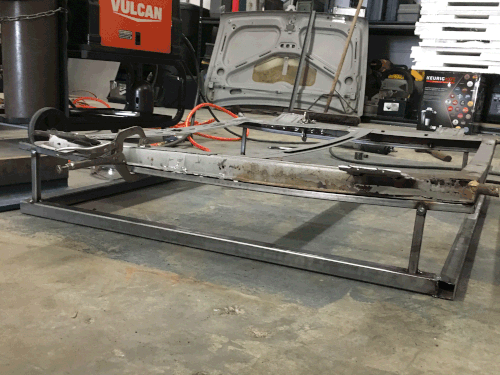
The jig is up. Well, in the photo the jig is on the bottom and the frame is up, but you get the idea.
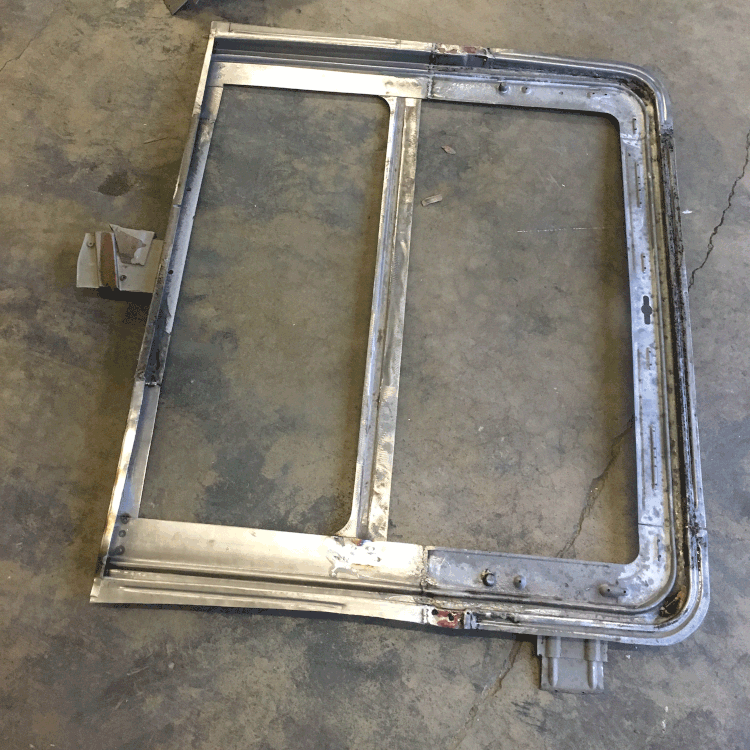
Our frame attached to the jig.
With the frame on the jig we can cut out sections and start replacing them.
Tyler is a patient craftsman. Give him some steel and some tools and he can turn out just about anything.
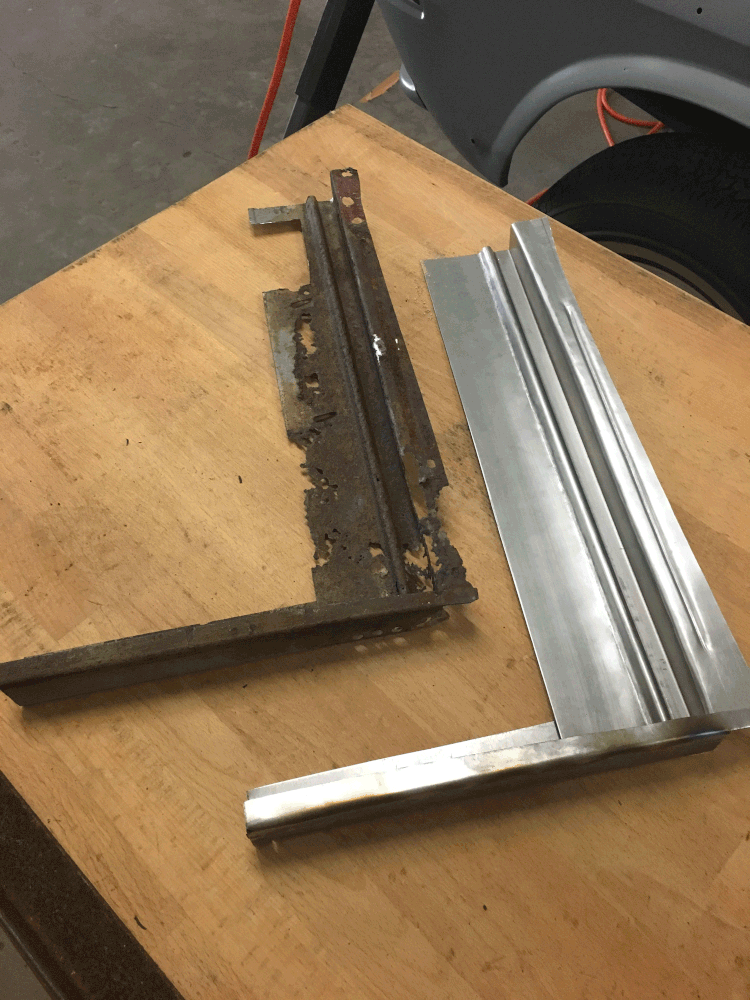
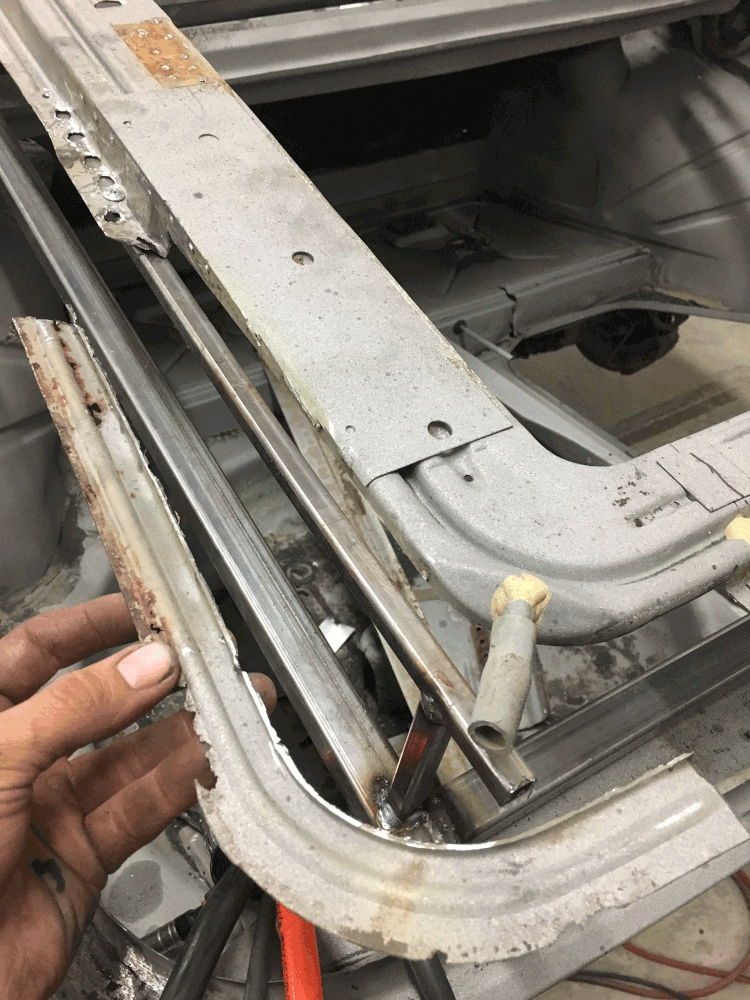
Here’s a fun, rusty rounded corner,
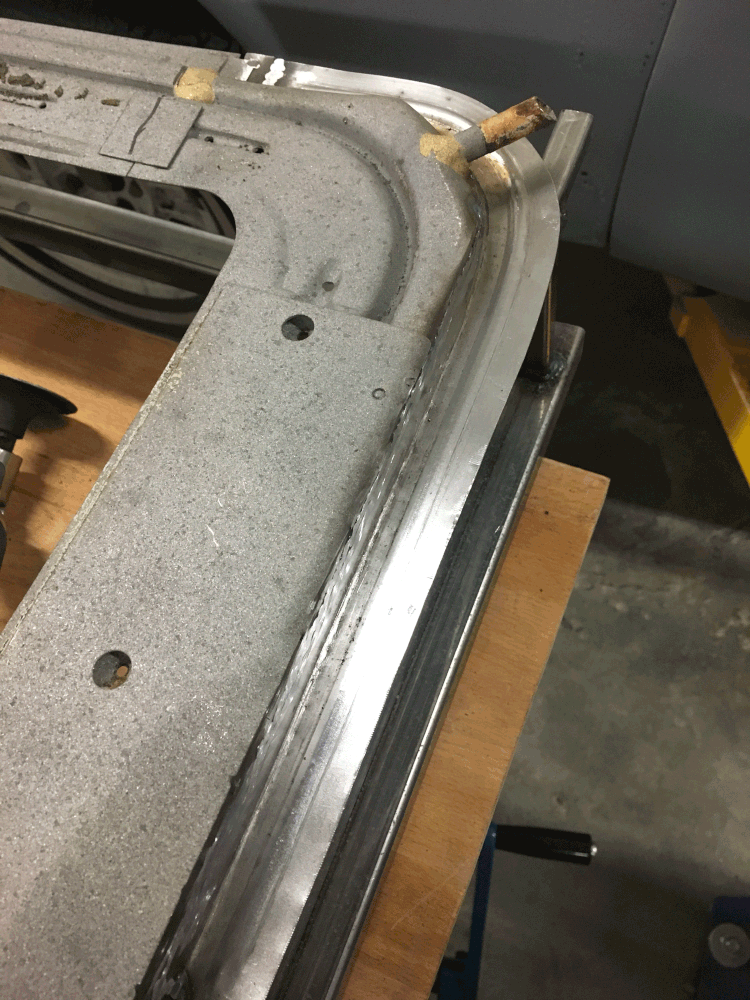
And here’s the new replacement piece all clean and tidy.
All the new sections welded and smoothed into the frame.
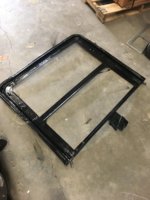
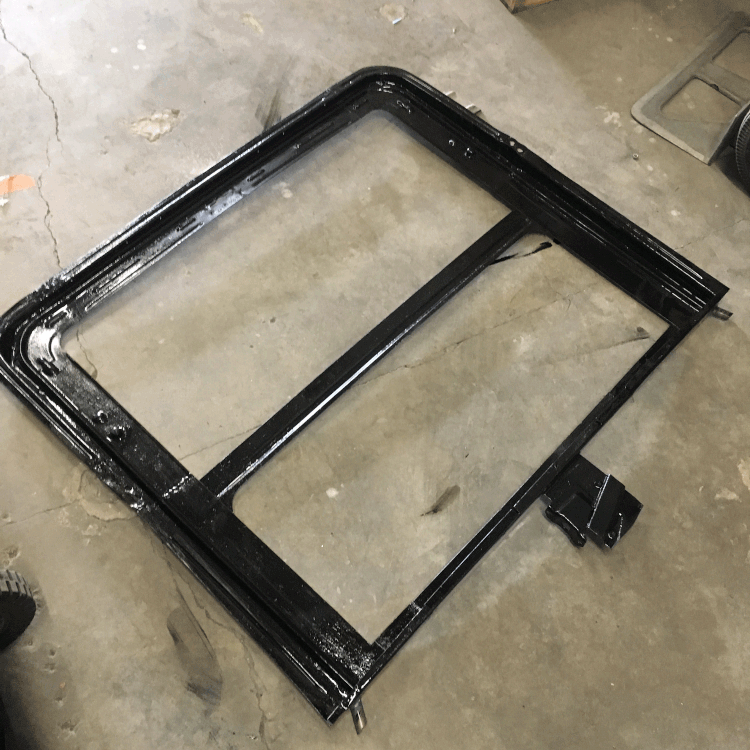
The restored frame receives a fresh black coating.
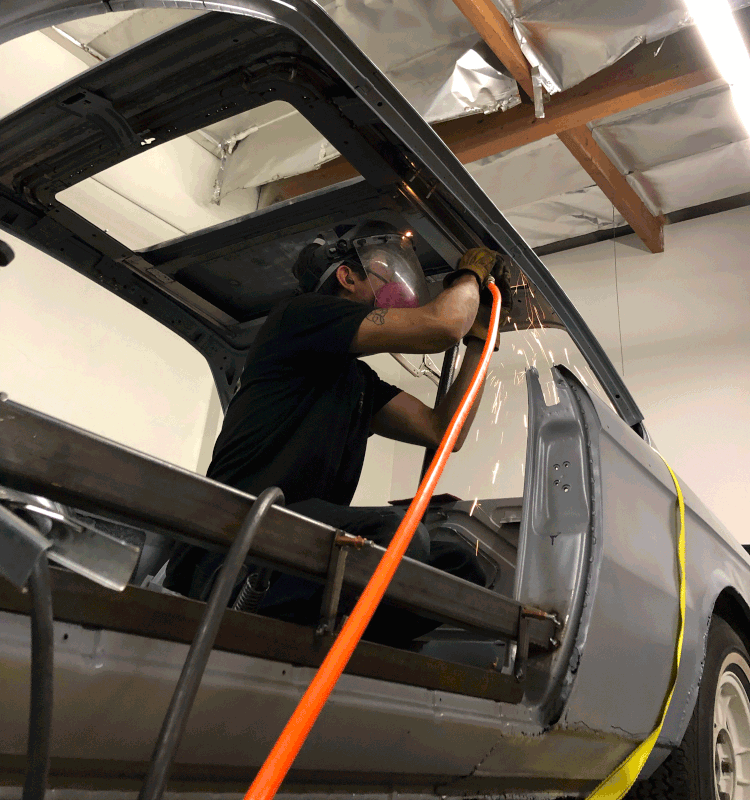
Installing the frame back into the coupe. Tyler loves crawling around grinding things in the car.
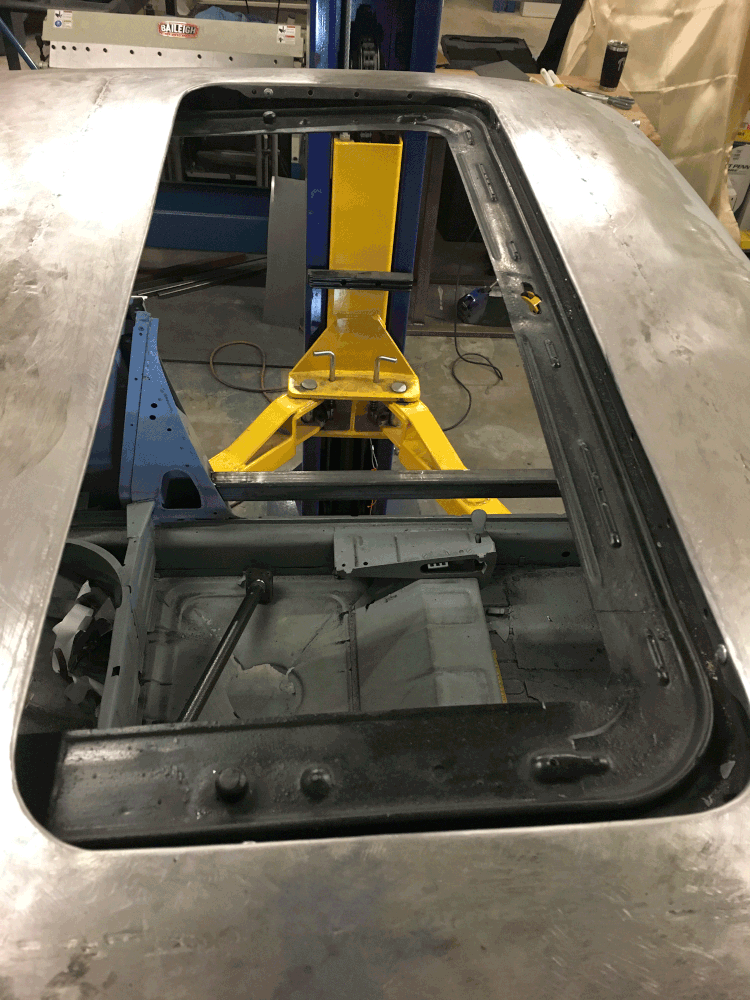
It’s looking good from up above.
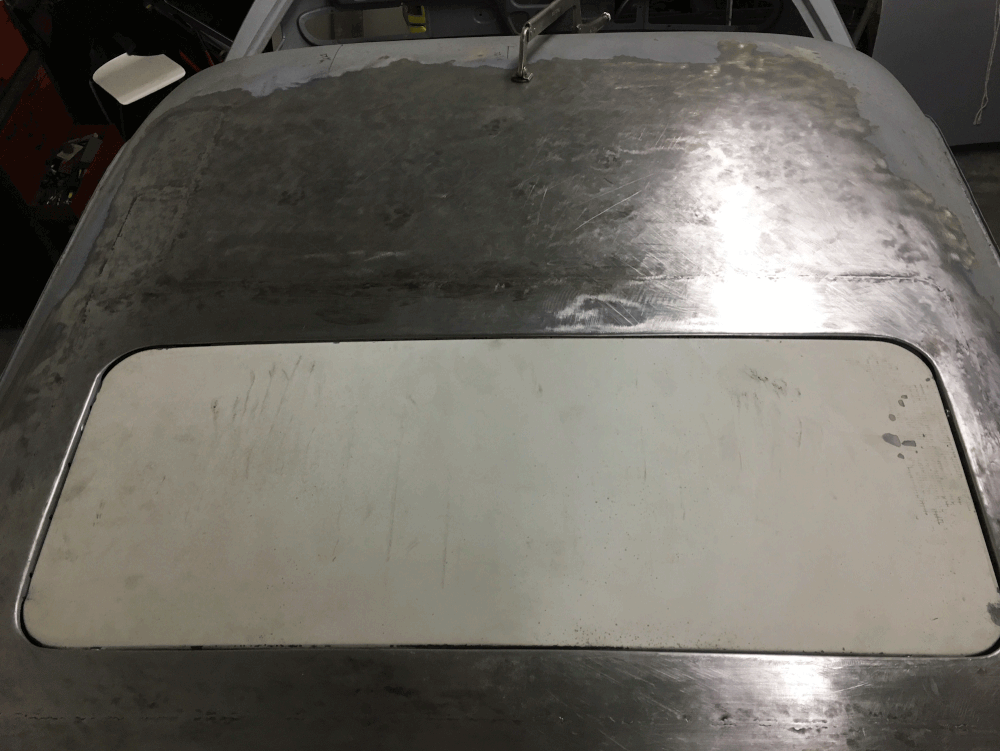
Finally we set the sunroof back in and check the fit. The gaps are cleaner than when we bought the car. With our new drain tubes and fresh hoses, as well as a new seal in place we should be good for another 45 years of open air, rust-free enjoyment.
While all this sunroof work was going on, there was
a lot of junk going on in the trunk. Next week I’ll post an update on all that.
Cheers!
Paul


