Finishing this car is taking longer than expected. The painter took 6 months instead of 1 and the final result is not acceptable. During this time,
@JetDexter has new business commitments so it has fallen and me (and Brett) to finish the project. Paul is still tangentially involved when need be. My EV build is driving and back with Tyler for final metal finishing so I have some time to work on this project, but doing two simultaneous E9 restorations and EV conversions is a handful.
The new owner of this car wants a driver, not a show car, so that has influenced some decisions, but we still want to make sure it is properly protected from corrosion, looks good, and drives great. This is a driver. So, please don't judge too harshly. To that end, here's an update on what we've been doing...
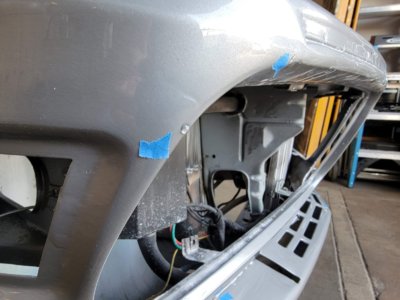
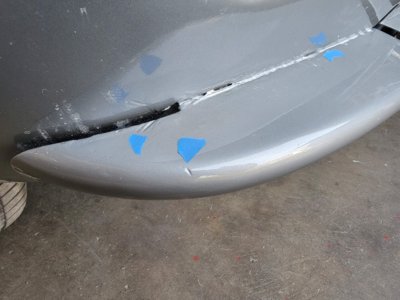
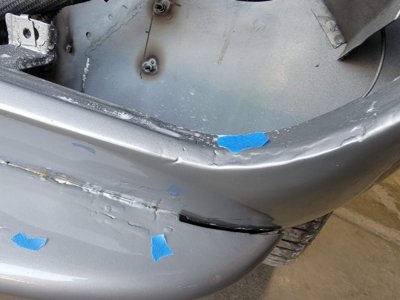
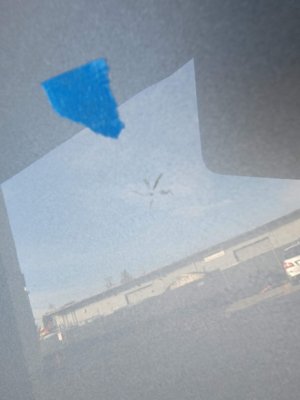
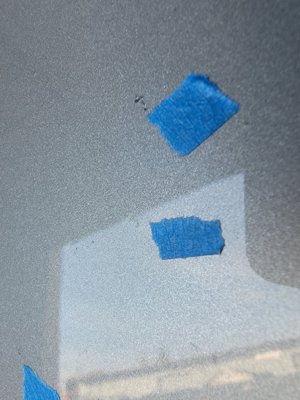
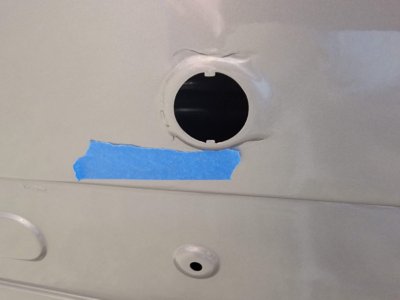
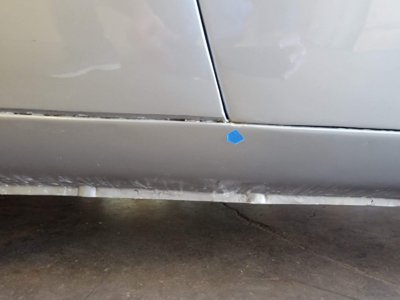
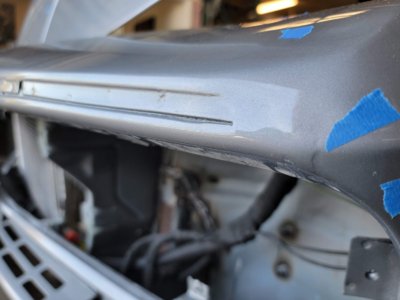
The original plan was to strip the trim and glass, remove the front battery box, and then send it out for paint of the engine compartment and exterior, leaving the trunk area black and postponing cleaning up and protecting the underside until after paint to minimize overspray, etc. The new owner decided to go back to the original Polaris silver color. As mentioned, paint took a long time and didn't turn out as we had hoped.
View attachment 135771
View attachment 135772
In order to take the car back, the painter wants the car running so that he can drive it in and out of his booth and around the shop so the new plan is to tear down the suspension and driveline, clean up the underside, put it all back together, and send it back to the painter to address the issues with the paint. Once back together there will be no access to address paint issues in the engine area so we're redoing all that ourselves.
The first order of business was to connect all the battery cooling lines -- Paul had never done this. We have a number of thermistors to measure battery temps. With normal driving and 40 amp charging, the batteries don't actually run that hot but the new owner may not watch temps as closely as Paul did and with the battery box out, now is the time to finish this.
View attachment 135790
We blew out all the suspension, brakes, etc. easily enough.
View attachment 135773
We found one surprise when removing the rear coilover spring perch -- the original spring locating "tower" on one side was practically missing due to rust. This wasn't visible with the coilovers in place. I guess it worked ok but... not acceptable. The other side looks perfect -- it may have already been replaced. A new piece is on order from W&N but has been held up for 3 weeks at customs. If anyone has a 41141813039 local in the USA please let me know -- that's holding us up at this point.
View attachment 135774
View attachment 135775
Tearing down the front subframe also led to an unexpected discovery -- someone had really bashed the front of the car into the ground at some point. The tow hooks were gone, the thrust arm washers were bent, and the subframe bushing area was also bent. With some heat and a large bar, we managed to straighten it out pretty close and made new tow hooks. As much of the suspension as possible was sent out for black powder coat, with fasteners and brackets out for gold zinc.
View attachment 135776
View attachment 135777
View attachment 135778
The Wilwood calipers had already been orange powder coated but looked plain to us so we stenciled some CSE logos on with black caliper paint, followed by clear caliper paint.
View attachment 135779
Cleaning up the underside of a car is no fun but we did it. Wire wheels, a lot of sanding, rust conversion products on surface rust, etc. While under there, we fabricated a tunnel cover from 3/16" ABS to protect all the wiring and cooling lines in the old tans tunnel. It is attached via Dzus fasteners.
View attachment 135780
View attachment 135781
Once all the fabrication was done (except that rear spring perch -- which we'l have to come back to later), we applied a Direct-to-Metal black epoxy primer, followed by black undercoating, and black top coat over non-undercoated brackets, etc.
View attachment 135782
View attachment 135783
View attachment 135784
View attachment 135785
View attachment 135786
The engine compartment needed better prep than the painter had given it so we took it all apart, sanded, and primed with a gray DTM epoxy primer/surfacer. We're sanding that down now and will soon shoot some Polaris silver single stage under the hood.
View attachment 135787
View attachment 135788
View attachment 135789
View attachment 135791
Hopefully, everything will be properly protected and look decent for years to come...


") .
.