Good grief how time flies. A few updates.
The day after that last update, I took the long drive from Rey Rivera's shop, through L.A. and, the following day on up to our new house an hour and a half north of San Francisco. Not too surprisingly, there were a few "special moments", like a hood that became loose, the air dam that became loose and a small electrical issue which caused a serious jump in the heart rate. (https://www.e9coupe.com/forum/threa...mess-before-going-anywhere.32179/#post-263694).
On August 16, after having fixed lots of little things (at least temporarily), I left at 4:00 in the morning to make it to Monterey by 7am for the annual Legends of the Autobahn. Although I had attended in 2016 without my car, it was a bucket list item to bring my coupe there, in all its "works in progress" beauty. The only category I was thinking I could stand a chance in was the "shiniest spare tire rim" one but, sadly, they did not offer it this year.
Last edited:
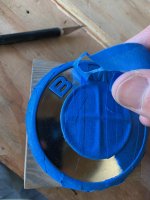
.jpg")


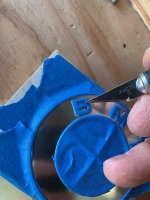
.jpg")