Thanks for the motivation guys, good to hear that it was/is a good read.
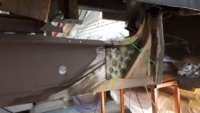
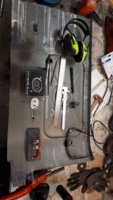
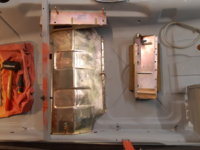
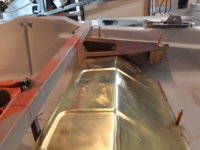
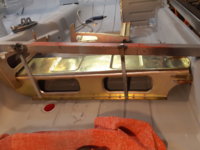
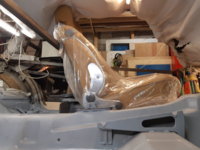
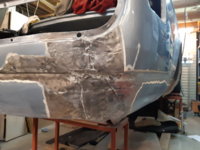
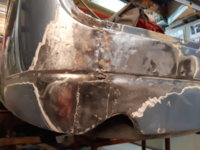
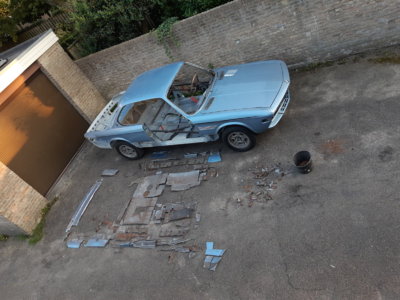
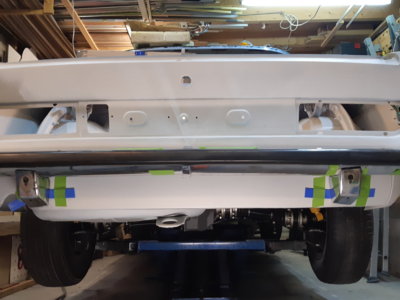
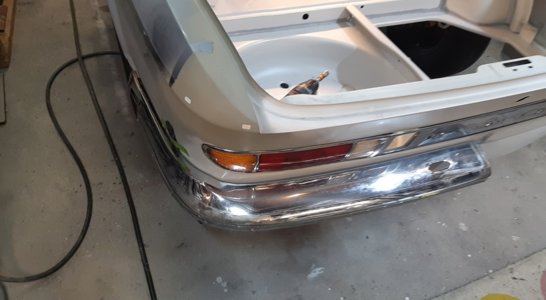
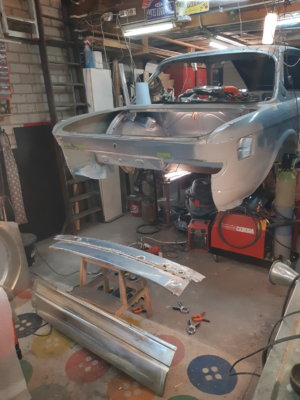
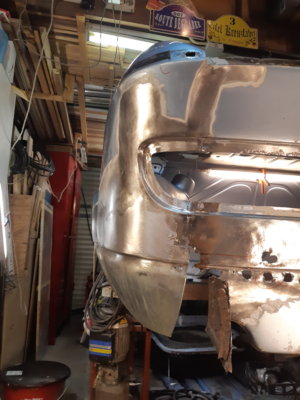
It's been since November since last update. I need to share something...It went to this in the meantime.
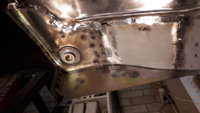
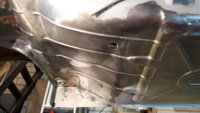
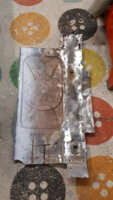
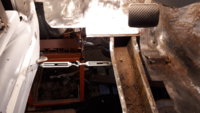
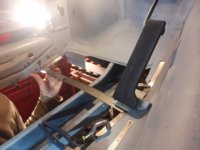
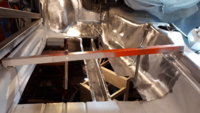
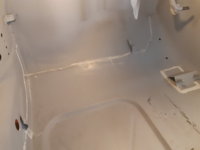
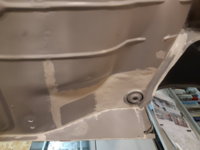
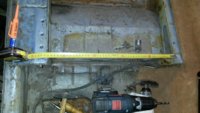
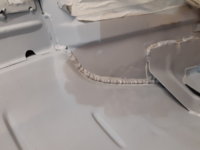
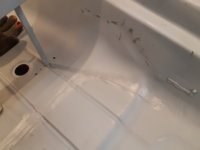
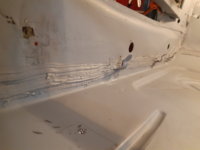
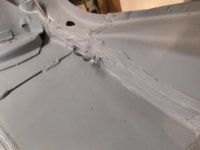
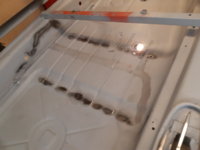
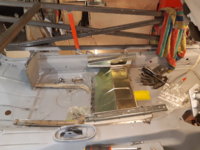
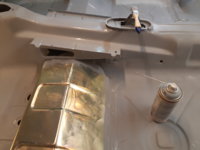
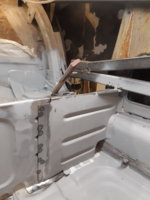
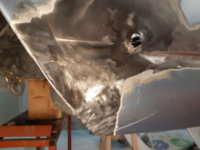
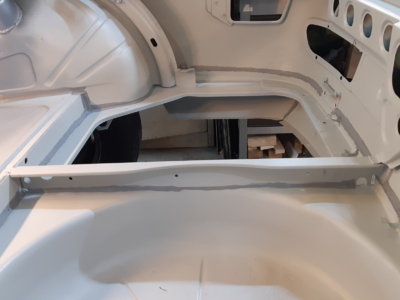
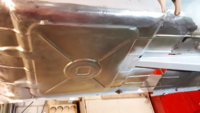
I finished welding and smoothing the left rear floor. My welding is getting better now, it's much smoother then the right side...if you slide your fingers over it the seam is hardly noticeable.
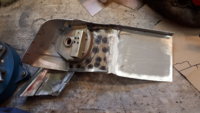
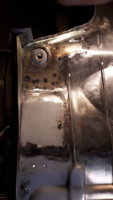
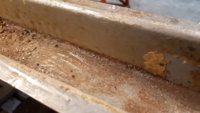
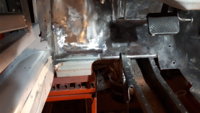
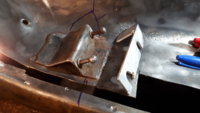
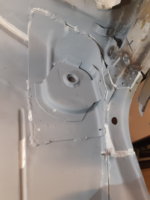
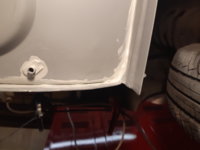
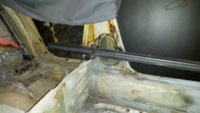
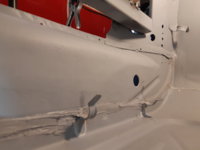
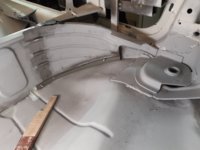
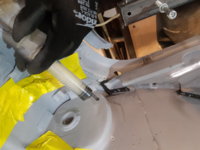
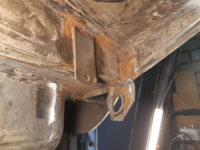
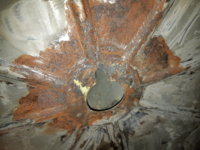
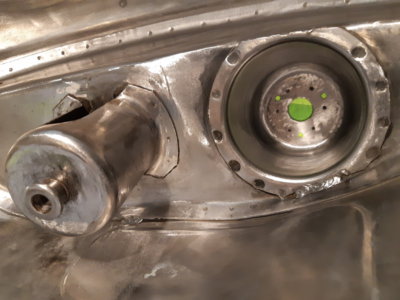
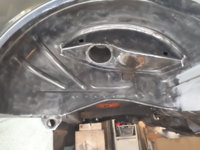
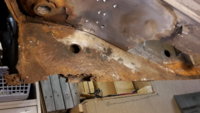
As an in between job I also cleaned out the rust between the spring mount and the wheel well in the left rear wheel arch. (pic 123720) It was not too bad, I expected more rust to come out from under it, and perhaps some pinholes into the wheelwell, but it was just surface rust. Not sure if it was worth the effort, but it is all clean again now. sandblasted & welded back in and sealed with seam sealer.
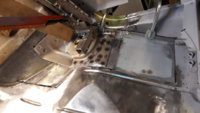
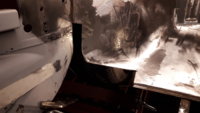
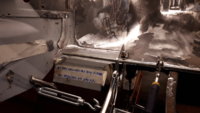
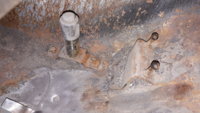
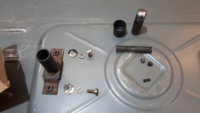
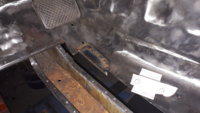
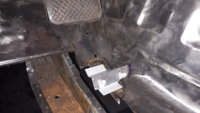
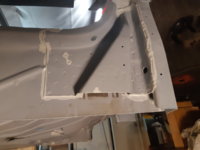
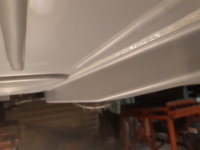
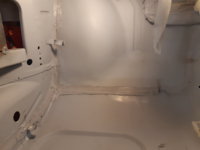
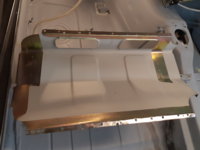
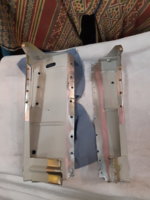
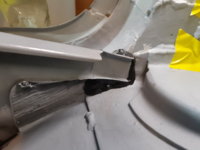
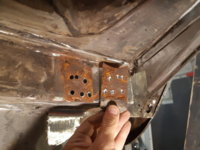
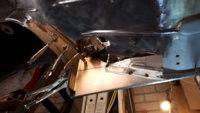
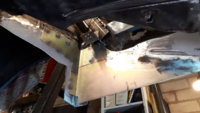
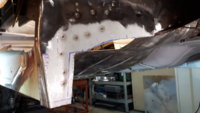
With the left rear floor in place, I tackled the rear subframe mounting point and the whole corner around it as well. It needed everything new; wheel well section, floor section & sill section. the only thing that was still OK was the thick reinforcement itself that holds the ~20*200 mm thick/long knurled bolt; I just sandblasted it and had it zinc coated.
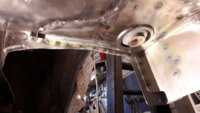
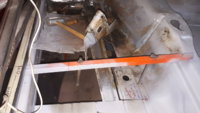
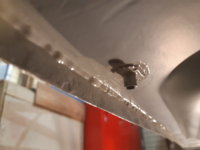
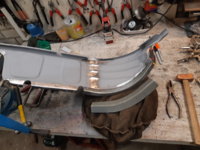
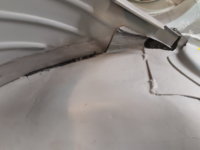
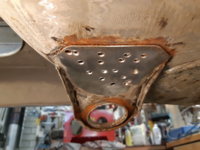
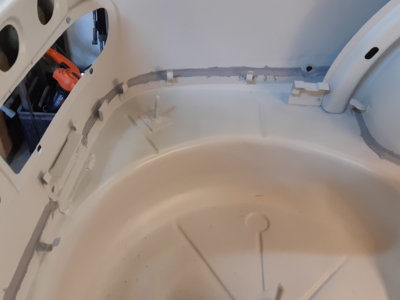
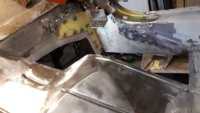
End corner of the inner sill layer was replaced earlier (part of it covered already in post # 134), and I included an extra flange on it, extending it to follow the wheel well, so it ties in better (stronger) to the rear subframe mounting point . You can see it spotwelded in pic ..232036; it's the 'flag shaped' yellow zinc part sticking out towards the left. It will be directly plug welded to the thick reinforcement plate later on, giving it a lot more stability: Originally this reinforcement is welded to the floor (0.8mm), the wheel well (0.8mm) and the sill (2.0mm). Now it has this additional flange of 2.5 mm to hold on to, and you can't see it from the outside!
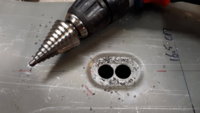
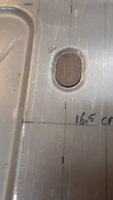
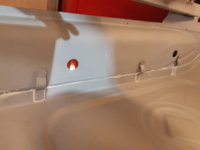
You can also see that I have omitted a rust source; the inner sill originally has a 20mm round holes for wax injection. Some of them are located on the interior side of the floor, but the most rearward point is actually on the bottom side. The white caps tend to fall out, and then it is a direct water entry point, close to a wheel. Not a good thing. So I choose to delete the hole, and made a new one that allows wax insertion from under the rear seat. That new hole is visible in 232036; it's located in the curved piece. From there it continues down through all the stacked layers, allowing wax to penetrate everywhere. (Better pic in next post, the one with the green line)
Attachments
-
 20181026_235654.jpg186.8 KB · Views: 519
 -
 20180712_123720.jpg224.8 KB · Views: 515
 -
 20180712_123817.jpg203.4 KB · Views: 498
 -
 20180121_230319.jpg217.5 KB · Views: 507
 -
 20181012_131441.jpg210.9 KB · Views: 477
 -
 20181012_224753.jpg192.5 KB · Views: 509
 -
 20181012_224956.jpg194.7 KB · Views: 523
 -
 20181022_232036.jpg224.9 KB · Views: 491
Last edited:

