Getting this 3.0CSi back on the road

Well done! Did you have the valve seats refinished when it was at the machine shop or just had the surface decked? I would think it would be a good time to put in harder seats for unleaded fuel. The '72's were still designed for leaded fuel, correct?

Thank you, I only had the machine shop to pressure test the water jackets and deck the surface. In my opinion both the valves and valve seats looked very good, but we used a little bit of fine valve grinding compound on each valve/valveseat just to be sure they are tight. I didn't want to pour more money into this head than needed, considering I will most likely change out this engine for a 3.5 later on. Even if it is a couple of years in the future before I do the swap, I don't think I will have the time to drive the car to that extent, that the valve seats will get worn out before that point.

But yes, otherwise it would have been a good to replace the valve seats, no doubt.

One of the finest I have seen, once again I am humbled by such artwork; I was thinking last night as I went through my new acquisition (88' e32) that working on these cars requires a measure of "forensics" in that each piece, scratch, etc tells a story. The time and patience put into this CSI says something about the historical value of the e9 in general, something about its re-builder and allot about the brief period in time where some cars actually seemed to have souls... and every soul is worth saving!

Thanks Robert for a great lesson.

Thank you for the very kind words Peter, and I agree that working on these cars requires a measure of forensics, and sometimes it sure feels like working on something more than "just a car". But I just want to point out that while my car sure will be a nice, solid coupe when finished, it's far from as nice as many other coupes on this forum are, my car is a total mishmash of parts from all the years they made the e9, the new paintjob sure leaves some to be desired, and I will most likely have to push forward the total restoration of the interior to a later point.

But this really doesn't bother me, while I have huge respect for those who keep everything year specific, stock and original, and doing everything to absolute perfection, that just wasn't a reasonable goal for me when I started with this project, this is after all my first restoration of any kind. Me and my father, who has helped and still is helping me alot, do this for fun and we're both just happy amateurs. So I can live with some imperfections, and I look at it from this side, now I have a very good starting point if I later on decide or want to take the car to the next level, but first I badly need to experience the car where it is supposed to be, on the road and not in thousands of pieces in the garage!:p

Cheers,
 
So, after putting everything back together we rolled it outside to heat up the engine to be able to re-tourqe the head bolts later when the engine was cold again. At the same time I snapped some pictures.
Here I have a new set of lower rear springs, I found some unknown brand springs that did fit like a glove and lowers the rear a bit more than the old springs, have to find out later when I can drive the car if the spring rate is okay or not.

Screen Shot 2017-09-02 at 23.32.56.png


Screen Shot 2017-09-02 at 23.33.04.png


Screen Shot 2017-09-02 at 23.33.11.png


Screen Shot 2017-09-02 at 23.33.18.png


Screen Shot 2017-09-02 at 23.33.27.png


Vent-window frames with brand new glass and gaskets:

Screen Shot 2017-09-02 at 23.33.34.png


Air filter box:

Screen Shot 2017-09-02 at 23.33.41.png


Screen Shot 2017-09-02 at 23.33.47.png


Current engine compartment status:

Screen Shot 2017-09-02 at 23.33.55.png


Screen Shot 2017-09-02 at 23.34.02.png


Cheers,
 
Last edited:
Beauty!
It took me awhile to figure out why the body looked so sharp. No trim.

I like the no trim look, no hood is ok, but I really think it would look better with doors.:)
 
what i find is wonderful is there just aernt that many cars in the current age that has so many variables
making every single one unique!!!
how did you secure the vent window glass in its frame?
 
Last edited:
Thanks, yes it will look much more complete with the doors in place, but due to our limited garage space we'll keep them off the car while we continue with the interior, and as soon as spring arrives I'll have to focus on my garage build instead of completing the car, so there will be a break in the car progress over the spring/summer/fall and hopefully get the car roadworthy for 2018 over the next winter. That's the plan, let's see if it works out;)

I took the old frames and the new glass to a car glass service, they glued the new windows into the old frames.
 
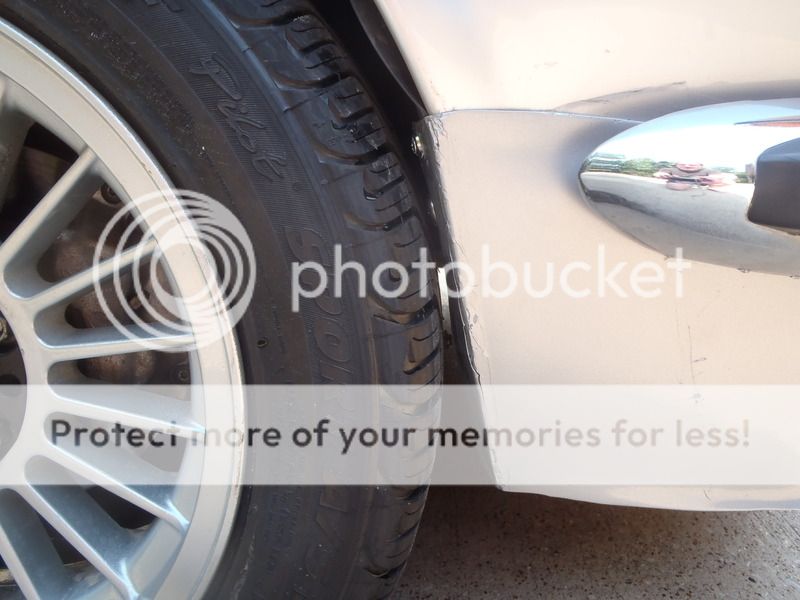
Our cars could be twins (except yours is prettier!). Did you trim the front air dam where it almost touches the front of the tire? Mine clears by a fraction of an inch and I'm probably going to trim it to continue the line down from the fender for more clearance.

P5170229_zpsbvan5ijf.jpg
 
Thank you all, I appreciate your words!:)

Bwana, my spoiler is a bit different on each side, on the right side the rear edge of the spoiler almost follows the line of the arch, but on the left side it's a little bit like yours, it doesn't follow the line straight down, but takes a steeper line down and might cause problems with bigger wheels/tyres. I still feel like I have more room than you do, but who knows after I lower the front some more and 16" wheels.. What tyre size are you running?

The only thing I did was trim the upper rear edge where it meets the arch, in hope of making it harder for the tyre to catch the edge and rip off the spoiler, photos:

Screen Shot 2017-09-02 at 23.36.07.png


Screen Shot 2017-09-02 at 23.36.15.png


Cheers,
 
Last edited:
Is this yours or is compiling project photos for youtube ad revenue a thing now?

 
Yeah I posted that one also but so promise they aren't mine. ;)

You're so busted:p

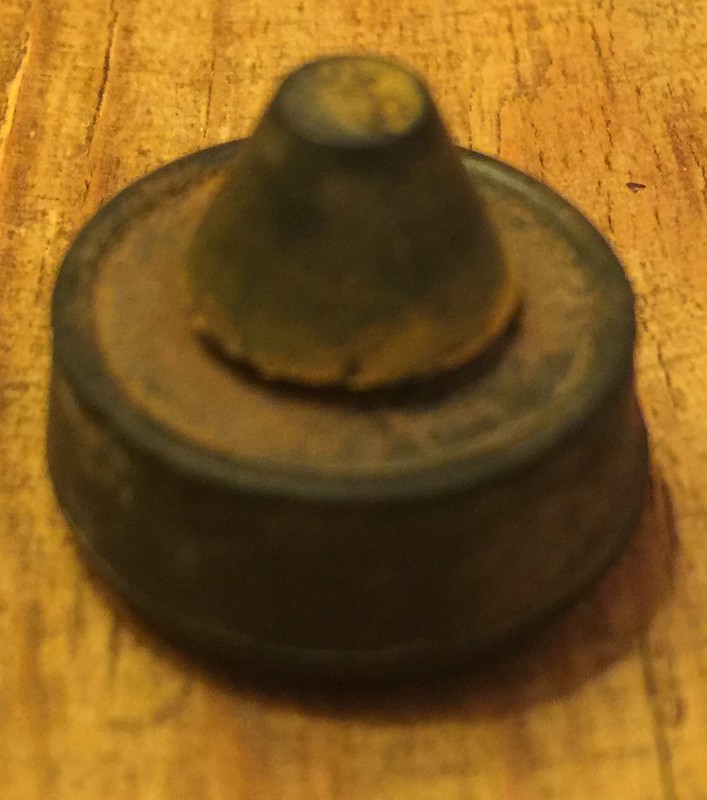
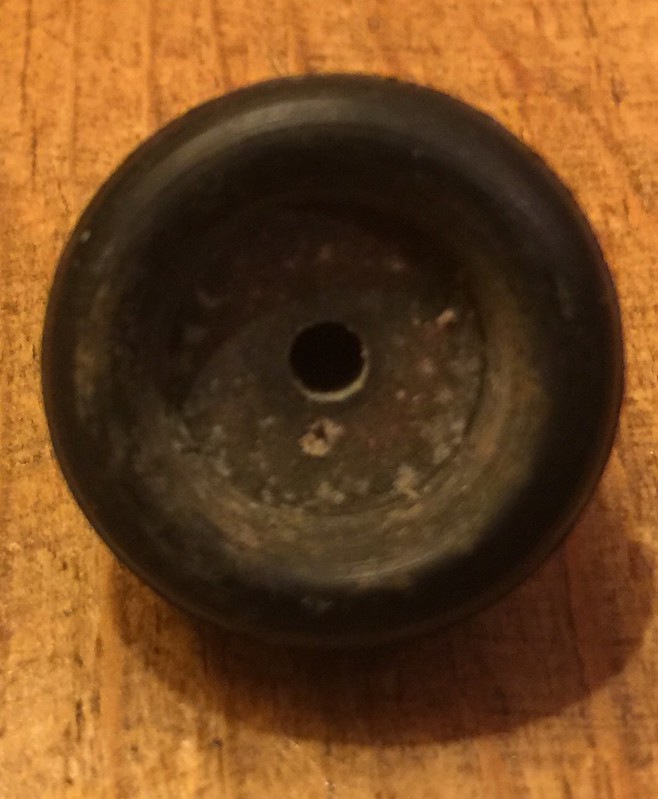
While I have your attention, does your project or parts car still have the two trunk lid rubber stops in place? If so, could you kindly measure their thickness for me? I can't find new ones but I have found some universal rubbers that fit to the trunk lid, but they are too thick and I will need to take them down to the correct size.

Would be very appreciated as I plan to install the trunk lid on the car this weekend.

Cheers,

Here you go!

32929582706_3e7e3483e7_c.jpg


32155758533_bd956eae5c_c.jpg


32929588766_f6751935cd_c.jpg


32126777844_cf33aae6ec_c.jpg


32845704881_e0c6795818_c.jpg


32845704991_5e929f8014_c.jpg


32970415295_5b69bf3112_c.jpg


32970415255_89a79c6b54_c.jpg


32816135562_15bc6874c6_c.jpg


32816135602_b24fc64d92_c.jpg
 
Last edited:
More progress this weekend, we fitted the boot lid, hood and alot of small stuff.

Here are some pictures,

Boot lid done and adjusted, still waiting for the lock and catch to come back from plating. Will deal with all the trunk panels later.

Screen Shot 2017-09-02 at 23.37.51.png


Here is a closeup of the non-original rubber stops that I found.

Screen Shot 2017-09-02 at 23.38.00.png


Hood ready to be fitted to the car:

Screen Shot 2017-09-02 at 23.38.09.png


And in place, we also put some stickers, fitted the plate above the heater blower fan, the washer tank + pump and some rubber gaskets.
Still missing the hood-locks that will come back from plating soon, and still waiting on some rubber glue to arrive to be able to fit the rubber gasket under the windshield.

The original hood-support mechanism was totally shot, and we didn't get the hood to align correctly with it in place earlier when we testfitted everything while doing all the bodywork, so I took the easy way out and went with a simple hood rod.
Made the hood bracket from stainless steel.

Screen Shot 2017-09-02 at 23.38.16.png


Looks more and more complete, can't almost believe it myself:eek:

Screen Shot 2017-09-02 at 23.38.26.png


Screen Shot 2017-09-02 at 23.38.37.png


Screen Shot 2017-09-02 at 23.38.46.png


Cheers,
 
Last edited:
Robert, this is looking fantastic. so what about the hood light and wiring? where did you source the prop rod and hook?
 
Robert, this is looking fantastic. so what about the hood light and wiring? where did you source the prop rod and hook?

Thanks Scott,
I've read that (at least some) strut braces interfere with the hood light, and I'm planning on installing a strut brace later on, and I'm also missing the lens for the light base so right now I'm gonna have to live without the hood light;)
I went to the scrap yard and went through a lot (A LOT) of cars searching for a prop rod that would work, and I actually laughed a bit when I found this one in a Ford Mondeo MKII, because if any of you remember, a couple of years ago I took the spare wheel well from another Ford Mondeo MKII, so my car is almost a Ford now..:p The hook it's resting in while the hood is down is something I just made from stuff laying around in the garage, and it turned out quite nice.

Cheers,
 
Back
Top