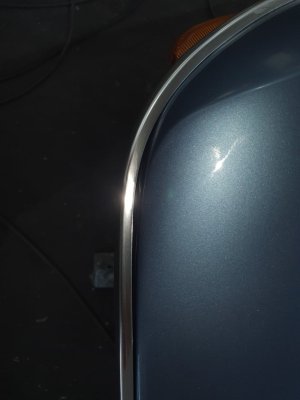
kind of looks like brushed stainless steel.
You are using an out of date browser. It may not display this or other websites correctly.
You should upgrade or use an alternative browser.
You should upgrade or use an alternative browser.
What did you do to your E9 today?
- Thread starter adawil2002
- Start date
.....it's new laser cut aluminum, brushed on the top, awaiting anodising as the next step.
4mm bolts attached by arc welding.
There will be a stainless version, just working on it. On the stainless version fixing of the bolt is much stronger.
4mm bolts attached by arc welding.
There will be a stainless version, just working on it. On the stainless version fixing of the bolt is much stronger.
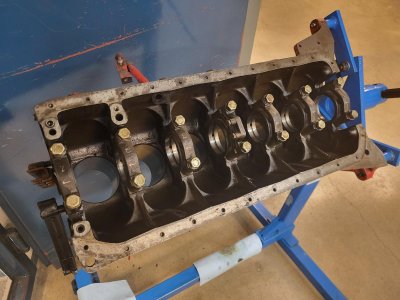
Took old disassembly project one step forward.
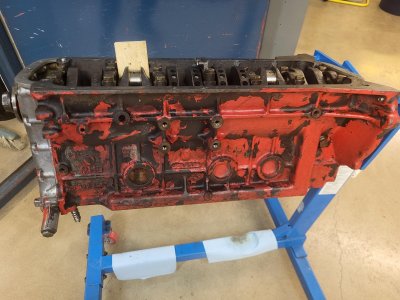
I've had this 3.0Si engine stored for about 15 years and I started disassembly three years ago.
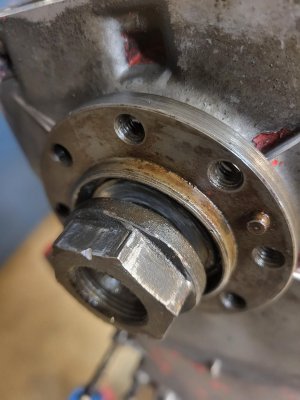
That time tight crank nut was too much and engine was tucked away again.
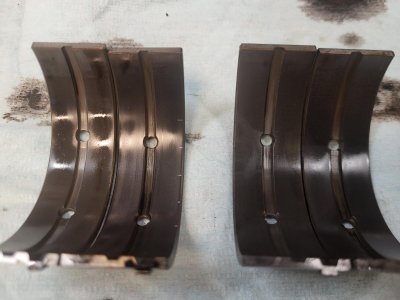
This time I had tools to get the nut open and crank out. I have no knowledge on the history of the engine but I think the bearings looked fine.
Next job is to get the red paint off the block and have it checked.
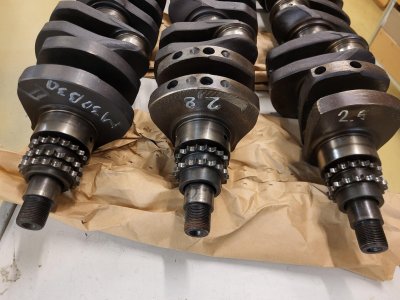
I also packed away spare cranks, 2.5, 2,8 and 3.0. All checked and in stardard measurements.
Attachments
Last edited:
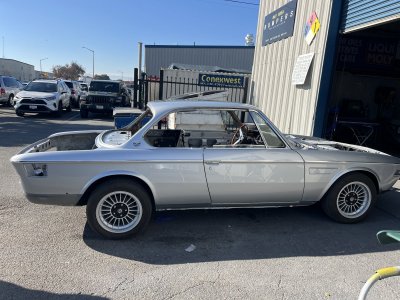
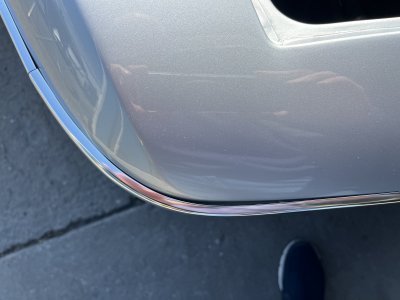
Paint and body look great!! I don't think that gap is anything to worry about, you might not be able to close it any tighter than that.
c

s
s
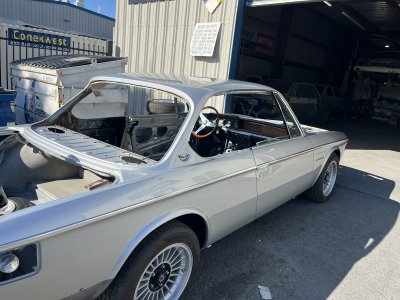
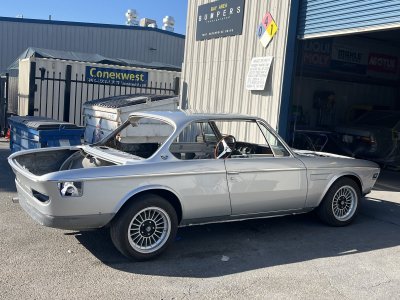
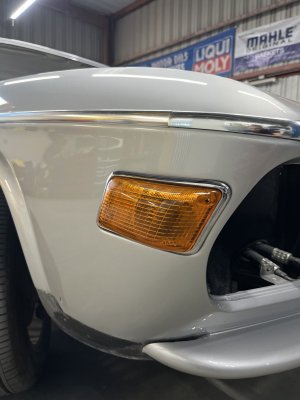
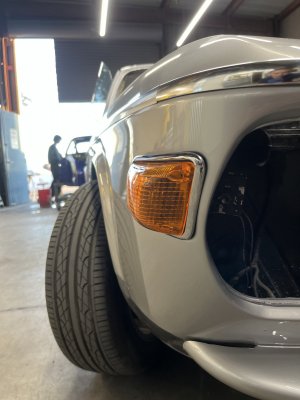
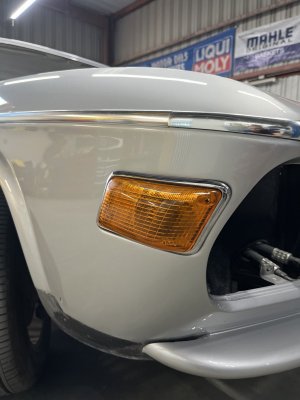
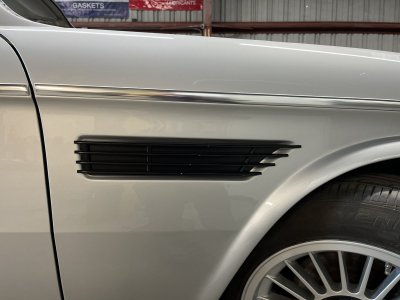
Attached grills and new Euro turn signals
Dont worry about beltline fit. Still working on it
Dont worry about beltline fit. Still working on it
Attachments
-
 75548298398__55B9FB61-0E8A-4713-8C9D-CBEDBB304AB4.jpg201 KB · Views: 146
 -
 75548298965__2CE2AE8A-C18B-4FC8-BF77-60C3A314939F.jpg199 KB · Views: 178
 -
 75548298398__55B9FB61-0E8A-4713-8C9D-CBEDBB304AB4 (1).jpg201 KB · Views: 150
 -
 75548250399__1A830545-1703-4BFA-9B26-3B3FEEED3A38.jpg195.7 KB · Views: 147
Last edited:
I had the same problem with the new belt line trim from WN. Please share if you are able to solve the problem.Attached grills and new Euro turn signals
Dont worry about beltline fit. Still working on it
I've got also the same issue.
Maybe a little bit silicon will help?
No, just kidding.
Only solution will be to mark where it need more radius, dismount and bending more.
Breiti
@Wobdog - If your trim has been de-anodized (e.g. polished) before, then bending/ reshaping it will work perfectly well.
But if your trim is still original, and thus Anodized, I wouldn't dare to bend them.
Anodized materials are known for being hard (which is one of their main selling points), but as consequence also brittle. I think that if you bend the aluminium, you'll get what is known as 'crazing': light lines that look like this:
day66
Well-Known Member
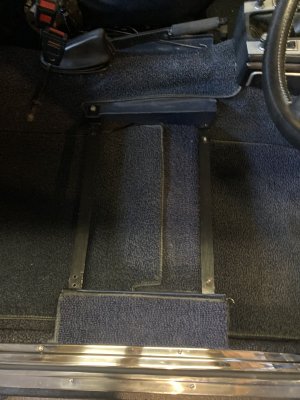
Took advantage of a couple of relatively "warm" December days to sort out the missing carpet on the right hand side and to redo the area by the redundant and removed seat adjuster, before refitting the driver's seat (E24 sport seat).
As the roads were dry it seemed a good excuse to go for a quick 15 mile run to turn the car around before I start on the other side!
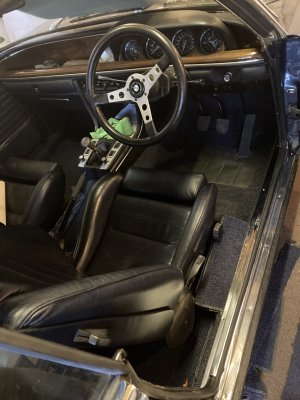
As the roads were dry it seemed a good excuse to go for a quick 15 mile run to turn the car around before I start on the other side!


15 mile turn radius? Check your steering system... mine turns much tighter than that...
As the roads were dry it seemed a good excuse to go for a quick 15 mile run to turn the car around before I start on the other side!
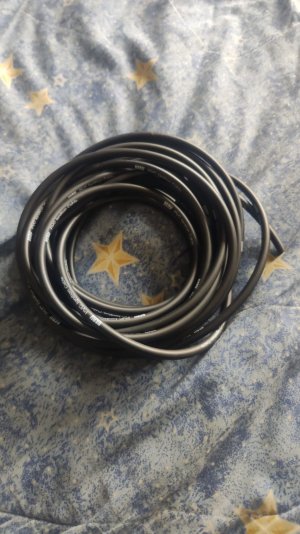
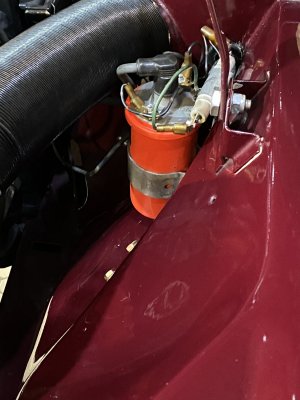
One of the 10 things turned out to be a damaged carb vacuum advance line which caused weird behavior especially cold. Idle went up after fixing that, which means that I lived with that leak for quite a while.

