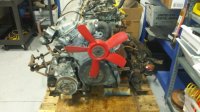
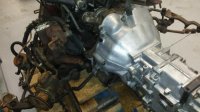
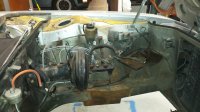
I am trying to clean things like the valve cover without destroying the original texture, it almost seems porous and the black stains, or dark areas won't brighten up? I have only started in a small area but is that common or is there a way to get it cleaner?
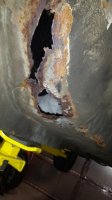
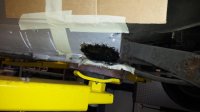
I also took some time to fashion a little patch for the rear inner rocker. The picture does not show much especially after the Por-15 application and I know no one will see it but I feel better now that that's done. Now I have to make another patch of thinner steel to go over that so I can put the outer rocker cover on.
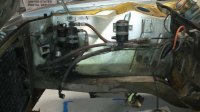
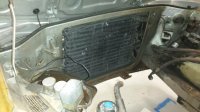
Took advice below on cooling system and opted for the aluminum radiator since this has the original (casted 71) head. I will of course keep the original, so the only changes I have planned are the A/C compressor and the radiator, shocks and springs.
Can anyone suggest the best (most efficient/powerful/least parasitic) compressor for the A/C that will work with the rest of the standard components?
Thanks
")