Here's another post from the BMWCSE.com Blog...
Junk in the Trunk
While all of that sunroof work was being done Brett and I started to have some fun with the Tesla drive unit.
For the uninitiated, many electric car conversions use a low-voltage DC motor in the engine compartment which connects to the car’s transmission. This is a clean and simple approach if your primary goal is to go electric. Generally these modest motors require the user to start in 2nd gear, then shift to a higher gear for highway speeds. This concept will successfully and affordably convert your slow gas-burning car to a slow emissions-free car. As a Tesla driver I had gotten hooked on the high-power, monster torque and overall performance they brought to the table.
The Tesla drive unit contains a high-voltage AC Motor, gearing, differential and electronics. It is placed between the rear wheels where a traditional differential would sit. This single unit will replace our engine, transmission, drive shaft and differential. At 291lbs it is a serious beast. We are hoping to maintain the original weight distribution of the car. While this unit is a tad heavier than the combined weight our old differential, full fuel tank and spare tire, the weight will be contained much closer to the rear wheels. Far less weight will suspended at the very back of the car.
We are not the first people to retrofit a Tesla unit into another car. We leveraged some of the engineering, trial/errors and successes from some of the more graceful projects that we have followed.
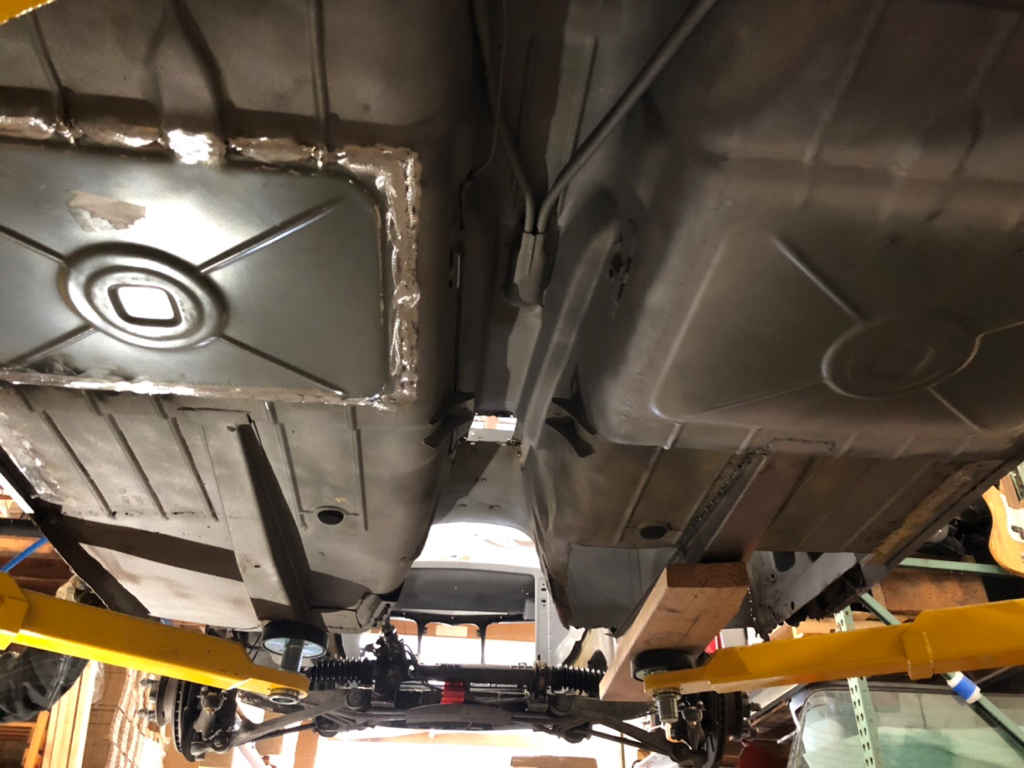
We started by clearing out the trunk floor. We want the motor to sit no lower than the original differential, but also no higher than necessary - leaving us with a good amount of trunk space.
Getting off the Ground
Our Tesla unit weighs 291 pounds, so I can’t exactly hold it in place while Brett bolts it to the car. We welded up a rolling stand that could safely hold the unit under the car, then we would use the car lift to lower the coupe to the unit.
Here’s our Tesla motor stand. I am going to reach out to Elon to see if he wants to put an order in for several")
A forklift is the closest thing we have to an engine hoist, so here we go.
The unit feels secure in its temporary home.
Reinforce and Fabricate
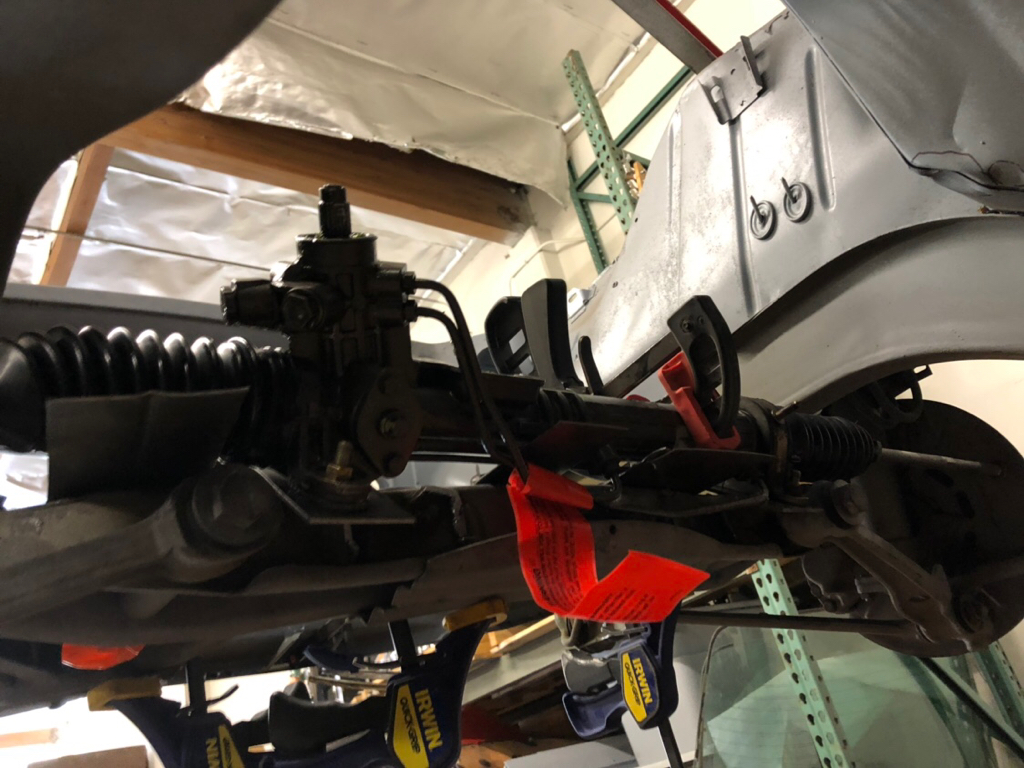
With the unit on the rolling stand we put it into position to verify our mounting design and overall clearances. We strapped the rear wheel into a relative ride height, so that we could check the axle angles.
While we had done our homework I am not going to lie - there was some relief when everything fit without obstructions. Regarding the mounts: There is a front mount which was a simple matter. The side mount can be tricky since there is suspension right there, and the rear mount has nothing to hang from.
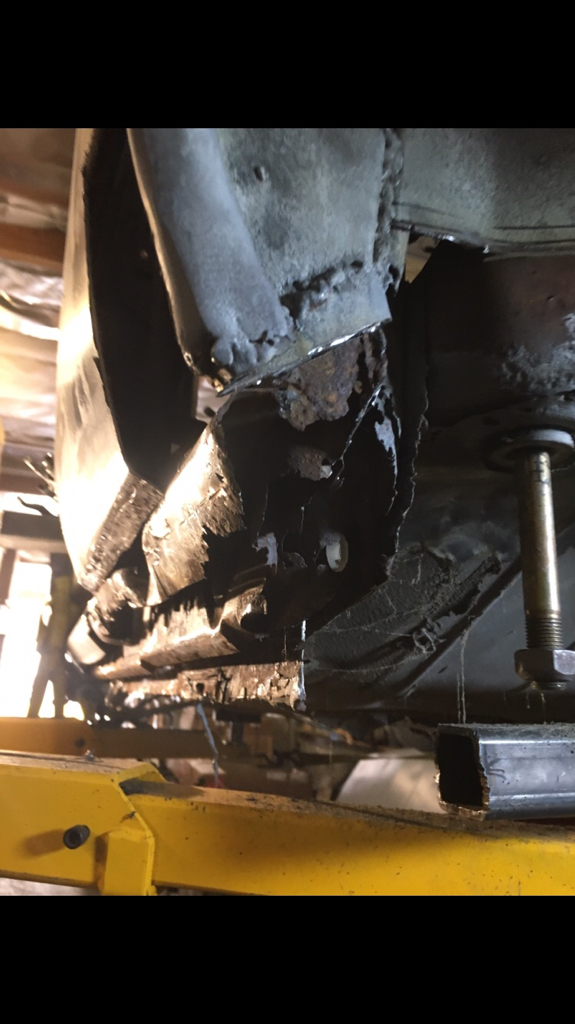
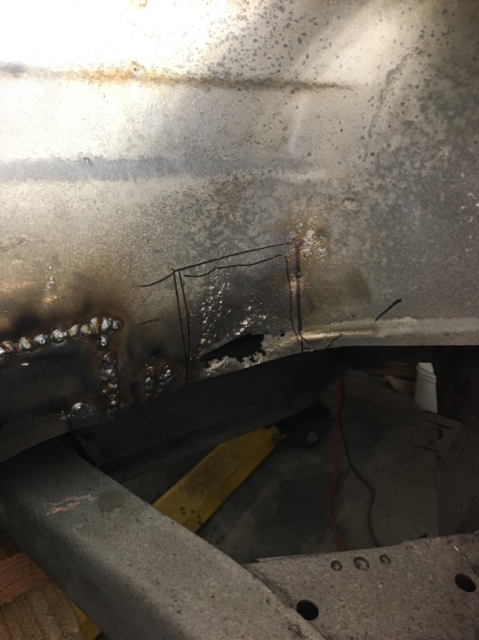
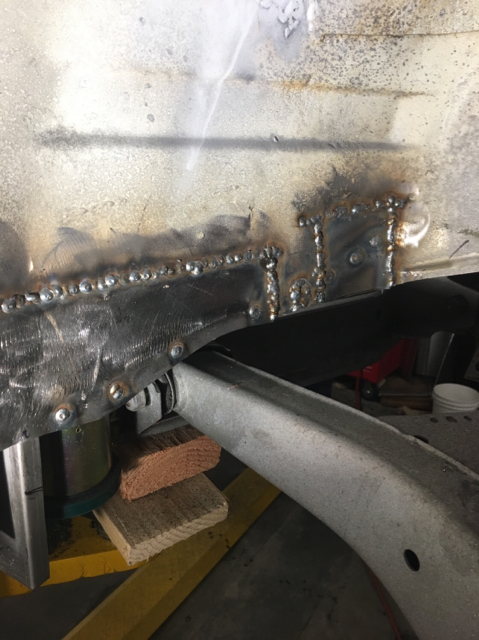
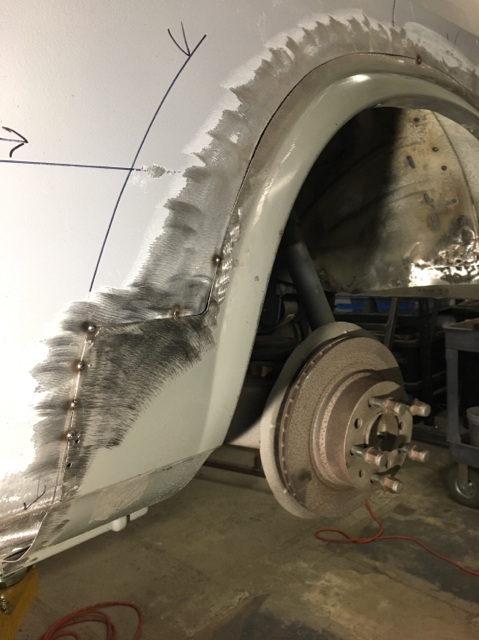
We plated the front and rear of the wheel well to distribute the loads and to give us something to attach to.
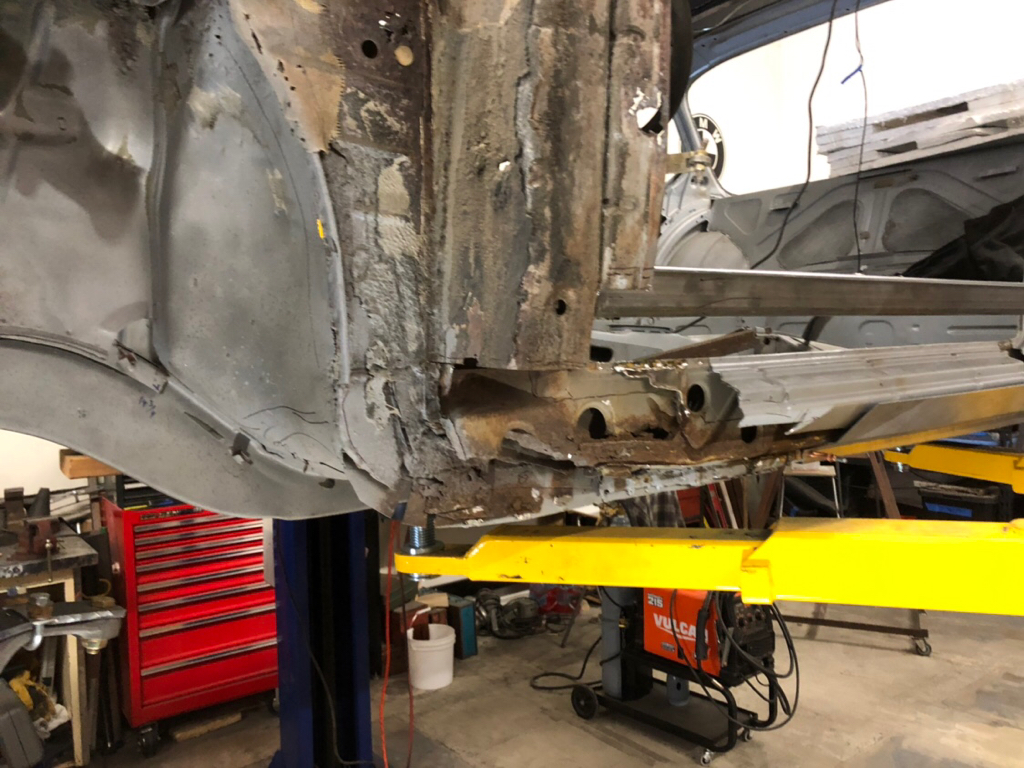
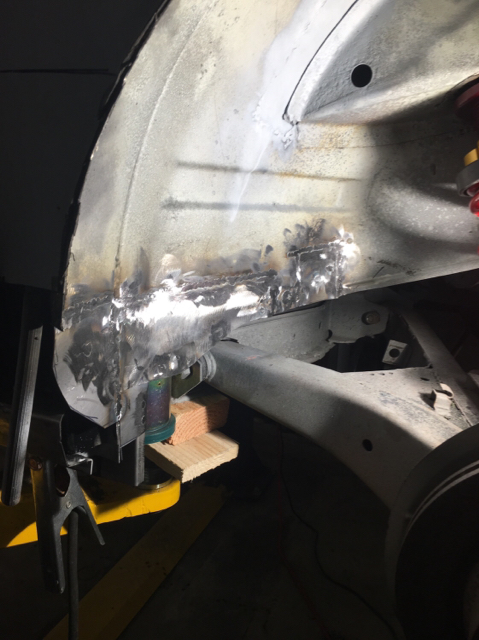
Brett welds in the horizontal plating, which will support our front mount.
The Front Mount
Cutting the thick stuff is like cutting warm butter when you have a plasma torch.
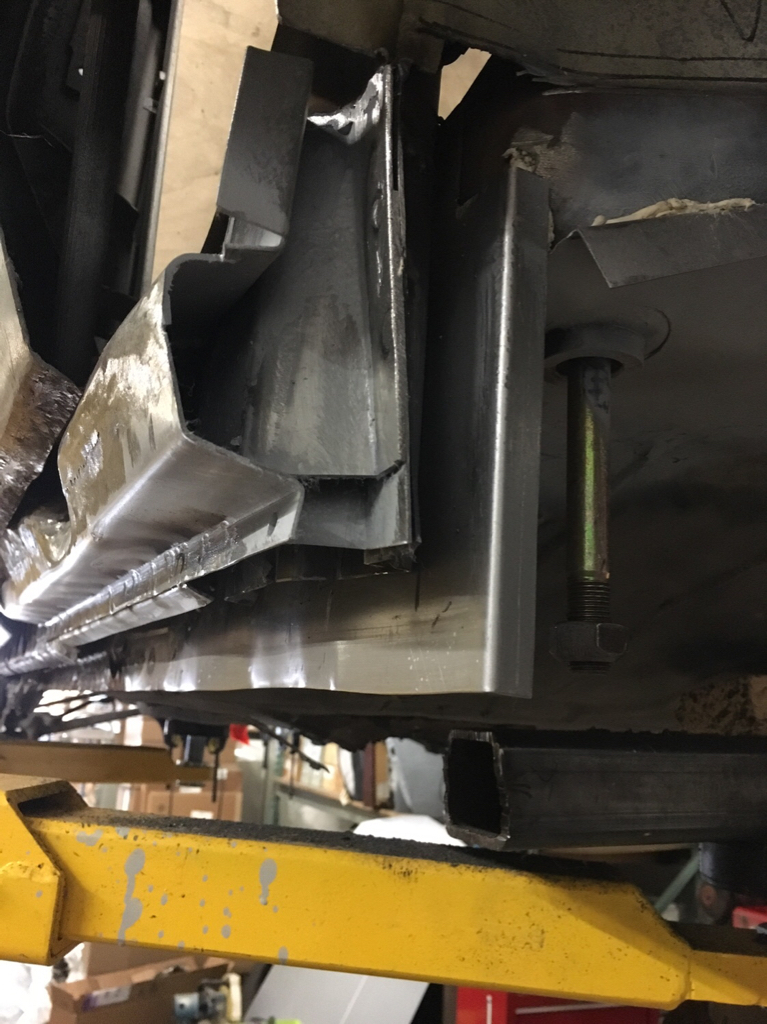
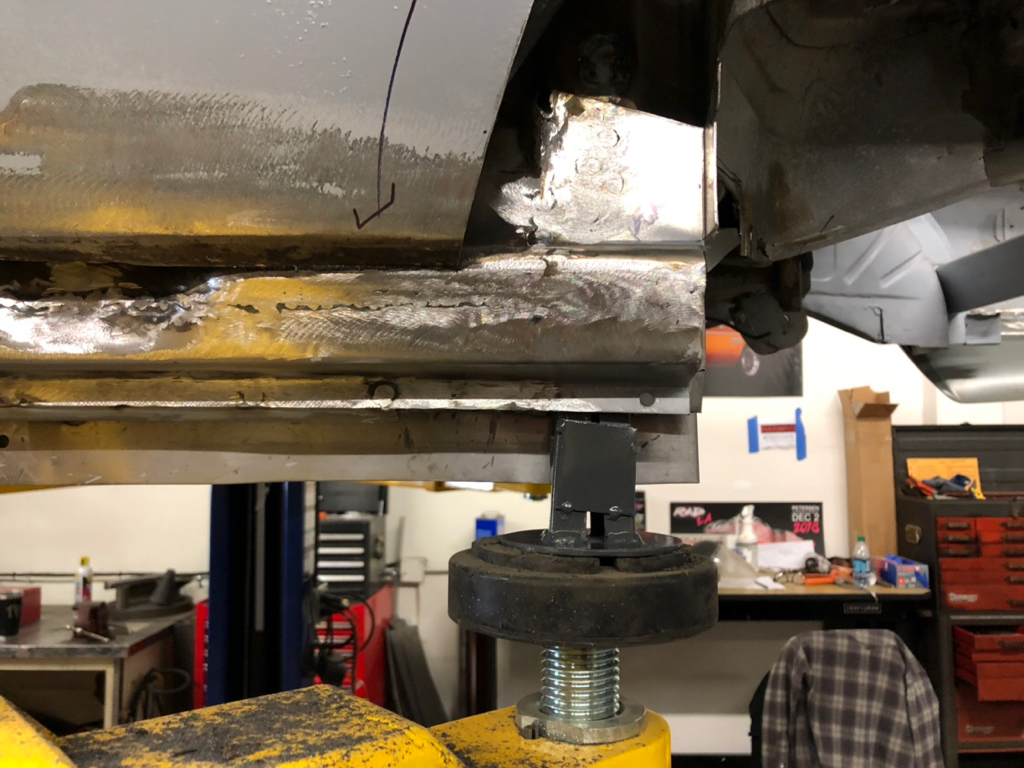
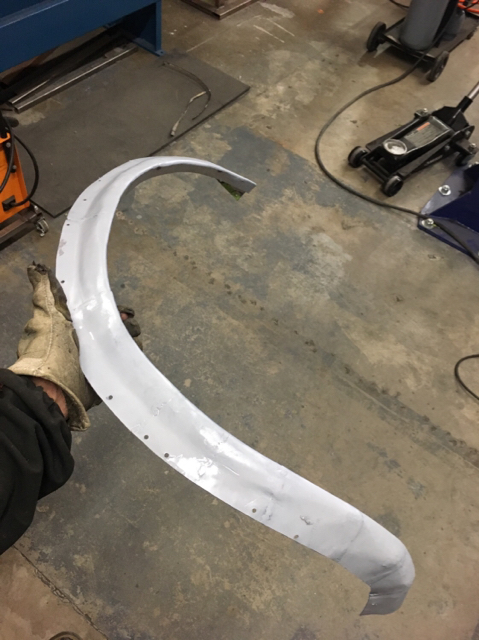
The front mount had the trickiest shape to it and required some bending of the center plate.
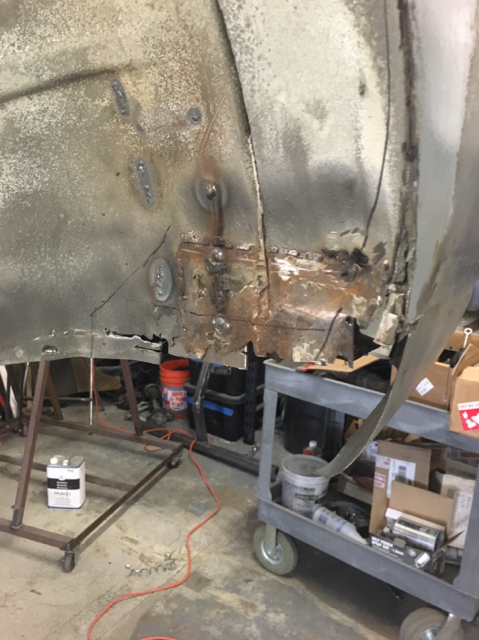
The front mount welded into the car.
The Side Mount
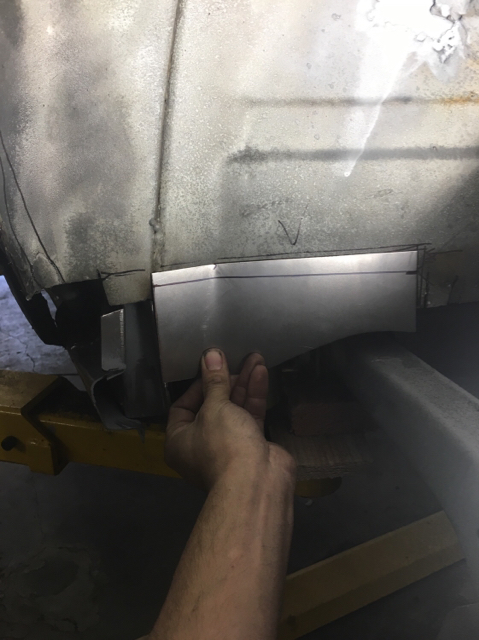
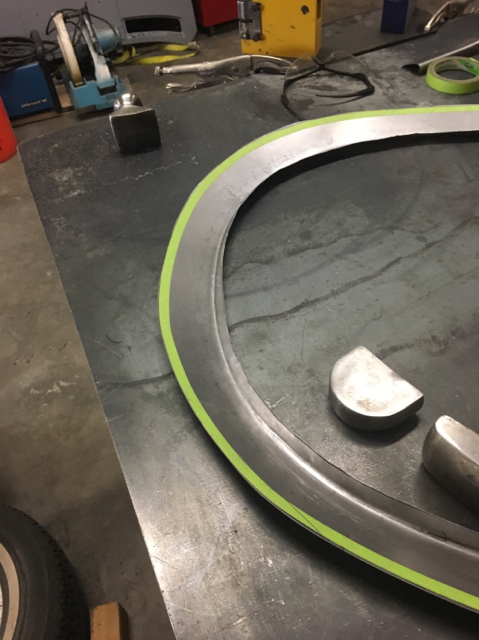
We created a side mount plate with a compound bend by notching, then smoothing out.
Welding the side mount sections to our plate.
The Rear Mount
The rear mount suspends from a beam which spans between the wheel wells.
Reinforcing the hanging points with gussets. It was just an opportunity to take a photo through the taillight hole.
Clean Things up and Hang the Unit
With the welding done, we cleaned up any rough edges and applied etching primer to everything.
The moment of truth...
Finally the drive unit is hanging in it’s final home! We strapped the front of the car down to the lift just in case things got a little back-heavy
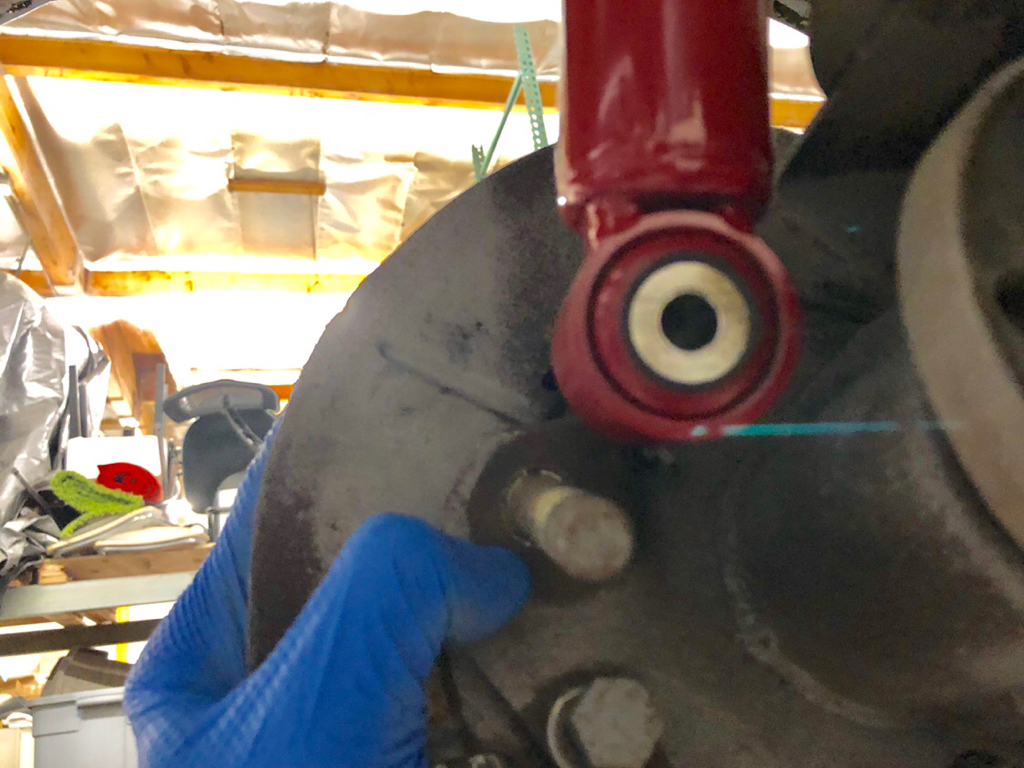
The placement leaves plenty of usable trunk space. We have a large and deep rear section, then an upper forward shelf (with perhaps a plexiglass floor for any Cars & Coffee events we may find ourselves at). Next we connect the axles from the drive unit to the hubs. So that we don’t twist the old BMW axles we opted for Tesla performance axles, which will mate (somehow) to the BMW hubs.
That’s it for now- until next time!
Paul
Junk in the Trunk
While all of that sunroof work was being done Brett and I started to have some fun with the Tesla drive unit.
For the uninitiated, many electric car conversions use a low-voltage DC motor in the engine compartment which connects to the car’s transmission. This is a clean and simple approach if your primary goal is to go electric. Generally these modest motors require the user to start in 2nd gear, then shift to a higher gear for highway speeds. This concept will successfully and affordably convert your slow gas-burning car to a slow emissions-free car. As a Tesla driver I had gotten hooked on the high-power, monster torque and overall performance they brought to the table.
The Tesla drive unit contains a high-voltage AC Motor, gearing, differential and electronics. It is placed between the rear wheels where a traditional differential would sit. This single unit will replace our engine, transmission, drive shaft and differential. At 291lbs it is a serious beast. We are hoping to maintain the original weight distribution of the car. While this unit is a tad heavier than the combined weight our old differential, full fuel tank and spare tire, the weight will be contained much closer to the rear wheels. Far less weight will suspended at the very back of the car.
We are not the first people to retrofit a Tesla unit into another car. We leveraged some of the engineering, trial/errors and successes from some of the more graceful projects that we have followed.
We started by clearing out the trunk floor. We want the motor to sit no lower than the original differential, but also no higher than necessary - leaving us with a good amount of trunk space.
Getting off the Ground
Our Tesla unit weighs 291 pounds, so I can’t exactly hold it in place while Brett bolts it to the car. We welded up a rolling stand that could safely hold the unit under the car, then we would use the car lift to lower the coupe to the unit.
Here’s our Tesla motor stand. I am going to reach out to Elon to see if he wants to put an order in for several
A forklift is the closest thing we have to an engine hoist, so here we go.
The unit feels secure in its temporary home.
Reinforce and Fabricate
With the unit on the rolling stand we put it into position to verify our mounting design and overall clearances. We strapped the rear wheel into a relative ride height, so that we could check the axle angles.
While we had done our homework I am not going to lie - there was some relief when everything fit without obstructions. Regarding the mounts: There is a front mount which was a simple matter. The side mount can be tricky since there is suspension right there, and the rear mount has nothing to hang from.
We plated the front and rear of the wheel well to distribute the loads and to give us something to attach to.
Brett welds in the horizontal plating, which will support our front mount.
The Front Mount
The front mount had the trickiest shape to it and required some bending of the center plate.
The front mount welded into the car.
The Side Mount
We created a side mount plate with a compound bend by notching, then smoothing out.
Welding the side mount sections to our plate.
The Rear Mount
The rear mount suspends from a beam which spans between the wheel wells.
Reinforcing the hanging points with gussets. It was just an opportunity to take a photo through the taillight hole.
Clean Things up and Hang the Unit
With the welding done, we cleaned up any rough edges and applied etching primer to everything.
Finally the drive unit is hanging in it’s final home! We strapped the front of the car down to the lift just in case things got a little back-heavy
The placement leaves plenty of usable trunk space. We have a large and deep rear section, then an upper forward shelf (with perhaps a plexiglass floor for any Cars & Coffee events we may find ourselves at). Next we connect the axles from the drive unit to the hubs. So that we don’t twist the old BMW axles we opted for Tesla performance axles, which will mate (somehow) to the BMW hubs.
That’s it for now- until next time!
Paul
Attachments

Last edited: