Hi guys! Here's another blog post:
We’re Just Spinning our Wheels
Our most exciting day by far is the day we spun the wheels with the Tesla drive unit. Here’s the story of how we got there.
Rear Subframe Modifications
Before we could apply any torque to the wheels we needed to complete our rear subframe. The BMW rear suspension is built of a subframe which attaches to the car in three main locations: left and right in front of the wheels, and a center location at the rear of the differential. This rear location provides the front-to-back rigidity, forming a “Tee” shape. The Tesla unit is sitting where the differential and rear mount used to attach, so we have no way to reattach that important rear mount.
What
we do have is a transmission tunnel that is no longer being used for a transmission and driveshaft. We fabricated a new arm and mount to complete our Tee shape -
inverted forward. With the help of a $35 Chevy Suburban motor mount and some fabrication work we now have a safe and complete rear suspension.
Looking front to rear, the subframe extension extends forward. Notice the Tesla unit in the rear, at the bottom of the photo.
Tesla to BMW Frankenstein Axles
In order to turn wheels, one needs drive axles. We explored various methods to mate the output of the Tesla to our BMW hubs. We couldn’t modify and reuse the original BMW axles as they would twist like California-legal paper straws under the high torque of the Tesla unit.
We turned to The Driveshaft Shop in North Carolina whose slogan is “We specialize in the impossible”, and for good reason.
We sent them the inner portions of a pair of Tesla axles and a host of measurements. A few weeks later a beautiful new pair of Frankenstein axles showed up and bolted right in. The craftsmanship is stunning.
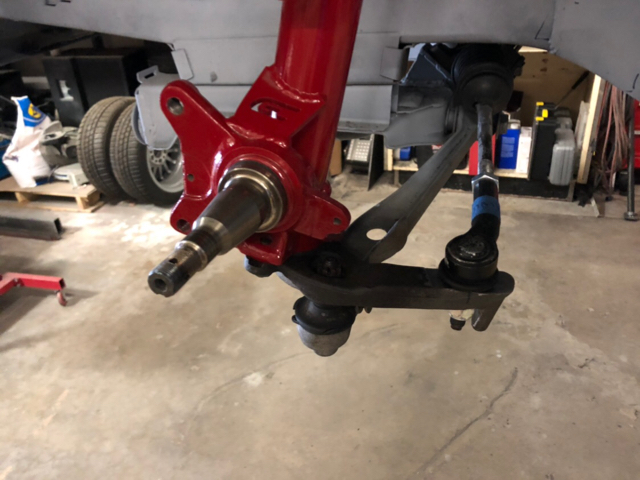
Beautifully crafted axles. They are completely new but the far right section which was out of a Tesla. The left end bolts to the BMW wheel hub and the right spindled end inserts into the Tesla drive unit.
Control System
On the rear deck of the car we temporarily set up all the gear needed to run the Tesla drive unit. While an electric car does avoid a lot of the dirty, greasy, mechanical complexities of a gas burning car, it does have its own fair share of infrastructure.
To communicate with the Tesla unit are using the 057 Technologies control system. We believe that Jason and his team have put together the most elegant and capable unit for those of us crazy enough to convert their cars to Tesla drive. There are other companies making fine control units and I evaluated each of them before landing on the 057. I like that each 057 is directly paired to a particular Tesla drive unit with matching firmware. I believe that it is offering tighter, closer to native control of the Tesla unit than the others. This is, however, only my opinion based on my particular research and understanding. The market is changing fast, and things have surely evolved since my research. There are 057 critics who don’t like their direct pairing as it prevents you from purchasing the control unit separately (to control a Tesla drive unit you purchased elsewhere). As an Apple guy, I have usually preferred the power of closed systems, but that is a whole other argument. This is simply a matter of preference.
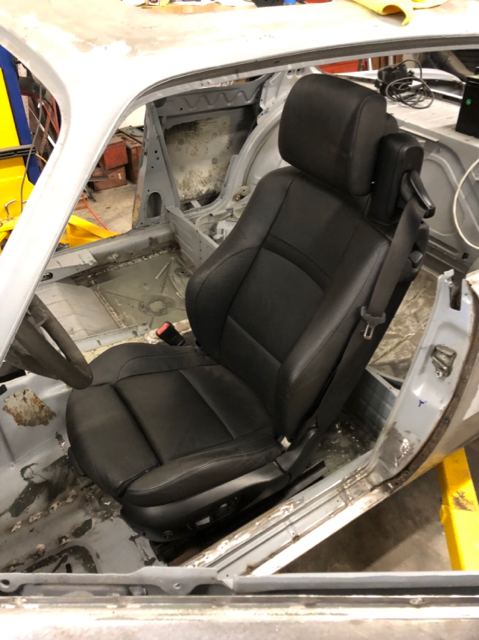
To further beat a dead horse, there is another strong reason I selected the 057 unit. Their device is a small box you hide inside the car and communicate with it any way you like. You can use simple buttons on your dashboard, or talk to it through a touchscreen that you can design as you like. All other controllers are touchscreen systems that you must install into your dash. They do not allow you to edit the look and feel of that touchscreen. As you can see from my early mockups of the interior, I have strong ideas about how I want the inside of the car to look and feel. I didn’t want to simply bolt on a generic looking touchscreen into the dash.
Our Jetson’s-inspired control panel, used for our early testing.
Here is our collection of control equipment L-R. (offscreen) our vintage control panel, 12v battery to power the three computers, 057 Tesla controller, precharge system including control board, resistor, and high voltage contractors, and accelerator pedal.
We (Almost) Have Lift-Off!
I must mention the days of troubleshooting once everything was all connected. Not to get overly technical, but there are a lot of variables in place and all of them have to go perfectly right for success. High-voltage from the Tesla battery modules, 12 volts from our car battery, the precharge system to properly ramp up high voltage into the Tesla inverter (part of the drive unit), the control modules, (both the 057 unit and the module inside the Tesla drive unit), accelerator pedal, axles, lubrication and more. We had issues not with some but with most of these things. Things as tiny as a bent pin inside the accelerator pedal, resulting in no communication to the unit. Both Tesla and 057 have safety mechanisms in place. If something reports an error, things generally don’t spin. We got pretty comfortable reading error codes from the Tesla unit on our laptop.
This process itself was incredibly gratifying. Yes, we were frustrated and just wanted to see the wheels spin. But it delivered an unexpected gift of added respect for all the years Tesla (and all of the other) engineers spent developing and refining these automotive EV systems. To think that this should be easy is crazy. But equally crazy is that because of their work a guy like me can buy a bunch of parts from various sources and build such a classic electric sports car.
After all of the dreaming, engineering, fabricating and troubleshooting, we were finally able to experience the best day ever on this project and there were cheers all around.
Here’s a short little video:
The day finally came when we were able to spin the wheels on the coupe for the first time.
Cheers,
Paul
")


 our vintage control panel, 12v battery to power the three computers, 057 Tesla controller, precharge system including control board, resistor, and high voltage contractors, and accelerator pedal.")
")


