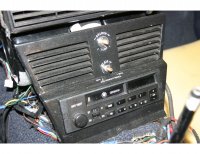
The plastic is really sturdy when printed as a plane. In strips, it's very flexible. This should work great for accepting blunt force on the console sides. I think I will thicken up the face of the AC console. Your will probably be able to wiggle the find also.

Trying out the texture paint during this last warm & dry weekend in Seattle.

29815607121_0eff6700ab_b.jpg
 
Last edited:
Well the crinkle finish isn't crinkle as much as I had holed, but the satin black paint does look better than flat plastic. There really isn't much tinkering left to do with these so I'll publish them for sale on Shapeways...

29898617396_69da466522_b.jpg


29933196825_4ff8035da6_b.jpg
 
I used VHT wrinkle plus in satin for the texture paint. After a day of setting I'm really pleased with the outcome. I bolted the side grille to my console to double check fitment. Everything screws into the original holes.

I always prefer to photograph things outside because the natural lighting just seems to give you a more realistic perspective on what things look like. My garage is lit like an operating room.

29865420952_f870e0cc94_b.jpg
 
Mark,

This project was extremely well done. I'm fortunate to have perfect side panel grilles, but if anything ever happens to them, I NOW know where to get great replacements. MUCH better in durability I'm sure than a set of used ones that have been around for 40+ years.

I'm sure this is a huge help to many e9 owners who are in the restoration stages. Well done.
 
I've been doing some research and prepping for another face plate print. I signed up with Xometry to print the next sample. They have some interesting options and offer FDM, SLS, and CNC. They have a nickel coated nylon option that seemed like a good alternative to CNC for rigidity. Unfortunately the face plate would cost nearly $800. Alternatively, I'm going to try printing the next face plate with polycarbonate. It should be stronger and more rigid than the ABS plastic used on the vent sides.

Before kicking off a print, I figured that it would be a good idea to test the radio opening once again. My modeled radio opening is 95mm x 46.5mm. The knob holes are 141.5mm center to center.

Based on what I have below, I think I'm going to go with 95mm x 43mm, and knob holes at 131.5mm. Unfortunately this means that I need to make a model change before printing again, which will exhaust the three iterations I have in my contract. The print will go straight to the modeler for review...

Here is what I have for measurements. Keep in mind that post radios can be adjusted to move the radio knobs away from the radio face. I wish that more people knew that before hacking into their OEM face plates...

Width:
E3 Face Plate (Modified for the 80's Blaupunkt) - 106mm :
30291321815_076968ab12_b.jpg


E9 Face Plate - Unmolested - 95mm:
30205777801_913a16689e_b.jpg


1974 Blaupunkt Frankfurt - 95mm:
29660920624_681d0ef794_b.jpg


1970's German Blaupunkt - 95mm:
29994762950_6d58a375bf_b.jpg


1980's Blaupunkt - 104mm:
29994763250_cfe5a2265d_b.jpg


Height:
E3 Face Plate (Modified for the 80's Blaupunkt) - 46mm :
30175689562_62a7a71977_b.jpg


E9 Face Plate - Unmolested - ???mm:
29994758440_2eb3ebb79c_b.jpg


1974 Blaupunkt Frankfurt - 43mm:
29660920554_73bc30a020_b.jpg


1970's German Blaupunkt - 42mm:
30256349086_6b6e2730b7_b.jpg


1980's Blaupunkt - 43mm:
30175689272_ddfb76f9e0_b.jpg


Post Width:
E3 Face Plate (Modified for the 80's Blaupunkt) - 131mm :
30205779871_000cb77410_b.jpg


E9 Face Plate - Unmolested - ???mm:
N/A

1974 Blaupunkt Frankfurt - 129mm:
30291321195_e58861809d_b.jpg


1970's German Blaupunkt - 132mm:
30256348986_4b96bb253c_b.jpg


1980's Blaupunkt - 127mm:
30205779901_99d5a17bba_b.jpg
 
Last edited:
Hi DQ,

Can you clarify? I plan to have a blank plate and a three hole, but I need to make all the corrections first. The standard face plate will include the precut radio hole.
 
Hi DQ,

Can you clarify? I plan to have a blank plate and a three hole, but I need to make all the corrections first. The standard face plate will include the precut radio hole.

yes, my fault, i meant, you obviously will need to make the essential 3 holes, two circular around 12mm in diameter and one rectangular,

i guess you can go two ways, make each hole to the maximum size, or make the correct one (normally the smallest) and then making the material thickness thinner from behind to guide the owner in the future cutting of the console to bigger sizes, this is particularly valid for the case of needing cutting the huge rectangular hole, people will be afraid of cutting such a big hole, your "mark" may help them

did i explained myself clear now ?

Got it. I provided the specs for what i determined to be the correct hole. It can be easily widened. I was considering having thinner gauge lines in the back to serve as a guide. However, OCCoupe pointed out the fact that the face plate supports the radio. I actually provided specs to increase the lower thickness by half a milimeter, possibly in a crosshatch pattern. My modeler hasn't responded as of yet. The work around the radio space is easy to perform so if someone needs a one off job i can accommodate for around $50.
 
what i did to mine was paint it normally.
then use a tooth brush and "flick" the paint on
with a bit of experiments it comes out like oem
 
Quick Update:

I increased the lower face plate thickness, and modified the radio opening dimensions based on the 'analysis' above. The part is back from the modeler and I've submitted a print. I'm using www.xometry.com this time. I chose Nylon as the material. It should be more rigid than the side vents. I'm going to shoot this one with the black texture paint and bolt it up to the console with my Blaupunkt Frankfurt and install the AC knobs. Pics will be added in about a week!

Here is the spec sheet on the Nylon material:

https://www.xometry.com/wp-content/uploads/PA2200Balance1.0.pdf
 
IMG_0014.jpg as you can see the finish matches perfectly. This was a blank piece of aluminum bent to the shape -then the e3 grilles glued to the back. font was set w/ 12pt helv. letraset then clear coat to seal.
IMG_0015.jpg
IMG_0014.jpg
 
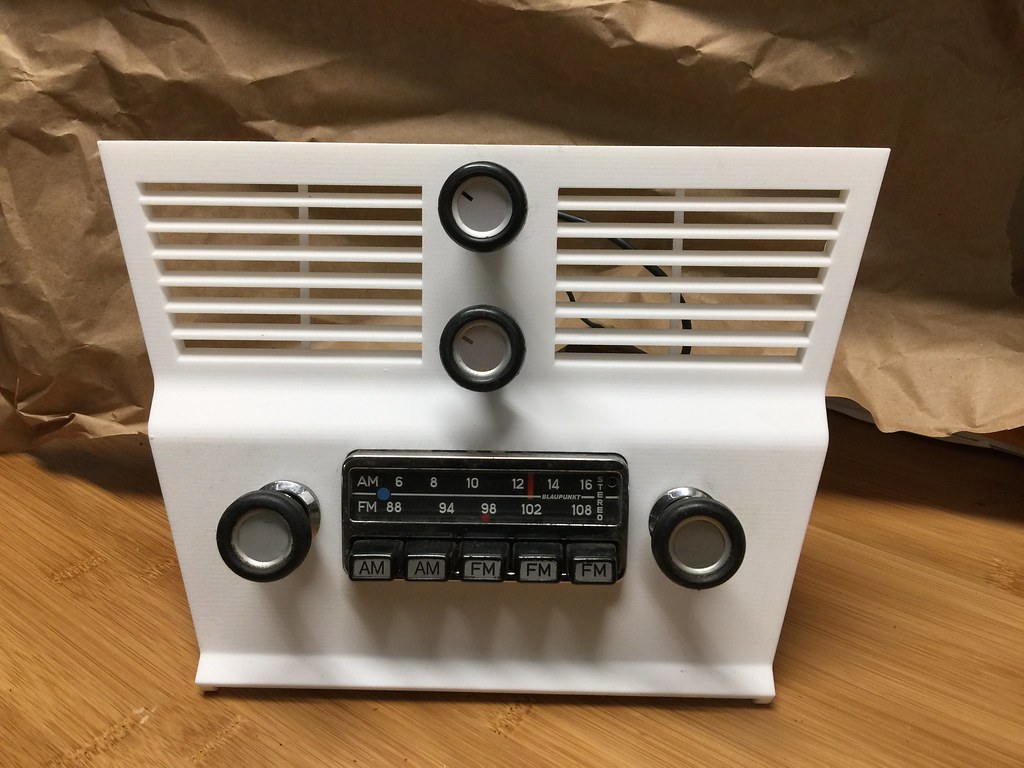
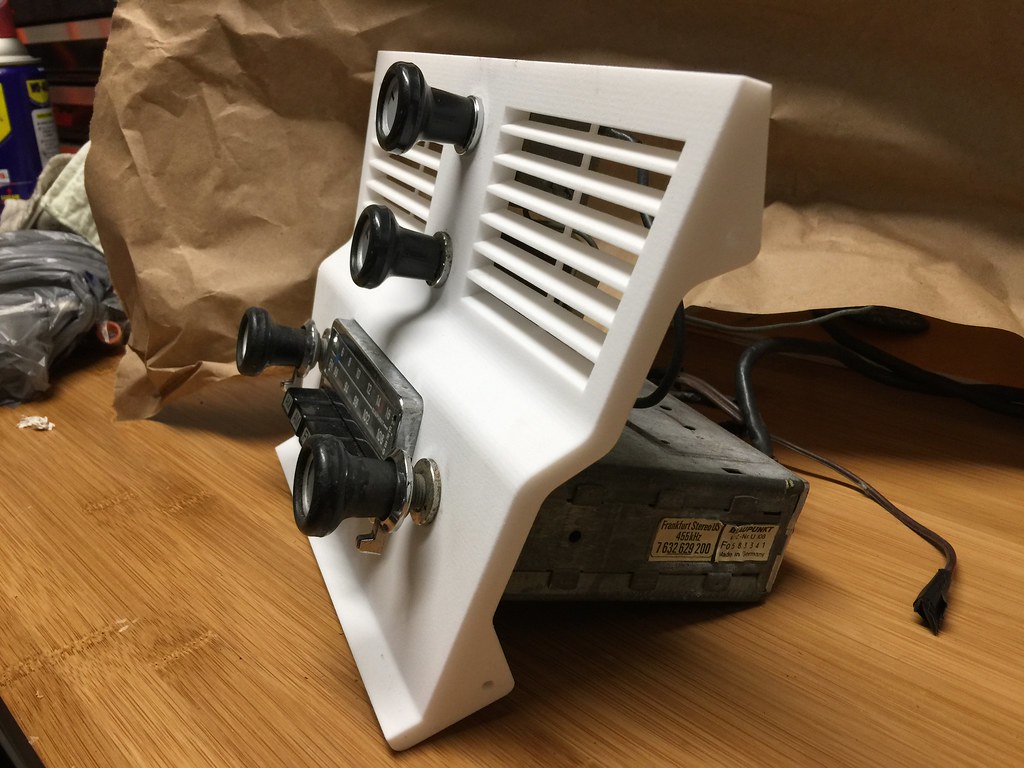
Update: My printed face plate arrived today. It took quite a while to print and ship be honest. The material was printer-specific, and I'm quite pleased with the Nylon piece. It's much more rigid than the ABS used on the console sides, and doesn't have much visible stepping. The Blaupunkt Frankfurt fits just right. The combo looks sharp, now I kind want AC! :)

Next step will be to texture paint it black, and mock it up against the console sides for fitment. My modeler hasn't shipped my originals back yet so I can't visually compare to the aluminum piece.

30221575624_8b76d48373_b.jpg


The radio comes with green plastic post spacers, two on each side. I removed them because I thought I'd need more thread but looking at the profile pic it would be best to add them back. They are about 3/16" thick.
30853667485_a712f6b6fa_b.jpg
 
Back
Top