What is the going rate on a diver row cam gear? I have one. That came to the engine we are looking at.
You are using an out of date browser. It may not display this or other websites correctly.
You should upgrade or use an alternative browser.
You should upgrade or use an alternative browser.
Deconstruction Thread: How to part-out an E9
- Thread starter Markos
- Start date
New old stock from Egypt with shipping is 108.00
New old stock from Egypt with shipping is 108.00
Meh...Back to the hoard.
My calculations show that you made $0.58 per hour! Great job Markos!
I thought time was irrelevant when working on our coupes?
I thought time was irrelevant when working on our coupes?
Actually, of all my vehicles and projects my coupe is the one I work on the least. ... knock on a wood dash!
My calculations show that you made $0.58 per hour! Great job Markos!
Ha! Likely but it looks good on paper! Actually, once I start working on the project car I'm going to track my time as well as the funds. I Can't wait to be done with this one so I can merge the results of this endeavor back to the project thread, bring the spend down by about $2,500 and add a bunch of parts to the list of acquired stuff.
It's been ages but I really want the car gone by mid July. We rarely go out on Fridays so I did some work this evening.
This is my second gas tank removal and I must say that it is one of the easiest jobs on the car. My project car had close to 13 gallons of gas in it when I lifted it out. This one had 5 gallons of rust.
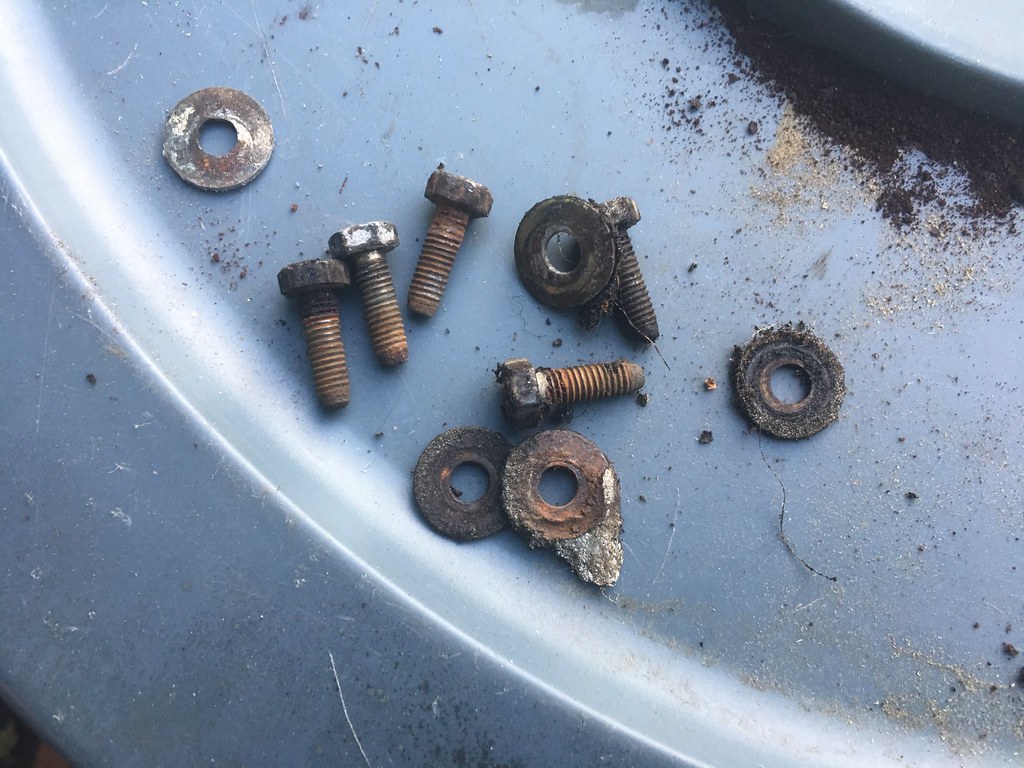
Five 10mm bolts hold the tank in place. The nuts are captive so you can unscrew the tank from the trunk:
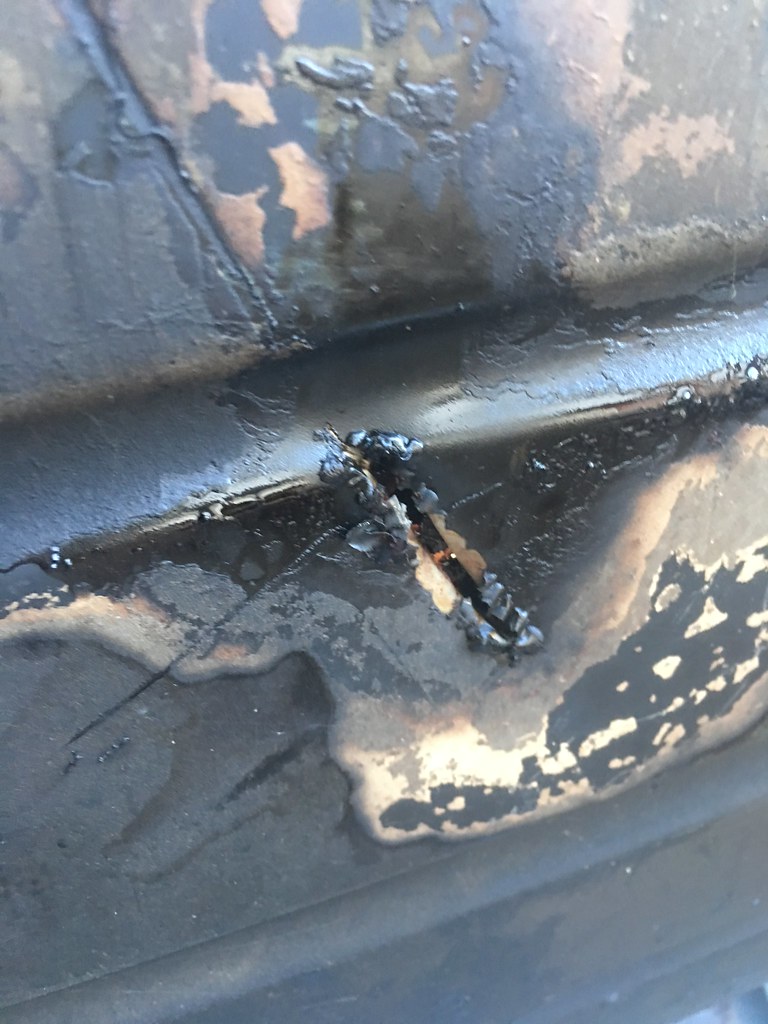
The previous owner stuck a jack under the tank and stabbed it. My plan was to have it welded and sealed. I think I'll keep my 2800CS tank but I was going to sell it for cheap:
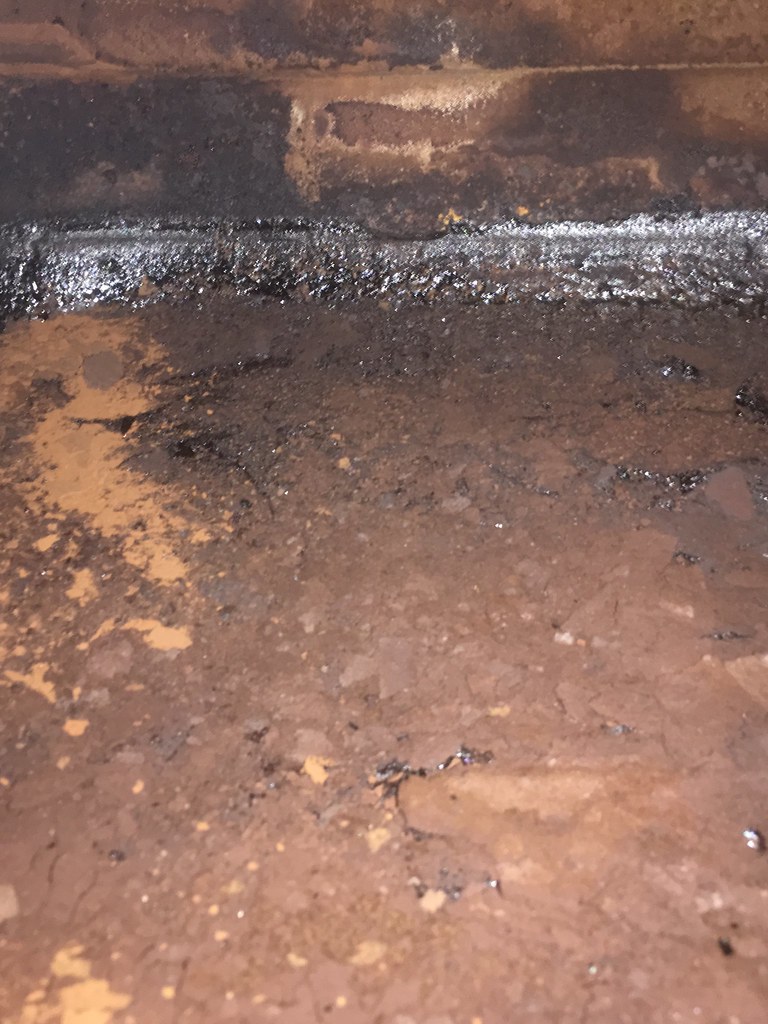
But the tank is kind of rusty on the inside:
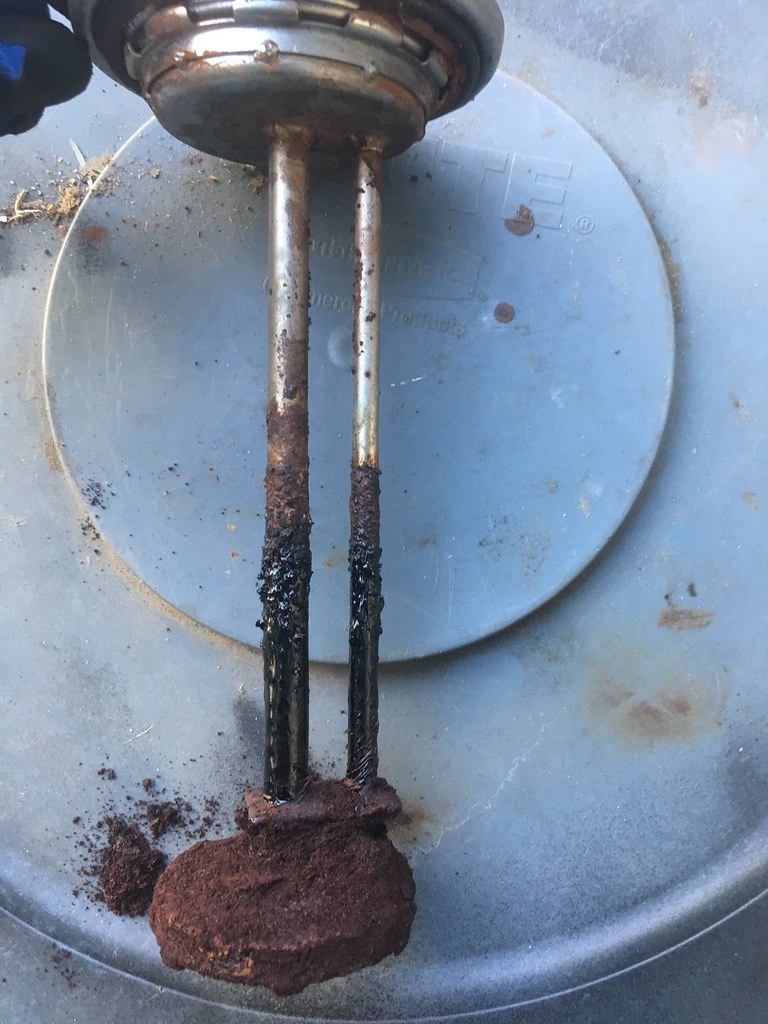
I don't think this pickup is salvageable:
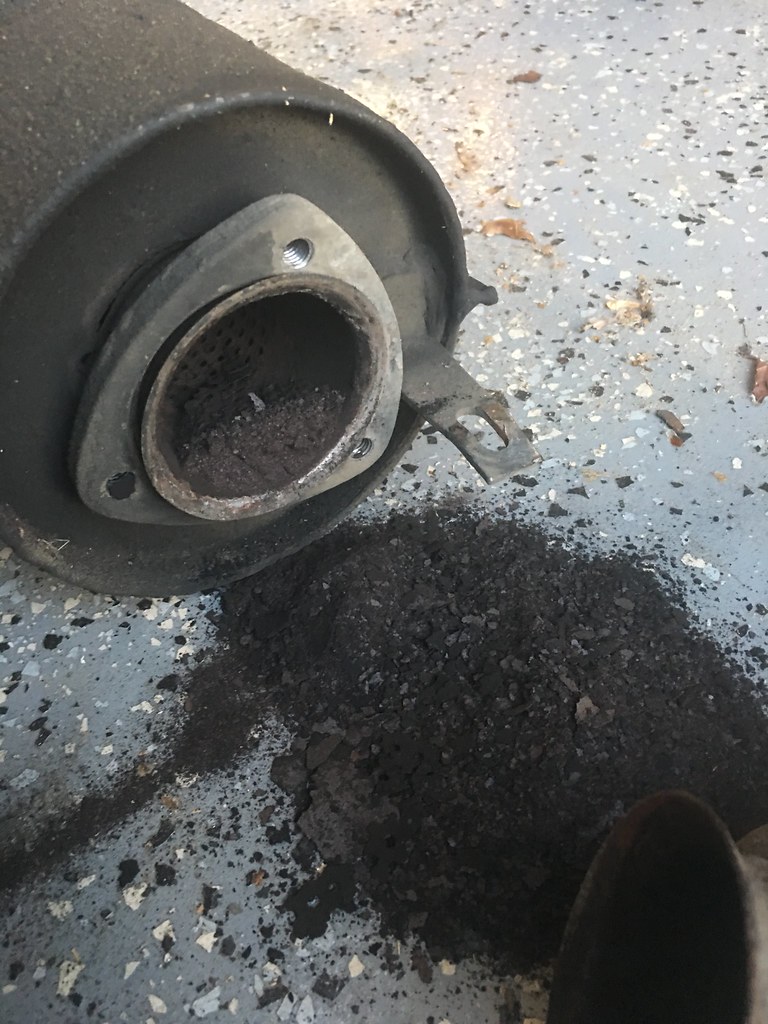
Removed the muffler. Coffee anyone?
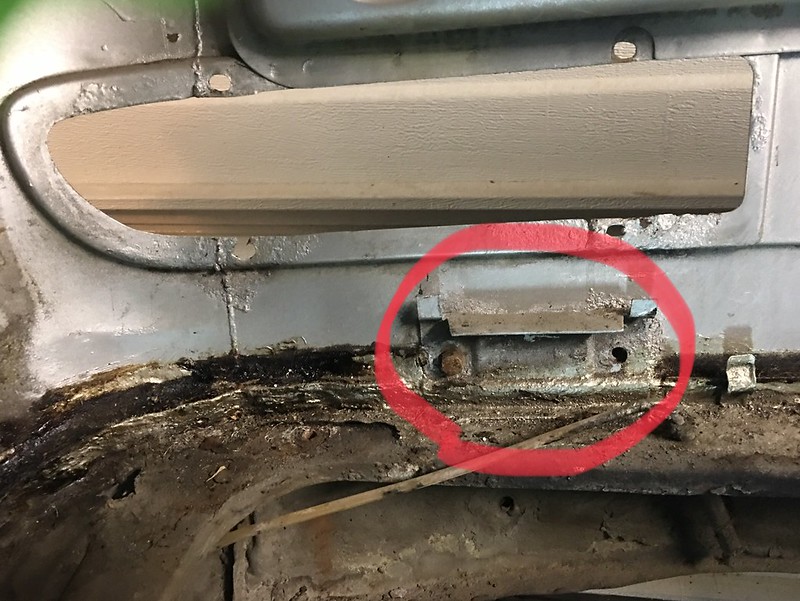
Removing the rear bumper. There are four bolts in the rear that hold it in place. These also have captive nuts so you can unscrew from inside the trunk:
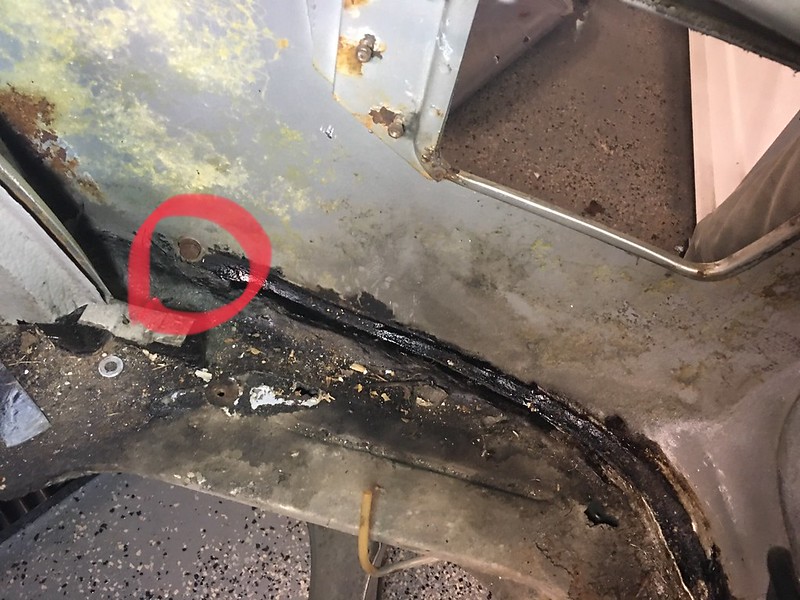
The bolts on fenders are a bit longer than the rear bolts:
Finally going after the passenger side shock:
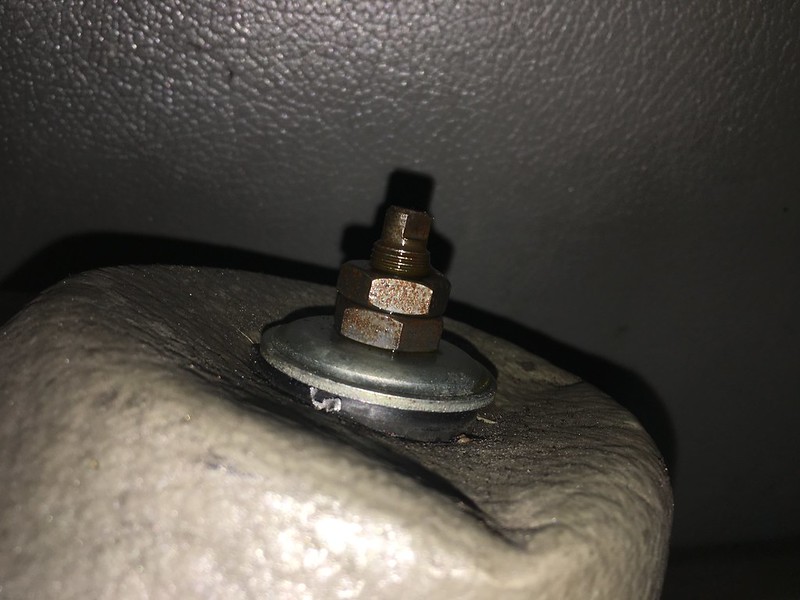
Vice grip on the shaft and wrench on the nut:
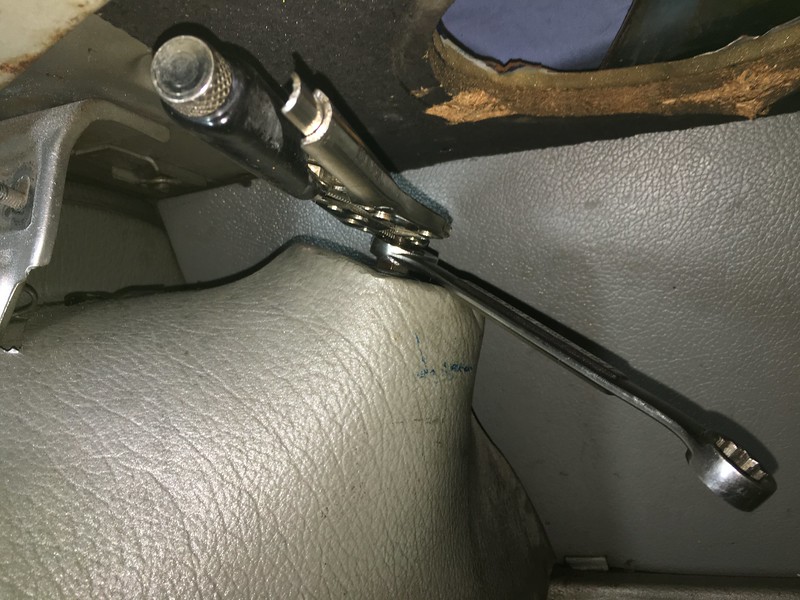
Removing the parking brake lever.:
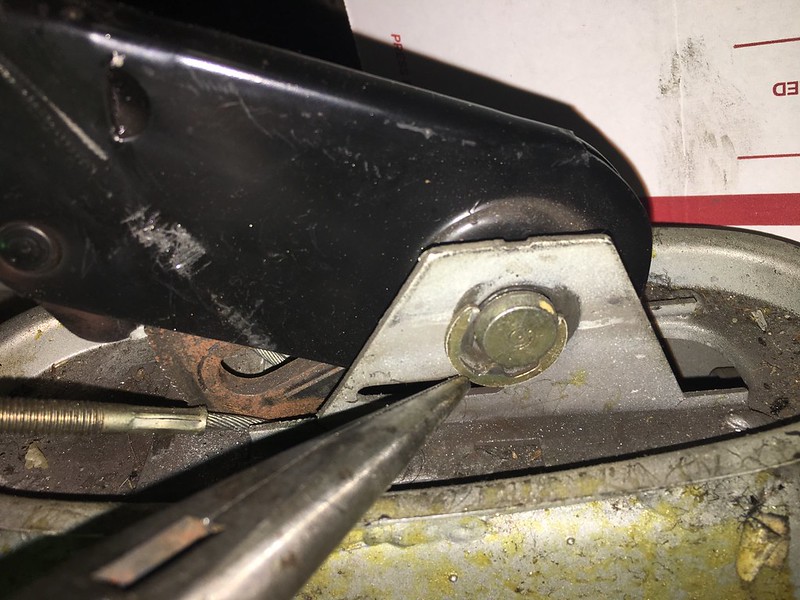
Removing the 19mm diff bolt. I had already removed the other 19mm bolts and support brackets near the trailing arm bushings.
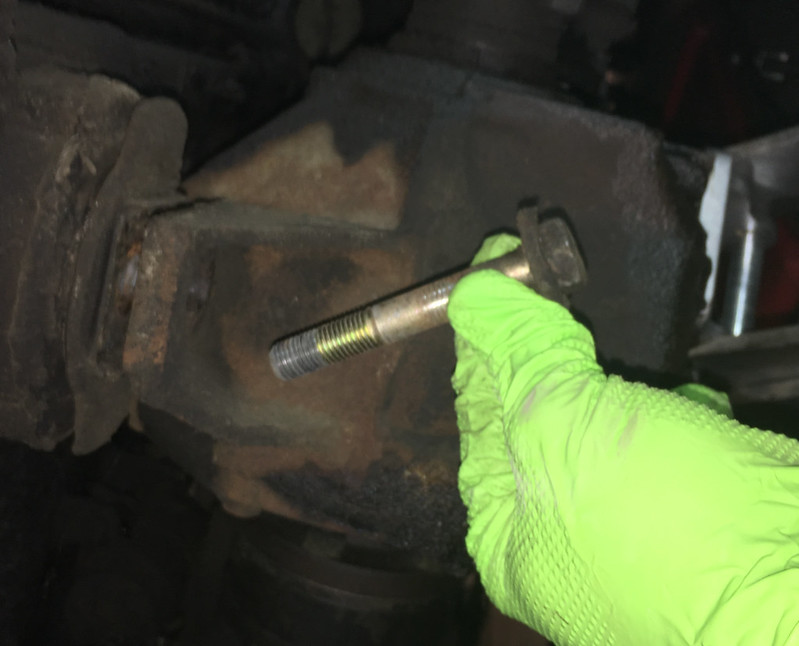
This is my second gas tank removal and I must say that it is one of the easiest jobs on the car. My project car had close to 13 gallons of gas in it when I lifted it out. This one had 5 gallons of rust.
Five 10mm bolts hold the tank in place. The nuts are captive so you can unscrew the tank from the trunk:

The previous owner stuck a jack under the tank and stabbed it. My plan was to have it welded and sealed. I think I'll keep my 2800CS tank but I was going to sell it for cheap:

But the tank is kind of rusty on the inside:

I don't think this pickup is salvageable:

Removed the muffler. Coffee anyone?

Removing the rear bumper. There are four bolts in the rear that hold it in place. These also have captive nuts so you can unscrew from inside the trunk:

The bolts on fenders are a bit longer than the rear bolts:

Finally going after the passenger side shock:

Vice grip on the shaft and wrench on the nut:

Removing the parking brake lever.:

Removing the 19mm diff bolt. I had already removed the other 19mm bolts and support brackets near the trailing arm bushings.

Last edited:
The keepers. Edit: Ultimately sold the bumper also...

These are kind of difficult to remove behind the shock tower. Will need some SEM:

Seat back panel and light:

Disk brake rear axle with 3.25 LSD:

These are kind of difficult to remove behind the shock tower. Will need some SEM:
Seat back panel and light:
Disk brake rear axle with 3.25 LSD:
Last edited:
Another bit of sheetmetal that is only found on the injected e9’s (CSI/CSL). The fuel pump bracket between the diff and the driver’s rear tire. I’m saving this for my project car.
The fuel pump floats on three rubber hangers similar but softer than exhaust hangers. Underneath all of that gunk is a Bosch fuel pump.

The bracket appears to be spot welded to the trunk floor. I’ll cut out a generous section so i have some reference points.

Sold the fuel pump for $180 (edit: $90 - we had problems with it) shipped.
Total Sales: $5,073
Play Money: $1,673
The fuel pump floats on three rubber hangers similar but softer than exhaust hangers. Underneath all of that gunk is a Bosch fuel pump.
The bracket appears to be spot welded to the trunk floor. I’ll cut out a generous section so i have some reference points.
Sold the fuel pump for $180 (edit: $90 - we had problems with it) shipped.
Total Sales: $5,073
Play Money: $1,673
Last edited:
Carol Patricia Huet
Member
Hi Markos
Wondering if you have available the interior aluminium trim that runs up the A pillar from just above the dashboard all the way up and over the doorframe. I need a pair of the front piece only both of which were damaged when the dashboard was removed.I will be in the UK in August and if you can have them sent there if will be great.
Thanks
Carol
Sold the heater box for $225

Sold the chassis harness for $300 (friend price):

There is one spot on the body that is very difficult to fish the d-jet fuel pump plug through. The rear seat belt mount. I should have tried sliding the boot off (which I had to do under the seat). I was “lazy”, although the seat belt mount has 10 spot welds!


Total Sales: $5,598
Play Money: $2,198
Sold the chassis harness for $300 (friend price):
There is one spot on the body that is very difficult to fish the d-jet fuel pump plug through. The rear seat belt mount. I should have tried sliding the boot off (which I had to do under the seat). I was “lazy”, although the seat belt mount has 10 spot welds!
Total Sales: $5,598
Play Money: $2,198
Last edited:
you might try cleaning the wheel cover vinyl things before you resort to painting them, mine looked about like that, look nice now
you might try cleaning the wheel cover vinyl things before you resort to painting them, mine looked about like that, look nice now
I'm pretty sure that pic was post cleaning. They were pretty nasty. There are a few pieces of gunk that I'll need to clean before painting but they are otherwise good to go. They should look very good after painting. No cracks or tears but the shock towers are 'dented'.
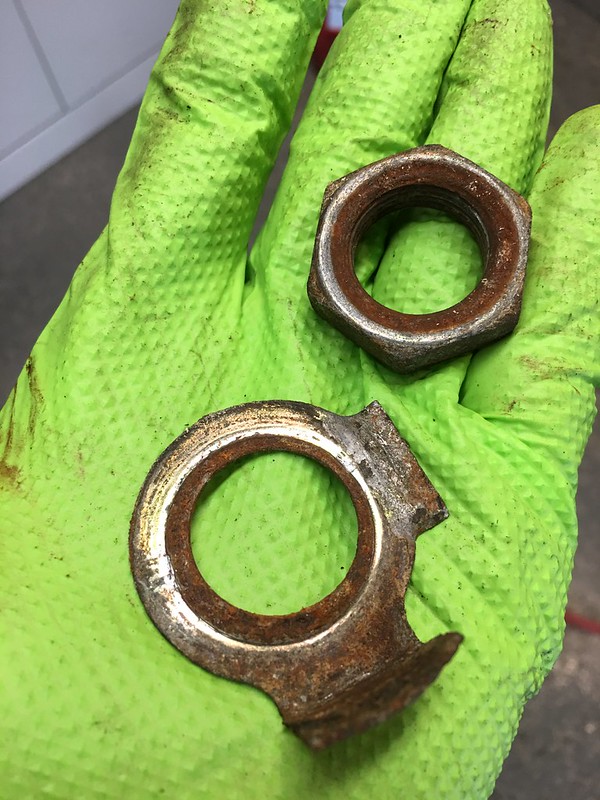
The pitman arm is on a splined shaft, secured by a 32mm nut. The nut also has a sheet metal safety tab that must be bent out of the way before you can fit a socket on it.
What are the odds that my HF “600 ft/lb” impact gun will budge this thing? I suspect not...
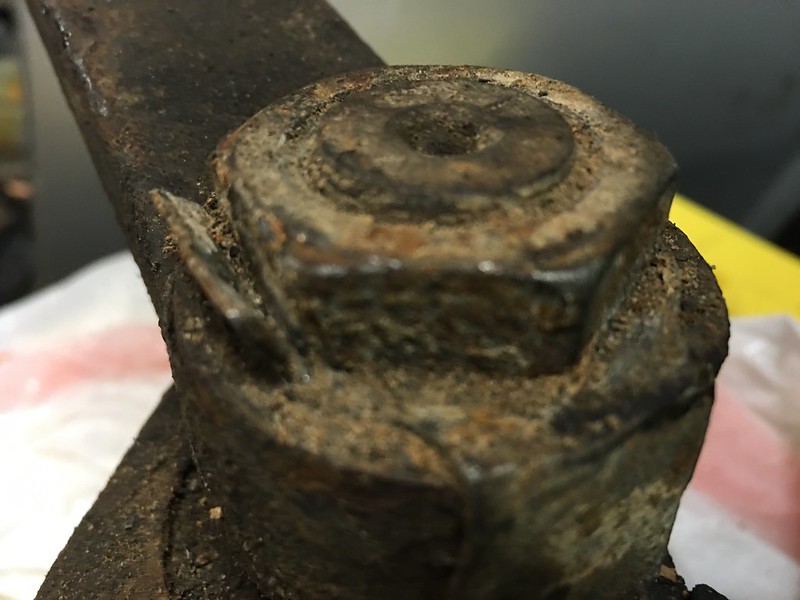
What are the odds that my HF “600 ft/lb” impact gun will budge this thing? I suspect not...

Last edited:
Do let us know how that goes. I'd imagine that the stated 600 ft/lbs is actually a bit less. But you'd still think that should be enough if the tool is working properly. Good luck!What are the odds that my HF “600 ft/lb” impact gun will budge this thing?
Wladek
Well-Known Member
Some WD40 for couple hours + some preheating & impact gun will do the job.The pitman arm is on a splined shaft, secured by a 32mm nut. The nut also has a sheetmetal safety tab that must be bent out of the way before you can fit a socket on it.
What are the odds that my HF “600 ft/lb” impact gun will budge this thing? I suspect not...
I couldn't get mine off had to have a shop do it.
Some WD-40 for couple hours + some preheating & impact gun will do the job.
The nut came off with ease. The arm didn’t budge so I’ll try again tonight after soaking.
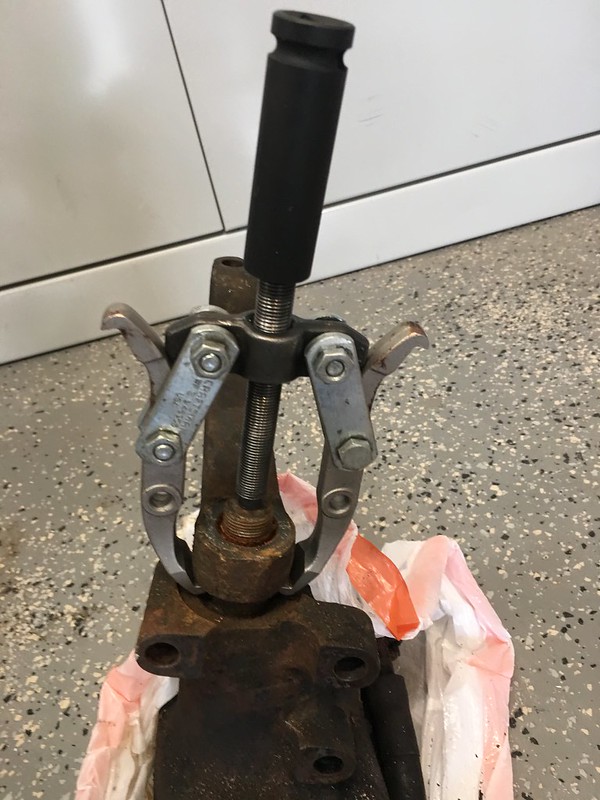
Last edited:
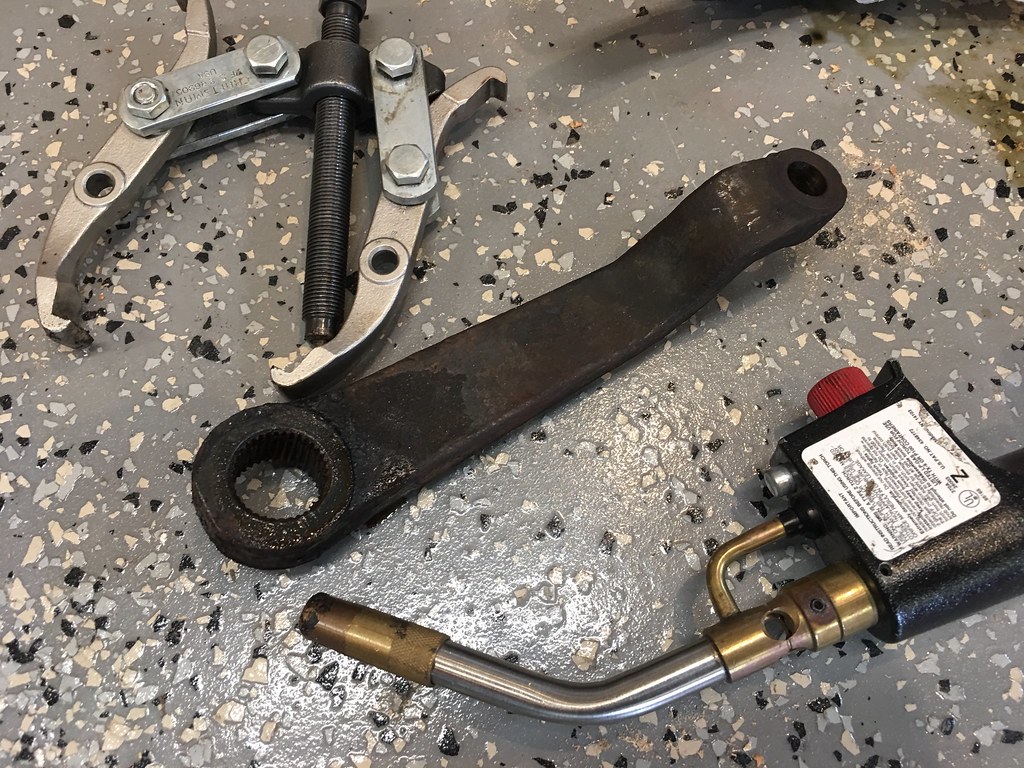
Things don’t usually go this well for me. 60 seconds of heat while under tension from the puller.
Pitman arm: $100
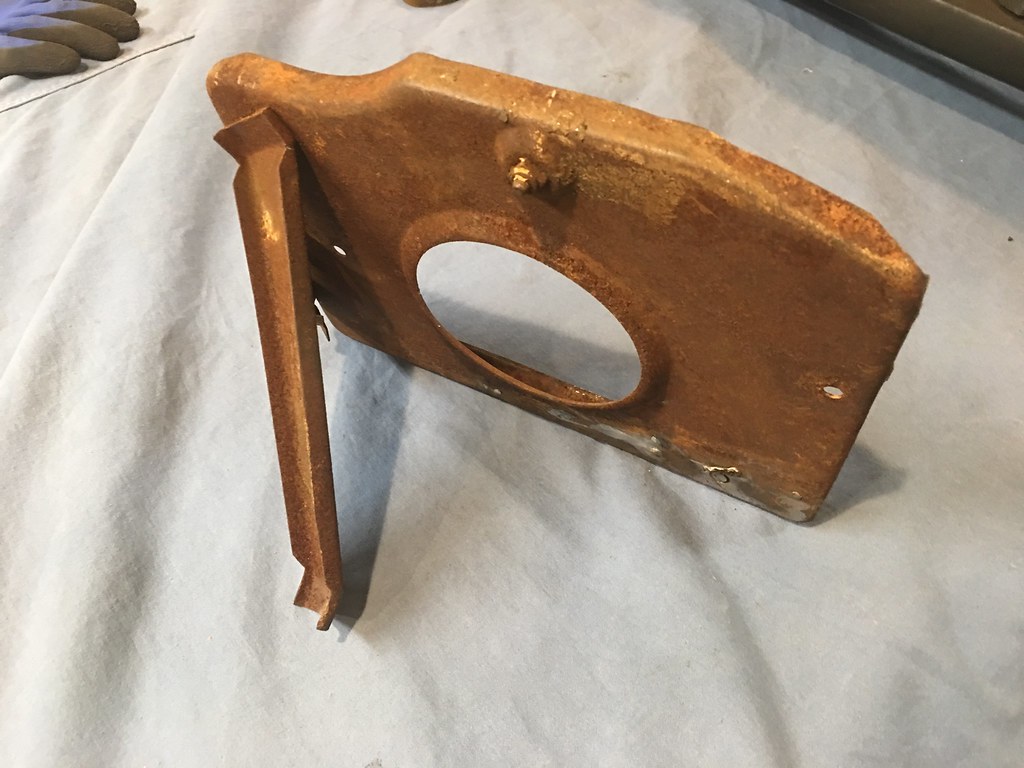
Battery Tray: $187
Total Sales: $5,885
Play Money: $2,485
Pitman arm: $100

Battery Tray: $187

Total Sales: $5,885
Play Money: $2,485
Last edited:
