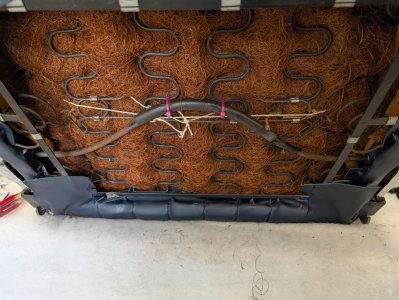
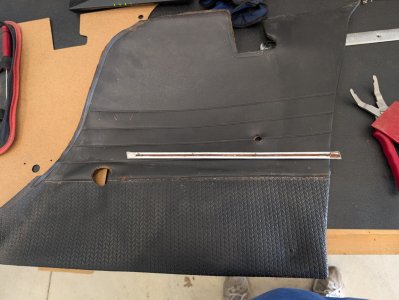
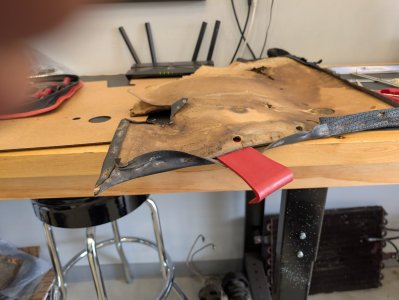
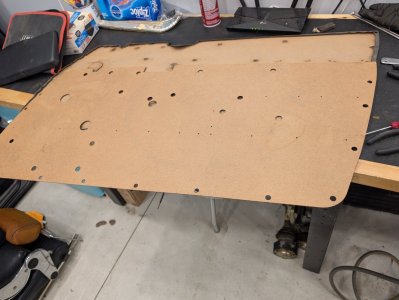
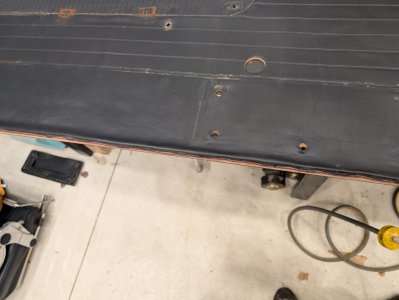
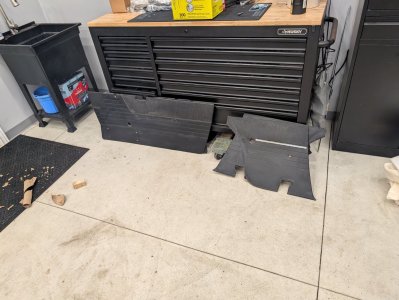
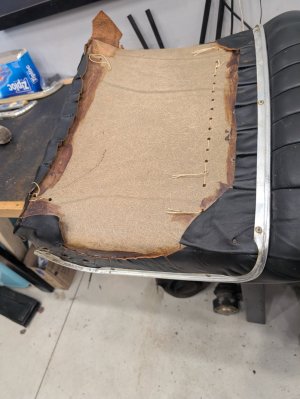
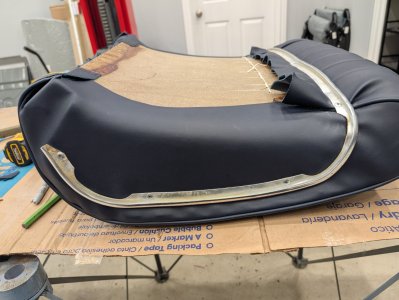
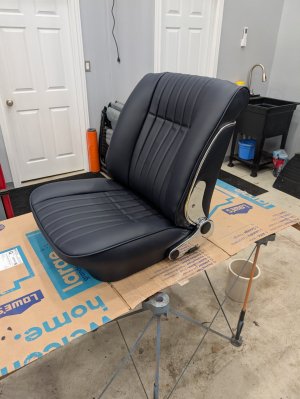
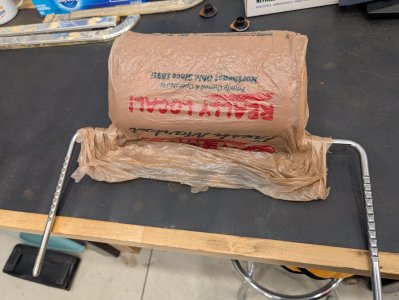
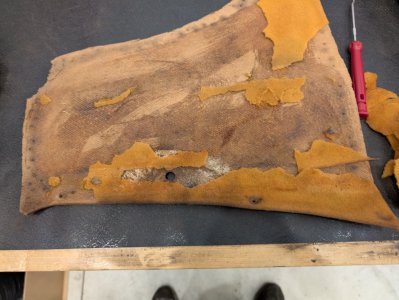
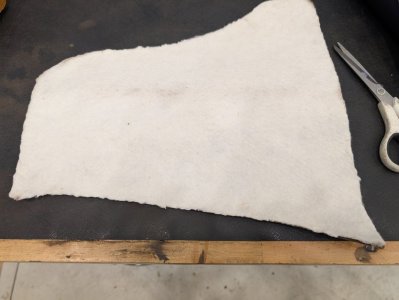
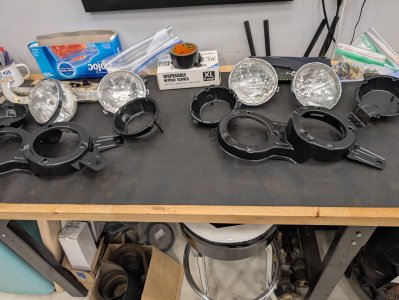
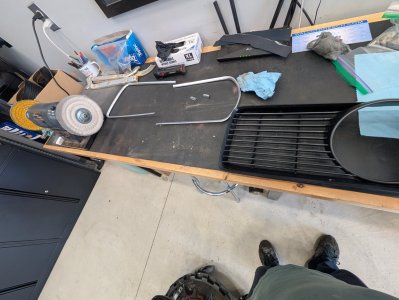
70 - 2800CS - 2270111 restoration - ode to the past

Amazing how time consuming and messy this process is. My shop is a filth pit… the dog playing weeeeee with the scraps of fabric doesn’t help :rolleyes:

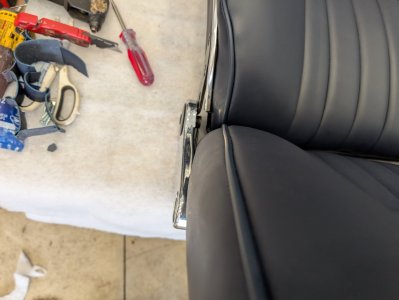
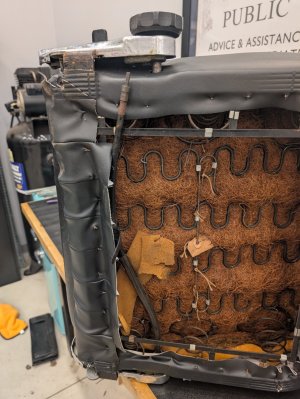
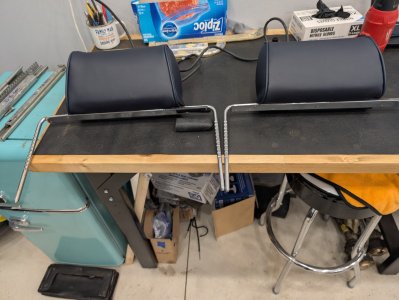
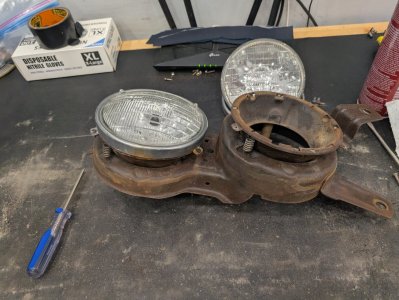
I have not looked yet but does someone sell the round chrome plastic pieces for the headrests? Another item that was mangled in the bad recover.
W&N sells the chrome and black ones,
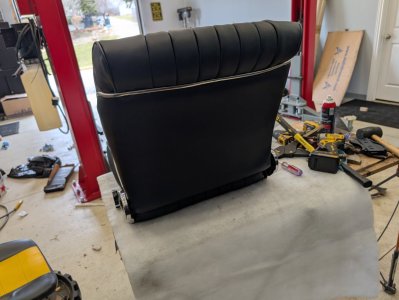
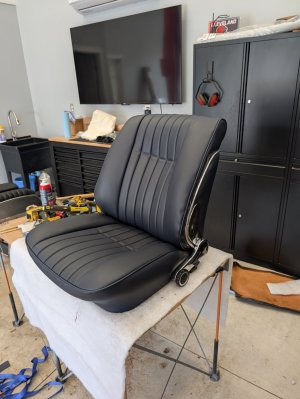
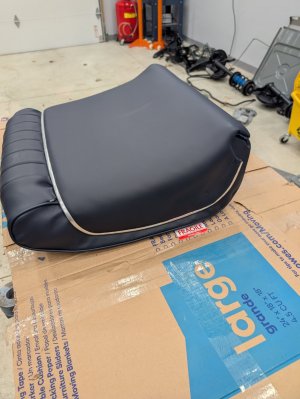
Excellent work by the way,
Regards
 
Todd, just so you know, there are 2 different sizes. in the 2800cs / early 3.0cs, the posts of the headrest are narrower (10mm) if i remember correctly and on late 3.0cs they are either 12 or 14mm.
 
Thanks Scott… I’ll measure first.

I read a post of yours about getting a headrest out… let me tell you… I had just as much fun. God blessed thing was in there good.
 
Hey Jon! Finally another E9 near me… I was starting to think I was the only one in NE Ohio (not likely but I have never seen one in my area).

I will let you know if this does not work out.
There is also a silver on blue 3.0cs in west Akron off of rt18 and Medina Line. I've spoken to him at Stan Hywet a few times.
 
I saw that one for sale a few years ago. Older gent had it but was not sure where it sold to or if it stayed in the area. Glad it did.
 
I did finally beat the drivers side into submission. Had to fix the mechanics that the PO messed up and the learning curve was a bit long. Pretty happy with them all except the top corners... Again the covers were cut a bit generous and with the piping on the edges I could not get that tuck around the top edges like the old ones.

They look a little "barco lounger" without the headrest.

Few things I learned...

To reinstall the chrome trim on the back use 1/2 long 5mm rivets. I also had to drill a couple new holes as the old ones were torn up.

Even though I used the original holes as a guide I still had to adjust the trim to meet the back properly and I had to straighten the trim as previous installs dented it a bit. It was okay to reuse but definitely not condition 1.

When reinstalling the top to the bottom do not install the circlips on one side of the brackets you need to move one around a bit.

Install and tighten the 3 side screws with the adjuster cable in the base unhooked so you can even the sides out. I used a profile gauge to get the angle of each bracket similar. Then I tweeked it by eye.

Don't forget to install the back release rod in the seat back... Yes I'm an idiot.

When you have it where you want... Install the circlips on the bracket and install the adjuster cable in the base. Then remove two of the screws on each side one at a time to put the chrome covers on.

I did not expose the screw holes prior to installing the back... Do know if this helped or hurt. Just the way I did it... Lot of material to cut through there.
 

Attachments

  • PXL_20250315_165721037.jpg
    PXL_20250315_165721037.jpg
    155.6 KB · Views: 48
  • PXL_20250315_173928348.jpg
    PXL_20250315_173928348.jpg
    415.1 KB · Views: 37
  • PXL_20250315_174650223.jpg
    PXL_20250315_174650223.jpg
    190 KB · Views: 35
  • PXL_20250315_174635311.jpg
    PXL_20250315_174635311.jpg
    230 KB · Views: 33
Pulled the trim and vinyl off the door cards.

Big thanks to Alvaro... @alprada70 for the cards and replacement trunk pieces that I did not have. Those to come later.

The vinyl had shrunk a bit so it was a bit of a challenge to get it to fit. The only real problem was the bottom of the drivers door. Most likely saw the most weather.

Took a swatch of the seat material to my paint guy so he can match some vinyl paint. Checked in with him today.... It's a challenge as it's a dark blue and those can be really tricky.

I'm sure he'll get it. Armrests, door panels, tops of the headrest brackets, map pockets... It's a lot to paint. Hope he makes enough.

Pretty straight forward... Remove a million rusty staples. Gently get under the paper backing and pry it up... The vinyl is old obviously... It will rip if you are too aggressive. Map pockets are held on by small nuts and large washers.

Nothing more than stretching as you can putting a bunch of staples in... And I mean a bunch. I have an air upholstery staple gun.
 

Attachments

  • PXL_20250319_162426398.jpg
    PXL_20250319_162426398.jpg
    358.3 KB · Views: 31
  • PXL_20250319_163440127.jpg
    PXL_20250319_163440127.jpg
    211.7 KB · Views: 25
  • PXL_20250320_154249748.MP.jpg
    PXL_20250320_154249748.MP.jpg
    257.6 KB · Views: 28
  • PXL_20250320_160208152.jpg
    PXL_20250320_160208152.jpg
    200.7 KB · Views: 26
  • PXL_20250320_173818096.MP.jpg
    PXL_20250320_173818096.MP.jpg
    349.3 KB · Views: 27
I do have a few questions. IIRC my rear parcel shelf was black even though I had a blue interior... Is my memory accurate?

I'm also missing one of the plastic plugs for the chrome seat brackets... The smaller one. And of course I am missing all the plastic plugs for the door panels (window motor helper holes I always called them).

Does anyone sell these? I have not seen them at WN etc.
 
Last edited:
Todd, i presume you are talking about the cover on the parcel shelf panel. my memory was that the 2800cs and early 3.0cs had black vinyl on the panel. later cars (74) had carpet.
 
Correct Scott. That was what I was referring to. I thought so but 25 years ago is a long time and my memory... Well... Ya know.
 
So I was procrastinating doing the last seat. Thought I'd do something else.

Three of the four windows were not working and the one that worked... Not well.

So I decided to check the window motors. Hooked up a test rig and checked the front ones first. They run perfectly but the mechanisms were all gummed up. I am sure the tracks are awful and I'll get those out and do a thorough cleansing.

I got the backs down from the loft and started on those. Pleasantly surprised that these motors work too. Major caked on grease... Rust and filth. Lots of cleaning.

I put kroil on all the joints and copious amounts trickled into the gear boxes on everything. Moly lube on the guides and channels.

Everything is running nicely now... Faster than I thought
 

Attachments

  • PXL_20250321_183938932.jpg
    PXL_20250321_183938932.jpg
    315 KB · Views: 17
  • PXL_20250321_162658475.MP.jpg
    PXL_20250321_162658475.MP.jpg
    334.3 KB · Views: 16
  • PXL_20250321_174017751.MP.jpg
    PXL_20250321_174017751.MP.jpg
    319 KB · Views: 26
Decided to strip the last seat down... Little head start for tomorrow. This was easier than the drivers side.

Find it peculiar that this seat too had the seat adjuster unhooked from one side and obviously someone had been in there because the circlips were gone on one side and hanging on the other... What the hell were they after?

I digress. Got it all ripped down, rivets drilled out and covers off.

I did find something very interesting when took the material off the back. Would love to know what this means.
 

Attachments

  • PXL_20250321_190042140.jpg
    PXL_20250321_190042140.jpg
    383.1 KB · Views: 29
  • PXL_20250321_194020451.MP.jpg
    PXL_20250321_194020451.MP.jpg
    285.2 KB · Views: 28
  • PXL_20250321_200916864.jpg
    PXL_20250321_200916864.jpg
    231.9 KB · Views: 32
"Stck" is short for Stuck, meaning 'pieces'.

Karmann is the assembly plant that build our cars for BMW.

'Rü' could be for Rückseite; litterly backside or backrest.

The number seem to be a part identifier, isn't it just the partnumber? Is a similar numbering format, just 3 digits short.

I'm guessing it's from the production line.
 
Last edited:
Very cool Erik… I love stuff like that. Just the silly geek in me I guess. Obviously I knew the Karmann reference.

The guy had nifty handwriting.
 
Finished the passenger seat. Much easier when you don't have to correct people mistakes.

Same gig... Covers on then line up the trim in the back. I did make sure that our seams are lined up by measuring and marking the seat backs and bottoms but the wire pockets make this a pretty simple job.

Rivets in... Push the seat back on and then screw everything together. I remembered the seat release rod the first time this time.
 

Attachments

  • PXL_20250323_161554037.jpg
    PXL_20250323_161554037.jpg
    279 KB · Views: 14
  • PXL_20250323_163426305.jpg
    PXL_20250323_163426305.jpg
    236.4 KB · Views: 15
  • PXL_20250323_180040166.MP.jpg
    PXL_20250323_180040166.MP.jpg
    264.2 KB · Views: 20
Did the headrests. Again simple... Take chrome bracket off the bottom... Slide the rubber trim corners off.

Mine will have to be painted with the rest of the black pieces... Door cards etc.

Headrests are a snug fit... For a reason. Employed the old plastic grocery bag trick as that foam is not slickery.

Trim and contact glue on the bottom of course. I put the chrome piece back on to hold it all together while glue dries fully and so I don't loose all the little screws somewhere in the garage.
 

Attachments

  • PXL_20250323_185356399.MP.jpg
    PXL_20250323_185356399.MP.jpg
    270.6 KB · Views: 20
  • PXL_20250323_185506153.jpg
    PXL_20250323_185506153.jpg
    315.8 KB · Views: 20
  • PXL_20250323_194613777.MP.jpg
    PXL_20250323_194613777.MP.jpg
    255.1 KB · Views: 18
Still don't exactly love the piping on the backrests... Would rather have a curved tuck but it is what it is and this was a nice relatively inexpensive way to get the interior done.

I did tear a seam just a little... Some super glue will fix that. Which I can't seem to find of course.

Interiors can be changed. I've done my MGA three times... Well that's over 24 years...
 
Last edited:
Back
Top