Wladek.....you must be getting close to a body block down and painting? all looking good.
You are using an out of date browser. It may not display this or other websites correctly.
You should upgrade or use an alternative browser.
You should upgrade or use an alternative browser.
72' Fjord CSI resto
- Thread starter Wladek
- Start date
-
- Tags
- restoration list
Wladek
Well-Known Member
Unfortunately for me, body work is currently in the very beginning.Wladek.....you must be getting close to a body block down and painting? all looking good.
When i have time, i'm trying to make anything, to have any progress. Little progress is probably better than none, because that things will have to be done one day anyway.
This week - broke second CR-V 1/2" wrench trying to unscrew same main crankshaft screw. Tons of WD40 soaking & preheating - didn't helped.
....i think two wrenches is enough & i will have to cut that old dirty bastard.
p.s. Don't know if i made proper decision in renovation process, but after buying a car i started with purchases of new/or missing parts for my project, then i moved to the technical equipment repairs (still am on that stage) & after (hope in near future) i will concentrate with full power on body work (currently only doors are in progress).
The main crank nut is on at a very high torque, something like 300lbs. I broke a couple breaker bars before I obtained a 3' long 1/2" breaker bar with no swivel. Then I heated the nut up with a torch, slid a 3' pipe over the bar for huge leverage and finally got it loose. I also have the long tool that bolts to the harmonic balancer hub to prevent any movement of the crankshaft.
Wladek
Well-Known Member
I also used lever about 1,3 meter & tool preventing movement on crankshaftThe main crank nut is on at a very high torque, something like 300lbs. I broke a couple breaker bars before I obtained a 3' long 1/2" breaker bar with no swivel. Then I heated the nut up with a torch, slid a 3' pipe over the bar for huge leverage and finally got it loose. I also have the long tool that bolts to the harmonic balancer hub to prevent any movement of the crankshaft.
Marc-M
Well-Known Member
Just in case you did not know ...
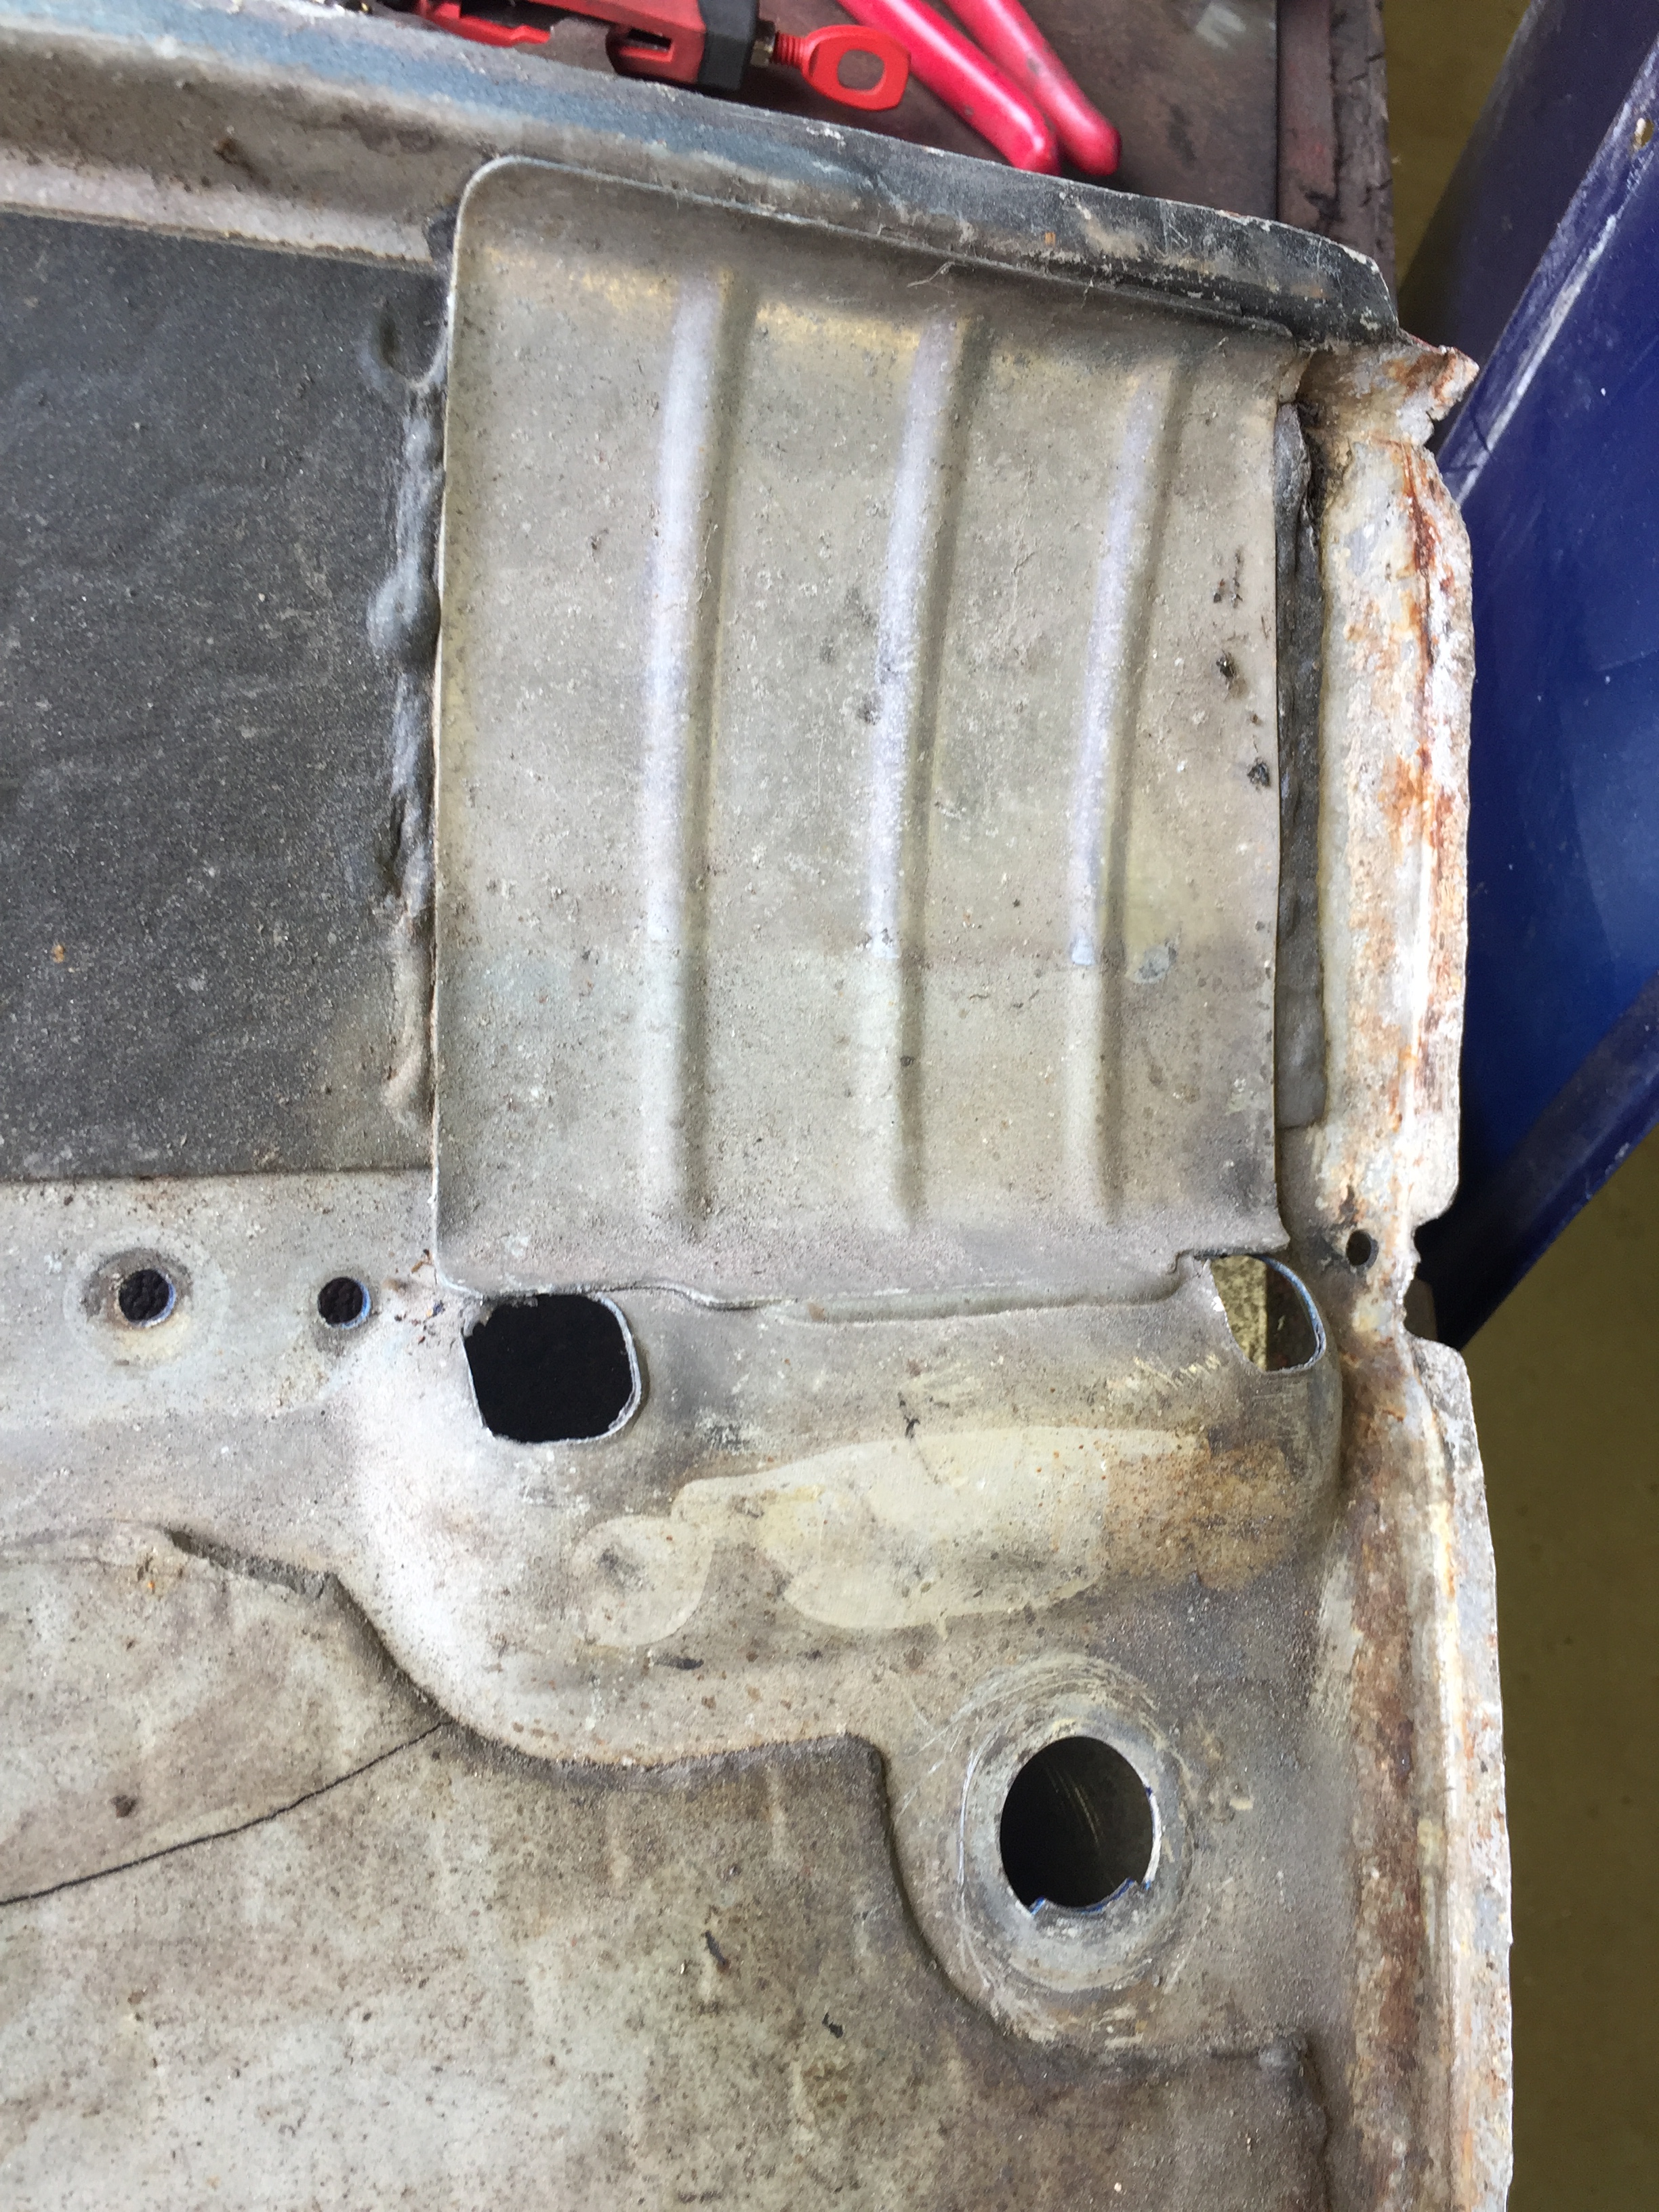
Don’t forget you can’t just put aluminium door skins on – you need to put the re enforcements on the skin behind the door handles other wise you may find the doors handles deforming the skins.
they are bonded in...
See picture…
Don’t forget you can’t just put aluminium door skins on – you need to put the re enforcements on the skin behind the door handles other wise you may find the doors handles deforming the skins.
they are bonded in...
See picture…
Wladek
Well-Known Member
You are absolutely right MarcJust in case you did not know ...
Don’t forget you can’t just put aluminium door skins on – you need to put the re enforcements on the skin behind the door handles other wise you may find the doors handles deforming the skins.
they are bonded in...
See picture…
")
I already fabricate new set.
Just need to make one more door handle mount. Because when i was mounting bolt rivets on the second door handle mount, one of rivets didn't clamped properly, bolt broke inside & was unable to remove without destroying whole part.
Wladek
Well-Known Member
Attachments
Last edited:
Ha ha - I really don't need this type of encouragement.Stephen @autokunst - specially for you
2x 38cm
View attachment 50604
Absolutely beautiful!Wladek
Well-Known Member
Little, funny update.
My genuine hood was destroyed/dented (by the heat) during it blasting (times of PO), so i had one spare in Sienna Brown color.
I decided that i will try to fit "new one" to see if all is ok;
After disassembly of old one i noticed that "new one" is noticeably heavier. So after assembly i decided to check how much bondo is under the paint.
All paint was removed just with wall paint scraper in less than 1 hour. In removed pieces was 2 layers of Sienna Brown paint & couple layers of bondo & primer. I couldn't resist to measure the hood with paint measuring tool, to check if nothing else is hidden under sanded yellow paint/primer - luckily nothing else was there, 110-150um (0,11-0,15mm on the whole hood).
The thickest layer of bondo was in windshield nozzles area (was around 2,5-3mm - measuring tool didn't show anything, because have range up to 2000um (2mm), but the rest of surface also had impressive 1-1,5mm.
I did weighed the removed layers - was 2,5kg netto, only from outside.
Wow - that is a lot of plastic over the top of what looks like very straight and nice metal. Nice discovery.
Wladek
Well-Known Member
I also didn't understood why someone put so much bondo on pretty good straight base.Wow - that is a lot of plastic over the top of what looks like very straight and nice metal. Nice discovery.
Wladek
Well-Known Member
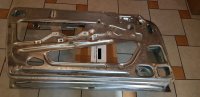
Little update - some new zinc plating, blackening & late photo of filter boxes after powder coating.
Flywheel was blackened (actually it was new), but for some time engine was in humid place & rust appeared with little surface pitting, didn't wanted to make it worse, so made blackening as rust prevention.


Flywheel was blackened (actually it was new), but for some time engine was in humid place & rust appeared with little surface pitting, didn't wanted to make it worse, so made blackening as rust prevention.
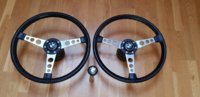
Stephen @autokunst - specially for you
2x 38cm
View attachment 50604
Beautiful wheels Wladek.
They also clearly show the different tab shapes, square vs V shaped. I’m hesitant to say that one is Bmw and the other is VW. Seems the V style tabs have more of a texture on the wrap than the square style. Petri fanaticism I guess
")
You know, I was wondering about the different tab shapes. Wasn't sure if that was the difference between leather wrapped and foam, or some other distinction. Do you have a favorite? Or should I ask, which one is the original BMW version?They also clearly show the different tab shapes, square vs V shaped.
Yes, I realize that I am getting myself into troubled waters here... The more I know, the more I want. :eek:
Wladek
Well-Known Member
Yes, you are right Keshav - V shaped have more texture on the wrap, square is almost smooth.Beautiful wheels Wladek.
They also clearly show the different tab shapes, square vs V shaped. I’m hesitant to say that one is Bmw and the other is VW. Seems the V style tabs have more of a texture on the wrap than the square style. Petri fanaticism I guess
There was a big thread here on forum, where almost everyone took part & if i remember correctly it was agreed conclusion that both (square & V shape) where originally used in BMW's
Last edited:
Wladek
Well-Known Member
As far as i know - there are next tabs & grips on BMW 38 Petri's:You know, I was wondering about the different tab shapes. Wasn't sure if that was the difference between leather wrapped and foam, or some other distinction. Do you have a favorite? Or should I ask, which one is the original BMW version?
Yes, I realize that I am getting myself into troubled waters here... The more I know, the more I want. :eek:
1. Thick square + thick soft foam grip - standard BMW
2. V shape + thin/medium hard foam grip - standard BMW
3. V shape + thick soft foam grip with protruding stitching - standard BMW
4. Medium square + medium hard foam + leather wrapped grip - CSL BMW
5. Thick square + thick soft foam grip with protruding stitching - standard BMW
On the photo's above are #1 & #2
Wladek
Well-Known Member
Very little progress - some powder coating

Also engine Bosch starters where reassembled - here you have some photo's & instructions:
https://www.e9coupe.com/forum/threads/bosch-m30-starters-reassembling-tutorial-both-types.29606/
Also engine Bosch starters where reassembled - here you have some photo's & instructions:
https://www.e9coupe.com/forum/threads/bosch-m30-starters-reassembling-tutorial-both-types.29606/
Last edited:
Wladek
Well-Known Member
Last time i have sort of problem with making a photo's (lazy ass), that's why was no updates.
Some of aluminium parts from my engines after bead blasting.

Door frame after zinc plating; Before plating was cleaned with paint stripper pad & then lightly blasted; also mounting brackets where disassembled before plating so zinc could reach everywhere. Later i will show you some photo's how i upgraded fixing of mounting brackets (forgot to made photo's). Lower door rubber rails are currently in zinc plating, later will be bonded.


), that's why was no updates.Some of aluminium parts from my engines after bead blasting.
Door frame after zinc plating; Before plating was cleaned with paint stripper pad & then lightly blasted; also mounting brackets where disassembled before plating so zinc could reach everywhere. Later i will show you some photo's how i upgraded fixing of mounting brackets (forgot to made photo's). Lower door rubber rails are currently in zinc plating, later will be bonded.
Attachments
Last edited:
That's beautiful!
Wow!