Deconstruction Thread: How to part-out an E9

Markos

Well-Known Member
Site Donor
Messages
13,369
Reaction score
7,502
Location
Seattle, WA
Markos: So the '71 E3 P/N: 11015251 is the one you are selling? I am interested, PM me with a price etc. Does anyone know what year the brass stopped on the E3's? I thought they were all plastic on the E3's, not brass. Regardless I am interested, I think they look much better. Maybe you can spare the template too? I will have to see how my plastic tank mounts in the E3, may or may not need it. Thanks! -S

Sorry for the confusion. I sold one tank and I'm keeping the other. There are two for sale on Ebay at the moment. It looks like the part numbers on the top must belong to BEHR. The RealOEM link is below. It looks like the new tank arrived in '74.

http://www.realoem.com/bmw/enUS/par...0CSi&mg=17&sg=05&diagId=11_2455&q=17111114790
 

Markos

Well-Known Member
Site Donor
Messages
13,369
Reaction score
7,502
Location
Seattle, WA
Removed the pedal cluster to send to 5spd swap expert SFDon. Per his advice, only the clutch and brake pedals are required. The rest of the pedal box is the same between autos and manuals. I'm boxing these up with another clutch and brake from my BMW friend's E3.

Don said it takes 5 minutes to pull them. It probably took me 30 :) Perhaps it was because I spent the day crawling around rewiring my living room, but this was kind of a pain. That's with no driver's seat, no door, no steering wheel, etc. I couldn't find my 17mm six point box wrench, and the 12 point was slipping. I typically avoid using 12 point wrenches unless the wrench doesn't have much room to move.

First remove the clutch pushrod and brake pushrod. Unhook each spring. Use a 17mm socket on the left, and a 17mm box wrench on the right.
27931492925_285f95ede8_b.jpg


Pedals removed:
27319216934_26d746757c_b.jpg
 

Markos

Well-Known Member
Site Donor
Messages
13,369
Reaction score
7,502
Location
Seattle, WA
The glove box is held in place by three 10mm machine screws, and a support arm that rides along plastic bushings. This door is in fair condition. Surprisingly the fusebox area didn't see any water, even though significant fiberglass repairs directly below it. This door will likely go up for sale, after I steal the push button and swap on the late model twist knob.

BTW - I tossed the dash panel that goes under the steering column. It was in terrible shape and had several extra holes drilled through it.

Needs a scrubbing...
27653022420_d9ede5d988_b.jpg

27318445023_19aac09276_b.jpg


Someone was asking about these screws not too long ago. She short one goes on the door and the long one goes under the dash.
27319214154_f39d8b0547_b.jpg


Still have a very long way to go!

Total Sales: $995
Remaining: $2,405
 
Last edited:

Markos

Well-Known Member
Site Donor
Messages
13,369
Reaction score
7,502
Location
Seattle, WA
Interesting find. The CSI has a three position adjustable rear sway bar. It looks very similar to the Ireland engineering bar with heim joints. Also, I haven't tracked down the source of all the oil on the underside of the car. I figure it's the motor, differential, or transmission. More later I suppose.

28315631025_493106424f_o.jpg
 
Last edited:

Markos

Well-Known Member
Site Donor
Messages
13,369
Reaction score
7,502
Location
Seattle, WA
Sigh... I had my first part break on me this evening. I was selling the set of vent window pivots. These are the little gearboxes that change the direction of the window knobs. Be careful with the par that grabs the vent window as it is a very delicate cast aluminum.


Since this seems to come up frequently, I thought that I'd add a few pics of the door parts. You'll find all of this already if you search, but hey I took pics.

To remove the vent knob, pop off the silver cover. I use a mechanics pick. You can hold the pick and spin the knob until you snag the hole. Just be sure to close the vent window before you stash the knob away.

28240466131_f7993033e4_b.jpg

27702882674_d54a3a654a_b.jpg


The door wood is held on by four very small screws, as well as a pressure fit on the door. Once the screws are removed, you want to pull up on the frame that the wood is secured to. This whole frame holds the wood, and the vinyl above the wood.

28215204732_7e4a225925_b.jpg
 

Markos

Well-Known Member
Site Donor
Messages
13,369
Reaction score
7,502
Location
Seattle, WA
Sway bar looks like a Suspension Techniques, I have them on Athena.

Very cool. I just checked the front and it looks like it's adjustable as well. I'll be keeping these for my car. Perhaps I'll find a few more goodies as I dig through this thing. I checked the calipers and they look like factory 4 pots.
 
Last edited:

Markos

Well-Known Member
Site Donor
Messages
13,369
Reaction score
7,502
Location
Seattle, WA
Some sale tracking and a pic update. As mentioned one of my vent window gears broke, so my $100 sales went down to $50. They are $75 each at 002 Salvage.

After no response on the CSI long block the engine part out begins. I already have an interested local buyer for the intake manifold. I am selling the throttle body and switch to a board member for $100, plus a cig lighter.

As it turns out, the D-jet throttle body is a total pain to remove. Supposedly one can finesse it off the four studs that hold it in place, but I wasn't so lucky. The lower portion of the TB interferes with the valve cover. I figured that I could remove the valve cover to give me some room, but you can't remove the valve cover with the TB on. Fortunately I read that instead of trial and error. My next option would be to remove the intake plenum but that has studs instead of bolts. Tomorrow the whole intake will need to come off. My only guess is that the TB studs are slightly more extended than some others have experienced.

reference: http://www.e9coupe.com/forum/threads/valve-cover-removal-on-d-jet-m30.5115/

28715617245_5fd48d3323_o.jpg


Total Sales: $1,145
Remaining: $2,255
 
Last edited:

Markos

Well-Known Member
Site Donor
Messages
13,369
Reaction score
7,502
Location
Seattle, WA
Update. It turns out that I gave up too soon last night. The TB catches the plastic sleeve that the wiring harness run through. Two 10mm nuts hold it to the valve cover. After moving the sleeve out of the way it was pretty easy to remove the TB.

28452646600_c56b87e96a_o (1).jpg


For shipping in a small box, it is helpful to loosen the throttle return spring mount. The pic below shows how it prevents the TB from laying flat. Another 10mm bolt.

28631626492_c1ba47a44a_k.jpg


Thanks to OCCoupe for helping me confirm the exact location of the differential ID plate, and how to interpret the numbers. I have the standard CSI 3.25 LSD diff. This was originally going to the previous owner but I decided to buy it from him for $400. I think that I will account for this purchase in this thread, bumping the original purchase price to $3,400.

28631626802_52a4c8e287_k.jpg
 
Last edited:

Markos

Well-Known Member
Site Donor
Messages
13,369
Reaction score
7,502
Location
Seattle, WA
I see an S stamped on your diff, it's an LSD 3.25.

Thanks Chris! I really appreciate your continued input on both of my threads!

An LSD was the goal and I completely forgot to mention that fact. I updated my post. I was operating under the assumption that it was an LSD, but wanted to confirm before making payment. I was a bit torn on whether I should spend the money on an LSD right now but the price is right and I would regret not buying it later.

I had read (from members) that some CSI's didn't have an LSD. I also took my 2800CS to a gravel lot last weekend to test for an LSD the fun way. It appeared that my 2800 does not. However, now that I know where the plate is I will confirm the proper way.

I forgot to mention, I couldn't see the plate before because I was attempting to check from in front of the passenger rear tire. It is very accessible from behind the rear tire.
 

Markos

Well-Known Member
Site Donor
Messages
13,369
Reaction score
7,502
Location
Seattle, WA
As mentioned I recently started going after the engine. The member who purchased the throttle body has decided that it may be best to procure all the spare D-Jet parts while they are still obtainable. During our discussion I noted that trusted members had put a value of $1,200 - $1,500 on the complete D-Jet setup. I offered the whole package for $900.

I am shipping the parts he needs right now and took payment on the first half. To stay productive at the moment, he only needed the MAP sensor and the corresponding mounting bracket. He also needed the two engine relays that are screwed onto the MAP Sensor bracket. Lastly, the auxiliary air valve and cold start valve. The buyer isn't paying $450 for a sensor and a start valve, he is just giving me half now. The package will include the brain, the wiring, the plastic wiring shroud, etc.

I believe that kasbatts was the last to sell a MAP sensor and he was pelted with inquiries. There is some older discussion about rebuilding them here at a cost of around $450 + core. That was six years ago so I would imagine that the price went up.

The MAP Sensor is parked on top of the brake booster shaft. The relays are visible under the coolant hose, which connects to the absent coolant overflow tank. This MAP cleaned up well with a soft brass brush. The bracket makes a good case for a DIY zinc plating kit! I plan to buy a kit myself and use my DC power source to (image on previous page) to run it.
28781640322_bb456b0f6b_b.jpg


The auxiliary air valve is held on by two 10mm bolts. It is easy to remove but a good combination of extensions makes the job go quick. Here is what their guts look like. BTW - At first glance I thought that cannister on the AAV was your un of the mill breather filter, but it's a BMW purolator part. I know nothing about D-Jet so I probably shouldn't make any assumptions, or actually pull out my blue books. More e9coupe info on how to troubleshoot and clean these things.
28271125873_e6fbf56388_c.jpg


The auxiliary air valve is also connected to the cold start valve (which is held to the manifold studs with two 10mm nuts). I snapped a pic to show the hose orientation in case the member wants to reuse the hose.
28271125873_e6fbf56388_c.jpg


The cold start valve is held onto the manifold studs with two 10mm nuts. There isn't enough clearance to fit a 10mm close end wrench or a socket, so you need to use an open end wrench.
28810912521_0650e9a28f_b.jpg


Updated sale price includes the first have of the D-Jet payment, less $25 shipping.

Total Sales: $1,570
Remaining: $1,830
 
Last edited:

Markos

Well-Known Member
Site Donor
Messages
13,369
Reaction score
7,502
Location
Seattle, WA
A few tools to part out a car:

Telescopic-Magnet-Picker-Upper. All of the bolts shown, plus a headlight thumb screw (which I need) were found inside the front valance. Notable nonferrous items included a golf ball and a battery fluid tester.
28271123463_e665549e70_b.jpg


I use zip ties to secure nuts in their proper location. I also use tape to secure bolts in their respective location.
28781643412_5fc3ef2d7c_c.jpg


If you are shipping a bunch of stuff, invest in a tape gun, and pick up a cellophane roller
28601634490_7cc11c8ba2_b.jpg


For lightly cleaning parts, a brass brush is very helpful. I bought this one for under $1 from a local Seattle 'tool' store: Archie McPhee
28810905981_e220713daa_o.jpg
 
Last edited:

Markos

Well-Known Member
Site Donor
Messages
13,369
Reaction score
7,502
Location
Seattle, WA
I'm back from vacation and ready to get the ball rolling on the rest of the D-Jet parts removal. I hope to kick off that effort tomorrow.

Capturing the second $450 payment for the remaining D-Jet parts. I have a few other parts to remove as well. A member and existing 'customer' wants the two door stops. I also have the entire lock set on reserve to donate to a local member that may be in need. The four speed transmission is on reserve to donate to a local member in need as well.

Total Sales: $2,020
Remaining: $1,380
 

Markos

Well-Known Member
Site Donor
Messages
13,369
Reaction score
7,502
Location
Seattle, WA
Tonight was my first real preview into wrenching on a BMW, particularly the M30. I don't envy folks that have to work on the CSI motor. My first experience was learning how tight the clearance was on the throttle body. Tonight I learned that getting the intake manifold off can be quite tricky. The frustrating part for me is that while I learned about the D-Jet setup, it didn't do much to prep me for working on my 2800CS.

29378640695_f446d10159_c.jpg


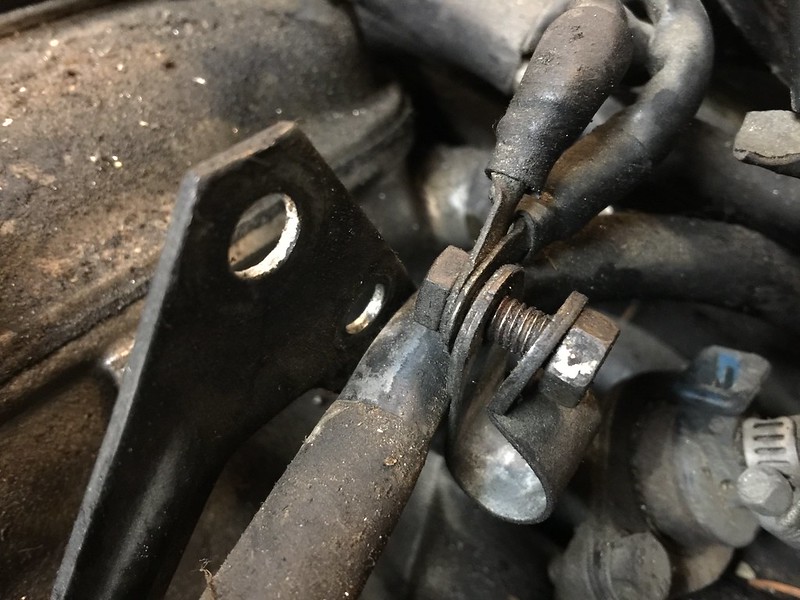
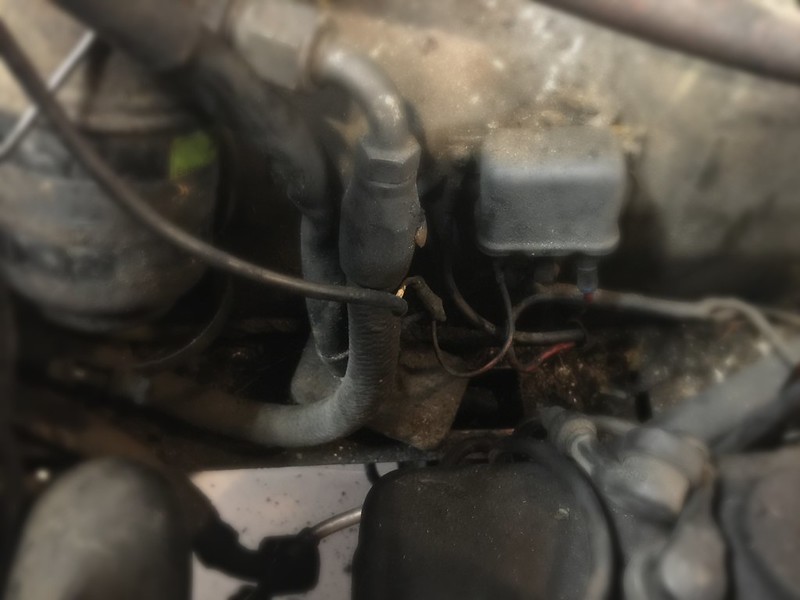
Note for installer. Two grounds and the rearmost small coolant hose bolt up the the triangular intake support bracket.
29091016580_695f145b7b_c.jpg


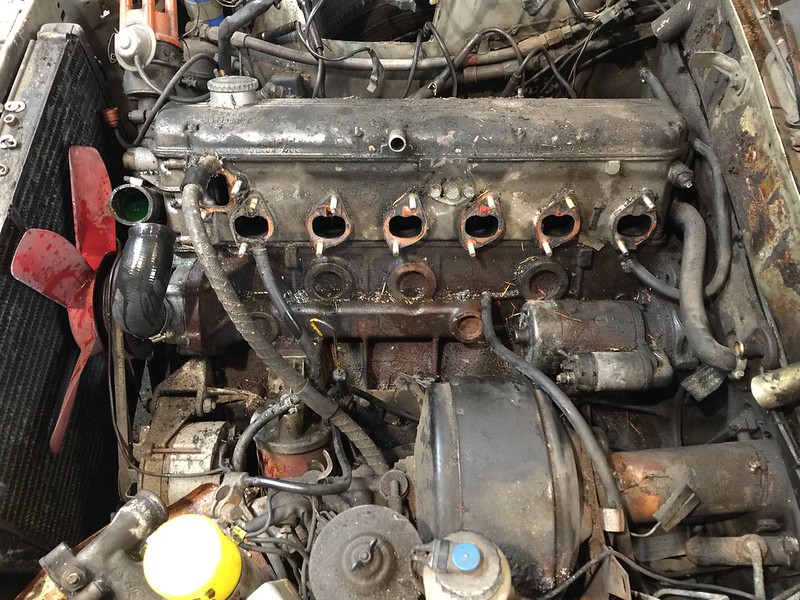
The manifold consists of an upper plenum, followed by the six 'bananas', and the two lower manifolds. Wedged underneath all of this is the fuel pressure regulator, a set of hard lines, an array of rubber fuel lines, and the six injectors. I started by removing the two 12mm bolts that hold the plenum to the triangular support brackets. Next I left the plenum intact and unbolted the bananas from the lower two manifolds. All that was a piece of cake.

Extension or not, the nut holding the banana to the lower intake manifold gets very close to the heater core tubes. I ultimately pulled the entire section of cooling, but starting by removing the upper hose keeps things moving.
29270447812_db0c4c96ca_b.jpg


Hiding in here are the six upper bolts for the lower intake manifolds
29378639305_e5023e642a_c.jpg


The wiring harness passes through the lower manifold. Also, the upper six 12mm nuts interfere with the injectors. Most people probably remove the injectors to service, but I left it in place.
29344633056_3c50e0bfa4_c.jpg


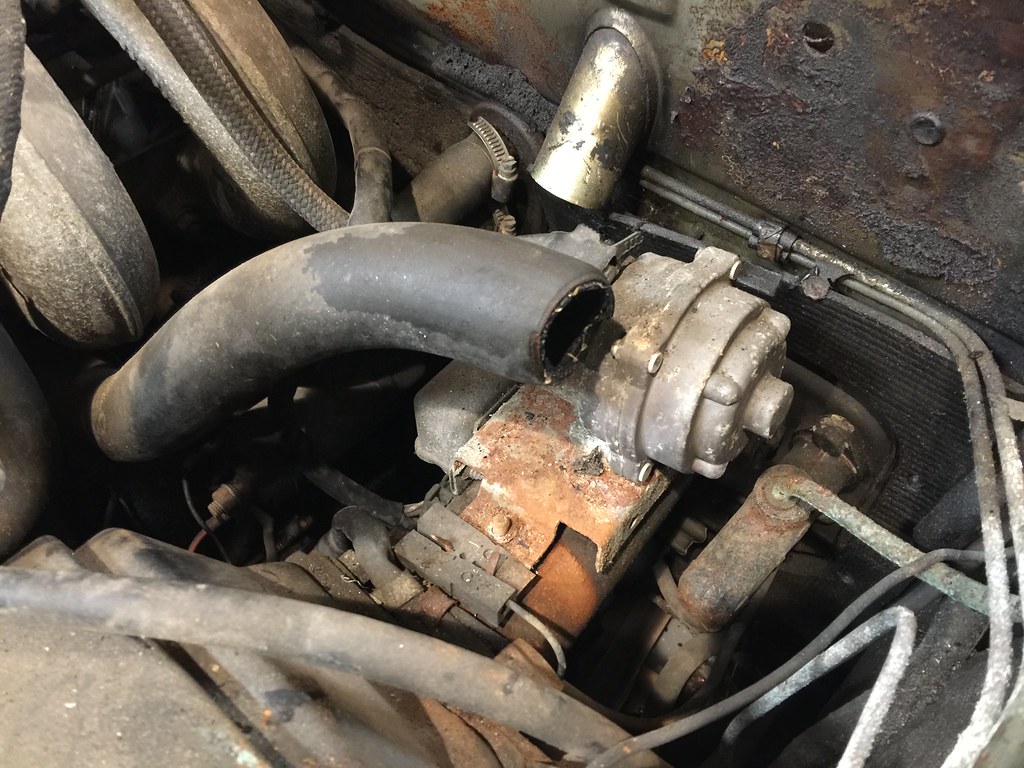
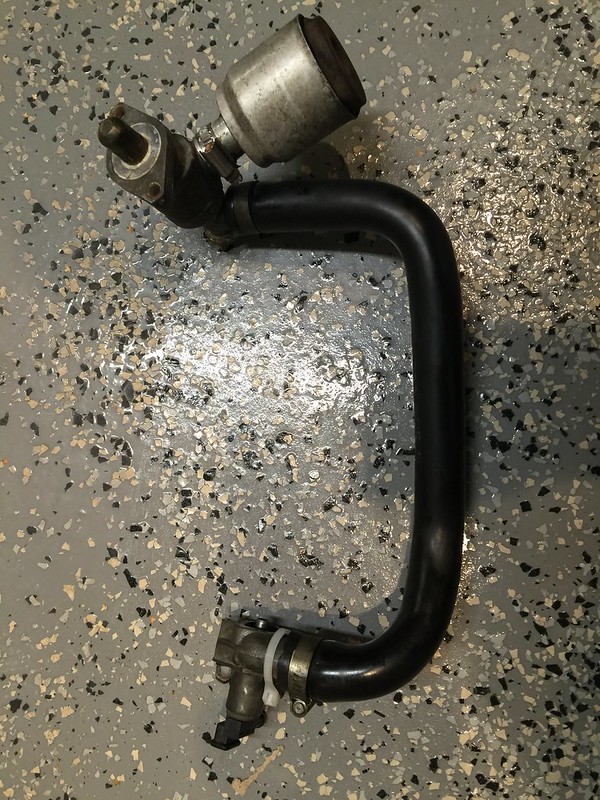
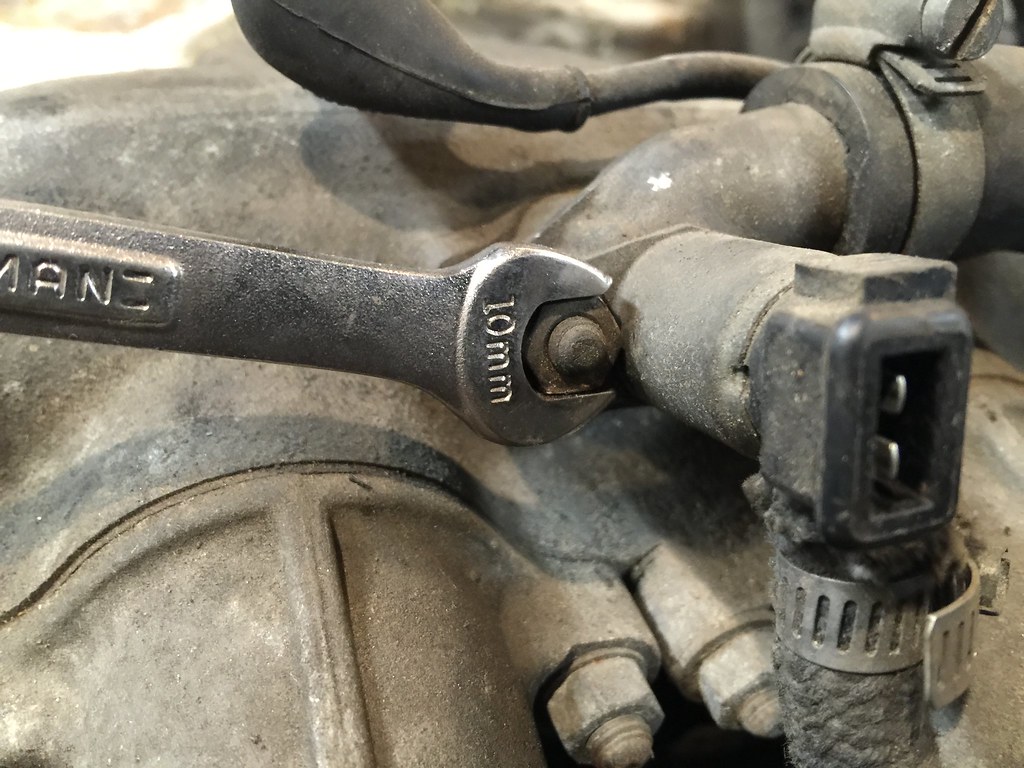
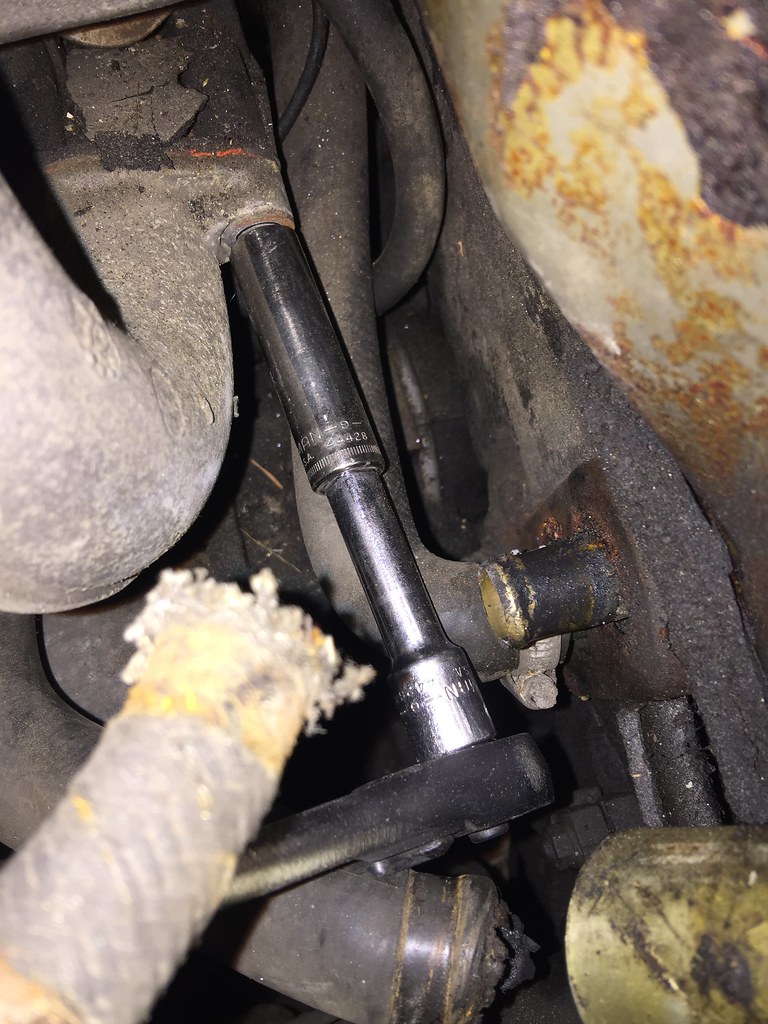
I determined that there was no reason for me to remove the injectors and fuel lines. Technically you can't remove the 6 12mm nuts from the studs as they will hit the injectors, but that wasn't a problem once you pull the manifold away from the head a bit. The 6 lower bolts can be a PITA. Due to the curvature of the lower manifold, you can't fit a standard walled short socket on the 12mm nuts without a bit of interference. I can't recall if it was absolutely necessary, but I found it extremely useful to pull the hard coolant line that runs under the lower manifold, and is actually bolted to the manifold with two 10mm bolts. This hard line runs from the T-stat housing to the heater core.

I believe that the nuts on my manifold were were previously rounded off, so that didn't help the situation. A standard box wrench is too thick to fit on the nuts without hitting the manifold Ultimately, I did use a combination of a six point 12mm short shallow socket with a short extension. I first placed the socket on the nut as straight as possible, then added the extension, then whacked it in place with a mallet, then added the wrench. That worked for some of the nuts, and i used an open ended wrench for others.

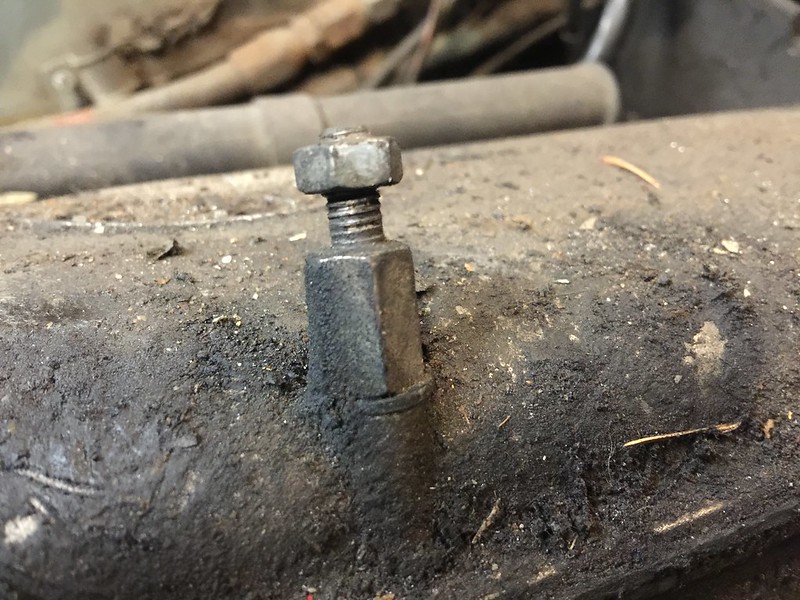
The last nut closest to the starter wasn't moving. Of course, the open ended wrench interfered with the starter. Interestingly enough, I tried to remove the starter to provide clearance. The 17mm bolts that hold the starter in place are a tight squeeze themselves, and it looks like you need to use a box wrench to remove the upper nut at least. Since interference was the name of the game, the only fitment I could get on the bolt left the box wrench hitting the lower manifold, preventing me from breaking the starter free. I didn't check to see if I could get a shallow socket on the lower starter bolt. My other revelation was that this will be even trickier on my 2800CS, with the early style pancake brake booster sitting very close to the starter. The CSI has about a 12" extension that makes it pretty easy to access the starter.

Finally, I got the manifold off. To do so, you need to unhook the starter wiring, and a few other wires as it passes through the lower manifold. If I was keeping the harness for myself, I would have paid more attention to the connection points. The harness is actually really simply though, and there are some great threads on here with folks like SFDon highlighting all of the relevant connection points.

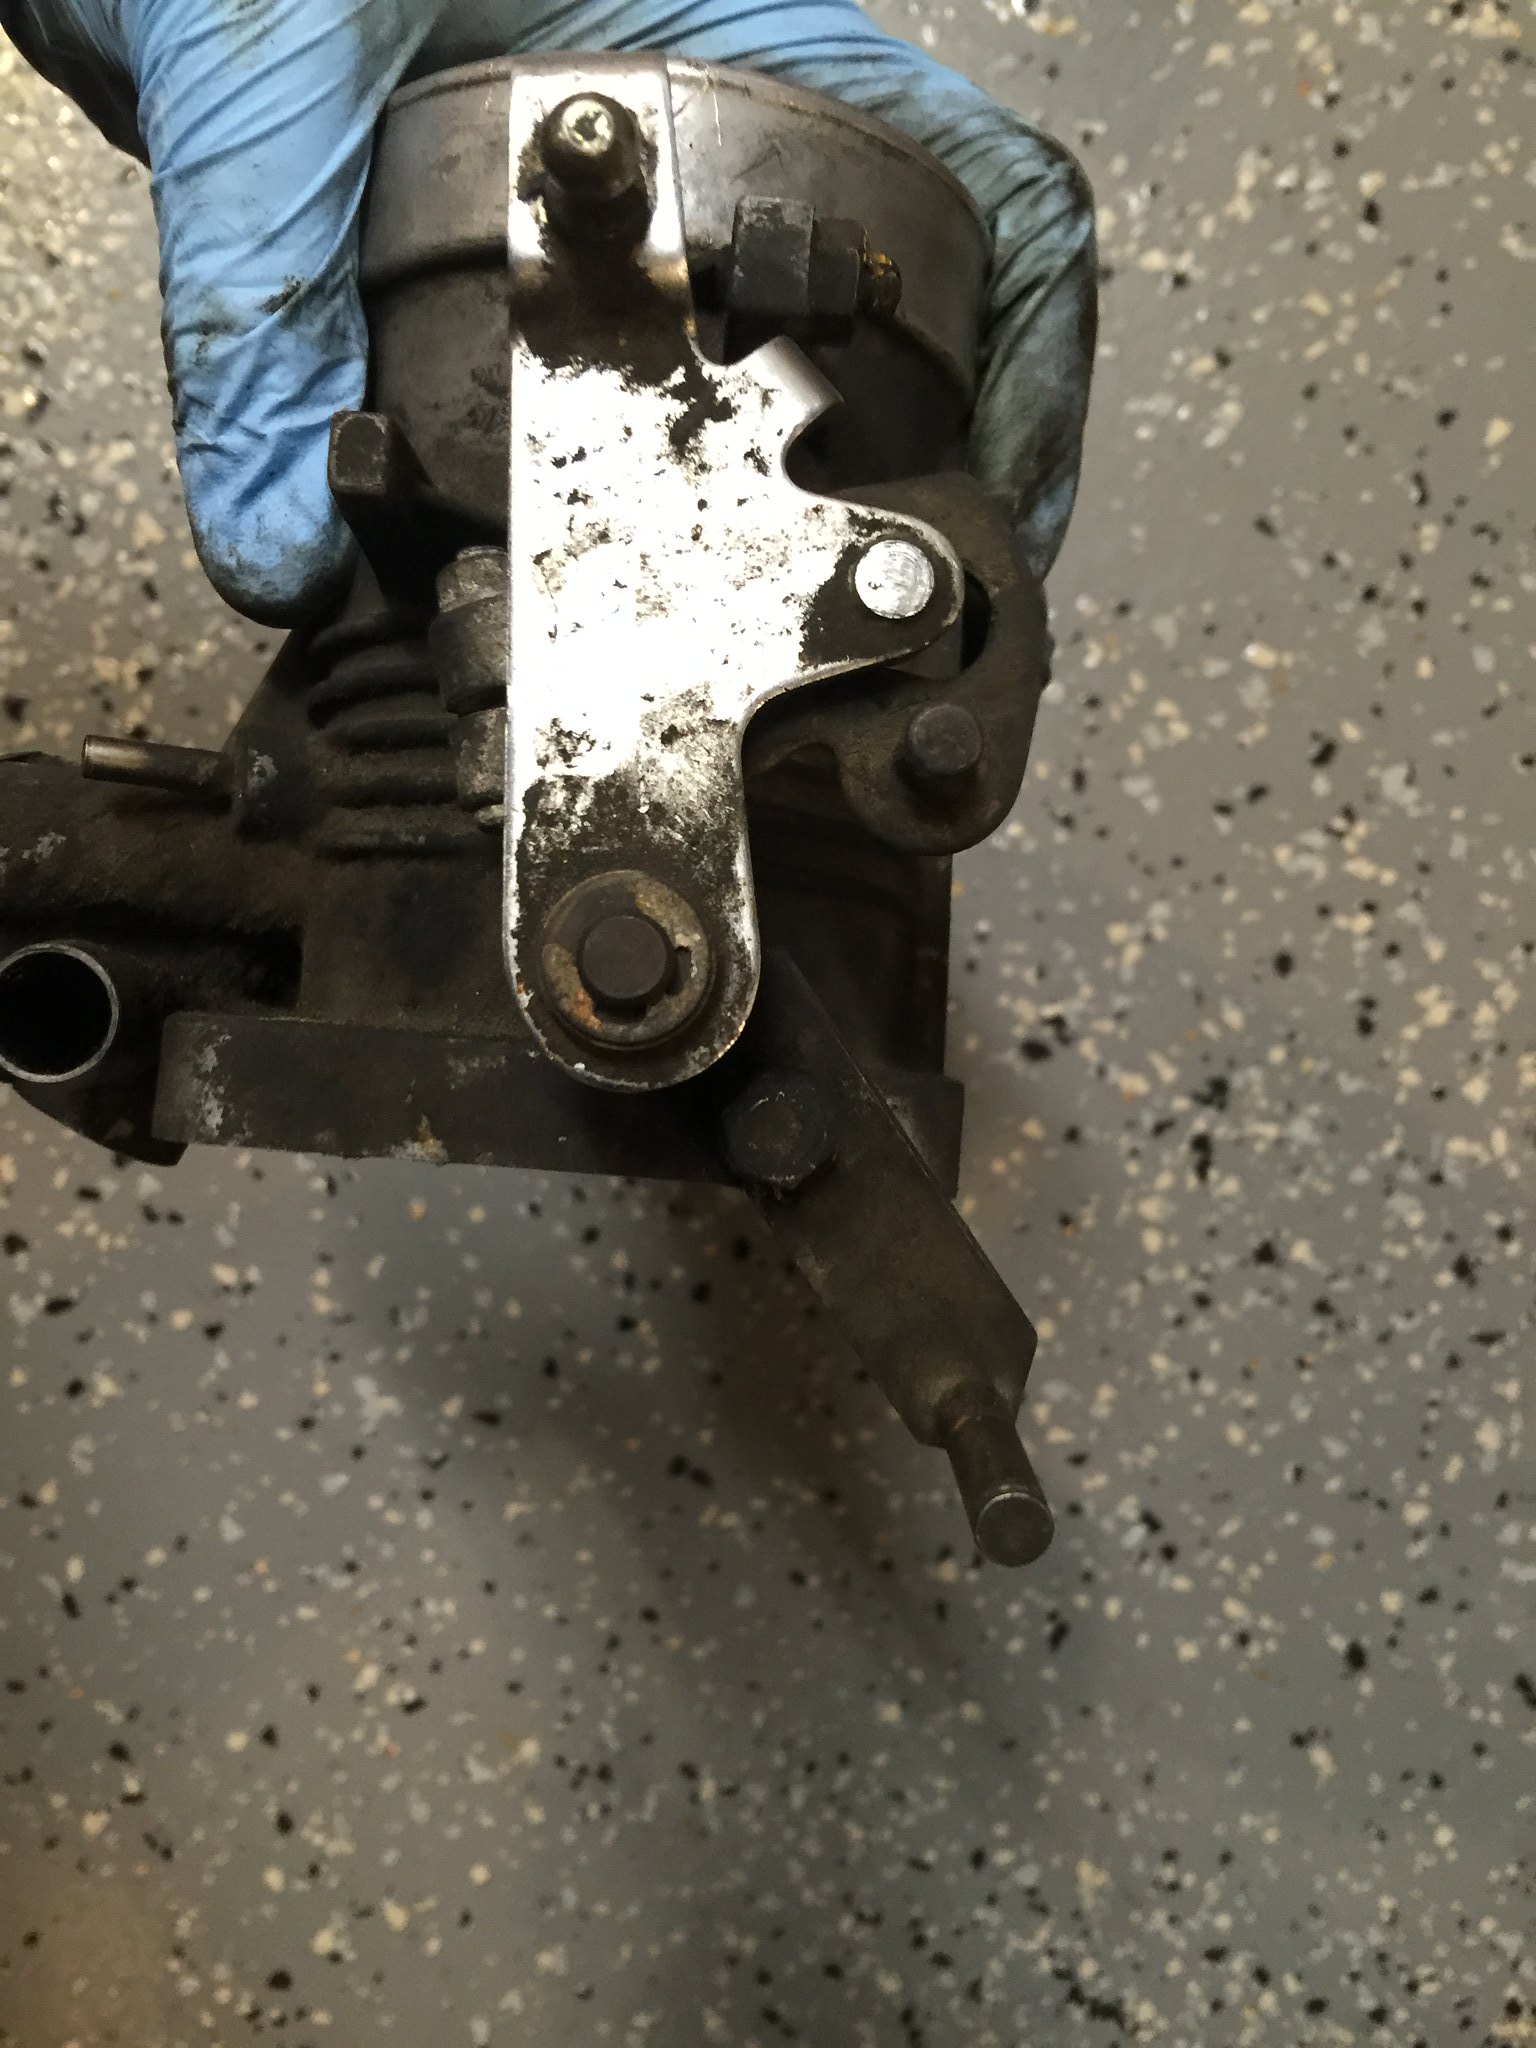
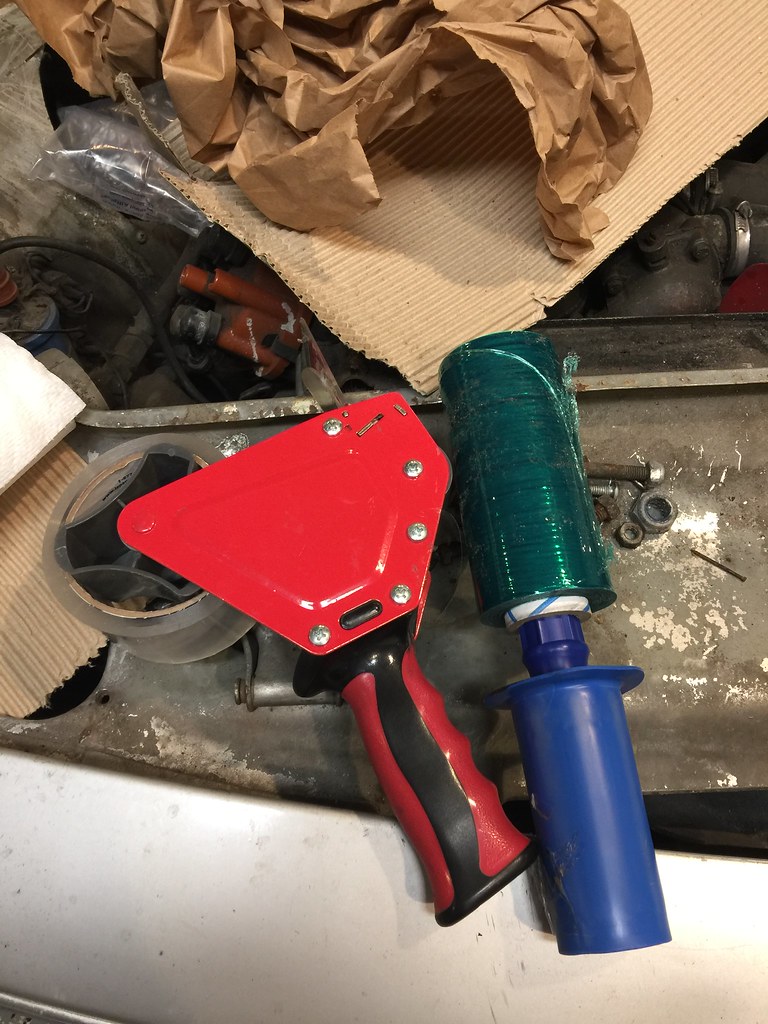
I also removed the T-Stat housing. I will need to buy a modified housing for my DCOE40's. I may keep the housing to look into fabrication options using two OEM housings.

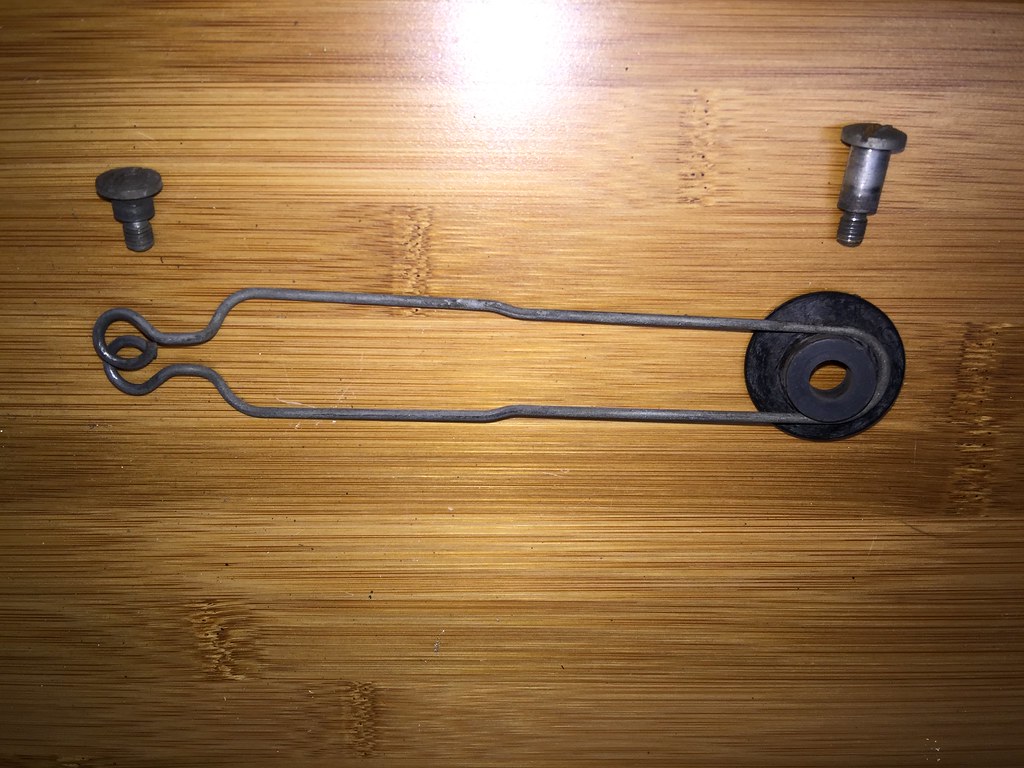
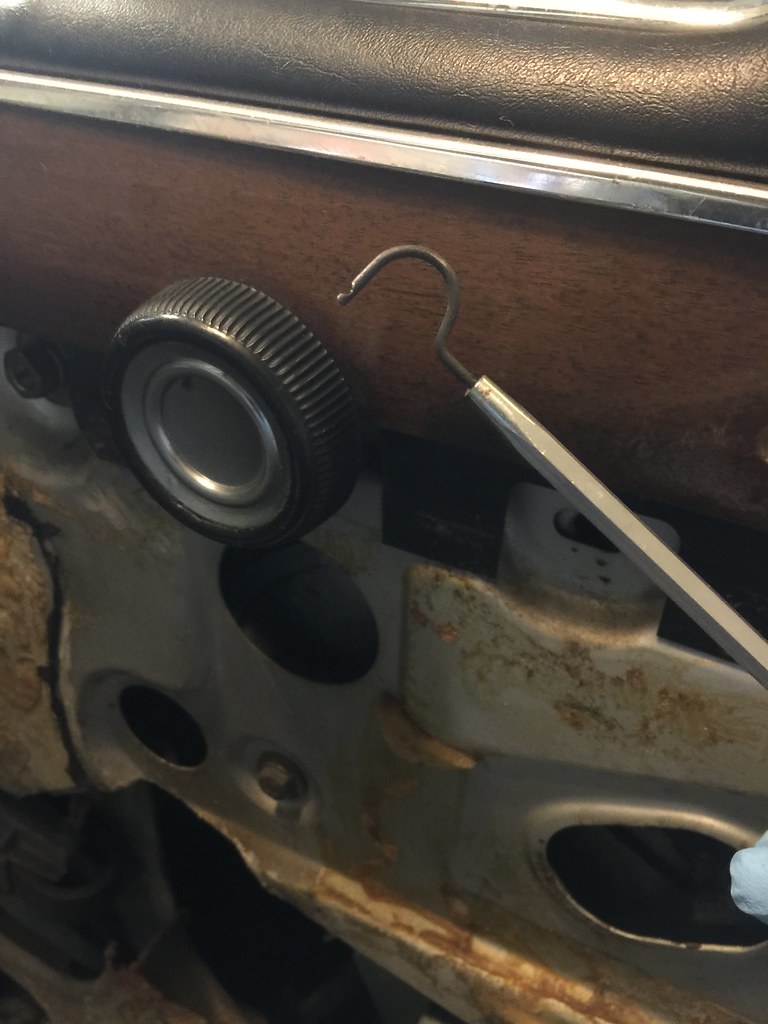
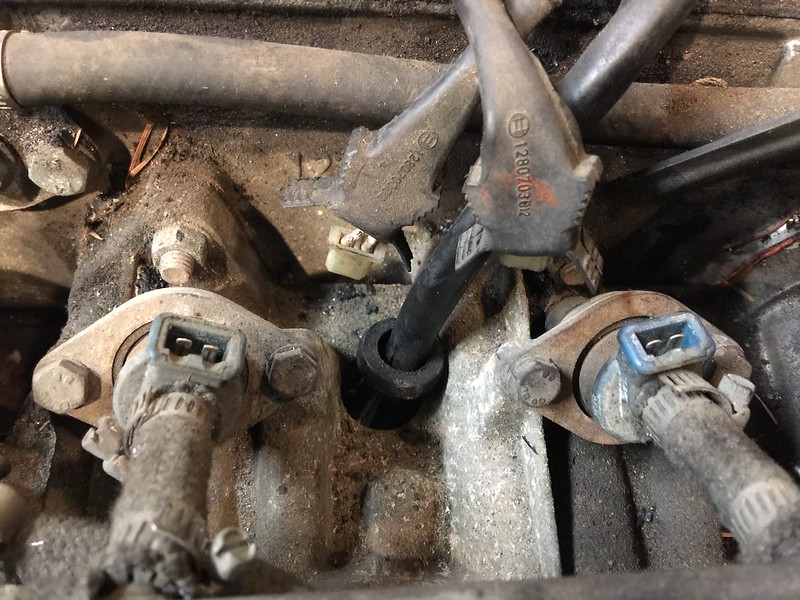
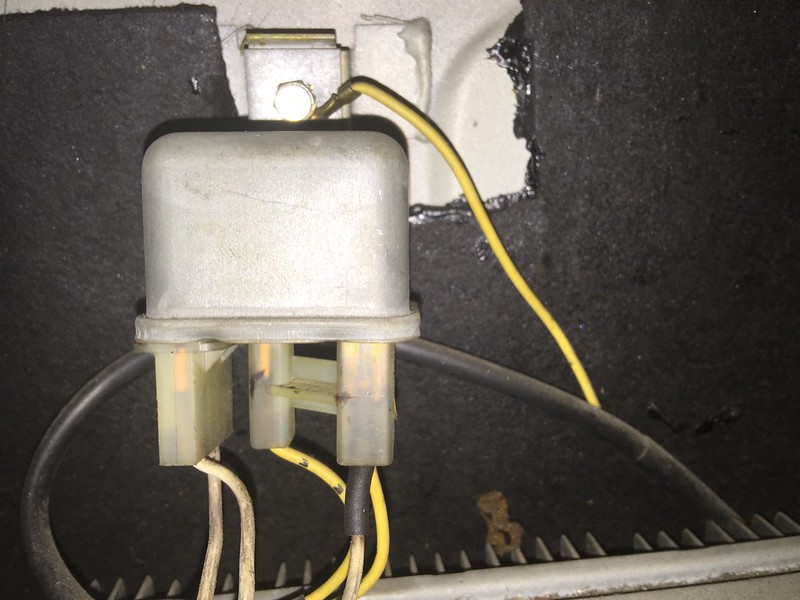
Noteworthy: It's important to have these little spacers to mount the D-Jet injector wiring tube to the valve cover. Also interesting, the plastic tube is identical to the on used to run the plug wires, but it includes end caps as well.
29270452342_0b00423f27_c.jpg


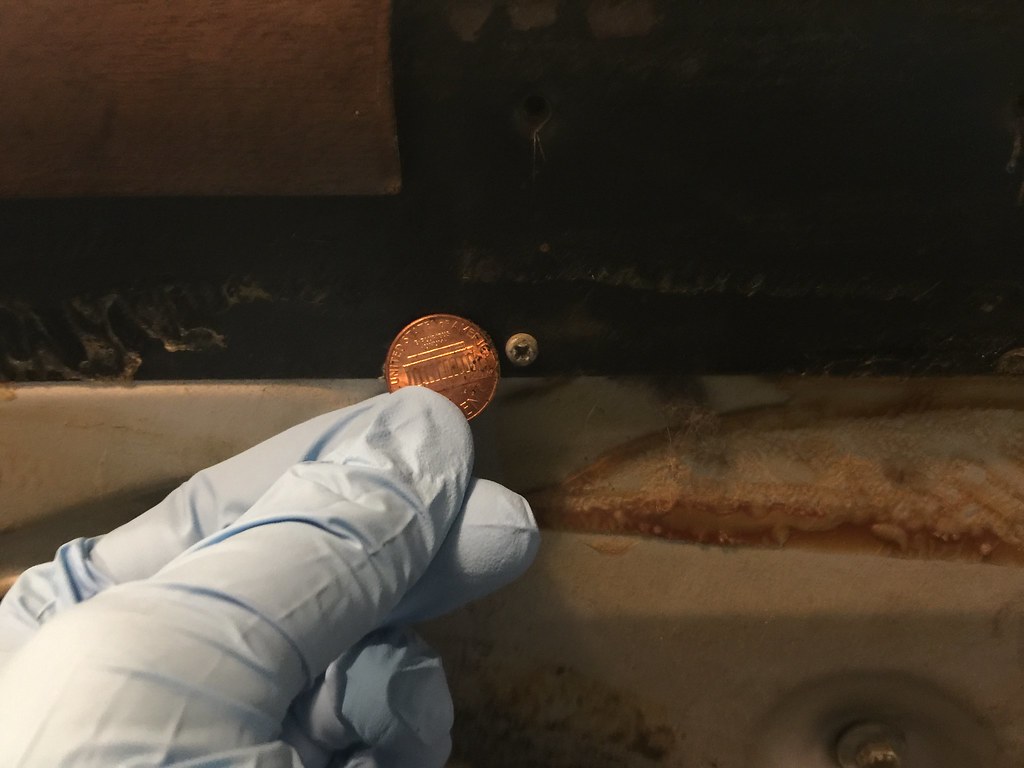
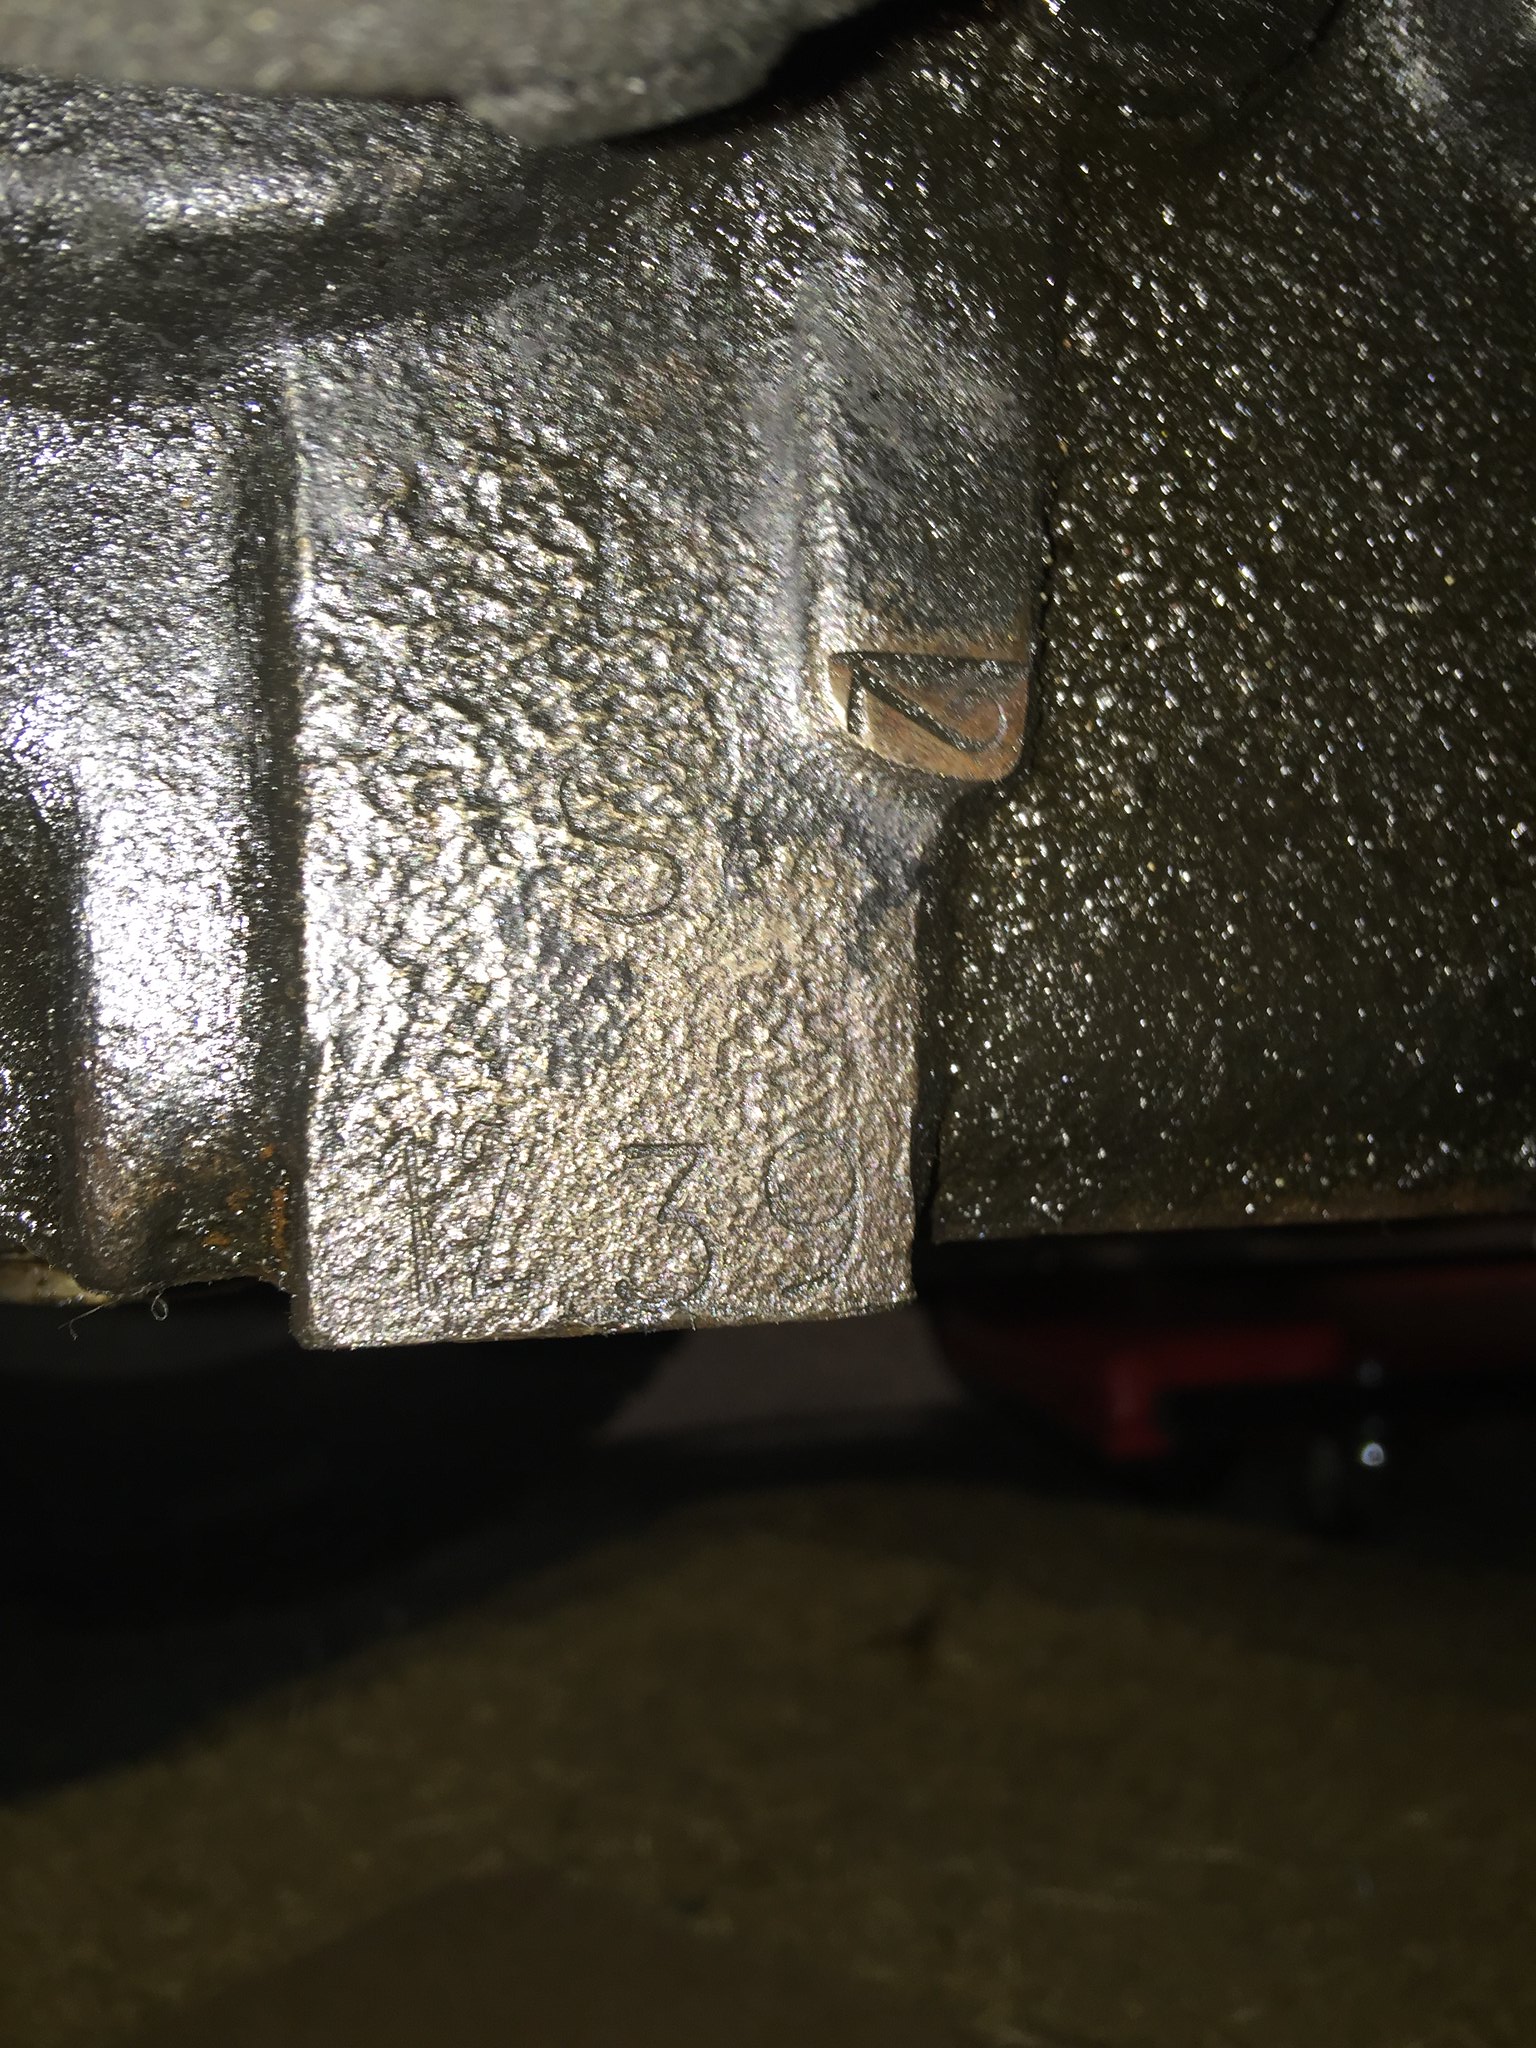
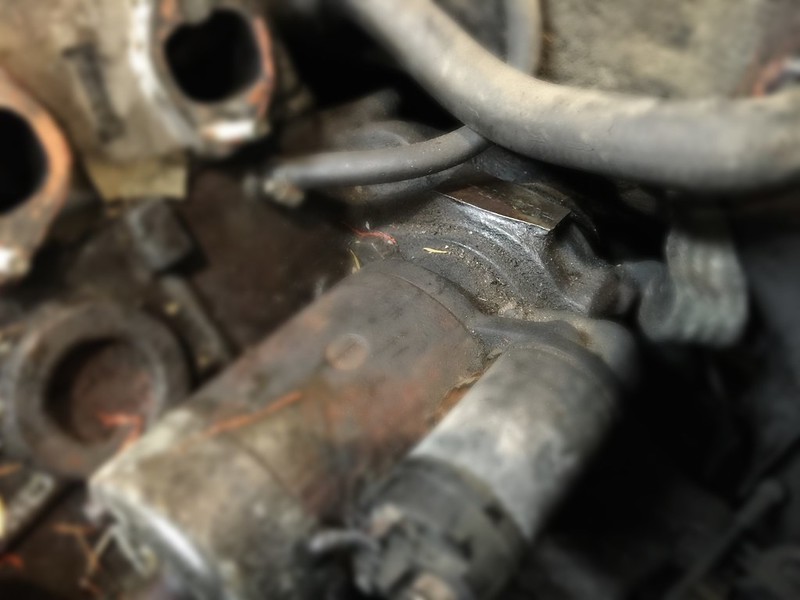
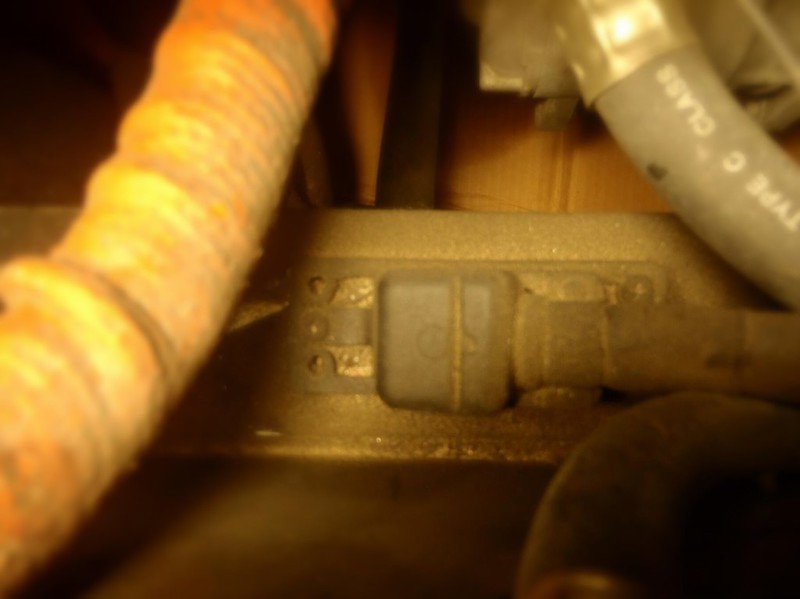
Noteworthy: The elusive VIN location on the flat portion above the starter
29378642925_dd2dfd7eea_c.jpg


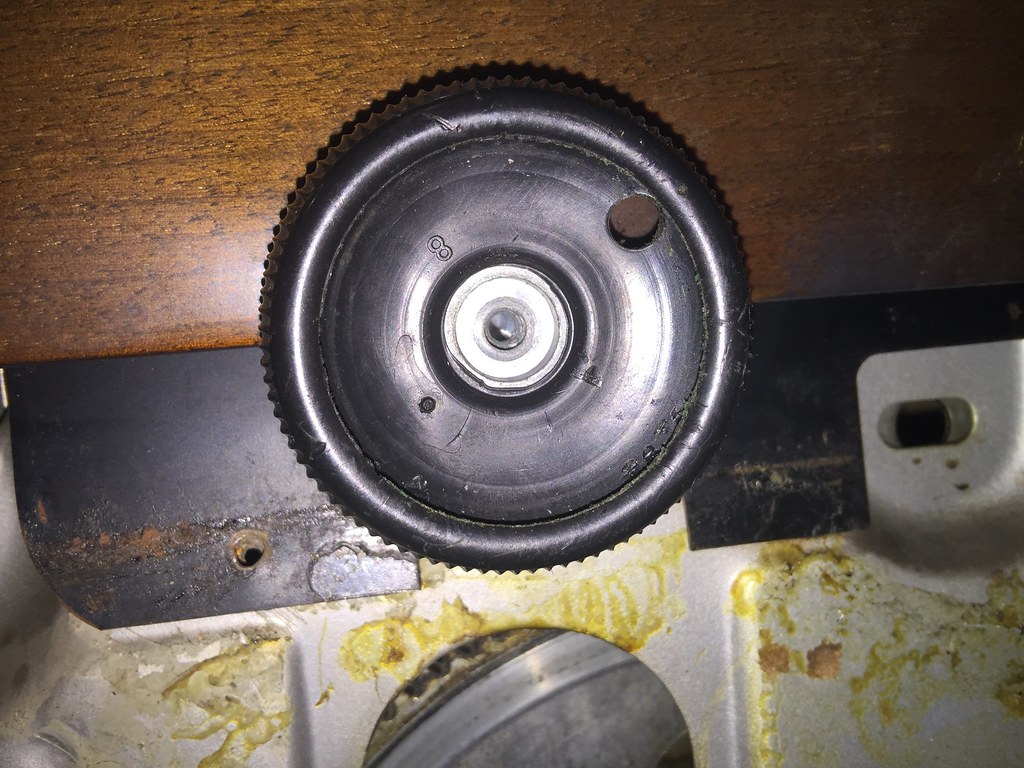
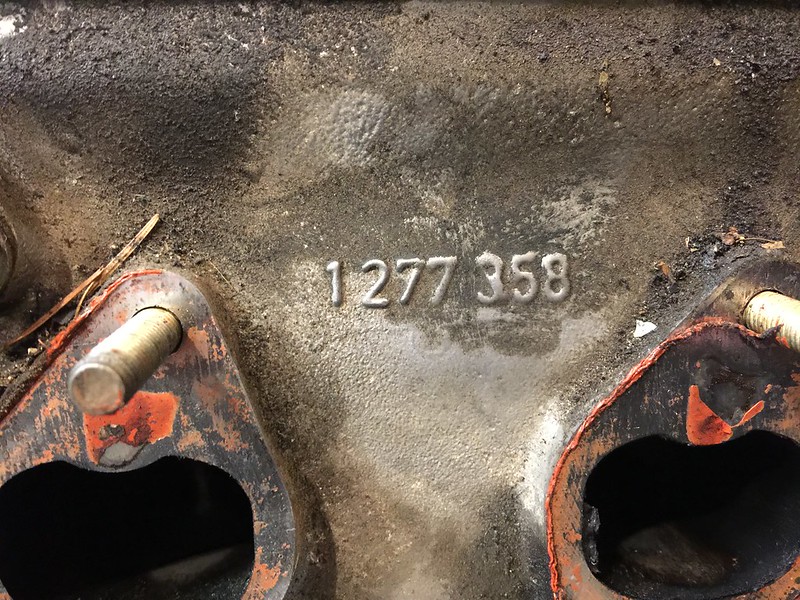
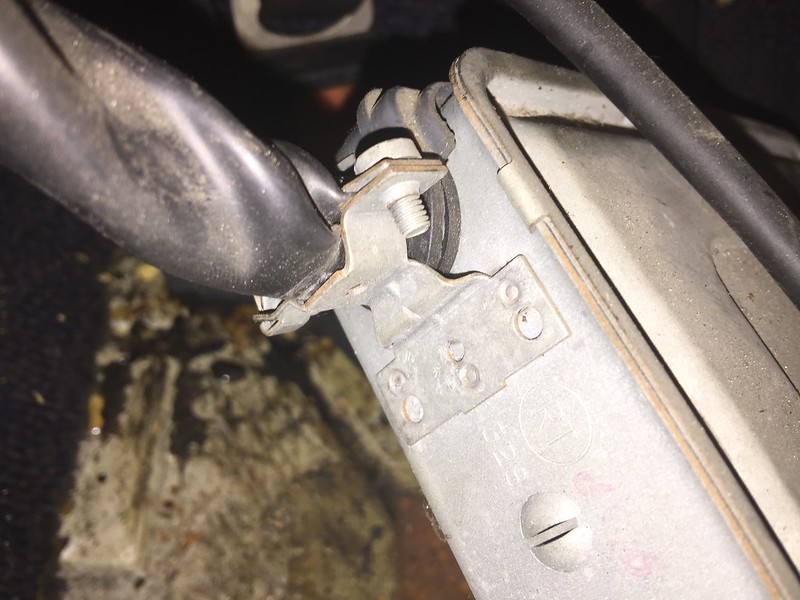
Noteworthy: This replacement head is from 1981. It's the standard '358' head that lasted through the B34. I haven't pulled the rear cover yet to check the grind indicator on the end of the cam.
29299760421_9d7bfd08bb_c.jpg


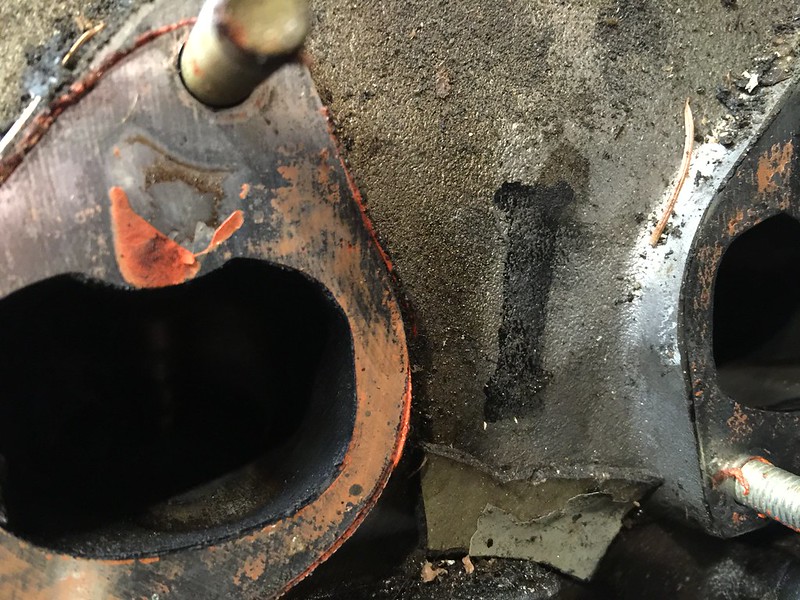
Noteworthy: I'm not sure why my head has a big letter 'I'. Anyone?
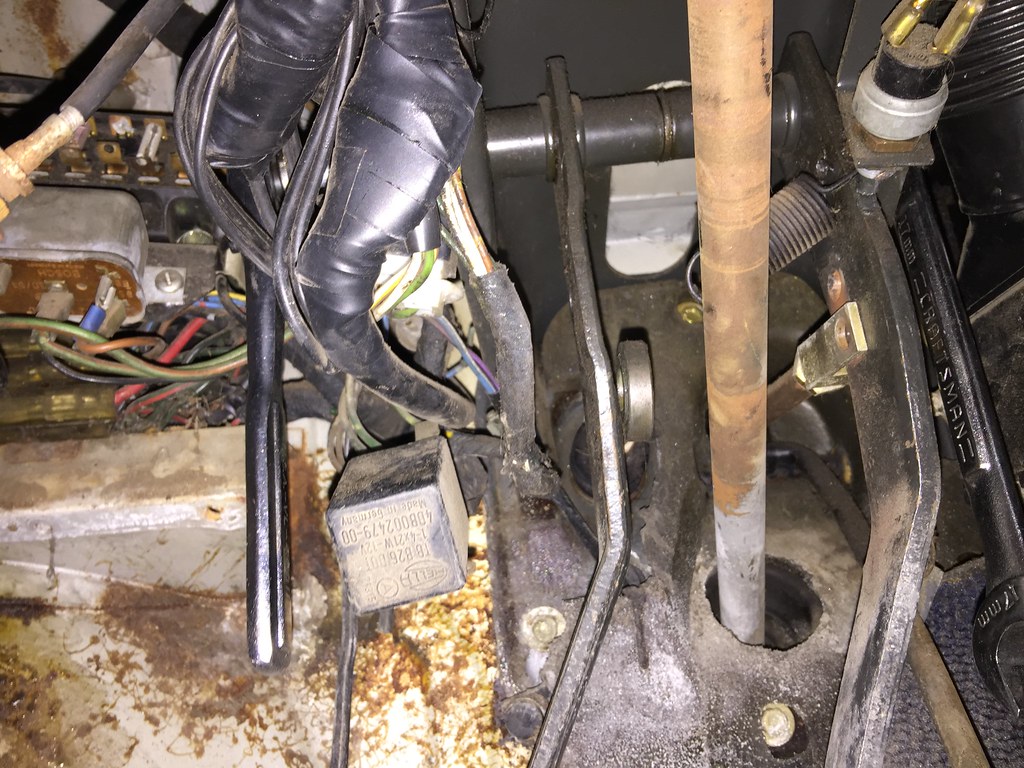
29344638006_0f6fc37b6c_c.jpg

 
Last edited:

Markos

Well-Known Member
Site Donor
Messages
13,369
Reaction score
7,502
Location
Seattle, WA
No fuel pump hole on injected cars, that's pretty obvious. :)

I didn't spend much time on that the other night but it had me curious. Last night I fell asleep with my 2yo so I must have needed a break.

Hmm good point. This head was always used on FI cars and no carbed cars in 1981+. So along your point the I wouldn't have been to determine carbed vs injection and the missing fuel pump hole is a giveaway. Anyway the head may come in handy when I switch to an electric fuel pump. I'll start with a block off plate on the 2800cs.
 

Markos

Well-Known Member
Site Donor
Messages
13,369
Reaction score
7,502
Location
Seattle, WA
CSI Wiring Harness

After a long week I'm finally going after the CSI harness in the frame rail. I tend to find most of my answers to questions by mining this site for existing knowledge and content. I found multiple references to a 'big plug' in the engine compartment near the frame rail. No such plug on my car.

In an effort to make it to the post office I checked in with Don, suspecting that the plug is year specific. Don confirms and even visually checked two different cars to note the difference.


Older style one-piece harness - rubber frame boot, no plug:
29557686846_cef335ec5f_c.jpg


New style two-piece harness - frame mounted plug allows one to disconnect the engine harness. Also a source of D-Jet symptoms:
28968489903_bdcc1e14c4_c.jpg


The back of the brain, this screw must be removed to pull the connector blade:
29557686866_a921768586_c.jpg


The fuel pump relay. The plug on the left can get snagged inside the frame so I may remove.
29511596031_29b6957eba_c.jpg
 
Last edited:
Top